check engine BUICK CENTURY 1994 User Guide
[x] Cancel search | Manufacturer: BUICK, Model Year: 1994, Model line: CENTURY, Model: BUICK CENTURY 1994Pages: 308, PDF Size: 16.3 MB
Page 189 of 308
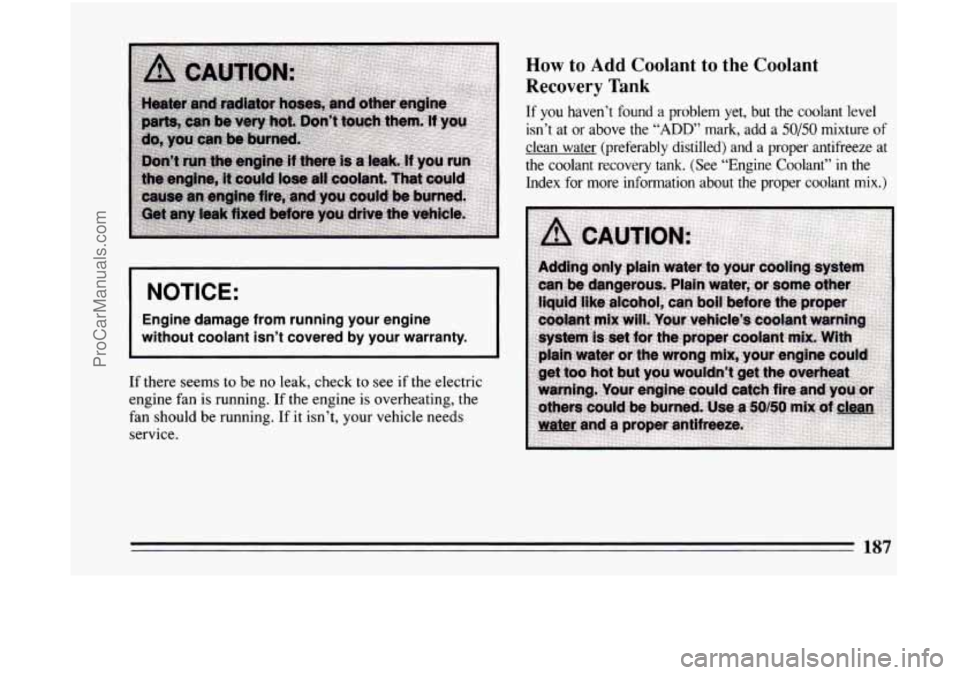
1 NOTICE: I
I
Engine damage from running your engine
without coolant isn’t covered by your warranty.
If there seems to be no leak, check to see if the electric
engine fan is running. If the engine
is overheating, the
fan should be running. If
it isn’t, your vehicle needs
service.
How to Add Coolant to the Coolant
Recovery Tank
If you haven’t found a problem yet, but the coolant level
isn’t at or above the
“ADD” mark, add a 50/50 mixture of
clean water (preferably distilled) and a proper antifreeze at \
the coolant recovery
tank. (See “Engine Coolant” in the
Index for more information about the proper coolant mix.)
187
ProCarManuals.com
Page 195 of 308
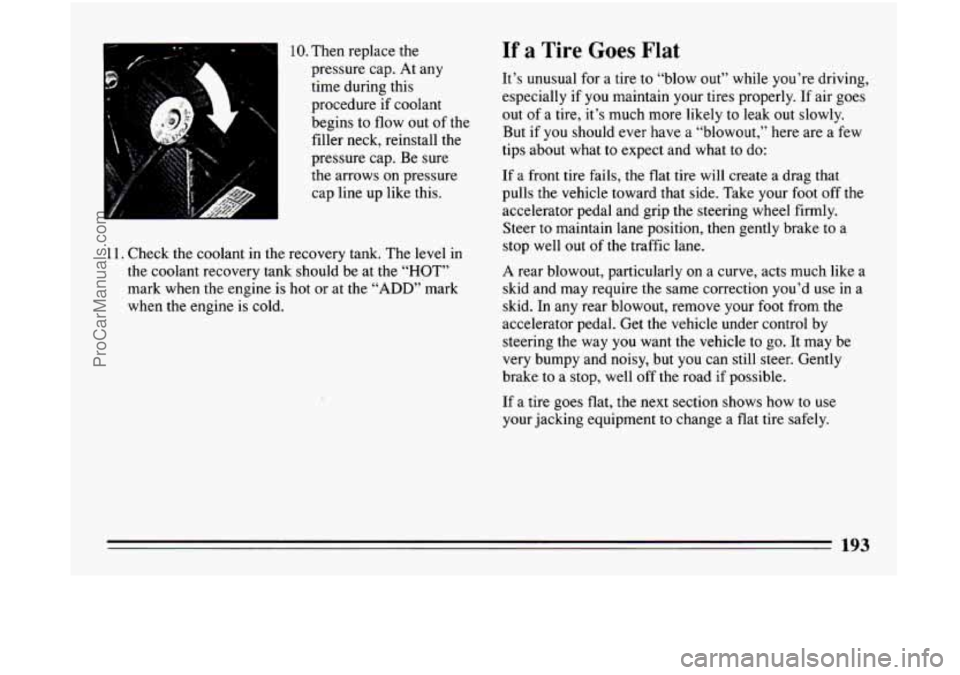
10. Then replace the
pressure cap. At any
time during this
procedure if coolant
begins to flow
out of the
filler neck, reinstall the
pressure cap. Be sure
the arrows on pressure cap line up like this.
11. Check the coolant in the recovery tank. The level in
the coolant recovery tank should be at the
“HOT”
mark when the engine is hot or at the “ADD” mark
when the engine
is cold.
If a Tire Goes Flat
It’s unusual for a tire to “blow out” while you’re driving,
especially
if you maintain your tires properly. If air goes
out
of a tire, it’s much more likely to leak out slowly.
But if you should ever have a “blowout,” here are
a few
tips about what
to expect and what to do:
If a front tire fails, the flat tire will create a drag that
pulls the vehicle toward that side. Take your
foot off the
accelerator pedal and grip the steering wheel firmly.
Steer to maintain lane position, then gently brake to a
stop well out
of the traffic lane.
A rear blowout, particularly on a curve, acts much like a
skid and may require the same correction you’d use in a
skid.
In any rear blowout, remove your foot from the
accelerator pedal. Get the vehicle under control by
steering the way
you want the vehicle to go. It may be
very bumpy and noisy, but
you can still steer. Gently
brake to
a stop, well off the road if possible.
If a tire goes flat, the next section shows how to use
your jacking equipment to change a flat tire safely.
193
ProCarManuals.com
Page 209 of 308
.
@) Part 6 Service and Appearance Care
~ ~~~~~
Here you will find information about the care of your Buick . This part begins with service and fuel information.
and then
it shows how to check important fluid and lubricant levels . There is also technical information about your
vehicle. and a section devoted to its appearance care
.
Part 6 includes:
Service ........................................................................\
..
Fuel ........................................................................\
.....
HoodRelease .....................................................................
EngineOil ....................................................................... \
Aircleaner ....................................................................... \
TransaxleFluid ....................................................................
Enginecoolant ....................................................................
Powersteering ....................................................................
Windshield Washer Fluid ............................................................
Brakes ........................................................................\
...
Battery ........................................................................\
..
BulbReplacement .................................................................
LoadingYourVehicle ...............................................................
Tires ........................................................................\
....
Appearancecare ..................................................................
Vehicle Identification Number (VIN) ..................................................
Fuses and Circuit Breakers ...........................................................
ReplacementBulbs .................................................................
Capacities and Specifications .........................................................
208
209
212
213 218
220
223
226
227
228
231
232
236 238
245
253
254 258
259
207
ProCarManuals.com
Page 212 of 308
Gasolines for Cleaner Air
Your use of gasoline with deposit control additives will
help prevent deposits from forming in your engine and
fuel system. That helps keep your engine in tune and
your emission control system working properly. It’s
good for your vehicle, and you’ll be doing your part for
cleaner air.
Many gasolines are now blended with oxygenates.
General Motors recommends that you use gasolines with
these blending materials, such as MTBE and ethanol. By
doing
so, you can help clean the air, especially in those
parts of the country that have high carbon monoxide
levels.
In addition, some gasoline suppliers are now producing
reformulated gasolines. These gasolines are specially
designed to reduce vehicle emissions. General Motors
recommends that you use reformulated gasoline. By
doing
so, you can help clean the air, especially in those
parts of the country that have high ozone levels.
You should ask your service station operators if their
gasolines contain deposit control additives and
oxygenates, and if
they have been reformulated to
reduce vehicle emissions.
Fuels in Foreign Countries
If you plan on driving in another country outside the
U.S. or Canada, unleaded fuel may be hard to find. Do
not use leaded gasoline. If you use even one tankful,
your emission controls won’t work well or at all. With
continuous use, spark plugs can get fouled, the exhaust
system can corrode, and your engine oil can deteriorate
quickly. Your vehicle’s oxygen sensor will be damaged.
All of that means
costly repairs that wouldn’t be covered
by your warranty.
To check on fuel availability, ask an auto club, or
contact a major oil company that does business in the
country where you’ll be driving.
You can also write
us at the following address for
advice. Just tell us where you’re going and give your
Vehicle Identification Number (VIN).
General Motors Overseas Distribution Corporation,
North American Export Sales (NAES)
1908 Colonel Sam Drive
Oshawa, Ontario
L1H 8P7
210
ProCarManuals.com
Page 215 of 308
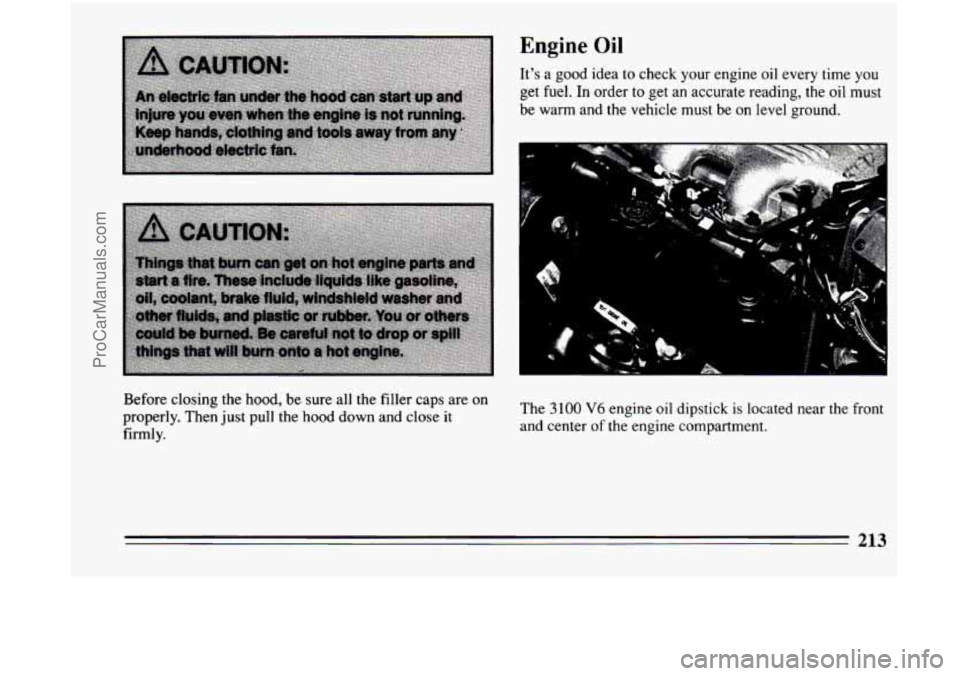
Engine Oil
It’s a good idea to check your engine oil every time you
get fuel. In order to get an accurate reading, the oil must
be warm and the vehicle must be on
level ground.
Before closing the hood, be sure
all the filler caps are on
properly. Then just pull the
hood down and close it
firmly. The 3100 V6 engine oil dipstick is located near the front
and center
of the engine compartment.
213
ProCarManuals.com
Page 216 of 308
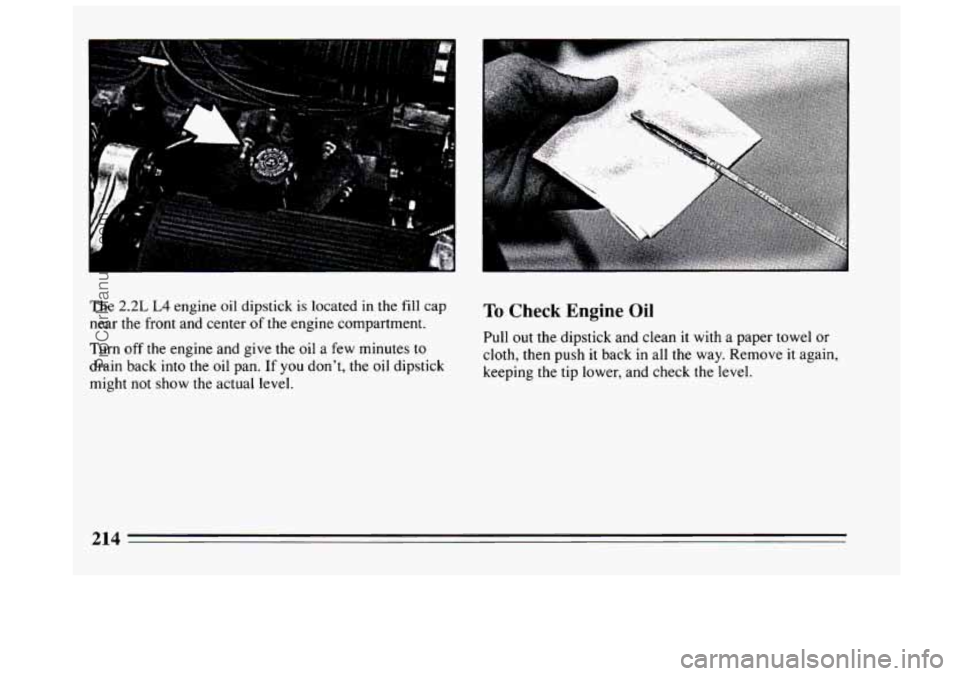
The 2.2L L4 engine oil dipstick is located in the fill cap
near the front and center of the engine compartment.
Turn off the engine and give the oil a few minutes to
drain back into the oil pan. If you don’t,
the oil dipstick
might not show the actual level.
To Check Engine Oil
Pull out the dipstick and clean it with a paper towel or
cloth, then push
it back in all the way. Remove it again,
keeping the tip lower, and check the level.
214
ProCarManuals.com
Page 220 of 308
Engine Coolant Heater (Engine
Block Heater)
An engine coolant heater can be a big help if you have
to park outside in very cold weather,
0°F (- 18 “C) or
colder. If your vehicle has this option, see “Engine
Coolant Heater” in
the Index.
What to Do with Used Oil
Did you know that used engine oil contains certain
elements that may be unhealthy for
your skin and could
even cause cancer? Don’t let used oil stay on your skin
for very long. Clean your skin and nails with soap and
water, or a good hand cleaner. Wash or properly throw
away clothing or rags containing used engine
oil. (See
the manufacturer’s warnings about the use and disposal
of oil products.)
Used oil can be a real threat to the environment. If you
change your own oil, be sure
to drain all free-flowing
oil from the filter before disposal. Don’t ever dispose of
oil by putting it
in the trash, pouring it on the ground,
into sewers, or into streams or bodies of water. Instead,
recycle it by taking
it to a place that collects used oil. If
you have a problem properly disposing of your used oil,
ask your dealer, a service station
or a local recycling
center for help.
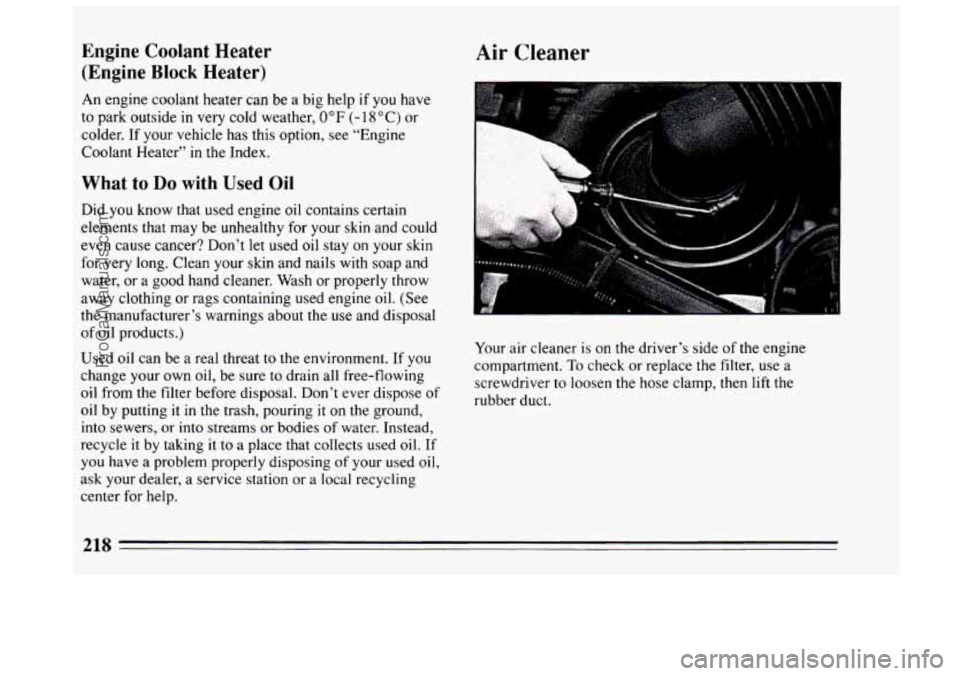
Air Cleaner
Your air cleaner is on the driver’s side of the engine
compartment.
To check or replace the filter, use a
screwdriver to loosen
the hose clamp, then lift the
rubber duct.
218
ProCarManuals.com
Page 222 of 308
I NOTICE:
If the air cleaner is off, a backfire can cause a
damaging engine fire.
And, dirt can easily get
into your engine, which will damage
it. Always
have the air cleaner
in place when you’re driving.
Automatic Transaxle Fluid
When to Check and Change
A good time to check your automatic transaxle fluid
level
is when the engine oil is changed. Refer to the
Maintenance Schedule to determine when to change
your fluid. See “Scheduled Maintenance Services” in
the Index.
How to Check
Because this operation can be a little difficult, you may
choose to have this done at a Buick dealership Service
Department.
If you do it yourself, be sure to follow all the
instructions here, or you could get a false reading on the
dipstick.
I NOTICE:
loo much or too little fluid can damage your
transaxle.
Too much can mean that some of the
fluid could come
out and fall on hot engine parts
or exhaust system, starting a fire. Be sure to get
an accurate reading
if you check your transaxle
fluid.
220
ProCarManuals.com
Page 223 of 308
Wait at least 30 minutes before checking the transaxle
fluid level if you have been driving:
0 When outside temperatures are above 90°F (32°C).
0 At high speed for quite a while.
0 In heavy traffic -- especially in hot weather.
0 While pulling a trailer.
To get the right reading, the fluid should be at normal
operating temperature, which is 180°F to
200°F (82°C
to
93°C).
Get the vehicle warmed up by driving about 15 miles
(24 km) when outside temperatures are above 50°F
(10°C). If it’s colder than 50°F ( 10°C), you may have
to drive longer.
To check the fluid level
0 Park your vehicle on a level place and keep the
0 With the parking brake applied, place the shift lever
engine
running.
in “P’ (Park).
0 With your foot on the brake pedal, move the shift
lever through each gear range, pausing for about
three seconds
in each range. Then, position the shift
lever
in “P” (Park).
0 Let the engine run at idle for three to five minutes.
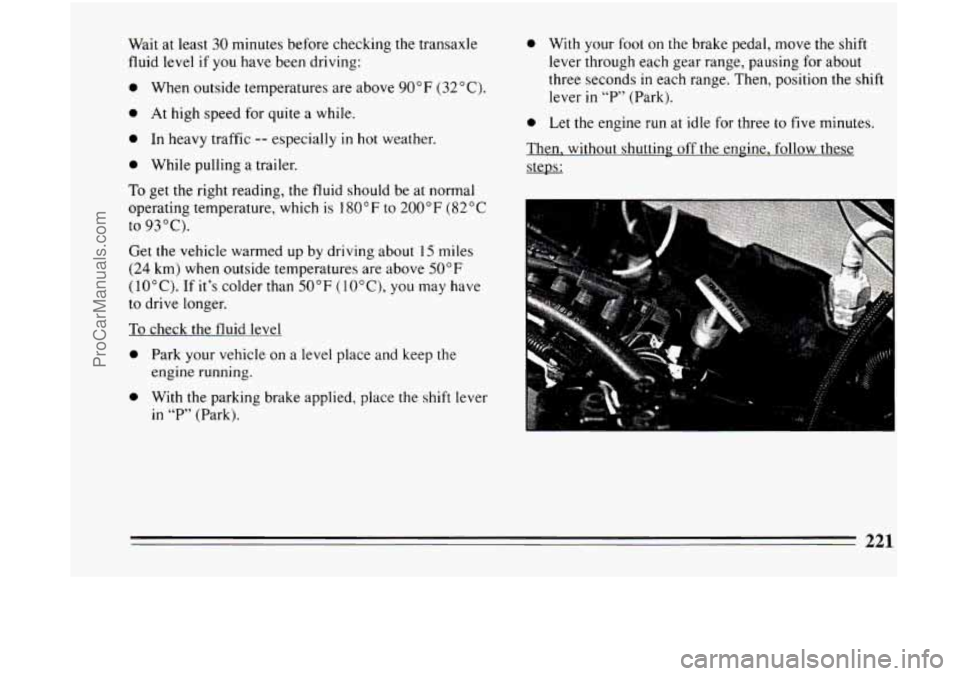
Then, without shutting off the engine. follow these
steps:
221
ProCarManuals.com
Page 224 of 308
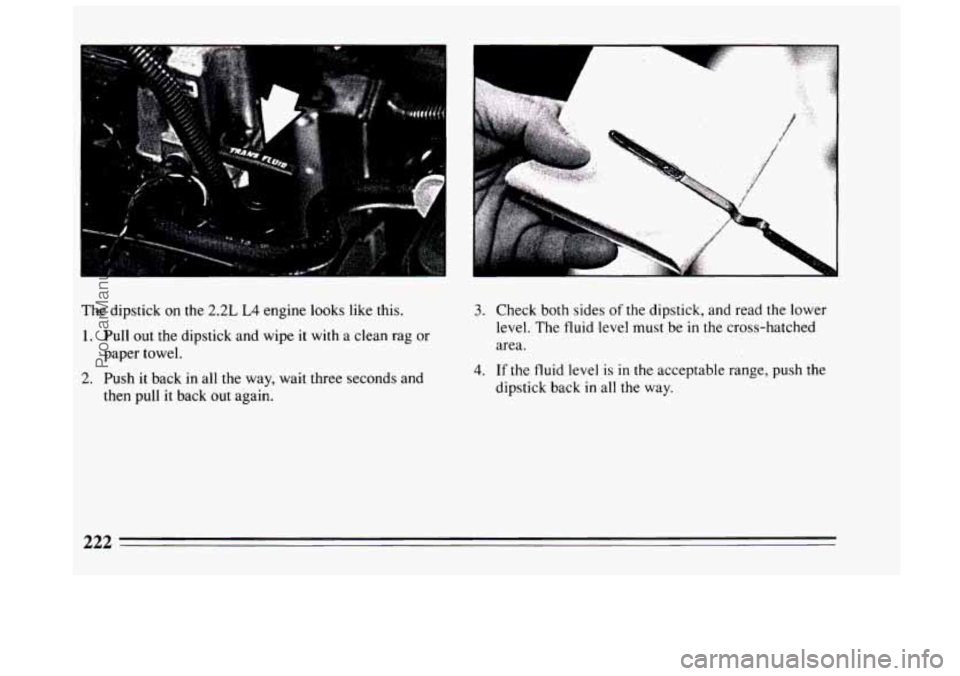
The dipstick on the 2.2L L4 engine looks like this.
1. Pull out the dipstick and wipe it with a clean rag or
paper towel.
2. Push it back in all the way, wait three seconds and
then pull
it back out again.
3. Check both sides of the dipstick, and read the lower
level. The fluid level must be
in the cross-hatched
area.
4. If the fluid level is in the acceptable range, push the
dipstick back
in all the way.
222
ProCarManuals.com