BUICK CENTURY 2003 Owner's Manual
Manufacturer: BUICK, Model Year: 2003, Model line: CENTURY, Model: BUICK CENTURY 2003Pages: 344, PDF Size: 2.57 MB
Page 141 of 344
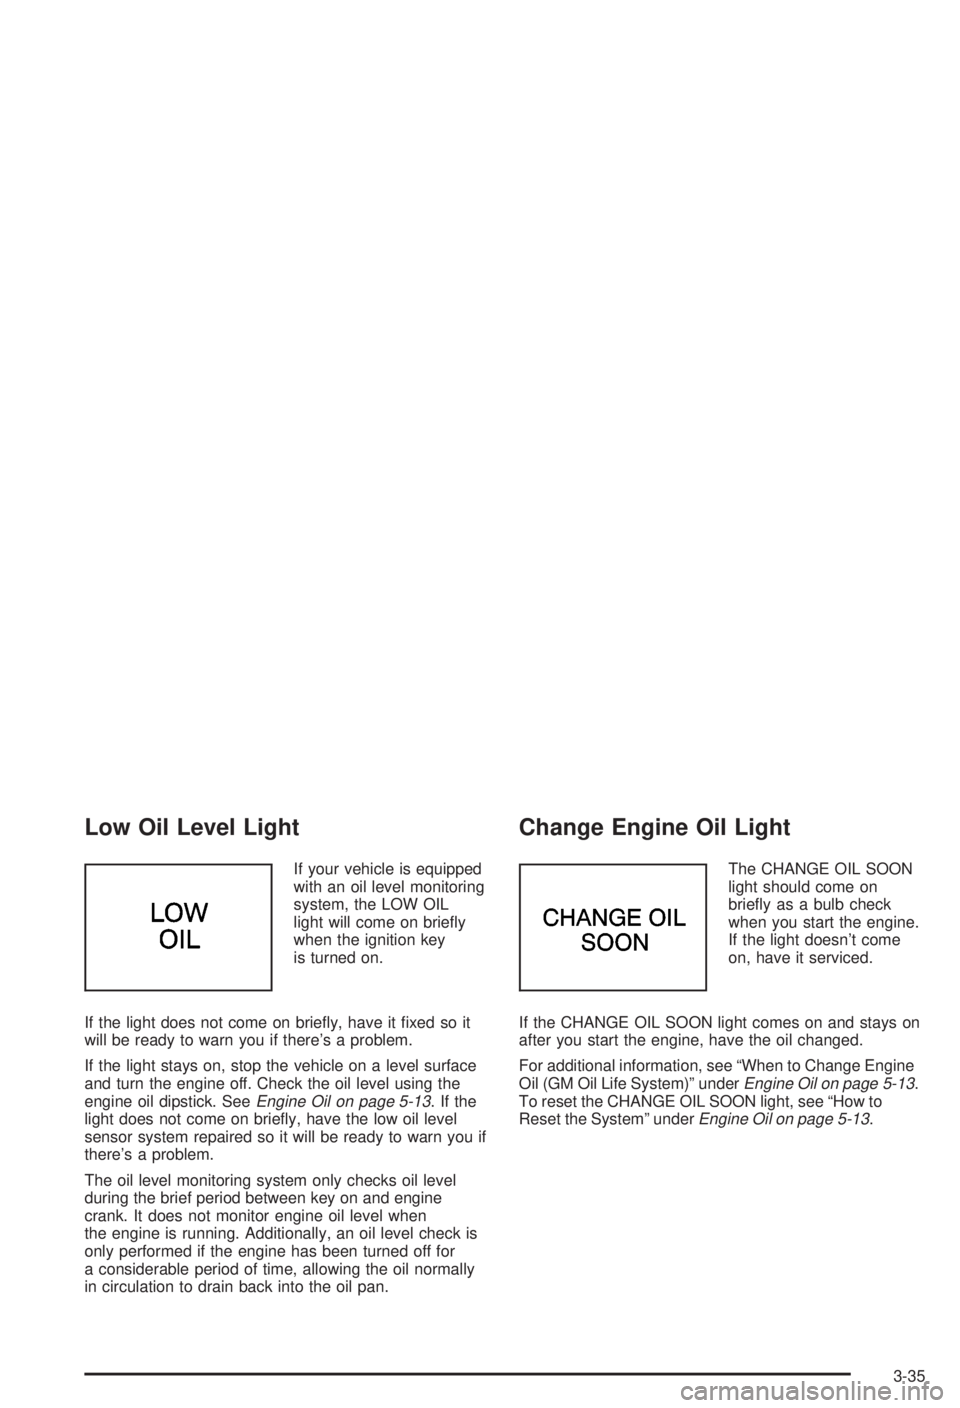
Low Oil Level Light
If your vehicle is equipped
with an oil level monitoring
system, the LOW OIL
light will come on brie¯y
when the ignition key
is turned on.
If the light does not come on brie¯y, have it ®xed so it
will be ready to warn you if there's a problem.
If the light stays on, stop the vehicle on a level surface
and turn the engine off. Check the oil level using the
engine oil dipstick. See
Engine Oil on page 5-13.Ifthe
light does not come on brie¯y, have the low oil level
sensor system repaired so it will be ready to warn you if
there's a problem.
The oil level monitoring system only checks oil level
during the brief period between key on and engine
crank. It does not monitor engine oil level when
the engine is running. Additionally, an oil level check is
only performed if the engine has been turned off for
a considerable period of time, allowing the oil normally
in circulation to drain back into the oil pan.
Change Engine Oil Light
The CHANGE OIL SOON
light should come on
brie¯y as a bulb check
when you start the engine.
If the light doesn't come
on, have it serviced.
If the CHANGE OIL SOON light comes on and stays on
after you start the engine, have the oil changed.
For additional information, see ªWhen to Change Engine
Oil (GM Oil Life System)º under
Engine Oil on page 5-13.
To reset the CHANGE OIL SOON light, see ªHow to
Reset the Systemº under
Engine Oil on page 5-13.
3-35
Page 142 of 344
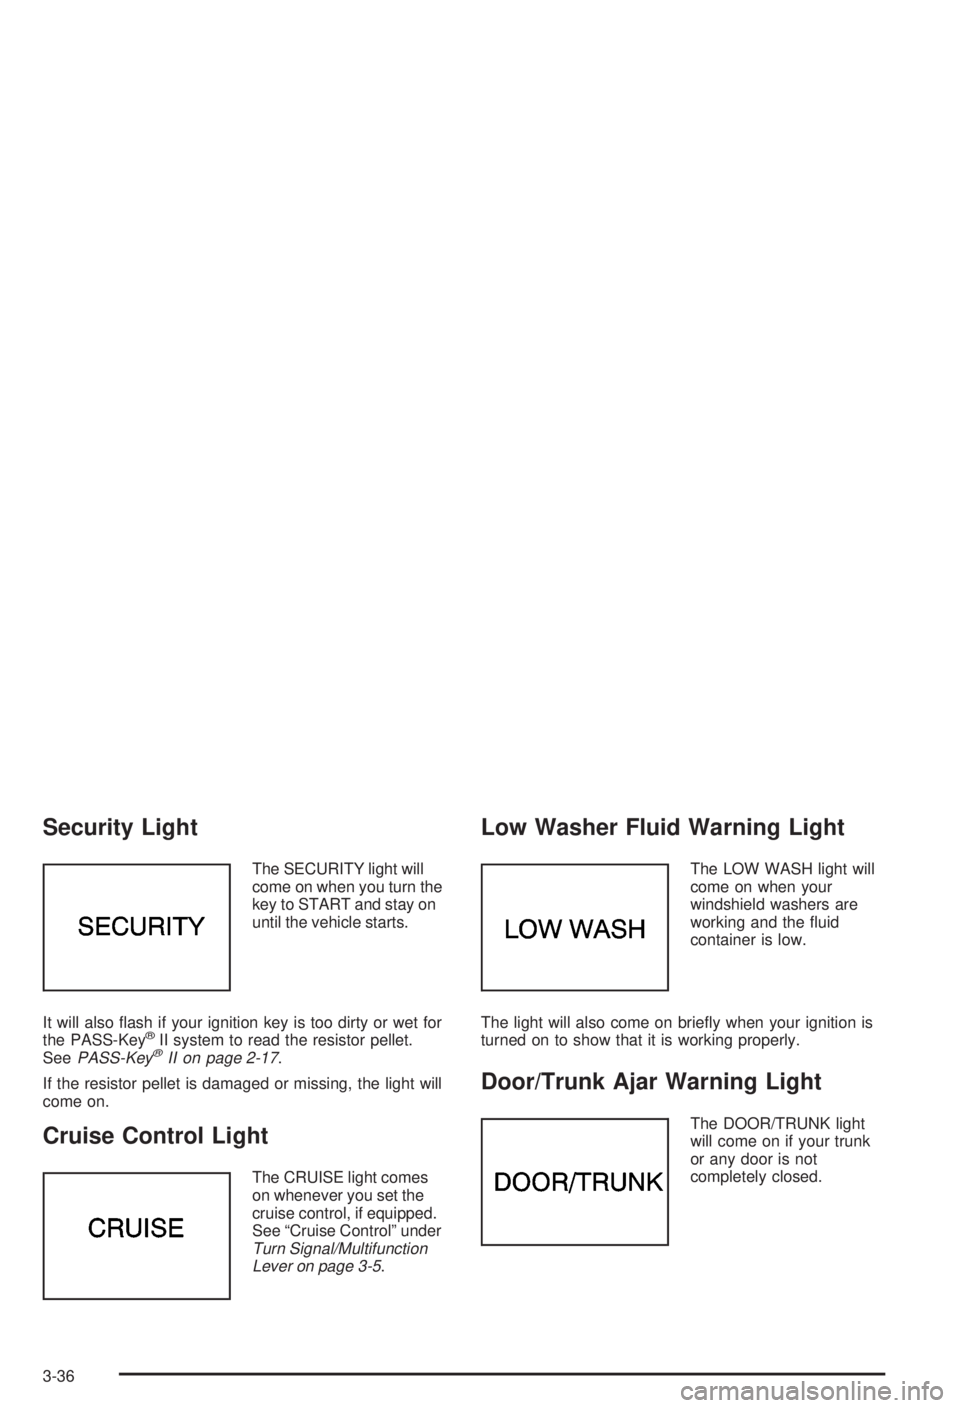
Security Light
The SECURITY light will
come on when you turn the
key to START and stay on
until the vehicle starts.
It will also ¯ash if your ignition key is too dirty or wet for
the PASS-Key
žII system to read the resistor pellet.
SeePASS-KeyžII on page 2-17.
If the resistor pellet is damaged or missing, the light will
come on.
Cruise Control Light
The CRUISE light comes
on whenever you set the
cruise control, if equipped.
See ªCruise Controlº under
Turn Signal/Multifunction
Lever on page 3-5.
Low Washer Fluid Warning Light
The LOW WASH light will
come on when your
windshield washers are
working and the ¯uid
container is low.
The light will also come on brie¯y when your ignition is
turned on to show that it is working properly.
Door/Trunk Ajar Warning Light
The DOOR/TRUNK light
will come on if your trunk
or any door is not
completely closed.
3-36
Page 143 of 344
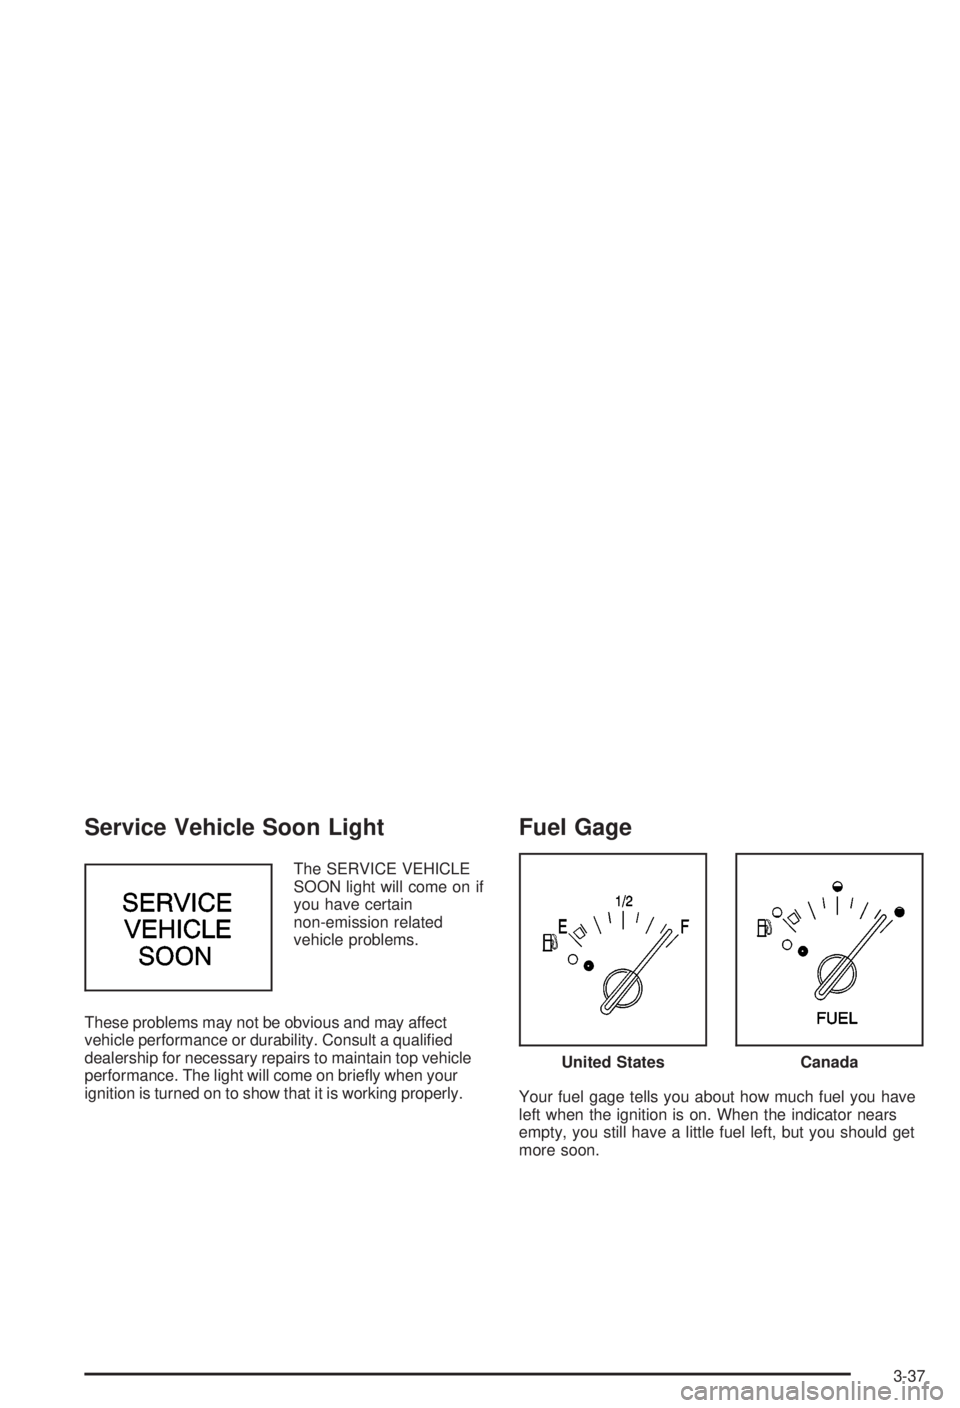
Service Vehicle Soon Light
The SERVICE VEHICLE
SOON light will come on if
you have certain
non-emission related
vehicle problems.
These problems may not be obvious and may affect
vehicle performance or durability. Consult a quali®ed
dealership for necessary repairs to maintain top vehicle
performance. The light will come on brie¯y when your
ignition is turned on to show that it is working properly.
Fuel Gage
Your fuel gage tells you about how much fuel you have
left when the ignition is on. When the indicator nears
empty, you still have a little fuel left, but you should get
more soon.
United StatesCanada
3-37
Page 144 of 344
Here are four things that some owners ask about. All
these things are normal and do not indicate that
anything is wrong with the fuel gage:
·At the gas station, the pump shuts off before the
gage reads full.
·It takes more (or less) fuel to ®ll up than the gage
reads. For example, the gage reads half full, but it
took more (or less) than half of the tank's
capacity to ®ll it.
·The gage pointer may move while cornering,
braking or speeding up.
·The gage may not indicate empty when the ignition
is turned off.
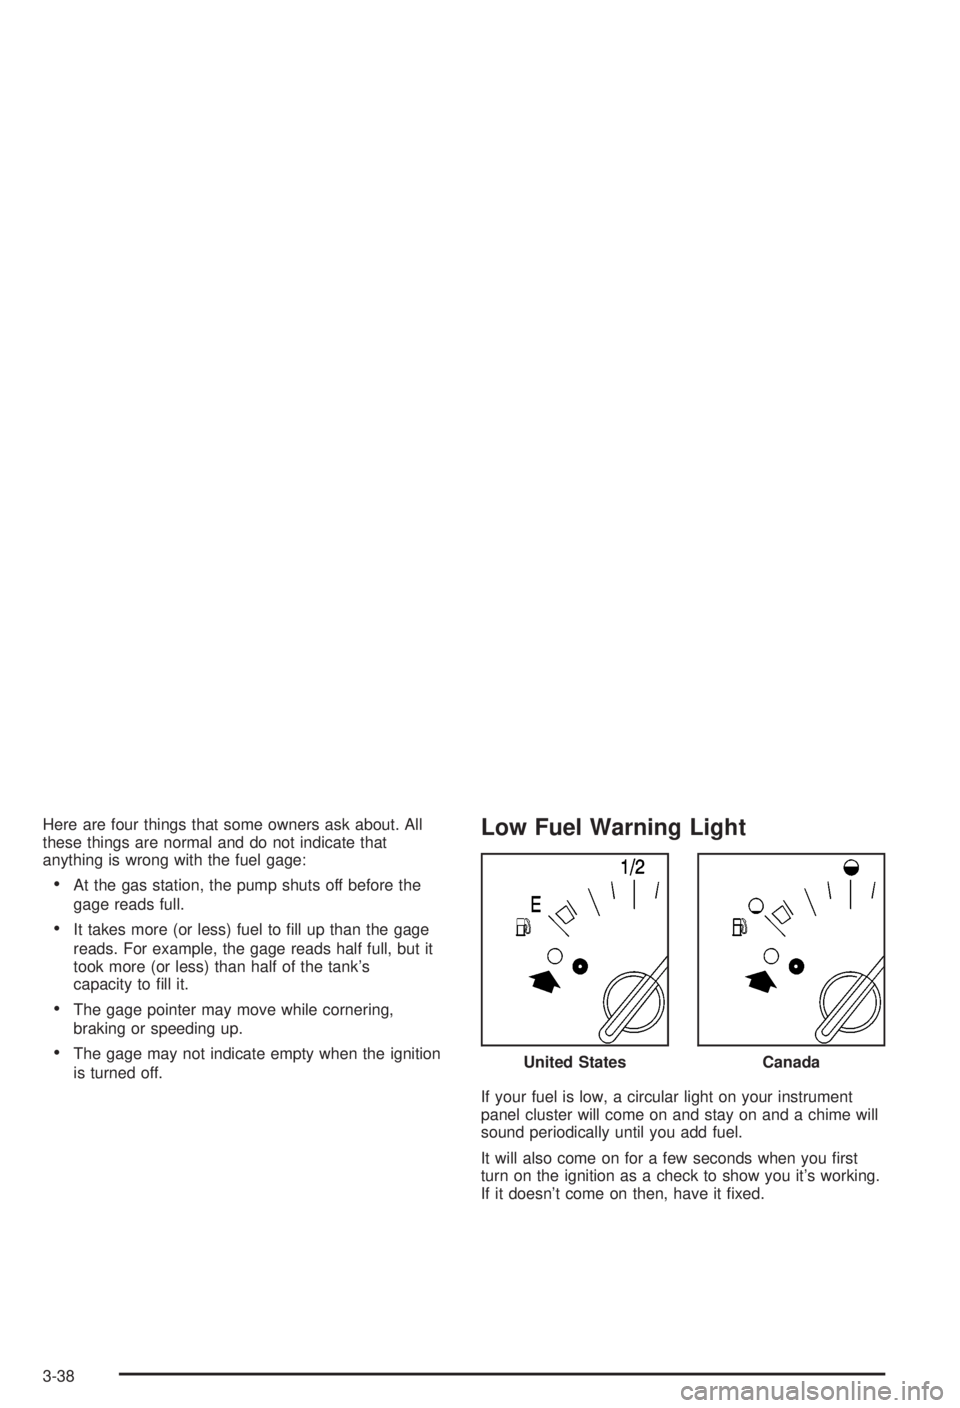
Low Fuel Warning Light
If your fuel is low, a circular light on your instrument
panel cluster will come on and stay on and a chime will
sound periodically until you add fuel.
It will also come on for a few seconds when you ®rst
turn on the ignition as a check to show you it's working.
If it doesn't come on then, have it ®xed.United States
Canada
3-38
Page 145 of 344
Audio System(s)
Notice:Before you add any sound equipment to
your vehicle ± like a tape player, CB radio, mobile
telephone or two-way radio ± be sure you can
add what you want. If you can, it's very important to
do it properly. Added sound equipment may
interfere with the operation of your vehicle's engine,
radio or other systems, and even damage them.
Your vehicle's systems may interfere with the
operation of sound equipment that has been added
improperly.
So, before adding sound equipment, check with
your dealer and be sure to check federal rules
covering mobile radio and telephone units.
Your audio system has been designed to operate easily
and to give years of listening pleasure. You will get
the most enjoyment out of it if you acquaint yourself with
it ®rst. Figure out which radio you have in your vehicle,®nd out what your audio system can do and how to
operate all of its controls to be sure you're getting the
most out of the advanced engineering that went into it.
Your vehicle has a feature called Retained Accessory
Power (RAP). With RAP, you can play your audio
system even after the ignition is turned off. See
ªRetained Accessory Power (RAP)º under
Ignition
Positions on page 2-19.
Setting the Time
Press and hold HRS until the correct hour appears on
the display. Press and hold MIN until the correct minute
also appears.
You may set the time with the ignition off if you push
RECALL ®rst.
3-39
Page 146 of 344

AM-FM Radio
Playing the Radio
ON/OFF:Press this knob to turn the system on and off.
VOLUME:Turn the knob to increase or to decrease
volume.RECALL:Push this knob to display the station being
played or to display the clock. To change what is
normally shown on the display (station or time), push
the knob until you see the display you want, then
hold the knob until the display ¯ashes. Push this knob
while the ignition if off to display the clock.
Finding a Station
AM FM:Press this button to switch between AM, FM1
and FM2. The display will show your selection.
TUNE:Turn this knob to choose radio stations.
qSEEKr:Press the right or the left arrow to go to
the next or to the previous station and stay there.
To scan stations, press one of the SEEK arrows for two
seconds, and SCAN will appear on the display. The
radio will go to a station, play for a few seconds, then go
on to the next station. Press one of the SEEK arrows
again to stop scanning.
The radio will seek only to stations that are in the
selected band and only to those with a strong signal.
3-40
Page 147 of 344
P SCAN (Preset Scan):Press this button to listen to
each of your preset stations for a few seconds.
Press P SCAN again to stop scanning presets.
The radio will scan only to preset stations that are in the
selected band and only to those with a strong signal.
Setting Preset Stations
The six numbered pushbuttons let you return to your
favorite stations. You can set up to 18 stations (six AM,
six FM1 and six FM2) by performing the following steps:
1. Turn the radio on.
2. Press the AM FM button to select AM, FM1 or FM2.
3. Tune in the desired station.
4. Press and hold one of the six numbered
pushbuttons. The sound will mute. When it returns,
release the pushbutton. Whenever you press
that numbered pushbutton, the station you set will
return.
5. Repeat the steps for each pushbutton.
Setting the Tone (Bass/Treble)
BASS:Press this knob lightly so it extends. Turn the
knob to increase or to decrease bass.
TREB (Treble):Press this knob lightly so it extends.
Turn the knob to increase or to decrease treble. If
a station is weak or noisy, you may want to decrease
the treble.
Return these knobs to their stored positions when
you're not using them.
Adjusting the Speakers (Balance/Fade)
BAL (Balance):Turn the control ring behind the
upper knob to move the sound toward the left or the
right speakers.
FADE:Turn the control ring behind the lower knob to
move the sound toward the front or the rear speakers.
3-41
Page 148 of 344
Radio with Cassette and CD
Playing the Radio
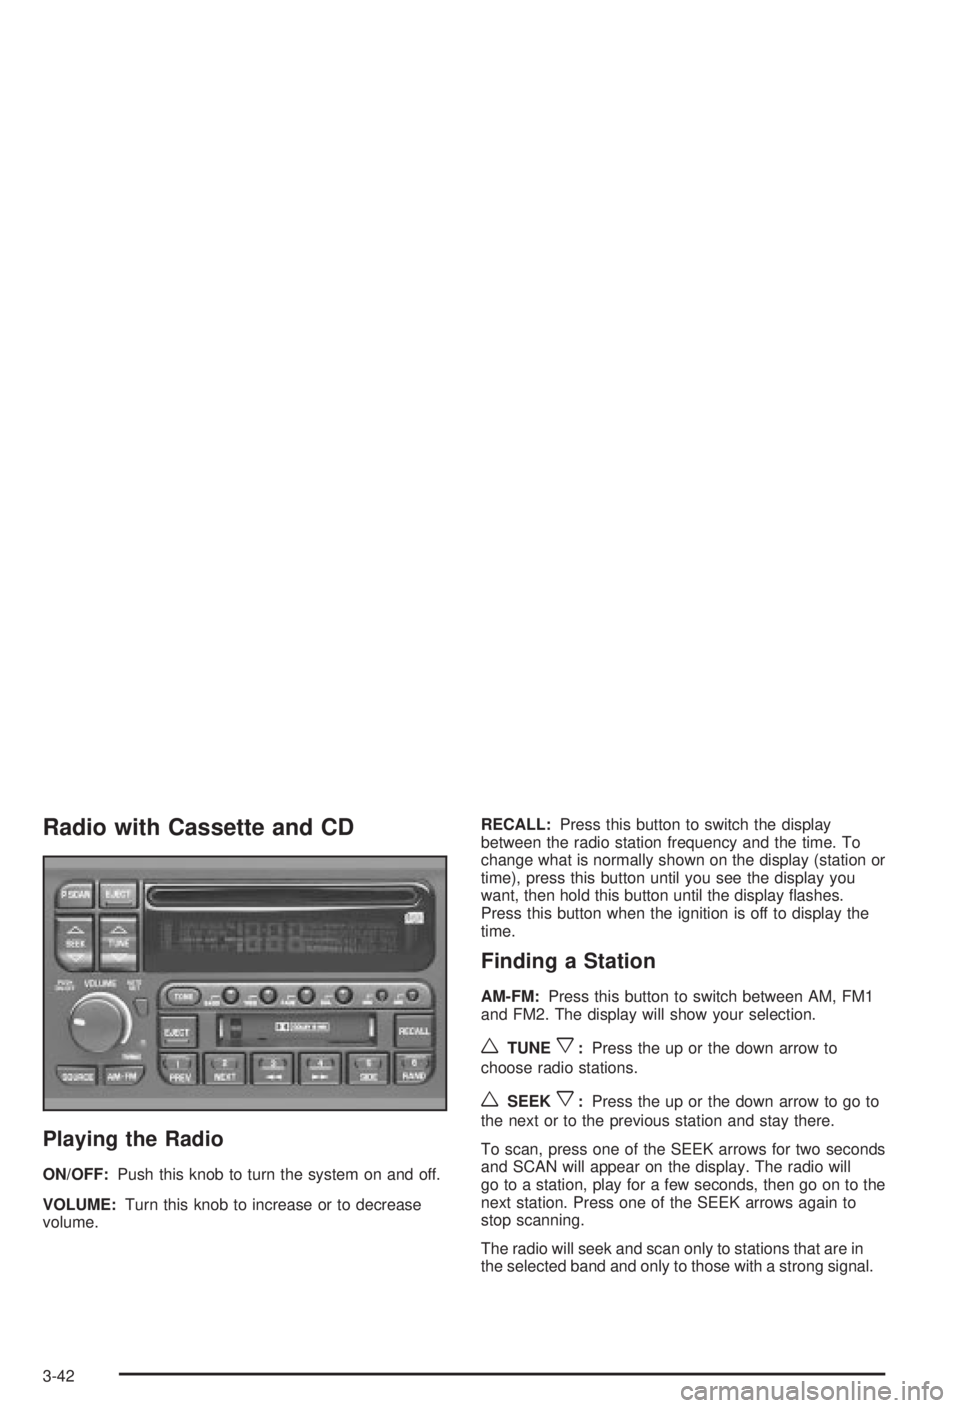
ON/OFF:Push this knob to turn the system on and off.
VOLUME:Turn this knob to increase or to decrease
volume.RECALL:Press this button to switch the display
between the radio station frequency and the time. To
change what is normally shown on the display (station or
time), press this button until you see the display you
want, then hold this button until the display ¯ashes.
Press this button when the ignition is off to display the
time.
Finding a Station
AM-FM:Press this button to switch between AM, FM1
and FM2. The display will show your selection.
wTUNEx:Press the up or the down arrow to
choose radio stations.
wSEEKx:Press the up or the down arrow to go to
the next or to the previous station and stay there.
To scan, press one of the SEEK arrows for two seconds
and SCAN will appear on the display. The radio will
go to a station, play for a few seconds, then go on to the
next station. Press one of the SEEK arrows again to
stop scanning.
The radio will seek and scan only to stations that are in
the selected band and only to those with a strong signal.
3-42
Page 149 of 344
P SCAN (Preset Scan):Press this button to listen to
each of your preset stations for a few seconds.
Press P SCAN again to stop scanning.
The radio will scan only to preset stations that are in the
selected band and only to those with a strong signal.
AUTO SET (Automatic Set):Press this button,
after selecting AM or FM, to seek and set the
12 strongest FM or the 6 strongest AM stations on your
preset pushbuttons. AUTO SET will ¯ash while
seeking and will remain on until this function is complete.
To return to the stations you manually set, press
AUTO SET again.
Setting Preset Stations
The six numbered pushbuttons let you return to your
favorite stations. You can set up to 18 stations (six AM,
six FM1 and six FM2) by performing the following steps:
1. Turn the radio on.
2. Press AM-FM to select AM, FM1 or FM2.
3. Tune in the desired station.
4. Press TONE to select the setting you prefer.5. Press and hold one of the six numbered
pushbuttons. The sound will mute. When it returns,
release the pushbutton. Whenever you press
that numbered pushbutton, the station you set will
return and the tone you selected will be
automatically selected for that pushbutton.
6. Repeat the steps for each pushbutton.
Setting the Tone (Bass/Treble)
BASS:Press this knob lightly so it extends. Turn the
knob to increase or to decrease bass.
TREB (Treble):Press this knob lightly so it extends.
Turn the knob to increase or to decrease treble. If
a station is weak or noisy, you may want to decrease
the treble.
Return these knobs to their stored positions when
you're not using them.
TONE:Press this button to choose bass and treble
equalization settings designed for country/western, jazz,
talk, pop and classical stations.
To return the bass and treble to the manual mode,
press either TONE until MANUAL appears or press and
release the BASS or TREB knob and turn it until the
display goes blank. See ªSetting Preset Stationsº listed
previously to program the auto tone feature.
3-43
Page 150 of 344
Adjusting the Speakers (Balance/Fade)
BAL (Balance):Press this knob lightly so it extends.
Turn the knob to move the sound toward the left or the
right speakers.
FADE:Press this knob lightly so it extends. Turn the
knob to move the sound toward the front or the
rear speakers.
Return these knobs to their stored positions when
you're not using them.
Playing a Cassette Tape
The longer side with the tape visible should face to the
right. If the ignition and the radio are on, the tape can be
inserted and will begin playing. If you hear nothing or hear
a garbled sound, the tape may not be in squarely. Press
EJECT to remove the tape and start over.
While the tape is playing, use the VOLUME, SEEK,
FADE, BAL, BASS and TREB controls just as you do for
the radio. Other controls may have different functions
when a tape is inserted. The display will show an arrow
to show which side of the tape is playing.If you want to insert a tape while the ignition or radio is
off, ®rst press EJECT or RECALL.
Your tape bias is set automatically.
If an error appears on the display, see ªCassette Tape
Messagesº later in this section.
1 PREV (Previous):Your tape must have at least three
seconds of silence between each selection for previous
to work. Press this pushbutton to search for the
previous selection on the tape.
2 NEXT:Your tape must have at least three seconds of
silence between each selection for next to work.
Press this pushbutton to search for the next selection
on the tape.
3
r(Reverse):Press this pushbutton to reverse the
tape rapidly. The radio will play while the tape
reverses. Press it again to return to playing speed.
4
[(Forward):Press this pushbutton to advance
quickly to another part of the tape. The radio will play
while the tape advances. Press it again to return to
playing speed.
5 SIDE:Press this pushbutton to play the other side of
the tape.
3-44