light BUICK CENTURY 2003 User Guide
[x] Cancel search | Manufacturer: BUICK, Model Year: 2003, Model line: CENTURY, Model: BUICK CENTURY 2003Pages: 344, PDF Size: 2.57 MB
Page 87 of 344
Theft-Deterrent Systems
Vehicle theft is big business, especially in some cities.
Although your vehicle has a number of theft-deterrent
features, we know that nothing we put on it can make
it impossible to steal. However, there are ways you
can help.
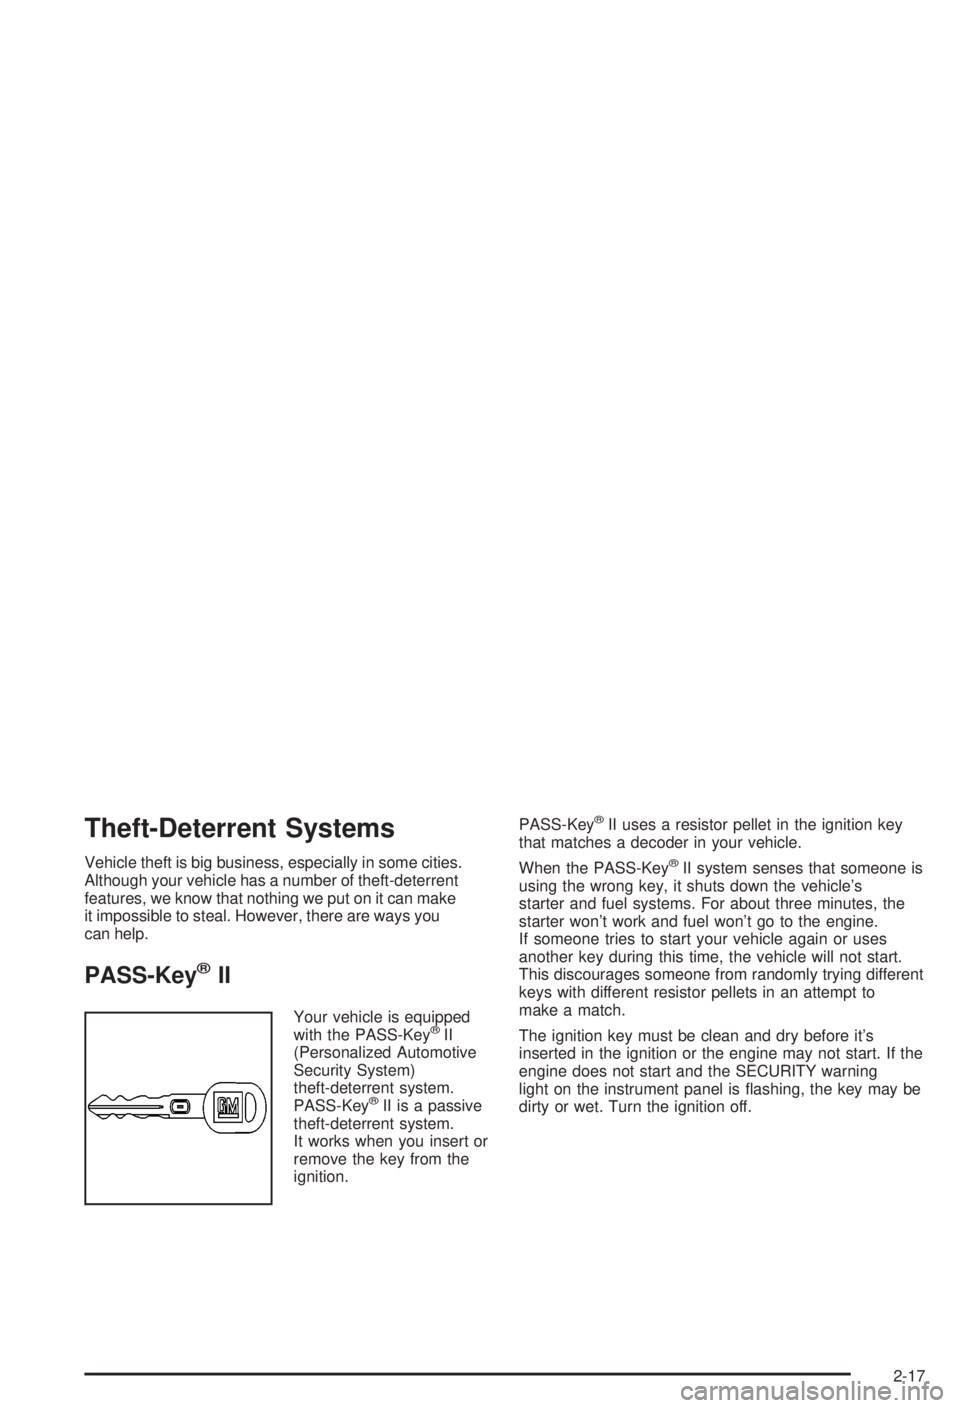
PASS-KeyžII
Your vehicle is equipped
with the PASS-KeyžII
(Personalized Automotive
Security System)
theft-deterrent system.
PASS-Key
žII is a passive
theft-deterrent system.
It works when you insert or
remove the key from the
ignition.PASS-Key
žII uses a resistor pellet in the ignition key
that matches a decoder in your vehicle.
When the PASS-Key
žII system senses that someone is
using the wrong key, it shuts down the vehicle's
starter and fuel systems. For about three minutes, the
starter won't work and fuel won't go to the engine.
If someone tries to start your vehicle again or uses
another key during this time, the vehicle will not start.
This discourages someone from randomly trying different
keys with different resistor pellets in an attempt to
make a match.
The ignition key must be clean and dry before it's
inserted in the ignition or the engine may not start. If the
engine does not start and the SECURITY warning
light on the instrument panel is ¯ashing, the key may be
dirty or wet. Turn the ignition off.
2-17
Page 88 of 344
Clean and dry the key. Wait about three minutes and try
again. If the starter still won't work, and the key
appears to be clean and dry, wait about three minutes
and try another ignition key. At this time, you may
also want to check the fuse. See
Fuses and Circuit
Breakers on page 5-89. If the starter won't work with the
other key, your vehicle needs service. If your vehicle
does start, the ®rst ignition key may be faulty. See your
dealer or a locksmith who can service the PASS-Key
žII.
If you accidentally use a key that has a damaged or
missing resistor pellet, the starter won't work. The
SECURITY warning light on the instrument panel will
then come on. But you don't have to wait three minutes
before trying another ignition key.
See your dealer or a locksmith who can service the
PASS-Key
žII to have a new key made.If you're ever driving and the SECURITY warning light
comes on, you will be able to restart your engine if
you turn it off. Your PASS-Key
žII system, however, is
not working properly and must be serviced by your
dealer. Your vehicle is not protected by the
PASS-Key
žII system.
If you lose or damage a PASS-Key
žII ignition key, see
your dealer or a locksmith who can service
PASS-Key
žII to have a new key made. Also, seeRoadside Assistance Program on page 7-6for more
information.
2-18
Page 90 of 344
Notice:If your key seems stuck in LOCK and you
can't turn it, be sure you are using the correct key;
if so, is it all the way in? If it is, then turn the
steering wheel left and right while you turn the key
hard. Turn the key only with your hand. Using a
tool to force it could break the key or the ignition
switch. If none of these works, then your vehicle
needs service.
C (OFF):This position lets you turn off the engine but
still turn the steering wheel. It doesn't lock the steering
wheel. Use OFF if you must have your vehicle pushed or
towed.
D (RUN):This position is where the key returns to after
you start your vehicle. With the engine off, you can
use RUN to display some of your warning and
indicator lights.
E (START):This position starts your engine.
A warning chime will sound if you open the driver's door
when the ignition is in OFF, LOCK or ACCESSORY
and the key is in the ignition.Retained Accessory Power (RAP)
With Retained Accessory Power (RAP), your power
windows and audio system will continue to work for up
to 10 minutes after the ignition key is turned to OFF
and before any of the doors are opened.
Starting Your Engine
Move your shift lever to PARK (P) or NEUTRAL (N).
Your engine won't start in any other position ± that's a
safety feature. To restart when you're already moving,
use NEUTRAL (N) only.
Notice:Don't try to shift to PARK (P) if your
vehicle is moving. If you do, you could damage
the transaxle. Shift to PARK (P) only when your
vehicle is stopped.
1. With your foot off the accelerator pedal, turn your
ignition key to START. When the engine starts, let
go of the key. The idle speed will go down as
your engine gets warm.
2-20
Page 107 of 344
Instrument Panel Overview...............................3-2
Hazard Warning Flashers................................3-3
Other Warning Devices...................................3-4
Horn.............................................................3-4
Tilt Wheel.....................................................3-4
Turn Signal/Multifunction Lever.........................3-5
Exterior Lamps.............................................3-11
Interior Lamps..............................................3-14
Auxiliary Power Connection
(Power Drop)............................................3-16
Ashtrays and Cigarette Lighter........................3-16
Climate Controls............................................3-17
Dual Climate Control System..........................3-17
Outlet Adjustment.........................................3-20
Passenger Compartment Air Filter...................3-20
Warning Lights, Gages and Indicators.............3-22
Instrument Panel Cluster................................3-23
Speedometer and Odometer...........................3-24
Safety Belt Reminder Light.............................3-24
Air Bag Readiness Light................................3-25
Charging System Light..................................3-26
Brake System Warning Light..........................3-27
Anti-Lock Brake System Warning Light.............3-28
Enhanced Traction System Warning Light.........3-28
Low Traction Light........................................3-29Engine Coolant Temperature Warning Light......3-29
Engine Coolant Temperature Gage..................3-30
Tire Pressure Light.......................................3-30
Malfunction Indicator Lamp.............................3-31
Oil Pressure Light.........................................3-34
Low Oil Level Light.......................................3-35
Change Engine Oil Light................................3-35
Security Light...............................................3-36
Cruise Control Light......................................3-36
Low Washer Fluid Warning Light.....................3-36
Door/Trunk Ajar Warning Light........................3-36
Service Vehicle Soon Light............................3-37
Fuel Gage...................................................3-37
Low Fuel Warning Light.................................3-38
Audio System(s).............................................3-39
Setting the Time...........................................3-39
AM-FM Radio...............................................3-40
Radio with Cassette and CD..........................3-42
Theft-Deterrent Feature..................................3-48
Audio Steering Wheel Controls.......................3-50
Understanding Radio Reception......................3-50
Care of Your Cassette Tape Player.................3-51
Care of Your CDs.........................................3-52
Care of Your CD Player................................3-52
Fixed Mast Antenna......................................3-52
Section 3 Instrument Panel
3-1
Page 109 of 344
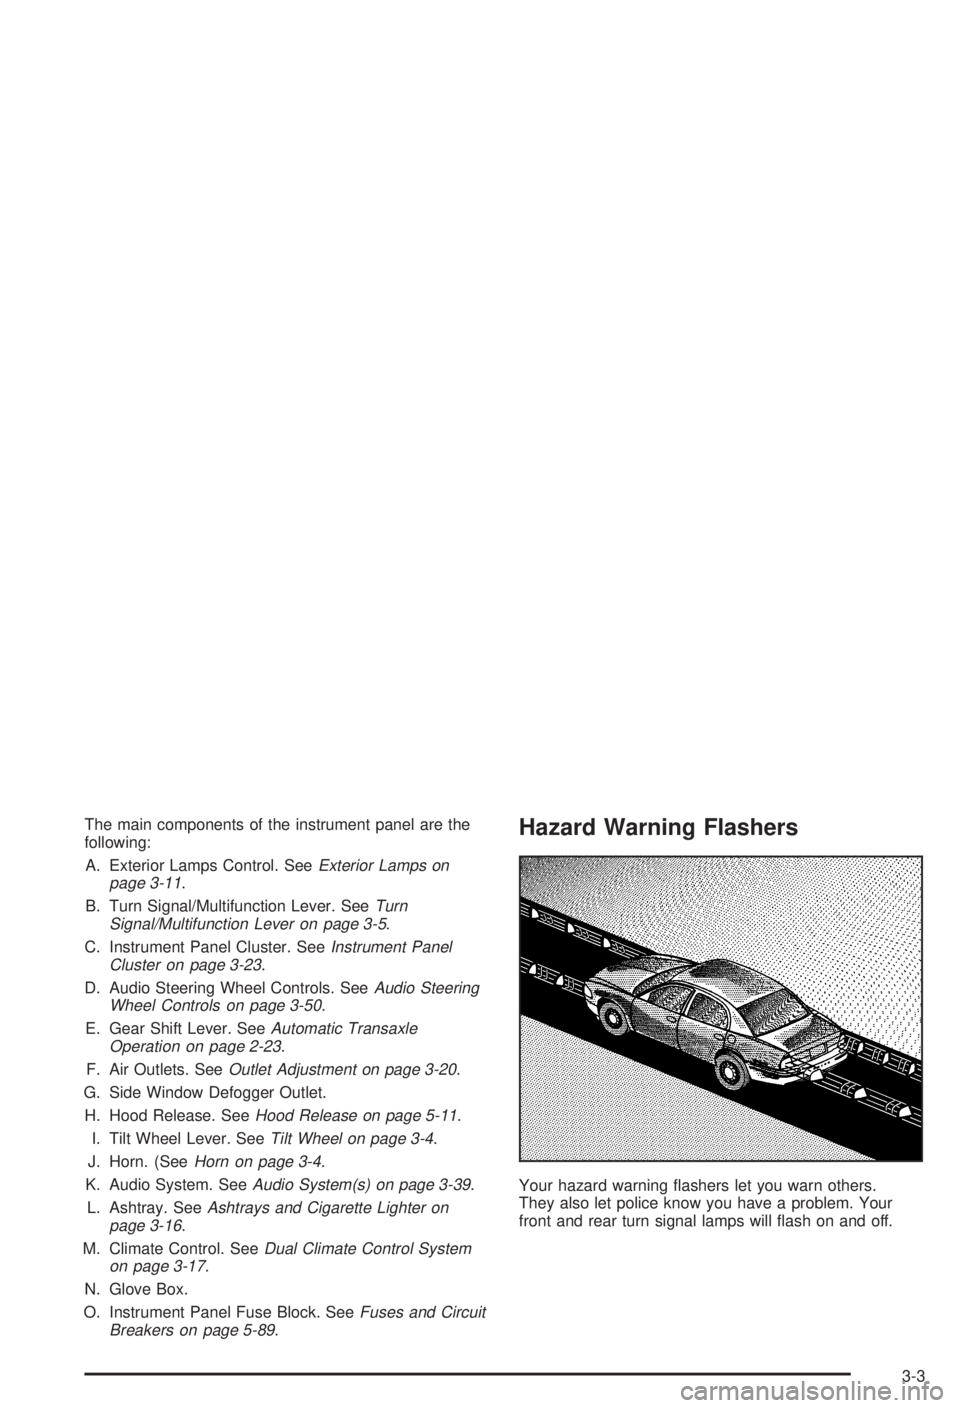
The main components of the instrument panel are the
following:
A. Exterior Lamps Control. See
Exterior Lamps on
page 3-11.
B. Turn Signal/Multifunction Lever. See
Turn
Signal/Multifunction Lever on page 3-5.
C. Instrument Panel Cluster. See
Instrument Panel
Cluster on page 3-23.
D. Audio Steering Wheel Controls. See
Audio Steering
Wheel Controls on page 3-50.
E. Gear Shift Lever. See
Automatic Transaxle
Operation on page 2-23.
F. Air Outlets. See
Outlet Adjustment on page 3-20.
G. Side Window Defogger Outlet.
H. Hood Release. See
Hood Release on page 5-11.
I. Tilt Wheel Lever. See
Tilt Wheel on page 3-4.
J. Horn. (See
Horn on page 3-4.
K. Audio System. See
Audio System(s) on page 3-39.
L. Ashtray. See
Ashtrays and Cigarette Lighter on
page 3-16.
M. Climate Control. See
Dual Climate Control System
on page 3-17.
N. Glove Box.
O. Instrument Panel Fuse Block. See
Fuses and Circuit
Breakers on page 5-89.
Hazard Warning Flashers
Your hazard warning ¯ashers let you warn others.
They also let police know you have a problem. Your
front and rear turn signal lamps will ¯ash on and off.
3-3
Page 112 of 344
Turn and Lane-Change Signals
The turn signal has two upward positions for right and
two downward positions for left. These positions
allow you to signal a turn or a lane change.
To signal a turn, move the lever all the way up or down.
When the turn is ®nished, the lever will return
automatically.
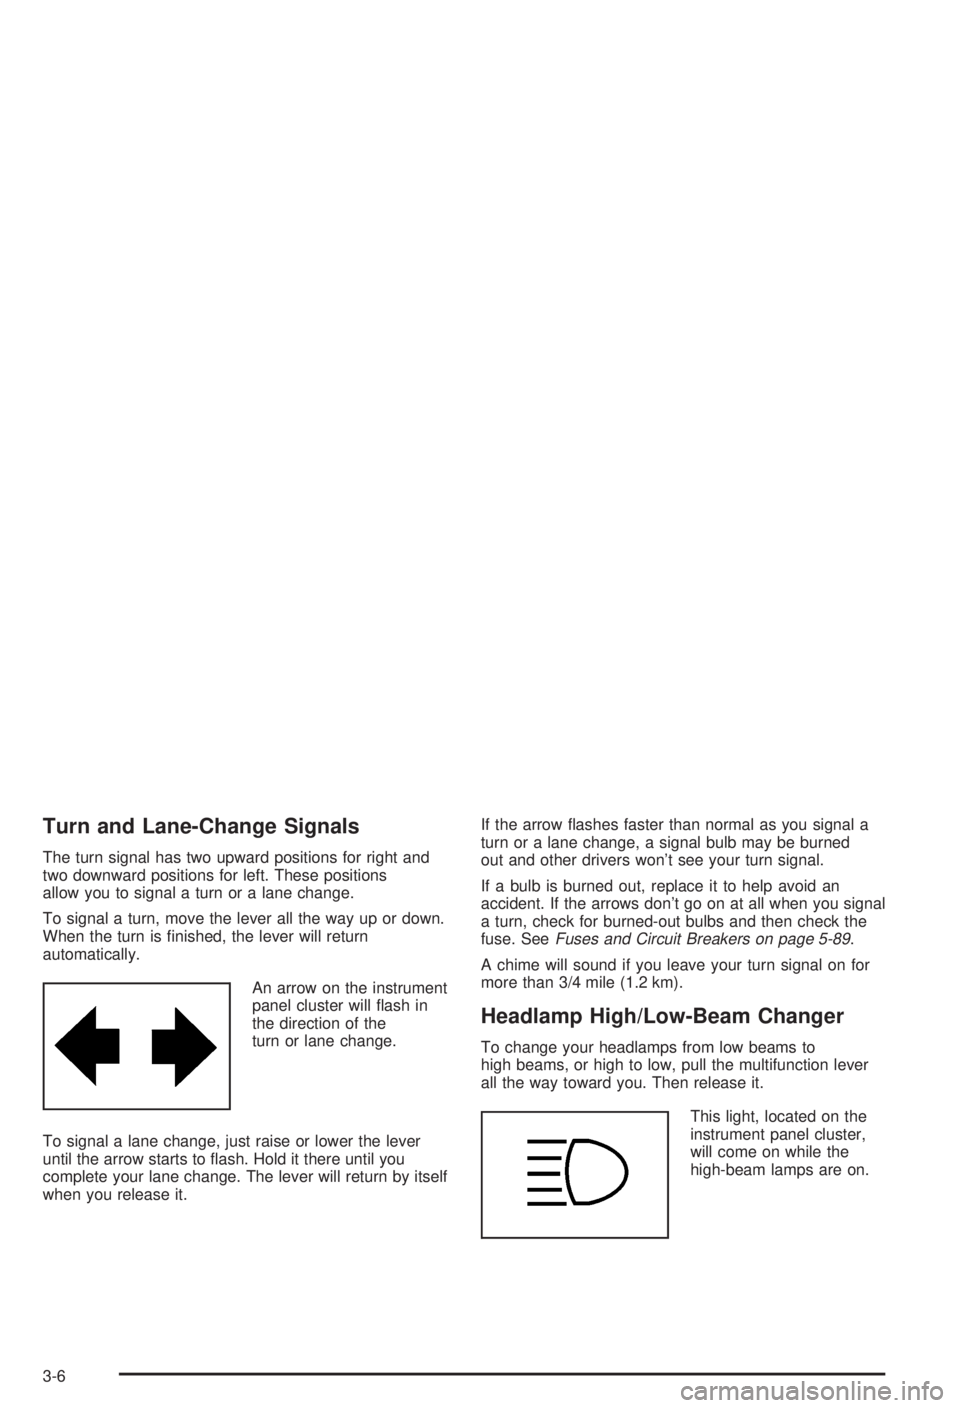
An arrow on the instrument
panel cluster will ¯ash in
the direction of the
turn or lane change.
To signal a lane change, just raise or lower the lever
until the arrow starts to ¯ash. Hold it there until you
complete your lane change. The lever will return by itself
when you release it.If the arrow ¯ashes faster than normal as you signal a
turn or a lane change, a signal bulb may be burned
out and other drivers won't see your turn signal.
If a bulb is burned out, replace it to help avoid an
accident. If the arrows don't go on at all when you signal
a turn, check for burned-out bulbs and then check the
fuse. See
Fuses and Circuit Breakers on page 5-89.
A chime will sound if you leave your turn signal on for
more than 3/4 mile (1.2 km).
Headlamp High/Low-Beam Changer
To change your headlamps from low beams to
high beams, or high to low, pull the multifunction lever
all the way toward you. Then release it.
This light, located on the
instrument panel cluster,
will come on while the
high-beam lamps are on.
3-6
Page 113 of 344
Flash-to-Pass
This feature lets you use your high-beam headlamps to
signal the driver in front of you that you want to pass.
It works even if your headlamps are off.
To use it, pull the turn signal lever toward you a little,
but not so far that you hear a click.
If your headlamps are off or on low beam, your
high-beam headlamps will turn on. They'll stay on as
long as you hold the lever toward you and the
high-beam indicator on the dash will come on. Release
the lever to return to normal operation.
Windshield Wipers
To operate the windshield wipers turn the band located
on the multifunction lever upward or downward.
WIPER:Turn this band to control the windshield wipers.
OFF:Turn the band to OFF to turn off the windshield
wipers.
LO (Low Speed):Turn the band away from you to LO
and past the delay settings for steady wiping at low
speed.HI (High Speed):Turn the band away from you, to HI,
and past the delay settings for wiping steady at high
speed.
(Delayed Wiping):Turn the band away from you, just
past OFF, to one of the ®ve sensitivity settings, to
choose the delayed wiping cycle. The further the band
is turned upward, toward LO, the shorter the delay
will be. Use this setting for light rain or snow.
MIST:Turn the band to MIST for a single wiping cycle.
Hold it until the windshield wipers start. Then let it
go. The windshield wipers will stop after one wipe. If
you want more wipes, hold the band on MIST longer.
Be sure to clear ice and snow from the windshield wiper
blades before using them. If they are frozen to the
windshield, carefully loosen or thaw them. If your blades
do become worn or damaged, get new blades or
blade inserts.
Heavy snow or ice can overload your wipers. A circuit
breaker will stop them until the motor cools. Clear away
snow or ice to prevent an overload.
3-7
Page 114 of 344
Windshield Washer
J
(Windshield Washer):At the top of the
multifunction lever, there is a paddle with the word
PUSH on it. To spray washer ¯uid on the windshield,
push on the paddle. The wipers will run for several
sweeps and then either stop or return to your preset
speed. See
Windshield Washer Fluid on page 5-38.
{CAUTION:
In freezing weather, don't use your washer
until the windshield is warmed. Otherwise the
washer ¯uid can form ice on the windshield,
blocking your vision.
The LOW WASH light on
your instrument panel
cluster will come on when
the ¯uid level is low.
Cruise Control
If your vehicle has cruise control, you can maintain a
speed of about 25 mph (40 km/h) or more without
keeping your foot on the accelerator. This can really
help on long trips. Cruise control does not work at
speeds below about 25 mph (40 km/h).
When you apply your brakes, the cruise control shuts off.
{CAUTION:
·Cruise control can be dangerous where
you can't drive safely at a steady speed.
So, don't use your cruise control on
winding roads or in heavy traffic.
·Cruise control can be dangerous on
slippery roads. On such roads, fast
changes in tire traction can cause
needless wheel spinning, and you could
lose control. Don't use cruise control on
slippery roads.
3-8
Page 115 of 344
If your vehicle is in cruise control when the enhanced
traction system begins to limit wheel spin, the cruise
control will automatically disengage. See
Enhanced
Traction System (ETS) on page 4-10. When road
conditions allow you to safely use it again, you may turn
the cruise control back on.
Setting Cruise Control
{CAUTION:
If you leave your cruise control on when you're
not using cruise, you might hit a button and go
into cruise when you don't want to. You could
be startled and even lose control. Keep the
cruise control switch off until you want to use
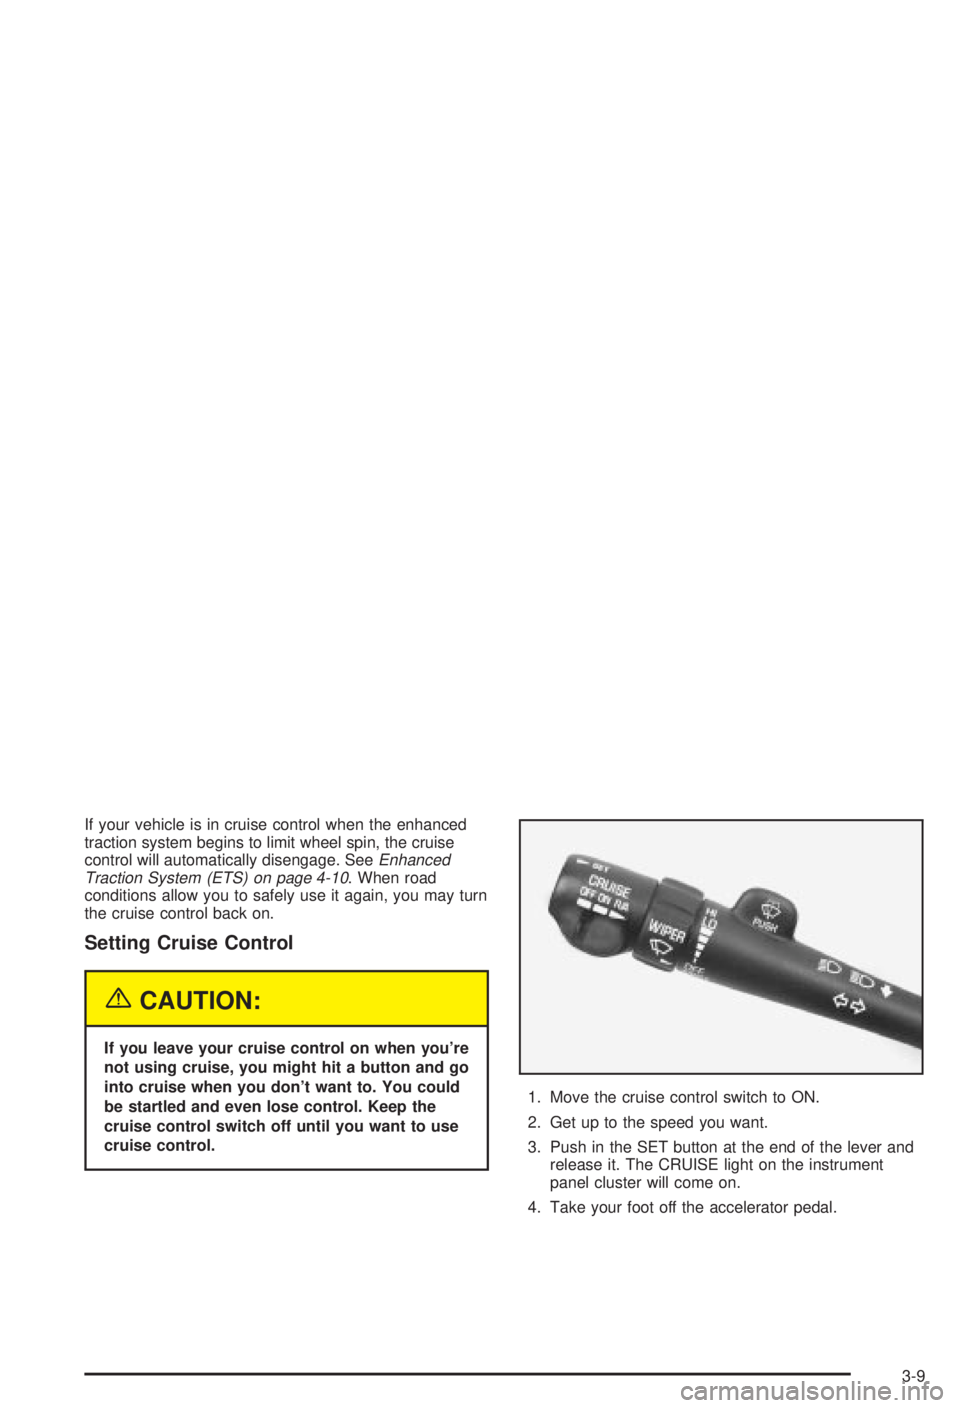
cruise control.1. Move the cruise control switch to ON.
2. Get up to the speed you want.
3. Push in the SET button at the end of the lever and
release it. The CRUISE light on the instrument
panel cluster will come on.
4. Take your foot off the accelerator pedal.
3-9
Page 117 of 344
Ending Cruise Control
There are two ways to turn off the cruise control:
·Step lightly on the brake pedal, or
·move the cruise switch to OFF.
Ending Speed Memory
When you turn off the cruise control or the ignition, or
shift into PARK (P) or NEUTRAL (N), your cruise control
set speed memory is erased.
Exterior Lamps
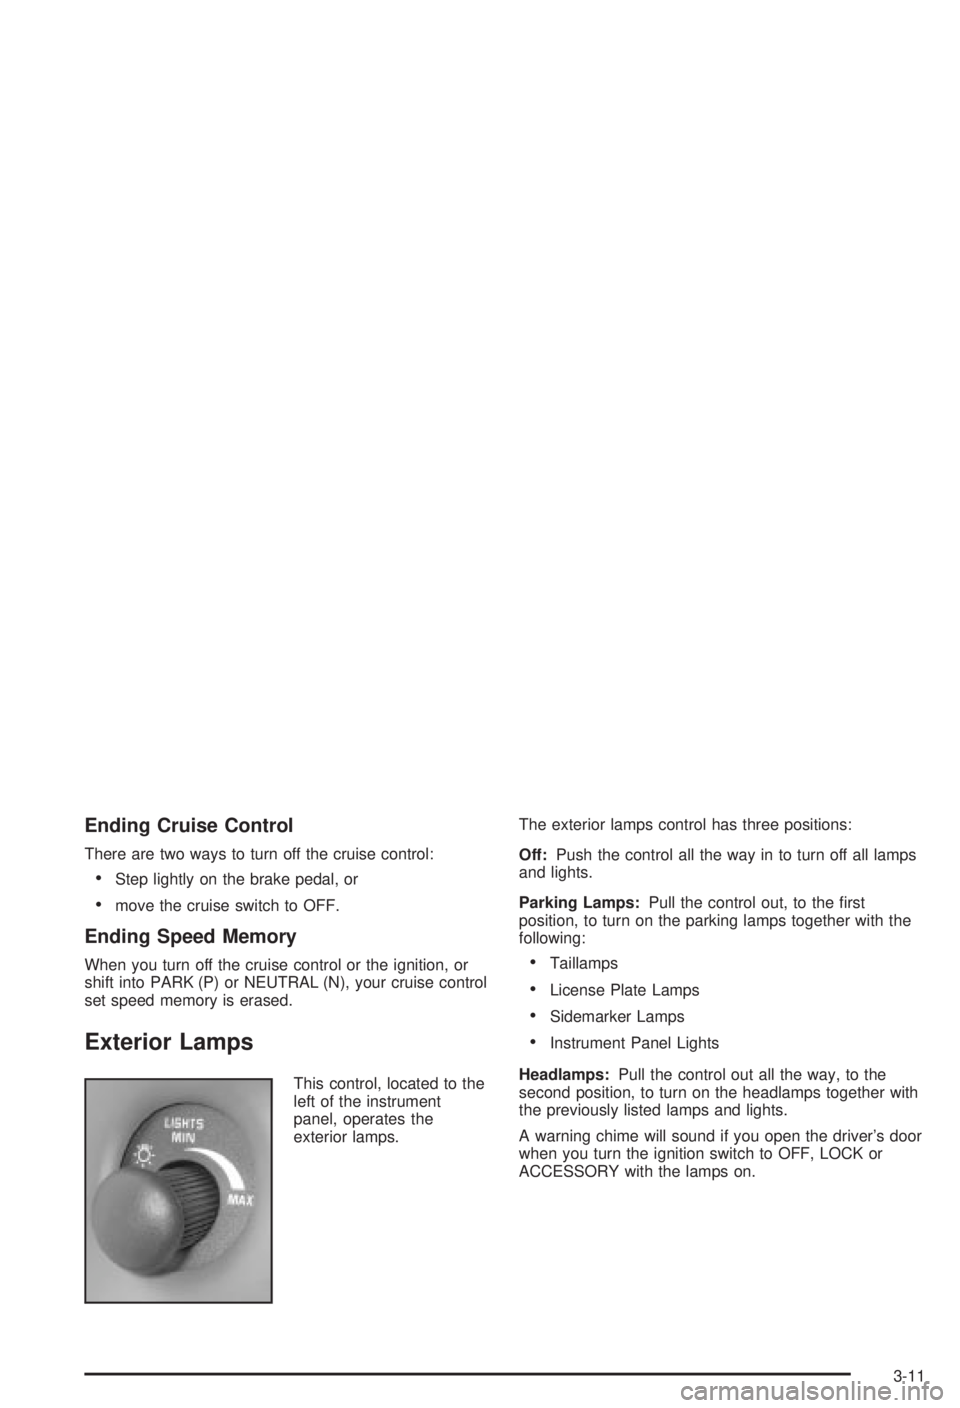
This control, located to the
left of the instrument
panel, operates the
exterior lamps.The exterior lamps control has three positions:
Off:Push the control all the way in to turn off all lamps
and lights.
Parking Lamps:Pull the control out, to the ®rst
position, to turn on the parking lamps together with the
following:
·Taillamps
·License Plate Lamps
·Sidemarker Lamps
·Instrument Panel Lights
Headlamps:Pull the control out all the way, to the
second position, to turn on the headlamps together with
the previously listed lamps and lights.
A warning chime will sound if you open the driver's door
when you turn the ignition switch to OFF, LOCK or
ACCESSORY with the lamps on.
3-11