four wheel drive BUICK ENVISION 2019 Owner's Manual
[x] Cancel search | Manufacturer: BUICK, Model Year: 2019, Model line: ENVISION, Model: BUICK ENVISION 2019Pages: 377, PDF Size: 6.03 MB
Page 201 of 377

Buick Envision Owner Manual (GMNA-Localizing-U.S./Canada/Mexico-
12032235) - 2019 - CRC - 6/27/18
200 Driving and Operating
are shifted automatically. To shift to
5 (Fifth) gear or higher, press the
+ (Plus) button or shift into D (Drive).
L (Low) will prevent shifting to a
lower gear range if the engine
speed is too high. If vehicle speed is
not reduced within the time allowed,
the lower gear range shift will not be
completed. Slow the vehicle, then
press the−(Minus) button to the
desired lower gear range.
While using the ERS, cruise control
can be used.Drive Systems
All-Wheel Drive
Vehicles with this feature transfer
engine power, as required, to all
four wheels. It is fully automatic, and
adjusts itself as needed for road
conditions.
When using a compact spare tire on
an AWD vehicle, the system
automatically detects the compact
spare and reduces AWD
performance to protect the system.
An AWD message may be
displayed. To restore full AWD
operation and prevent excessive
wear on the system, replace the
compact spare with a full-size tire as
soon as possible. See Compact
Spare Tire 0304.
Brakes
Antilock Brake
System (ABS)
This vehicle has an Antilock Brake
System (ABS), an advanced
electronic braking system that helps
prevent a braking skid.
When the vehicle begins to drive
away, ABS checks itself.
A momentary motor or clicking noise
may be heard while this test is going
on, and it may even be noticed that
the brake pedal moves a little. This
is normal.
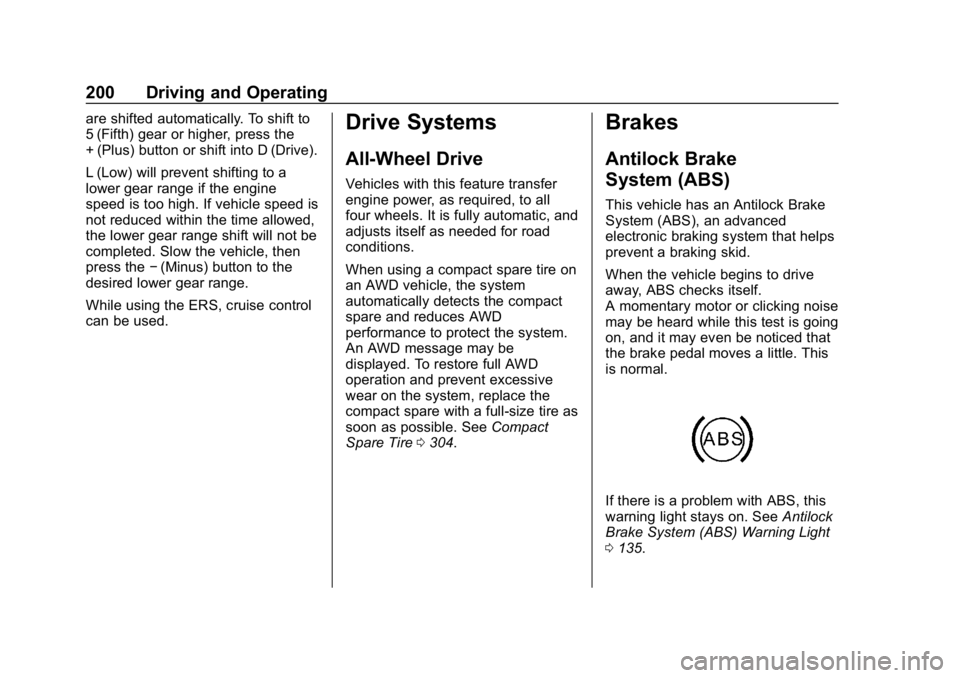
If there is a problem with ABS, this
warning light stays on. See Antilock
Brake System (ABS) Warning Light
0 135.
Page 291 of 377

Buick Envision Owner Manual (GMNA-Localizing-U.S./Canada/Mexico-
12032235) - 2019 - CRC - 6/27/18
290 Vehicle Care
following order: driver side front tire,
passenger side front tire, passenger
side rear tire, and driver side rear.
See your dealer for service or to
purchase a relearn tool. A TPMS
relearn tool can also be purchased.
See Tire Pressure Monitor Sensor
Activation Tool at
www.gmtoolsandequipment.com or
call 1-800-GM TOOLS
(1-800-468-6657).
There are two minutes to match the
first tire/wheel position, and
five minutes overall to match all four
tire/wheel positions. If it takes
longer, the matching process stops
and must be restarted.
The TPMS sensor matching
process is:1. Set the parking brake.
2. Place the vehicle in Service Mode. See Ignition Positions
0 189.
3. Make sure the Tire Pressure info page option is turned on.
The info pages on the DIC can
be turned on and off through
the Options menu. See
Driver Information Center
(DIC) (Base Level) 0140 or
Driver Information Center (DIC)
(Uplevel) 0143.
4. Use the DIC controls on the right side of the steering wheel
to scroll to the Tire Pressure
screen under the DIC
info page.
5. Press and hold
Vin the center
of the DIC controls.
The horn sounds twice to
signal the receiver is in relearn
mode and the TIRE
LEARNING ACTIVE message
displays on the DIC screen.
6. Start with the driver side front tire.
7. Place the relearn tool against the tire sidewall, near the valve
stem. Then press the button to
activate the TPMS sensor.
A horn chirp confirms that the
sensor identification code has
been matched to this tire and
wheel position. 8. Proceed to the passenger side
front tire, and repeat the
procedure in Step 7.
9. Proceed to the passenger side rear tire, and repeat the
procedure in Step 7.
10. Proceed to the driver side rear tire, and repeat the procedure
in Step 7. The horn sounds two
times to indicate the sensor
identification code has been
matched to the driver side rear
tire, and the TPMS sensor
matching process is no longer
active. The TIRE LEARNING
ACTIVE message on the DIC
display screen goes off.
11. Turn the vehicle off.
12. Set all four tires to the recommended air pressure
level as indicated on the Tire
and Loading Information label.
Page 308 of 377

Buick Envision Owner Manual (GMNA-Localizing-U.S./Canada/Mexico-
12032235) - 2019 - CRC - 6/27/18
Vehicle Care 307
{Warning
Fans or other moving engine
parts can injure you badly. Keep
your hands away from moving
parts once the engine is running.
5. Connect one end of the red positive (+) cable to the
positive (+) terminal on the
discharged battery.
6. Connect the other end of the red positive (+) cable to the
positive (+) terminal of the good
battery.
7. Connect one end of the black negative (–) cable to the
negative (–) terminal of the
good battery.
8. Connect the other end of the black negative (–) cable to the
negative (–) grounding point for
the discharged battery.
9. Start the engine in the vehicle with the good battery and run
the engine at idle speed for at
least four minutes. 10. Try to start the vehicle that had
the dead battery. If it will not
start after a few tries, it
probably needs service.
Caution
If the jumper cables are
connected or removed in the
wrong order, electrical shorting
may occur and damage the
vehicle. The repairs would not be
covered by the vehicle warranty.
Always connect and remove the
jumper cables in the correct order,
making sure that the cables do
not touch each other or other
metal.
Jumper Cable Removal
Reverse the sequence exactly when
removing the jumper cables.
After starting the disabled vehicle
and removing the jumper cables,
allow it to idle for several minutes.
Towing the Vehicle
Caution
Incorrectly towing a disabled
vehicle may cause damage. The
damage would not be covered by
the vehicle warranty. Do not lash
or hook to suspension
components. Use the proper
straps around the tires to secure
the vehicle. Do not drag a locked
wheel/tire while loading the
vehicle. Do not use a sling type
lift to tow the vehicle. This could
damage the vehicle.
GM recommends a flatbed tow truck
to transport a disabled vehicle. Use
ramps to help reduce approach
angles, if necessary. A towed
vehicle should have its drive wheels
off the ground. Contact Roadside
Assistance or a professional towing
service if the disabled vehicle must
be towed.
Page 311 of 377

Buick Envision Owner Manual (GMNA-Localizing-U.S./Canada/Mexico-
12032235) - 2019 - CRC - 6/27/18
310 Vehicle Care
.Is the proper towing equipment
going to be used? See your
dealer or trailering professional
for additional advice and
equipment recommendations.
. Is the vehicle ready to be
towed? Just as preparing the
vehicle for a long trip, make sure
the vehicle is prepared to be
towed.
Caution
Use of a shield mounted in front
of the vehicle grille could restrict
airflow and cause damage to the
transmission. The repairs would
not be covered by the vehicle
warranty. If using a shield, only
use one that attaches to the
towing vehicle.
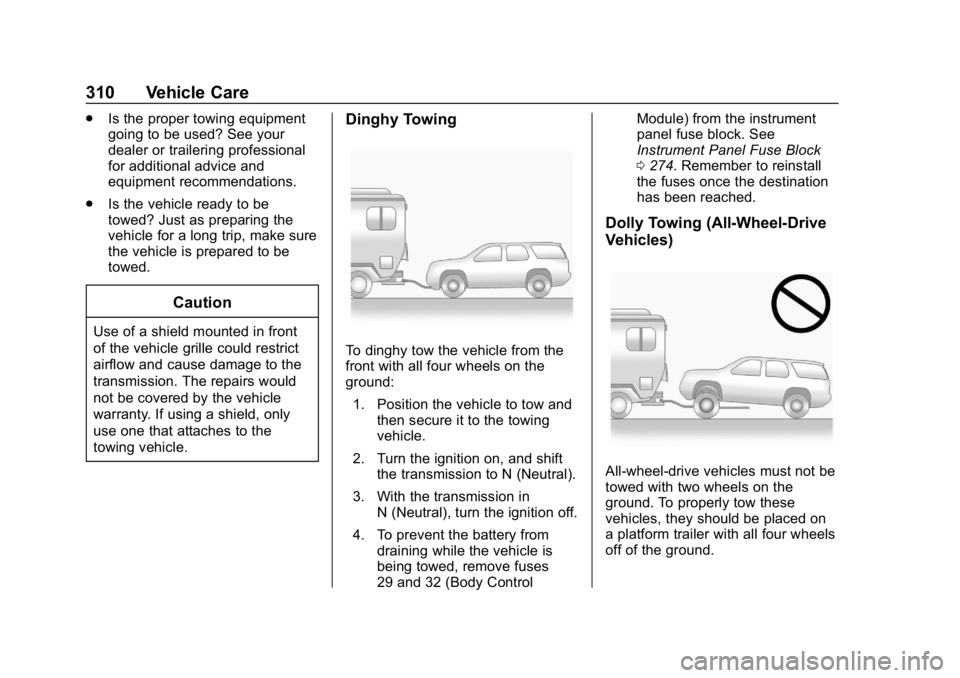
Dinghy Towing
To dinghy tow the vehicle from the
front with all four wheels on the
ground:
1. Position the vehicle to tow and then secure it to the towing
vehicle.
2. Turn the ignition on, and shift the transmission to N (Neutral).
3. With the transmission in N (Neutral), turn the ignition off.
4. To prevent the battery from draining while the vehicle is
being towed, remove fuses
29 and 32 (Body Control Module) from the instrument
panel fuse block. See
Instrument Panel Fuse Block
0
274. Remember to reinstall
the fuses once the destination
has been reached.
Dolly Towing (All-Wheel-Drive
Vehicles)
All-wheel-drive vehicles must not be
towed with two wheels on the
ground. To properly tow these
vehicles, they should be placed on
a platform trailer with all four wheels
off of the ground.