stop start BUICK LACROSSE 2010 Owner's Guide
[x] Cancel search | Manufacturer: BUICK, Model Year: 2010, Model line: LACROSSE, Model: BUICK LACROSSE 2010Pages: 414
Page 244 of 414
8-22 Driving and Operating
If the battery in the keyless
access transmitter needs
replacing, the DIC displays
REPLACE BATTERY IN
REMOTE KEY. The vehicle can
still be driven. See Starting the
Vehicle with a Low Transmitter
Battery inRemote Keyless Entry
(RKE) System Operation (Key
Access)
on page 1‑3or
Remote Keyless Entry (RKE)
System Operation (Keyless
Access)
on page 1‑5for more
information.
The vehicle has a
Computer-Controlled Cranking
System. This feature assists in
starting the engine and protects
components. If the START
button is pressed, and then
released when the engine
begins cranking, the engine will
continue cranking for a few
seconds or until the vehicle
starts. If the engine does not
start and the button is pressed
for many seconds, cranking will
be stopped after 15 seconds to prevent cranking motor damage.
To prevent gear damage, this
system also prevents cranking if
the engine is already running.
Engine cranking can be stopped
by pressing the START button a
second time.
Notice: Cranking the engine for
long periods of time, by returning
the key to the START position
immediately after cranking has
ended, can overheat and damage
the cranking motor, and drain the
battery. Wait at least 15 seconds
between each try, to let the
cranking motor cool down.
2. If the engine does not start after
5-10 seconds, especially in very
cold weather (below −18°C or
0°F), it could be flooded with too
much gasoline. Try pushing the
accelerator pedal all the way to
the floor and holding it there as
you hold the key in START,
or press the START button, for
up to a maximum of 15 seconds.
Wait at least 15 seconds
between each try, to allow the cranking motor to cool down.
When the engine starts, let go of
the key or button, and the
accelerator. If the vehicle starts
briefly but then stops again, do
the same thing. This clears the
extra gasoline from the engine.
Do not race the engine
immediately after starting it.
Operate the engine and
transmission gently until the oil
warms up and lubricates all
moving parts.
Engine Heater
The engine coolant heater,
if available, can help in cold weather
conditions at or below
−18°C (0°F)
for easier starting and better fuel
economy during engine warm-up.
Plug in the coolant heater at least
four hours before starting the
vehicle. An internal thermostat in
the plug-end of the cord will prevent
engine coolant heater operation at
temperatures above −18°C (0°F).
Page 250 of 414
8-28 Driving and Operating
lever button pressed before shifting
from P (Park) when the ignition key
is in ON/RUN. If you cannot shift out
of P (Park), ease pressure on the
shift lever, then push the shift lever
all the way into P (Park) as you
maintain brake application. Then
press the shift lever button and
move the shift lever into another
gear. SeeShifting Out of Park
on
page 8‑25.
R (Reverse): Use this gear to
back up.
Notice: Shifting to R (Reverse)
while the vehicle is moving
forward could damage the
transmission. The repairs would
not be covered by the vehicle
warranty. Shift to R (Reverse) only
after the vehicle is stopped.
To rock the vehicle back and forth to
get out of snow, ice or sand without
damaging the transmission, see If
the Vehicle is Stuck on page 8‑11.
N (Neutral): In this position, the
engine does not connect with the
wheels. To restart the engine when the vehicle is already moving, use
N (Neutral) only. Also, use
N (Neutral) when the vehicle is
being towed.
{WARNING
Shifting into a drive gear while the
engine is running at high speed is
dangerous. Unless your foot is
firmly on the brake pedal, the
vehicle could move very rapidly.
You could lose control and hit
people or objects. Do not shift
into a drive gear while the engine
is running at high speed.
Notice: Shifting out of P (Park) or
N (Neutral) with the engine
running at high speed may
damage the transmission. The
repairs would not be covered by
the vehicle warranty. Be sure the
engine is not running at high
speed when shifting the vehicle. D (Drive):
This position is for
normal driving. It provides the best
fuel economy. If more power is
needed for passing, and the
vehicle is:
.Going less than 35 mph
(56 km/h), push the accelerator
pedal about halfway down.
.Going about 35 mph (56 km/h) or
more, push the accelerator all
the way down.
Notice: If the vehicle seems to
accelerate slowly or not shift
gears when you go faster, and
you continue to drive the vehicle
that way, you could damage the
transmission. Have the vehicle
serviced right away. You can
drive in L (Low) when you are
driving less than 56 km/h (35 mph)
and D (Drive) for higher speeds
until then.
Page 253 of 414
Driving and Operating 8-31
Brakes
Antilock Brake
System (ABS)
This vehicle has the Antilock Brake
System (ABS), an advanced
electronic braking system that helps
prevent a braking skid.
When the engine is started and the
vehicle begins to drive away, ABS
checks itself. A momentary motor or
clicking noise might be heard while
this test is going on, and it might
even be noticed that the brake
pedal moves a little. This is normal.
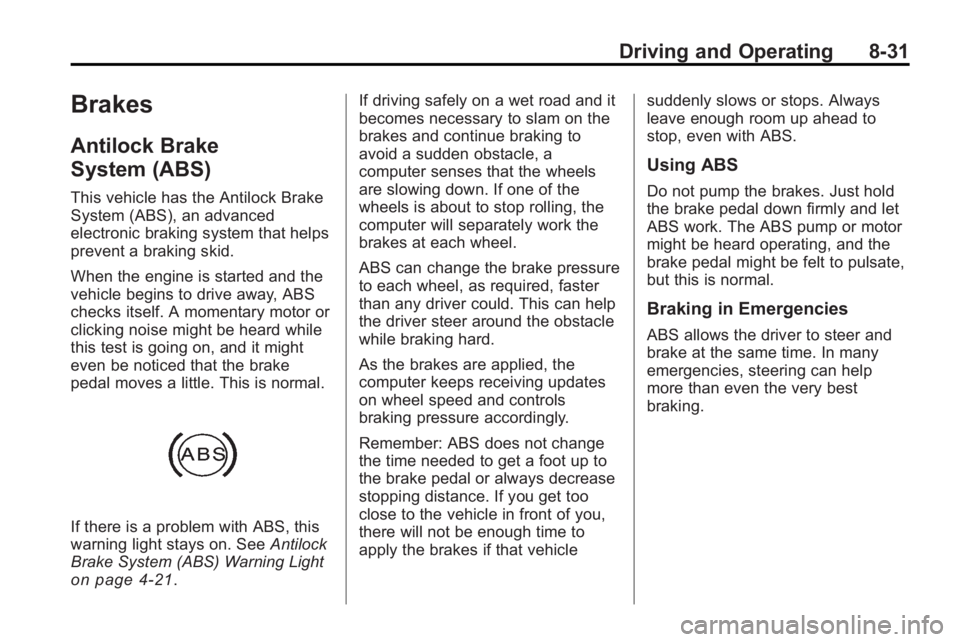
If there is a problem with ABS, this
warning light stays on. SeeAntilock
Brake System (ABS) Warning Light
on page 4‑21. If driving safely on a wet road and it
becomes necessary to slam on the
brakes and continue braking to
avoid a sudden obstacle, a
computer senses that the wheels
are slowing down. If one of the
wheels is about to stop rolling, the
computer will separately work the
brakes at each wheel.
ABS can change the brake pressure
to each wheel, as required, faster
than any driver could. This can help
the driver steer around the obstacle
while braking hard.
As the brakes are applied, the
computer keeps receiving updates
on wheel speed and controls
braking pressure accordingly.
Remember: ABS does not change
the time needed to get a foot up to
the brake pedal or always decrease
stopping distance. If you get too
close to the vehicle in front of you,
there will not be enough time to
apply the brakes if that vehicle
suddenly slows or stops. Always
leave enough room up ahead to
stop, even with ABS.
Using ABS
Do not pump the brakes. Just hold
the brake pedal down firmly and let
ABS work. The ABS pump or motor
might be heard operating, and the
brake pedal might be felt to pulsate,
but this is normal.
Braking in Emergencies
ABS allows the driver to steer and
brake at the same time. In many
emergencies, steering can help
more than even the very best
braking.
Page 256 of 414
8-34 Driving and Operating
Brake Assist
This vehicle has a Brake Assist
feature designed to assist the driver
in stopping or decreasing vehicle
speed in emergency driving
conditions. This feature uses the
stability system hydraulic brake
control module to supplement the
power brake system under
conditions where the driver has
quickly and forcefully applied the
brake pedal in an attempt to quickly
stop or slow down the vehicle. The
stability system hydraulic brake
control module increases brake
pressure at each corner of the
vehicle until the ABS activates.
Minor brake pedal pulsations or
pedal movement during this time
is normal and the driver should
continue to apply the brake pedal
as the driving situation dictates.
The Brake Assist feature will
automatically disengage when the
brake pedal is released or brake
pedal pressure is quickly
decreased.
Ride Control Systems
Traction Control
System (TCS)
The vehicle has a traction control
system that limits wheel spin. This is
especially useful in slippery road
conditions. On a front-wheel-drive
vehicle, the system operates if it
senses that one or both of the front
wheels are spinning or beginning to
lose traction. On an All-Wheel-Drive
(AWD) vehicle, the system will
operate if it senses that any of the
wheels are spinning or beginning to
lose traction. When this happens,
the system brakes the spinning
wheel(s) and/or reduces engine
power to limit wheel spin.
The system may be heard or felt
while it is working, but this is
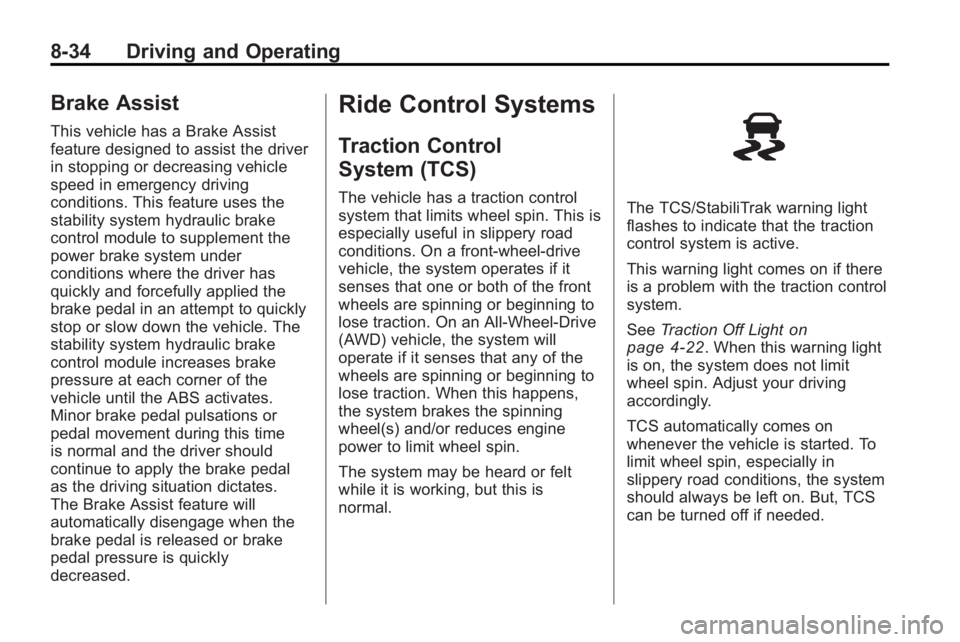
normal.The TCS/StabiliTrak warning light
flashes to indicate that the traction
control system is active.
This warning light comes on if there
is a problem with the traction control
system.
SeeTraction Off Light
on
page 4‑22. When this warning light
is on, the system does not limit
wheel spin. Adjust your driving
accordingly.
TCS automatically comes on
whenever the vehicle is started. To
limit wheel spin, especially in
slippery road conditions, the system
should always be left on. But, TCS
can be turned off if needed.
Page 275 of 414
Driving and Operating 8-53
{WARNING
Fuel can spray out on you if you
open the fuel cap too quickly.
If you spill fuel and then
something ignites it, you could be
badly burned. This spray can
happen if the tank is nearly full,
and is more likely in hot weather.
Open the fuel cap slowly and wait
for any hiss noise to stop. Then
unscrew the cap all the way.
Do not top off or overfill the tank and
wait a few seconds before removing
the nozzle. Clean fuel from painted
surfaces as soon as possible. See
Exterior Care on page 9‑82.
{WARNING
If a fire starts while you are
refueling, do not remove the
nozzle. Shut off the flow of fuel by
shutting off the pump or by
notifying the station attendant.
Leave the area immediately. Notice:
If a new fuel cap is
needed, be sure to get the right
type of cap from your dealer/
retailer. The wrong type fuel cap
might not fit properly, might
cause the malfunction indicator
lamp to light, and could damage
the fuel tank and emissions
system. See Malfunction Indicator
Lamp on page 4‑17.
Filling a Portable Fuel
Container
{WARNING
Never fill a portable fuel container
while it is in the vehicle. Static
electricity discharge from the
container can ignite the fuel
(Continued)
WARNING (Continued)
vapor. You can be badly burned
and the vehicle damaged if this
occurs. To help avoid injury to you
and others:
.Dispense fuel only into
approved containers.
.Do not fill a container while it
is inside a vehicle, in a
vehicle's trunk, pickup bed,
or on any surface other than
the ground.
.Bring the fill nozzle in contact
with the inside of the fill
opening before operating the
nozzle. Contact should be
maintained until the filling is
complete.
.Do not smoke while
pumping fuel.
.Do not use a cellular phone
while pumping fuel.
Page 278 of 414
8-56 Driving and Operating
Backing Up
Hold the bottom of the steering
wheel with one hand. To move the
trailer to the left, move that hand to
the left. To move the trailer to the
right, move your hand to the right.
Always back up slowly and,
if possible, have someone
guide you.
Making Turns
Notice:Making very sharp turns
while trailering could cause the
trailer to come in contact with the
vehicle. The vehicle could be
damaged. Avoid making very
sharp turns while trailering.
When turning with a trailer, make
wider turns than normal so the
trailer will not strike soft shoulders,
curbs, road signs, trees or other
objects. Use the turn signal well in
advance and avoid jerky or sudden
maneuvers.
Turn Signals When Towing a
Trailer
The turn signal indicators on the
instrument panel flash whenever
signaling a turn or lane change.
Properly hooked up, the trailer
lamps also flash, telling other
drivers the vehicle is turning,
changing lanes or stopping.
When towing a trailer, the arrows on
the instrument panel flash for turns
even if the bulbs on the trailer are
burned out. Check occasionally to
be sure the trailer bulbs are still
working.
Driving On Grades
Reduce speed and shift to a lower
gear before starting down a long or
steep downgrade. If the
transmission is not shifted down, the
brakes might have to be used so
much that they would get hot and no
longer work well.
The vehicle can tow in D (Drive).
Use a lower gear if the transmission
shifts too often. When towing at high altitude on
steep uphill grades, engine coolant
boils at a lower temperature than at
normal altitudes. If the engine is
turned off immediately after towing
at high altitude on steep uphill
grades, the vehicle could show
signs similar to engine overheating.
To avoid this, let the engine run
while parked, preferably on level
ground, with the transmission in
P (Park) for a few minutes before
turning the engine off. If the
overheat warning comes on, see
Engine Overheating on page 9‑20.
Parking on Hills
{WARNING
Parking the vehicle on a hill with
the trailer attached can be
dangerous. If something goes
wrong, the rig could start to move.
People can be injured, and both
the vehicle and the trailer can be
damaged. When possible, always
park the rig on a flat surface.
Page 279 of 414
Driving and Operating 8-57
If parking the rig on a hill:
1. Press the brake pedal, but donot shift into P (Park) yet. Turn
the wheels into the curb if facing
downhill or into traffic if facing
uphill.
2. Have someone place chocks under the trailer wheels.
3. When the wheel chocks are in place, release the brake pedal
until the chocks absorb the load.
4. Reapply the brake pedal. Then apply the parking brake and shift
into P (Park).
5. Release the brake pedal.Leaving After Parking on a Hill
1. Apply and hold the brake pedal while you:
.Start the engine.
.Shift into a gear.
.Release the parking brake.
2. Let up on the brake pedal.
3. Drive slowly until the trailer is clear of the chocks.
4. Stop and have someone pick up and store the chocks.
Maintenance When Trailer
Towing
The vehicle needs service more
often when pulling a trailer. See this
manual's Maintenance Schedule or
Index for more information. Things
that are especially important in
trailer operation are automatic
transmission fluid, engine oil, axle
lubricant, belts, cooling system and
brake system. Inspect these before
and during the trip.
Check periodically to see that all
hitch nuts and bolts are tight.
Page 283 of 414
Vehicle Care 9-1
Vehicle Care
General Information
General Information . . . . . . . . . . . 9-2
California Proposition65 Warning . . . . . . . . . . . . . . . . . . 9-2
California Perchlorate Materials Requirements . . . . . . . . . . . . . . . 9-3
Accessories and Modifications . . . . . . . . . . . . . . . . 9-3
Vehicle Checks
Doing Your OwnService Work . . . . . . . . . . . . . . . . 9-4
Hood . . . . . . . . . . . . . . . . . . . . . . . . . . 9-5
Engine Compartment Overview . . . . . . . . . . . . . . . . . . . . 9-6
Engine Oil . . . . . . . . . . . . . . . . . . . 9-11
Engine Oil Life System . . . . . . 9-13
Automatic Transmission Fluid . . . . . . . . . . . . . . . . . . . . . . . 9-15
Engine Air Cleaner/Filter . . . . . 9-15
Cooling System . . . . . . . . . . . . . . 9-17
Engine Coolant . . . . . . . . . . . . . . 9-18
Engine Overheating . . . . . . . . . 9-20
Overheated Engine Protection Operating Mode . . . . . . . . . . . . 9-21
Power Steering Fluid . . . . . . . . 9-22 Washer Fluid . . . . . . . . . . . . . . . . 9-23
Brakes . . . . . . . . . . . . . . . . . . . . . . . 9-24
Brake Fluid . . . . . . . . . . . . . . . . . . 9-25
Battery . . . . . . . . . . . . . . . . . . . . . . . 9-26
Starter Switch Check . . . . . . . . 9-27
Automatic Transmission Shift
Lock Control System
Check . . . . . . . . . . . . . . . . . . . . . . 9-27
Ignition Transmission Lock Check . . . . . . . . . . . . . . . . . . . . . . 9-28
Park Brake and P (Park) Mechanism Check . . . . . . . . . 9-28
Wiper Blade Replacement . . . 9-29Headlamp Aiming
Headlamp Aiming . . . . . . . . . . . . 9-30
Bulb Replacement
Bulb Replacement . . . . . . . . . . . 9-33
Halogen Bulbs . . . . . . . . . . . . . . . 9-33
High Intensity Discharge (HID) Lighting . . . . . . . . . . . . . . . . . . . . 9-33
Headlamps, Front Turn Signal and Parking Lamps . . . . . . . . . 9-33
Fog Lamps . . . . . . . . . . . . . . . . . . 9-35 Taillamps, Turn Signal,
Stoplamps, and Back-Up
Lamps . . . . . . . . . . . . . . . . . . . . . . 9-35
License Plate Lamp . . . . . . . . . . 9-36
Replacement Bulbs . . . . . . . . . . 9-37
Electrical System
Electrical System Overload . . . . . . . . . . . . . . . . . . . 9-38
Fuses and Circuit Breakers . . . . . . . . . . . . . . . . . . . 9-38
Engine Compartment Fuse Block . . . . . . . . . . . . . . . . . . . . . . . 9-39
Instrument Panel Fuse Block . . . . . . . . . . . . . . . . . . . . . . . 9-41
Rear Compartment Fuse Block . . . . . . . . . . . . . . . . . . . . . . . 9-43
Wheels and Tires
Tires . . . . . . . . . . . . . . . . . . . . . . . . . 9-46
Winter Tires . . . . . . . . . . . . . . . . . . 9-46
Tire Sidewall Labeling . . . . . . . 9-47
Tire Designations . . . . . . . . . . . . 9-49
Tire Terminology and
Definitions . . . . . . . . . . . . . . . . . . 9-50
Tire Pressure . . . . . . . . . . . . . . . . 9-53
Tire Pressure Monitor System . . . . . . . . . . . . . . . . . . . . . 9-54
Page 301 of 414
Vehicle Care 9-19
the coolant recovery tank, but be
sure the cooling system is cool
before this is done.
If no coolant is visible in the surge
tank, add coolant as follows:
How to Add Coolant to the
Recovery Tank
{WARNING
You can be burned if you spill
coolant on hot engine parts.
Coolant contains ethylene glycol
and it will burn if the engine parts
are hot enough. Do not spill
coolant on a hot engine.
Notice: This vehicle has a
specific coolant fill procedure.
Failure to follow this procedure
could cause the engine to
overheat and be severely
damaged.
{WARNING
An electric engine cooling fan
under the hood can start up even
when the engine is not running
and can cause injury. Keep
hands, clothing, and tools away
from any underhood electric fan.
{WARNING
Steam and scalding liquids from a
hot cooling system can blow out
and burn you badly. They are
under pressure, and if you turn
the surge tank pressure
cap —even a little —they can
come out at high speed. Never
turn the cap when the cooling
system, including the surge tank
pressure cap, is hot. Wait for the
cooling system and surge tank
pressure cap to cool if you ever
have to turn the pressure cap.
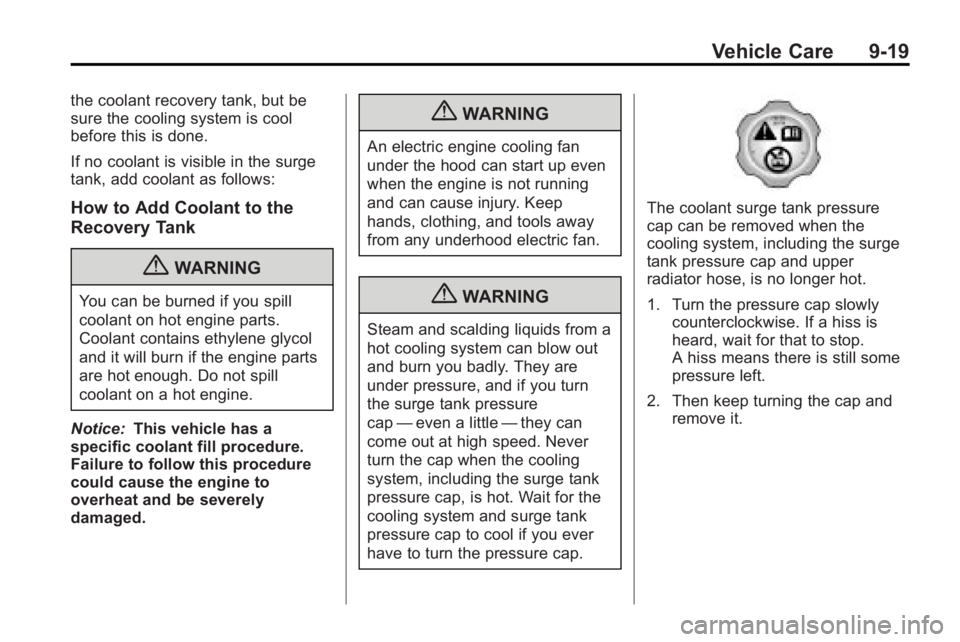
The coolant surge tank pressure
cap can be removed when the
cooling system, including the surge
tank pressure cap and upper
radiator hose, is no longer hot.
1. Turn the pressure cap slowly counterclockwise. If a hiss is
heard, wait for that to stop.
A hiss means there is still some
pressure left.
2. Then keep turning the cap and remove it.
Page 320 of 414
9-38 Vehicle Care
Electrical System
Electrical System
Overload
The vehicle has fuses and circuit
breakers to protect against an
electrical system overload.
When the current electrical load is
too heavy, the circuit breaker opens
and closes, protecting the circuit
until the current load returns to
normal or the problem is fixed. This
greatly reduces the chance of circuit
overload and fire caused by
electrical problems.
Fuses and circuit breakers protect
the following in the vehicle:
.Headlamp Wiring
.Windshield Wiper Motor
.Power Windows and other
Power Accessories
Headlamp Wiring
An electrical overload may cause
the lamps to go on and off, or in
some cases to remain off. Have the
headlamp wiring checked right away
if the lamps go on and off or
remain off.
Windshield Wipers
If the wiper motor overheats due to
heavy snow or ice, the windshield
wipers will stop until the motor cools
and will then restart.
Although the circuit is protected
from electrical overload, overload
due to heavy snow or ice, may
cause wiper linkage damage.
Always clear ice and heavy snow
from the windshield before using the
windshield wipers.
If the overload is caused by an
electrical problem and not snow or
ice, be sure to get it fixed.
Fuses and Circuit
Breakers
The wiring circuits in the vehicle are
protected from short circuits by a
combination of fuses and circuit
breakers. This greatly reduces the
chance of damage caused by
electrical problems.
To check a fuse, look at the
silver-colored band inside the fuse.
If the band is broken or melted,
replace the fuse. Be sure to replace
a bad fuse with a new one of the
identical size and rating.
Fuses of the same amperage can
be temporarily borrowed from
another fuse location, if a fuse goes
out. Replace the fuse as soon as
possible.
To identify and check fuses, circuit
breakers, and relays, seeEngine
Compartment Fuse Block
on
page 9‑39, Instrument Panel Fuse
Blockon page 9‑41, and Rear
Compartment Fuse Blockon
page 9‑43.