stop start BUICK LACROSSE 2010 Owner's Guide
[x] Cancel search | Manufacturer: BUICK, Model Year: 2010, Model line: LACROSSE, Model: BUICK LACROSSE 2010Pages: 414
Page 339 of 414
Vehicle Care 9-57
.The TPMS sensor matching
process was started but not
completed or not completed
successfully after rotating the
vehicle's tires. The DIC message
and TPMS malfunction light
should go off once the TPMS
sensor matching process is
performed successfully. See
“TPMS Sensor Matching
Process”later in this section.
.One or more TPMS sensors are
missing or damaged. The DIC
message and the TPMS
malfunction light should go off
when the TPMS sensors are
installed and the sensor
matching process is performed
successfully. See your dealer/
retailer for service.
.Replacement tires or wheels do
not match your vehicle's original
equipment tires or wheels. Tires
and wheels other than those
recommended for your vehicle
could prevent the TPMS from
functioning properly. See Buying
New Tires on page 9‑61.
.Operating electronic devices or
being near facilities using radio
wave frequencies similar to the
TPMS could cause the TPMS
sensors to malfunction.
If the TPMS is not functioning it
cannot detect or signal a low tire
condition. See your dealer/retailer
for service if the TPMS malfunction
light and DIC message comes on
and stays on.
TPMS Sensor Matching
Process
Each TPMS sensor has a unique
identification code. Any time you
rotate your vehicle's tires or replace
one or more of the TPMS sensors,
the identification codes will need to
be matched to the new tire/wheel
position. The sensors are matched
to the tire/wheel positions in the
following order: driver side front tire,
passenger side front tire, passenger
side rear tire, and driver side rear
tire using a TPMS diagnostic tool.
See your dealer/retailer for service. The TPMS sensors can also be
matched to each tire/wheel position
by increasing or decreasing the
tire's air pressure. If increasing the
tire's air pressure, do not exceed
the maximum inflation pressure
indicated on the tire's sidewall.
To decrease air-pressure out of a
tire you can use the pointed end of
the valve cap, a pencil-style air
pressure gage, or a key.
You have two minutes to match the
first tire/wheel position, and
five minutes overall to match all four
tire/wheel positions. If it takes longer
than two minutes, to match the first
tire and wheel, or more than
five minutes to match all four tire
and wheel positions the matching
process stops and you need to
start over.
Page 350 of 414
9-68 Vehicle Care
A rear blowout, particularly on a
curve, acts much like a skid and
may require the same correction
you would use in a skid. In any rear
blowout remove your foot from the
accelerator pedal. Get the vehicle
under control by steering the way
you want the vehicle to go. It may
be very bumpy and noisy, but you
can still steer. Gently brake to a
stop, well off the road if possible.
{WARNING
Lifting a vehicle and getting under
it to do maintenance or repairs is
dangerous without the
appropriate safety equipment and
training. If a jack is provided with
the vehicle, it is designed only for
changing a flat tire. If it is used for
anything else, you or others could
be badly injured or killed if the
vehicle slips off the jack. If a jack
is provided with the vehicle, only
use it for changing a flat tire.If a tire goes flat, avoid further tire
and wheel damage by driving slowly
to a level place. Turn on the hazard
warning flashers. See
Hazard
Warning Flashers on page 5‑4.
{WARNING
Changing a tire can be
dangerous. The vehicle can slip
off the jack and roll over or fall on
you or other people. You and they
could be badly injured or even
killed. Find a level place to
change your tire. To help prevent
the vehicle from moving:
1. Set the parking brake firmly.
2. Put an automatic transmission shift lever in
P (Park), or shift a manual
transmission to 1 (First) or
R (Reverse).
(Continued)
WARNING (Continued)
3. Turn off the engine and donot restart while the vehicle
is raised.
4. Do not allow passengers to remain in the vehicle.
To be certain the vehicle will not
move, put blocks at the front and
rear of the tire farthest away from
the one being changed. That
would be the tire on the other
side, at the opposite end of the
vehicle.
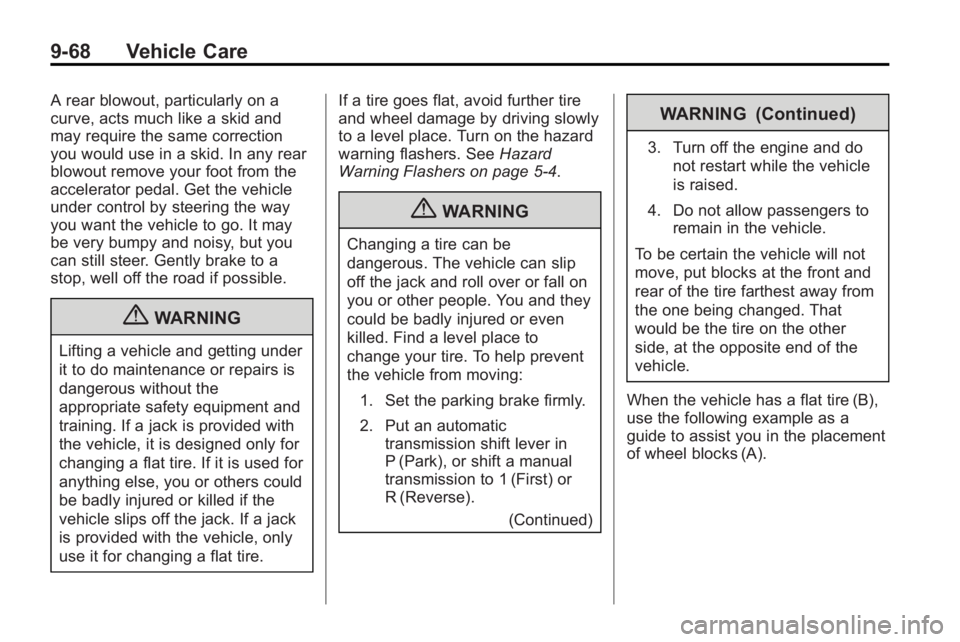
When the vehicle has a flat tire (B),
use the following example as a
guide to assist you in the placement
of wheel blocks (A).
Page 362 of 414
9-80 Vehicle Care
Dinghy Towing From the Front
When dinghy towing, the vehicle
should be run at the beginning of
each day and at each RV fuel stop
for about five minutes. This will
ensure proper lubrication of
transmission components.
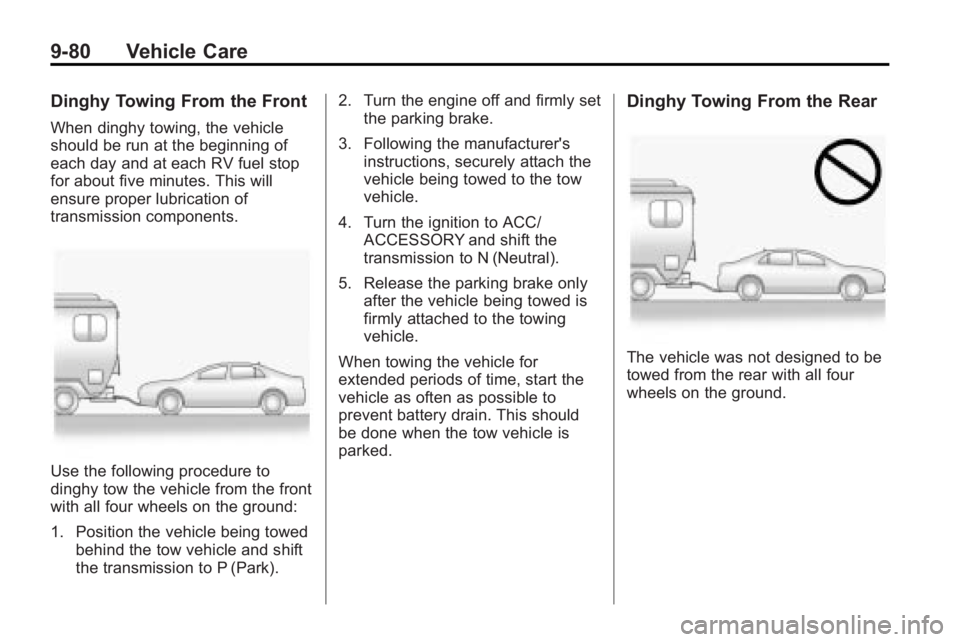
Use the following procedure to
dinghy tow the vehicle from the front
with all four wheels on the ground:
1. Position the vehicle being towedbehind the tow vehicle and shift
the transmission to P (Park). 2. Turn the engine off and firmly set
the parking brake.
3. Following the manufacturer's instructions, securely attach the
vehicle being towed to the tow
vehicle.
4. Turn the ignition to ACC/ ACCESSORY and shift the
transmission to N (Neutral).
5. Release the parking brake only after the vehicle being towed is
firmly attached to the towing
vehicle.
When towing the vehicle for
extended periods of time, start the
vehicle as often as possible to
prevent battery drain. This should
be done when the tow vehicle is
parked.
Dinghy Towing From the Rear
The vehicle was not designed to be
towed from the rear with all four
wheels on the ground.
Page 374 of 414
10-4 Service and Maintenance
.Windshield wiper blade
inspection for wear, cracking,
or contamination and windshield
and wiper blade cleaning,
if contaminated. SeeExterior
Care
on page 9‑82. Worn or
damaged wiper blade
replacement. See Wiper Blade
Replacement on page 9‑29.
.Body hinges and latches, key
lock cylinders, folding seat
hardware, and sunroof
(if equipped) lubrication.
See Recommended Fluids and
Lubricants
on page 10‑7.
More frequent lubrication may
be required when vehicle is
exposed to a corrosive
environment. Applying silicone
grease on weatherstrips with a
clean cloth makes them last
longer, seal better, and not stick
or squeak.
.Restraint system component
check. See Safety System
Check on page 2‑23.
.Automatic transmission fluid
level check and adding fluid,
if needed. See Automatic
Transmission Fluid
on
page 9‑15.
.Engine air cleaner filter
inspection. See Engine Air
Cleaner/Filter on page 9‑15.
.Passenger compartment air
filter replacement (or every
12 months, whichever occurs
first). More frequent replacement
may be required if vehicle is
driven regularly under dusty
conditions.
Additional Required Services
At Each Fuel Stop
.Engine oil level check. See
Engine Oil on page 9‑11.
.Engine coolant level check. See
Engine Coolant on page 9‑18.
.Windshield washer fluid level
check. See Washer Fluidon
page 9‑23.
Once a Month
.Tire inflation check. See Tire
Pressure on page 9‑53.
.Tire wear inspection. See Tire
Inspection on page 9‑59.
Once a Year
.See Starter Switch Checkon
page 9‑27.
.See Automatic Transmission
Shift Lock Control System
Check on page 9‑27.
Page 404 of 414
i-2 INDEX
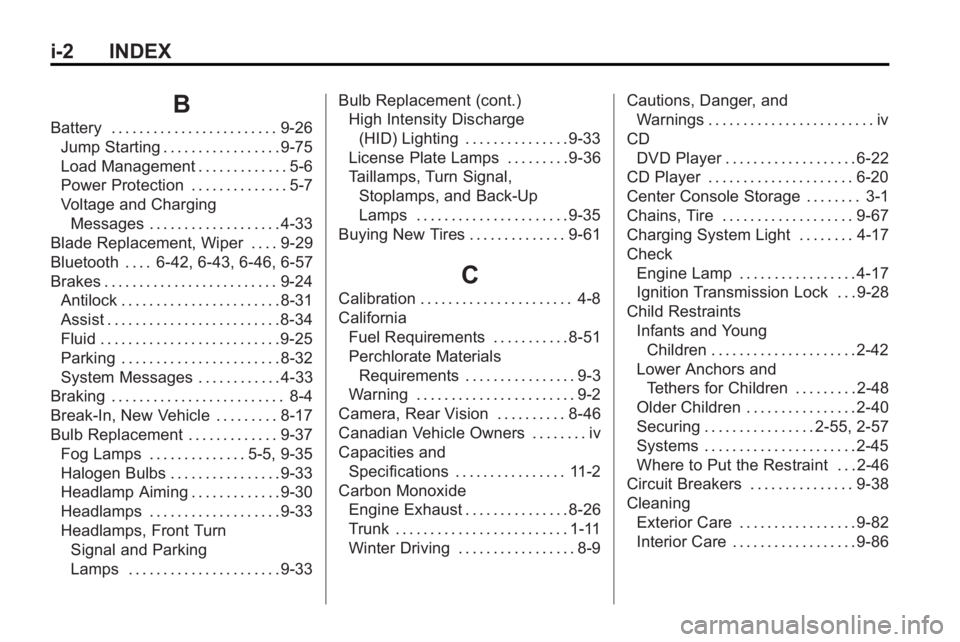
B
Battery . . . . . . . . . . . . . . . . . . . . . . . . 9-26Jump Starting . . . . . . . . . . . . . . . . . 9-75
Load Management . . . . . . . . . . . . . 5-6
Power Protection . . . . . . . . . . . . . . 5-7
Voltage and ChargingMessages . . . . . . . . . . . . . . . . . . . 4-33
Blade Replacement, Wiper . . . . 9-29
Bluetooth . . . . 6-42, 6-43, 6-46, 6-57
Brakes . . . . . . . . . . . . . . . . . . . . . . . . . 9-24 Antilock . . . . . . . . . . . . . . . . . . . . . . . 8-31
Assist . . . . . . . . . . . . . . . . . . . . . . . . . 8-34
Fluid . . . . . . . . . . . . . . . . . . . . . . . . . . 9-25
Parking . . . . . . . . . . . . . . . . . . . . . . . 8-32
System Messages . . . . . . . . . . . . 4-33
Braking . . . . . . . . . . . . . . . . . . . . . . . . . 8-4
Break-In, New Vehicle . . . . . . . . . 8-17
Bulb Replacement . . . . . . . . . . . . . 9-37
Fog Lamps . . . . . . . . . . . . . . 5-5, 9-35
Halogen Bulbs . . . . . . . . . . . . . . . . 9-33
Headlamp Aiming . . . . . . . . . . . . . 9-30
Headlamps . . . . . . . . . . . . . . . . . . . 9-33
Headlamps, Front TurnSignal and Parking
Lamps . . . . . . . . . . . . . . . . . . . . . . 9-33 Bulb Replacement (cont.)
High Intensity Discharge
(HID) Lighting . . . . . . . . . . . . . . . 9-33
License Plate Lamps . . . . . . . . . 9-36
Taillamps, Turn Signal,
Stoplamps, and Back-Up
Lamps . . . . . . . . . . . . . . . . . . . . . . 9-35
Buying New Tires . . . . . . . . . . . . . . 9-61
C
Calibration . . . . . . . . . . . . . . . . . . . . . . 4-8
California Fuel Requirements . . . . . . . . . . . 8-51
Perchlorate MaterialsRequirements . . . . . . . . . . . . . . . . 9-3
Warning . . . . . . . . . . . . . . . . . . . . . . . 9-2
Camera, Rear Vision . . . . . . . . . . 8-46
Canadian Vehicle Owners . . . . . . . . iv
Capacities and Specifications . . . . . . . . . . . . . . . . 11-2
Carbon Monoxide Engine Exhaust . . . . . . . . . . . . . . . 8-26
Trunk . . . . . . . . . . . . . . . . . . . . . . . . . 1-11
Winter Driving . . . . . . . . . . . . . . . . . 8-9 Cautions, Danger, and
Warnings . . . . . . . . . . . . . . . . . . . . . . . . iv
CD DVD Player . . . . . . . . . . . . . . . . . . . 6-22
CD Player . . . . . . . . . . . . . . . . . . . . . 6-20
Center Console Storage . . . . . . . . 3-1
Chains, Tire . . . . . . . . . . . . . . . . . . . 9-67
Charging System Light . . . . . . . . 4-17
Check Engine Lamp . . . . . . . . . . . . . . . . . 4-17
Ignition Transmission Lock . . . 9-28
Child Restraints Infants and YoungChildren . . . . . . . . . . . . . . . . . . . . . 2-42
Lower Anchors and Tethers for Children . . . . . . . . . 2-48
Older Children . . . . . . . . . . . . . . . . 2-40
Securing . . . . . . . . . . . . . . . . 2-55, 2-57
Systems . . . . . . . . . . . . . . . . . . . . . . 2-45
Where to Put the Restraint . . . 2-46
Circuit Breakers . . . . . . . . . . . . . . . 9-38
Cleaning
Exterior Care . . . . . . . . . . . . . . . . . 9-82
Interior Care . . . . . . . . . . . . . . . . . . 9-86
Page 412 of 414
i-10 INDEX
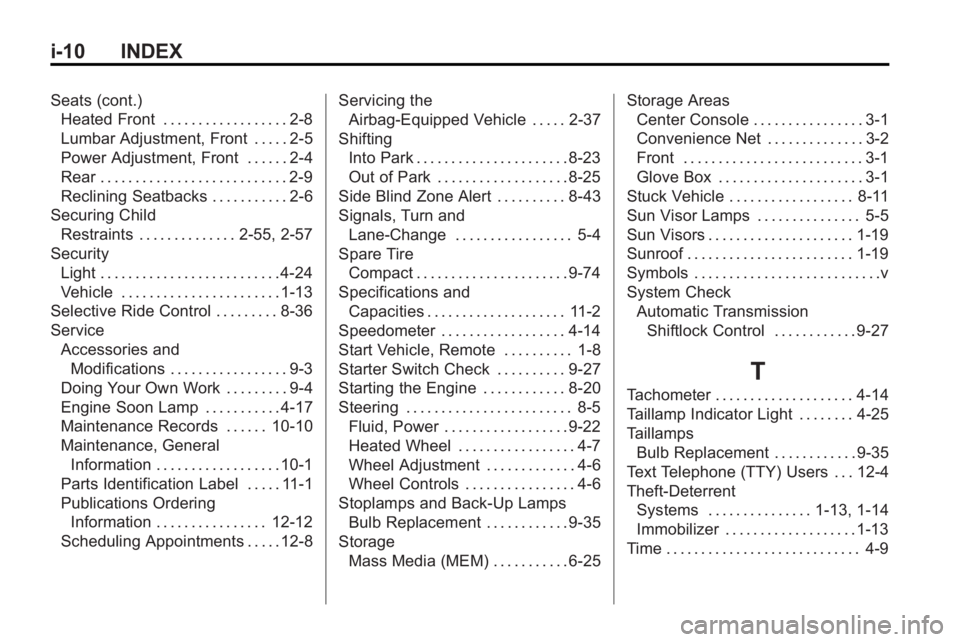
Seats (cont.)Heated Front . . . . . . . . . . . . . . . . . . 2-8
Lumbar Adjustment, Front . . . . . 2-5
Power Adjustment, Front . . . . . . 2-4
Rear . . . . . . . . . . . . . . . . . . . . . . . . . . . 2-9
Reclining Seatbacks . . . . . . . . . . . 2-6
Securing Child Restraints . . . . . . . . . . . . . . 2-55, 2-57
Security
Light . . . . . . . . . . . . . . . . . . . . . . . . . . 4-24
Vehicle . . . . . . . . . . . . . . . . . . . . . . . 1-13
Selective Ride Control . . . . . . . . . 8-36
Service Accessories and
Modifications . . . . . . . . . . . . . . . . . 9-3
Doing Your Own Work . . . . . . . . . 9-4
Engine Soon Lamp . . . . . . . . . . . 4-17
Maintenance Records . . . . . . 10-10
Maintenance, General Information . . . . . . . . . . . . . . . . . . 10-1
Parts Identification Label . . . . . 11-1
Publications Ordering Information . . . . . . . . . . . . . . . . 12-12
Scheduling Appointments . . . . . 12-8 Servicing the
Airbag-Equipped Vehicle . . . . . 2-37
Shifting Into Park . . . . . . . . . . . . . . . . . . . . . . 8-23
Out of Park . . . . . . . . . . . . . . . . . . . 8-25
Side Blind Zone Alert . . . . . . . . . . 8-43
Signals, Turn and Lane-Change . . . . . . . . . . . . . . . . . 5-4
Spare Tire Compact . . . . . . . . . . . . . . . . . . . . . . 9-74
Specifications and
Capacities . . . . . . . . . . . . . . . . . . . . 11-2
Speedometer . . . . . . . . . . . . . . . . . . 4-14
Start Vehicle, Remote . . . . . . . . . . 1-8
Starter Switch Check . . . . . . . . . . 9-27
Starting the Engine . . . . . . . . . . . . 8-20
Steering . . . . . . . . . . . . . . . . . . . . . . . . 8-5 Fluid, Power . . . . . . . . . . . . . . . . . . 9-22
Heated Wheel . . . . . . . . . . . . . . . . . 4-7
Wheel Adjustment . . . . . . . . . . . . . 4-6
Wheel Controls . . . . . . . . . . . . . . . . 4-6
Stoplamps and Back-Up Lamps Bulb Replacement . . . . . . . . . . . . 9-35
Storage Mass Media (MEM) . . . . . . . . . . . 6-25 Storage Areas
Center Console . . . . . . . . . . . . . . . . 3-1
Convenience Net . . . . . . . . . . . . . . 3-2
Front . . . . . . . . . . . . . . . . . . . . . . . . . . 3-1
Glove Box . . . . . . . . . . . . . . . . . . . . . 3-1
Stuck Vehicle . . . . . . . . . . . . . . . . . . 8-11
Sun Visor Lamps . . . . . . . . . . . . . . . 5-5
Sun Visors . . . . . . . . . . . . . . . . . . . . . 1-19
Sunroof . . . . . . . . . . . . . . . . . . . . . . . . 1-19
Symbols . . . . . . . . . . . . . . . . . . . . . . . . . . .v
System Check Automatic TransmissionShiftlock Control . . . . . . . . . . . . 9-27
T
Tachometer . . . . . . . . . . . . . . . . . . . . 4-14
Taillamp Indicator Light . . . . . . . . 4-25
TaillampsBulb Replacement . . . . . . . . . . . . 9-35
Text Telephone (TTY) Users . . . 12-4
Theft-Deterrent Systems . . . . . . . . . . . . . . . 1-13, 1-14
Immobilizer . . . . . . . . . . . . . . . . . . . 1-13
Time . . . . . . . . . . . . . . . . . . . . . . . . . . . . 4-9