BUICK PARK AVENUE 1993 User Guide
Manufacturer: BUICK, Model Year: 1993, Model line: PARK AVENUE, Model: BUICK PARK AVENUE 1993Pages: 340, PDF Size: 18.17 MB
Page 11 of 340
@ Table of Contents
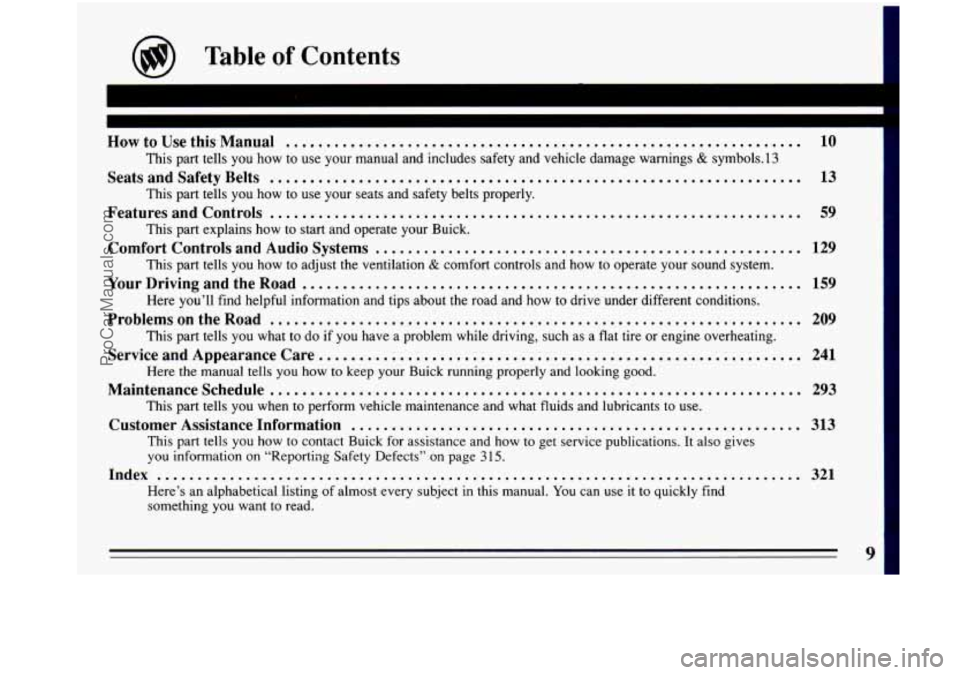
HowtoUsethisManual ................................................................ 10 1
This part tells you how to use your manual and includes safety and vehicle damage warnings & symbols. 13
This part tells you how to use your seats and safety belts properly.
This part explains how to start and operate your Buick.
This part tells you how to adjust the ventilation
& comfort controls and how to operate your sound system.
Here you’ll find helpful information and tips about the road and how to drive under different conditions.
This part tells you what to do if you have a problem
while driving, such as a flat tire or engine overheating.
Here the manual tells you how to keep your Buick running properly and looking good.
This part tells you when to perform vehicle maintenance and what fluids and lubricants to use.
This part tells you how to contact Buick for assistance and how to get service publications. It also gives
you information on “Reporting Safety Defects” on page 315.
Here’s an alphabetical listing of almost every subject in this manual.
You can use it to quickly find
something you want to read.
SeatsandSafetyBelts .................................................................. 13
FeaturesandControls
.................................................................. 59
Comfort Controls and Audio Systems
..................................................... 129
YourDrivingandtheRoad
.............................................................. 159
ProblemsontheRoad
.................................................................. 209
Service and Appearance Care..
.......................................................... 241
Maintenanceschedule
.................................................................. 293
Customer Assistance Information
........................................................ 313
Index
........................................................................\
........ 321
ProCarManuals.com
Page 12 of 340
How to Use This Manual
Many people read their owner’s manual from beginning
to end when they first receive their new vehicle. This
will help
you learn about the features and controls for
your vehicle. In this manual,
you’ll find that pictures
and words work together to explain things quickly.
Safety Warnings and Symbols
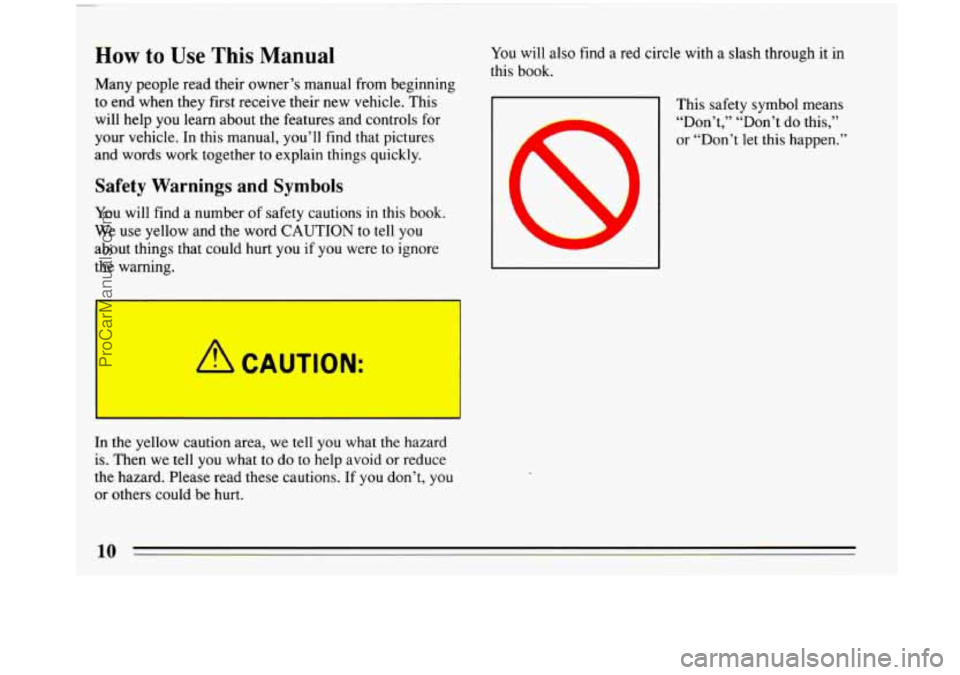
You will find a number of safety cautions in this book.
We
use yellow and the word CAUTION to tell you
about things that could hurt you if you were to ignore
the warning.
I
In the yellow caution area, we tell you what the hazard
is. Then we
tell you what to do to help avoid or reduce
the hazard. Please read these cautions. If you don’t, you
or others could be hurt.
You will also find a red circle with a slash through it in
:his book.
This safety symbol means
“Don’t,” “Don’t do this,”
or “Don’t let this happen.”
ProCarManuals.com
Page 13 of 340
Vehicle Damage Warnings
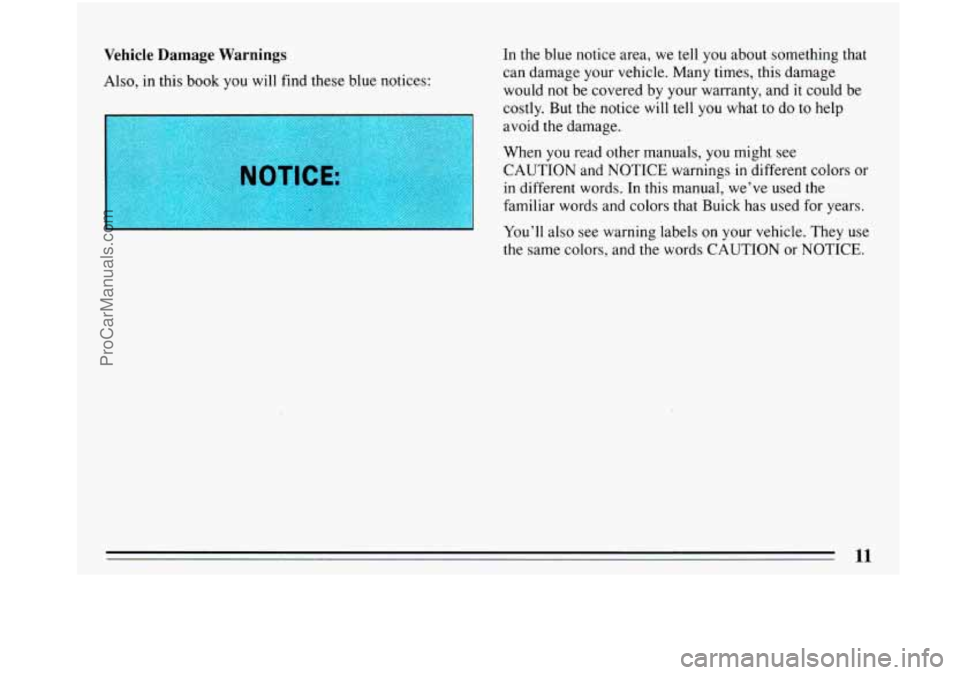
Also, in this book you will find these blue notices:
WTICE:
In the blue notice area, we tell you about something that
can damage your vehicle. Many times, this damage
would not
be covered by your warranty, and it could be
costly. But the notice will tell
you what to do to help
avoid the damage.
When you read other manuals,
you might see
CAUTION and NOTICE warnings in different colors or
in different words. In this manual, we’ve used the
familiar words and colors that Buick has used for years.
You’ll also see warning labels
on your vehicle. They use
the same colors, and the words CAUTION or NOTICE.
11
ProCarManuals.com
Page 14 of 340
!
!
Vehicle Symbols
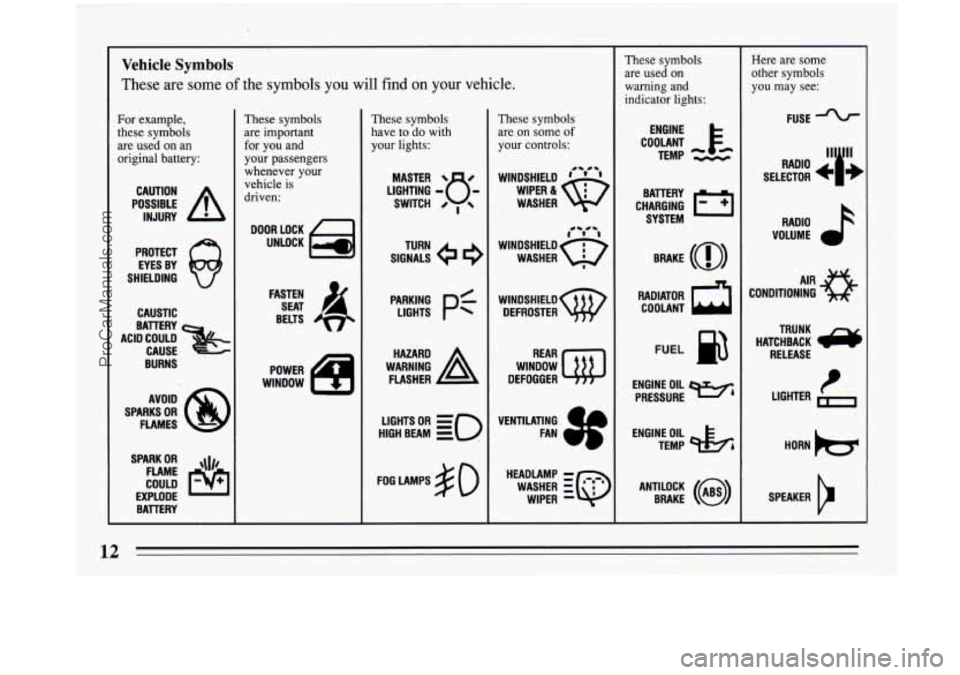
These are some of the symbols you will find on your vehicle.
For example,
these symbols
are used on an
original battery:
POSSIBLE A
CAUTION
INJURY
PROTECT
EYES BY
SHIELDING
CAUSTIC
ACID COULD BATTERY
CAUSE
BURNS
SPARK
OR ,\I/,
COULD FLAME
EXPLODE BATTERY
These symbols are important
for you and
your passengers
whenever your
vehicle is
driven:
DOOR LOCK
UNLOCK
FASTEN SEAT
4
BELTS
POWER
WINDOW
These symbols have to do with
your lights:
LIGHTS PC
HIGH BEAM OR = =o
FOG LAMPS $0
These symbols
are on some
of
your controls:
WINDSHIELD ' ' '
WASHER
l0 'r' -1
WINDSHIELD 6$
WASHER 8
WINDSHIELD
DEFROSTER
WINDOW
DEFOGGER
VENTILATING FAN
3f
HEADLAMP -
WIPER -
WASHER iQ
These symbols
are used on
warning and
indicator lights:
COOLANT F-
TEMP --
ENGINE
RADIATOR
a
COOLANT
FUEL
ENGINE OIL wb
PRESSURE
TEMP
OIL &4
ANTILOCK (a)
BRAKE
Here are some
other symbols
you may see:
FUSE
RADIO
>
VOLUME
HATCHBACK
e
TRUNK
RELEASE
LIGHTER
1-1
HORN )tr
SPEAKER
b
ProCarManuals.com
Page 15 of 340
ProCarManuals.com
Page 16 of 340
Seats and Seat Controls
This section tells you about the seats -- how to adjust
them, and also about memory seats, reclining seatbacks
and head restraints.
Manual Seat
Move the lever under the front seat to unlock it. Slide
the seat to where you want it. Then release the lever and
try to move the seat with your body, to make sure the
seat is locked into place.
Power Seat
cn rn
3
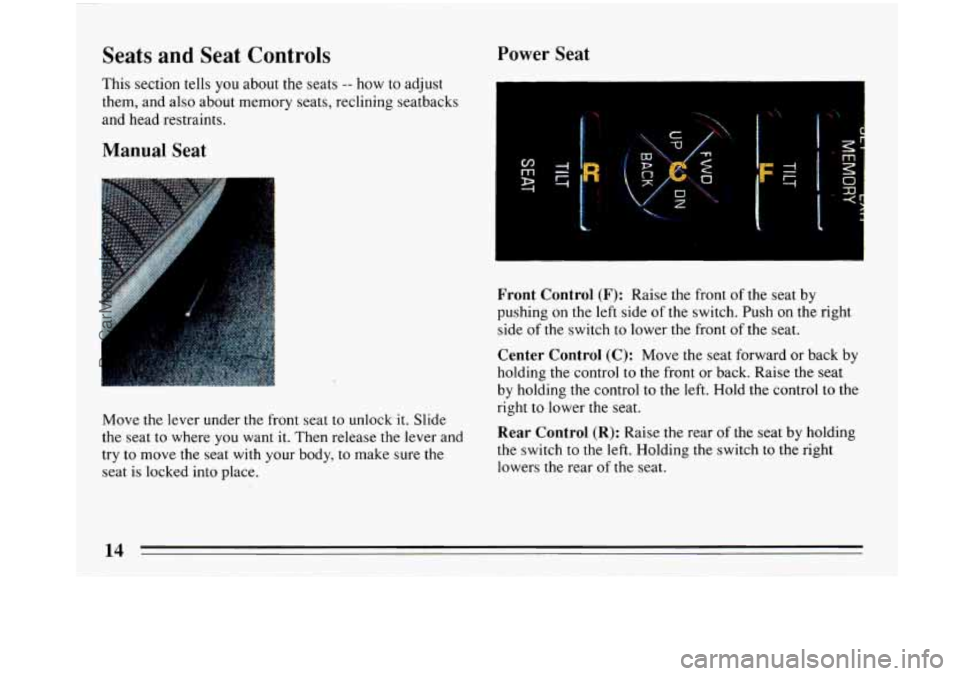
Front Control (F): Raise the front of the seat by
pushing on the left side of the switch. Push on the right
side
of the switch to lower the front of the seat.
Center Control (C): Move the seat forward or back by
holding the control to the front or back. Raise the seat
by holding the control to the left. Hold the control to the
right to lower the seat.
Rear Control (R): Raise the rear of the seat by holding
the switch to the left. Holding
the switch to the right
lowers the rear of the seat.
ProCarManuals.com
Page 17 of 340
Memory Seat and Mirrors (Option)
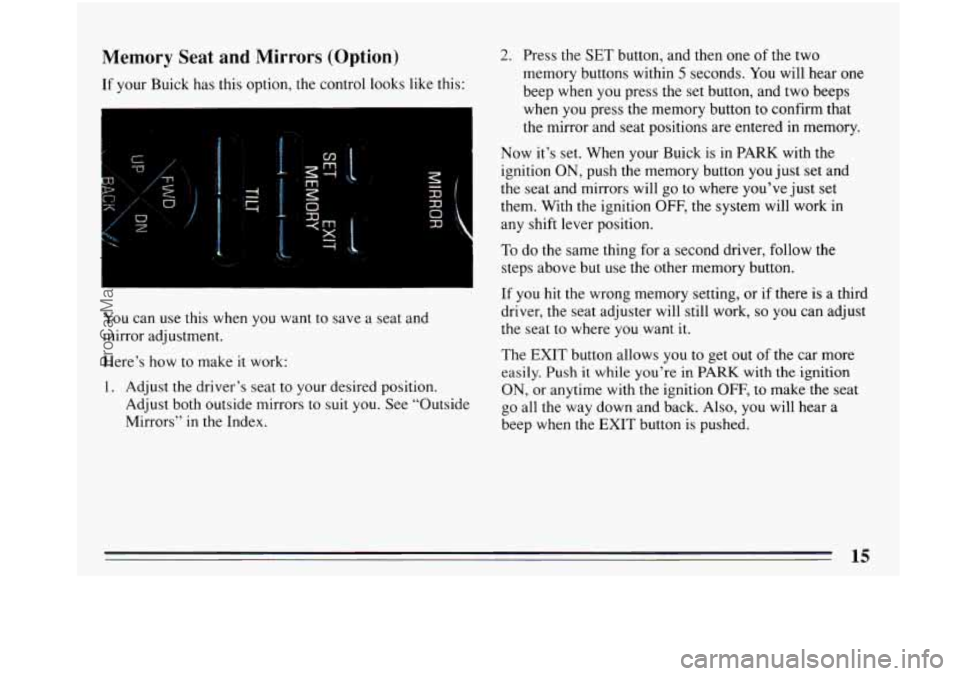
If your Buick has this option, the control looks like this:
I
You can use this when you want to save a seat and
mirror adjustment.
Here’s how to make it work:
1. Adjust the driver’s seat to your desired position.
Adjust both outside mirrors to suit you. See “Outside
Mirrors”
in the Index.
2. Press the SET button, and then one of the two
memory buttons within
5 seconds. You will hear one
beep when you press the set button, and two beeps
when
you press the memory button to confirm that
the mirror and seat positions are entered in memory.
Now it’s set. When your Buick
is in PARK with the
ignition
ON, push the memory button you just set and
the seat and mirrors will go to where you’ve just set
them. With the ignition
OFF, the system will work in
any shift lever position.
To
do the same thing for a second driver, follow the
steps above but use the other memory button.
If you hit the wrong memory setting, or if there is a third
driver, the seat adjuster will still work,
so you can adjust
the seat to where
you want it.
The EXIT button allows you to get out of the car more
easily. Push it while you’re
in PARK with the ignition
ON, or anytime with the ignition OFF, to make the seat
go all the way down and back. Also, you will hear a
beep when the EXIT button is pushed.
15
ProCarManuals.com
Page 18 of 340
Reclining Front Seatback(s)
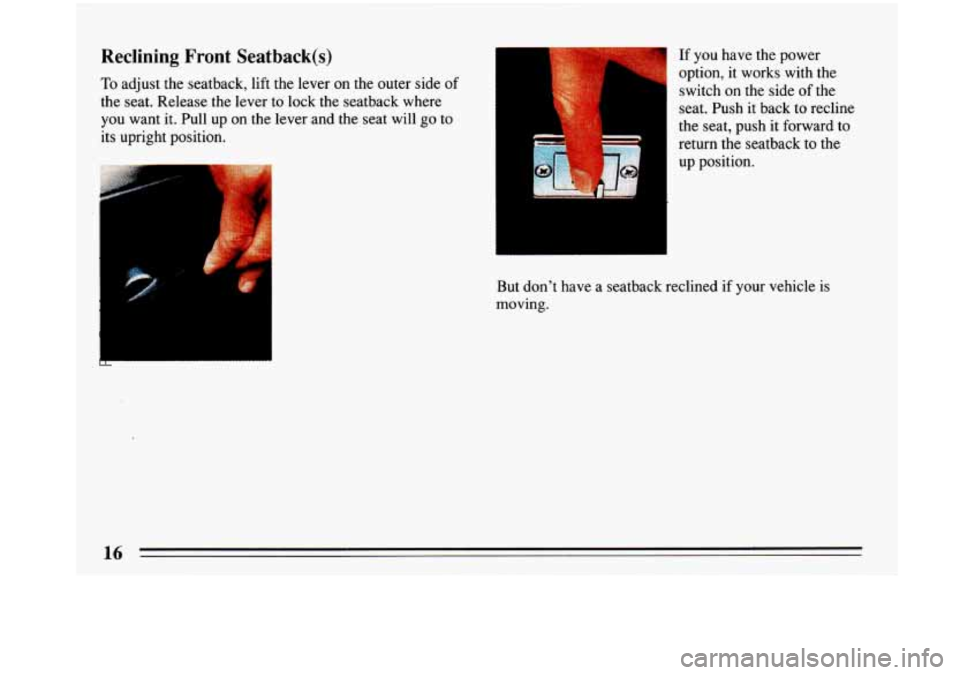
To adjust the seatback, lift the lever on the outer side of
the seat. Release the lever to lock the seatback where
you want it. Pull up on the lever and the seat will
go to
its upright position. If
you have the power
option, it works with the
switch on the side
of the
seat. Push it back to recline
the seat, push it forward to
return the seatback to the
up position.
But don't have a seatback reclined if your vehicle is
moving.
ProCarManuals.com
Page 19 of 340
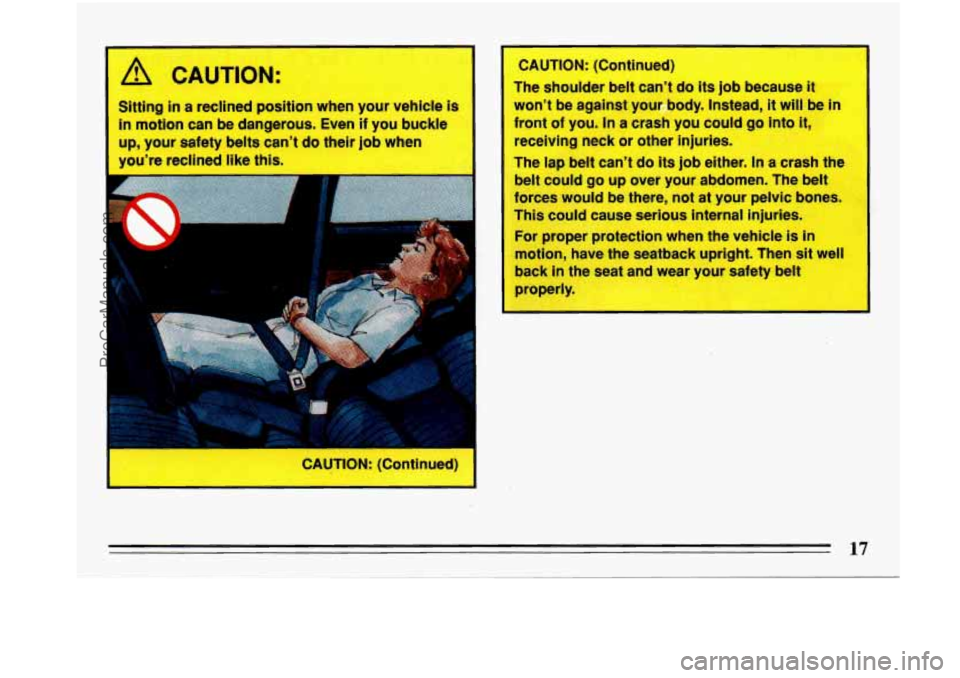
A CAUTION:
Sitting in a reclined position when your vehicle is
in motion can be dangerous. Even if you buckle
up, your safety belts can’t do their job when
you’re reclined like this.
CAUTION: (Continued)
I
CAUTION: (Continued)
The shoulder
belt can’t do its job because it
won’t be against you*dy. Instead, it will be in
front of you. In a crash you could go into it,
receiving neck or other Injuries.
The lap belt can’t do Its job either. In a crash the
belt could
go up over your abdomen. The belt
forces waul’d
be there, not at your pelvic bones.
This could cause serious internal injuries.
Far proper protectiun when the vehicle is in
motion,
have the seatback upright. Then sit well
back in the seat and wear your safety belt
properly.
I
ProCarManuals.com
Page 20 of 340
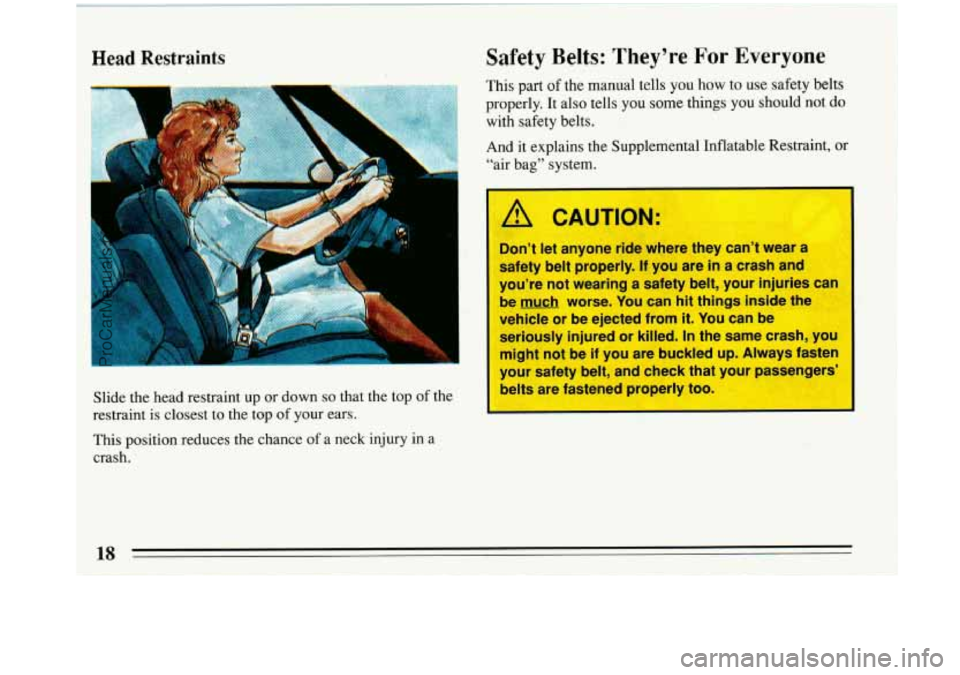
Head Restraints
Slide the head restraint up or down so that the top of the
restraint is closest to the top
of your ears.
I
A CAUTION:
I Don’t let anyone ride where they can’t wear a
safety belt properly.
If you are in a crash and
you’re not wearing a safety belt, your injuries can
be much worse. You can
hit things inside the
vehicle or be ejected from
it. You can be
seriously injured or killed.
In the same crash, you
I might not be if you are buckled up. Always fasten
your safety belt, and check that your passengers’
belts are fastened properly too.
This position reduces the chance of a neck injury in a
crash.
ProCarManuals.com