BUICK PARK AVENUE 1994 Owners Manual
Manufacturer: BUICK, Model Year: 1994, Model line: PARK AVENUE, Model: BUICK PARK AVENUE 1994Pages: 324, PDF Size: 17.01 MB
Page 101 of 324
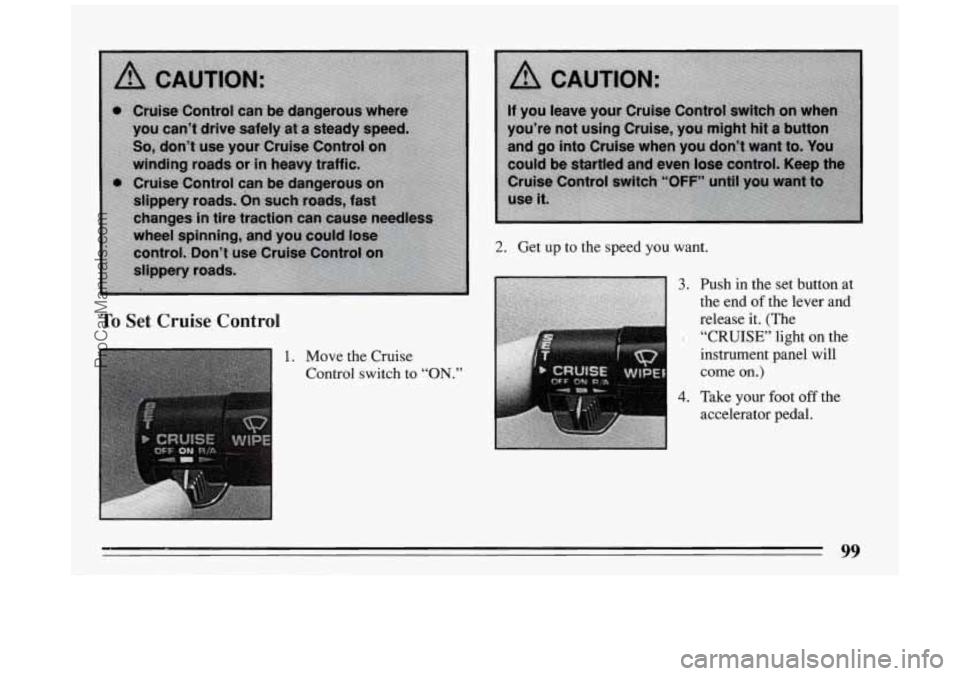
To Set Cruise Control
1. Move the Cruise
Control switch to
“ON.”
2. Get up to the speed you want.
3.
4.
Push in the set button at
the end of.the lever and
release it. (The
“CRUISE’ light on the
instrument panel will
come on.)
Take
your foot off the
accelerator pedal.
99
ProCarManuals.com
Page 102 of 324
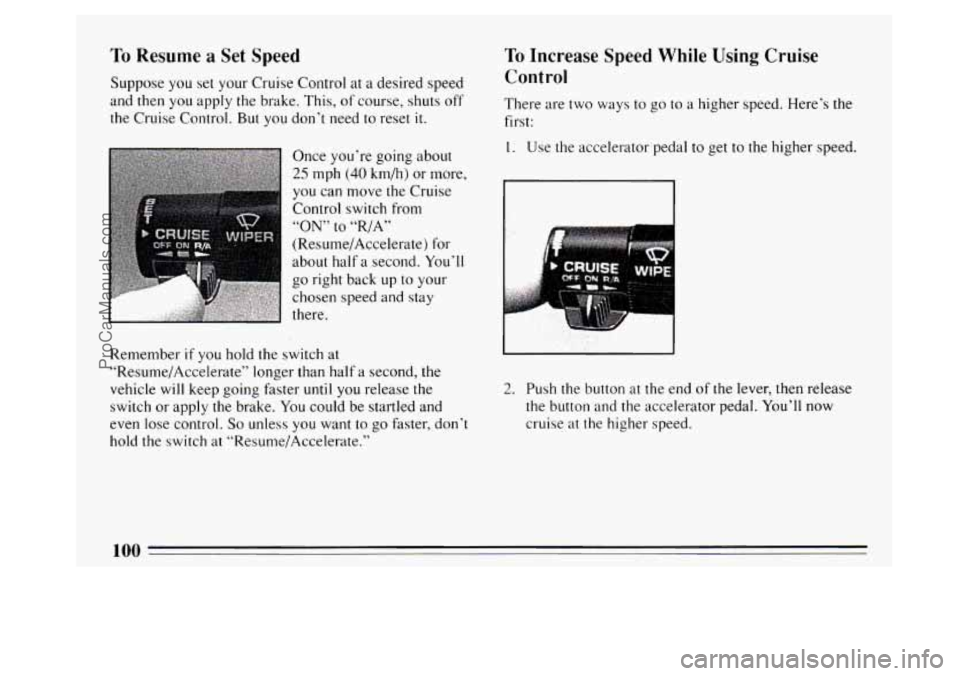
To Resume a Set Speed
Suppose you set your Cruise Control at a desired speed
and
then you apply the brake. This, of course, shuts off
the Cruise Control.
But you don’t need to reset it.
Once you’re going about
25 mph (40 km/h) or more,
you can move the Cruise
Control switch from
“ON” to “,/A”
(Resume/Accelerate) for
about half
a second. You’ll
go right back up
to your
chosen speed and stay
there.
Remember
if you hold the switch at
“Re~~me/Accelerate” longer than half
a second, the
vehicle will keep going faster
until you release the
switch or apply the brake.
You could be startled and
even lose control.
So unless you want to go faster, don’t
hold the switch at “Resume/Accelerate.”
To Increase Speed While Using Cruise
Control
There are two ways to go to a higher speed. Here’s the
first:
1. Use the accelerator pedal to get to the higher speed.
2. Push the button at the end of the lever, then release
the button and the accelerator pedal. You’ll now
cruise
at the higher speed.
100
ProCarManuals.com
Page 103 of 324
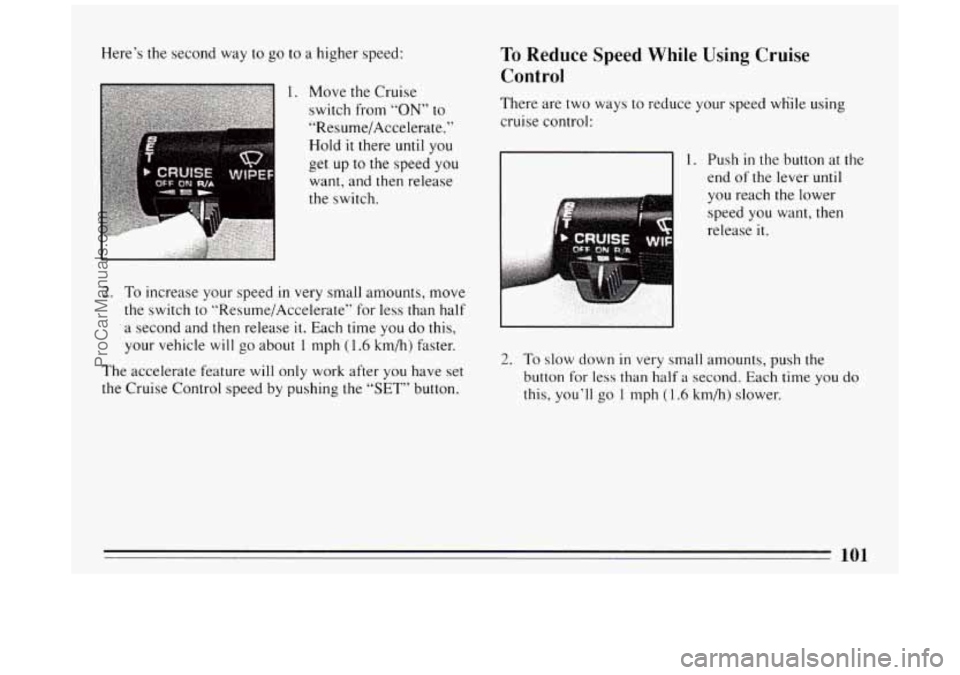
Here’s the second way to go to a higher speed:
1. Move the Cruise
switch from
“ON” to
“Resume/Accelerate.”
Hold
it there until you
get up to the speed you
want, and then release
the switch.
2. To increase your speed in very small amounts, move
the switch to ‘bResume/Accelerate” for less than half
a second and then release
it. Each time you do this,
your vehicle
will go about 1 mph (1.6 km/h) faster.
The accelerate feature will only work after you have set
the Cruise Control speed by pushing the “SET” button.
To Reduce Speed While Using Cruise
Control
There are two ways to reduce your speed wtiile using
cruise control:
1. Push in the button at the
end
of the lever until
you reach the lower
speed you want, then
release
it.
2. To slow down in very small amounts, push the
button for
less than half a second. Each time you do
this, you’ll go 1 mph (1.6 km/h) slower.
101
ProCarManuals.com
Page 104 of 324
Passing Another Vehicle While Using
Cruise Control
Use the accelerator pedal to increase your speed. When
you take your foot off the pedal, your vehicle will slow
down
to the Cruise Control speed you set earlier.
Using Cruise Control on Hills
How well your Cruise Control will work on hills
depends upon your speed, load, and the steepness of
the
hills. When going up steep hills, you may have to step
on the accelerator pedal to maintain your speed. When
going downhill, you may have
to brake or shift to a
lower gear to keep your speed down. Of course,
applying
the brake takes you out of Cruise Control.
Many drivers find this
to be too much trouble and don’t
use Cruise Control on steep hills.
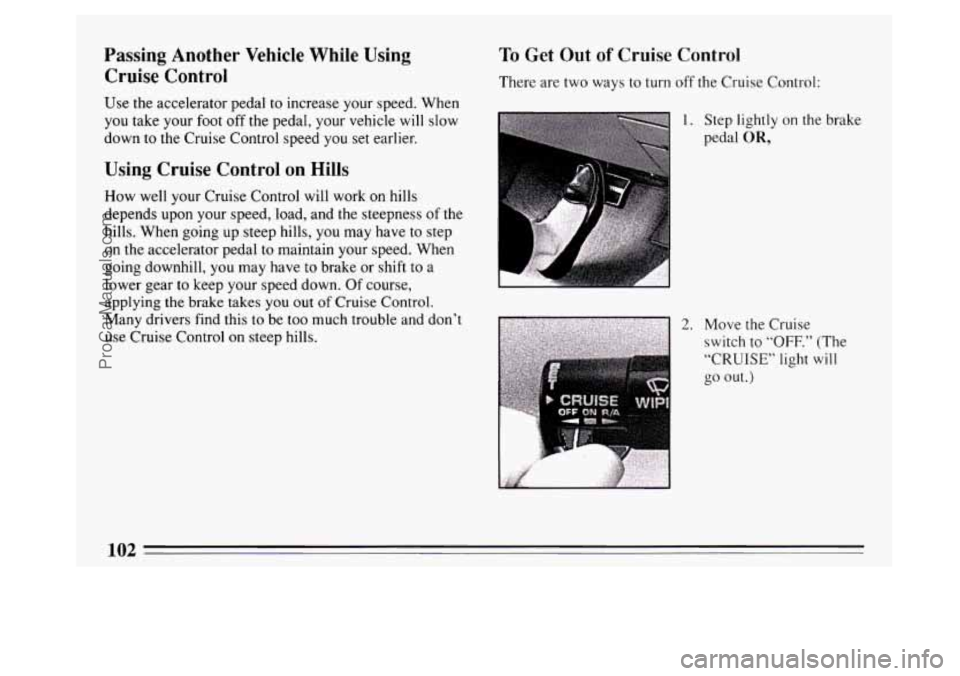
To Get Out of Cruise Control
There are two ways to turn off the Cruise Control:
1. Step lightly on the brake
pedal
OR,
102
ProCarManuals.com
Page 105 of 324
To Erase Speed Memory
When you turn off the Cruise Control or the ignition, or
shift into “P” (Park), your Cruise Control set speed
memory is erased.
Lights
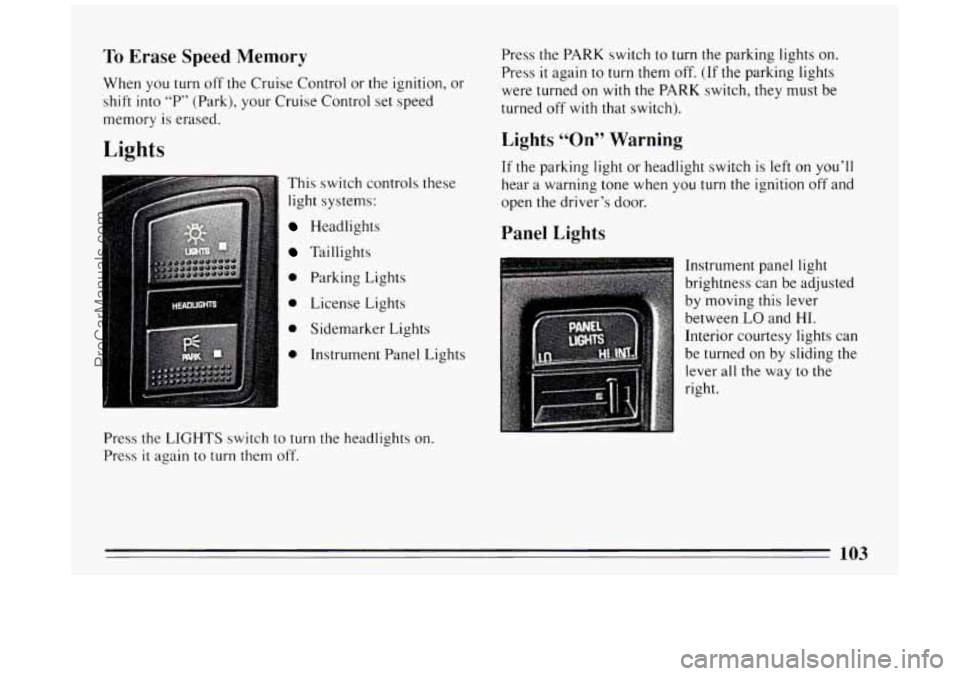
This switch controls these
light systems:
Headlights
Taillights
0 Parking Lights
0 License Lights
0 Sidemarker Lights
0 Instrument Panel Lights
Press the LIGHTS switch to
turn the headlights on.
Press it again to turn them off. Press the
PARK switch to turn the parking lights
on.
Press it again to turn them off. (If the parking lights
were turned
on with the PARK switch, they must be
turned off with that switch).
Lights “On” Warning
If the parking light or headlight switch is left on you’ll
hear
a warning tone when you turn the ignition off and
open the driver’s door.
Panel Lights
Instrument panel light
brightness can be adjusted
by moving this lever
between
LO and HI.
Interior courtesy lights can
be turned on by sliding the
lever all the way to the
right.
103
ProCarManuals.com
Page 106 of 324
Courtesy Lights
When any door is opened, several lights go on. They
make it easy for you
to enter and leave the car. You also
can
turn these lights on by sliding the panel lights lever
to INT (interior).
Time Out Feature
The interior lights will automatically shut off after a 10
minute period if a door is left open. This feature is
designed
to help eliminate battery wear down.
Twilight Sentinel (Option)
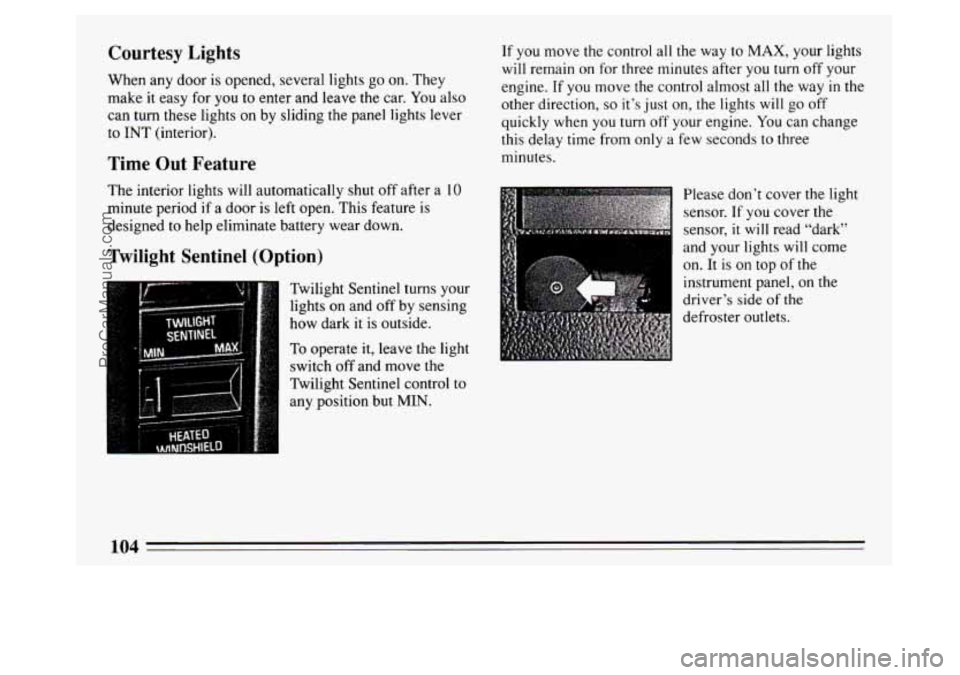
Twilight Sentinel turns your
lights on and
off by sensing
how dark it is outside.
To operate
it, leave the light
switch off and move the
Twilight Sentinel control to
any position but MIN. If you
move the control all the way to
MAX, your lights
will remain on
for three minutes after you turn off your
engine.
If you move the control almost all the way in the
other direction,
so it’s just on, the lights will go off
quickly when you turn off your engine. You can change
this delay time from only a few seconds to three
minutes.
Please don’t cover the light
sensor. If you cover the
sensor,
it will read “dark”
~ and your lights will come
on. It is
on top of the
instrument panel, on the
driver’s side
of the
defroster outlets.
104
ProCarManuals.com
Page 107 of 324
Daytime Running Lights (Canada Only)
The Canadian Federal Government has decided that
“Daytime Running Lights” (DRL) are a useful feature,
in that DRL can make your vehicle more visible to
pedestrians and other drivers during daylight hours.
DRL are required
on new vehicles sold in Canada.
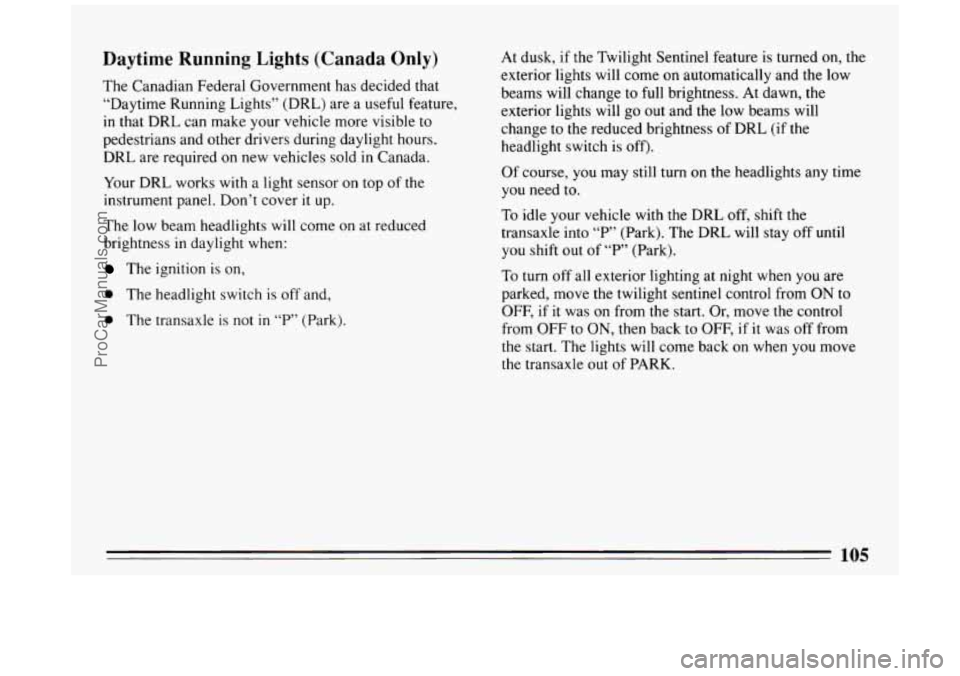
Your DRL works with a light sensor on top of the
instrument panel. Don’t cover
it up.
The low beam headlights will come on at reduced
brightness in daylight when:
The ignition is on,
0 The headlight switch is off and,
0 The transaxle is not in “P” (Park). At
dusk, if the Twilight Sentinel feature is turned on, the
exterior lights will come on automatically and the low
beams will change to
full brightness. At dawn, the
exterior lights will go out and the low beams will
change to the reduced brightness
of DRL (if the
headlight switch is
off).
Of course, you may still turn on the headlights any time
you need to.
To idle your vehicle with the DRL off, shift the
transaxle into
“P’ (Park). The DRL will stay off until
you shift out
of “P’ (Park).
To turn off all exterior lighting at night when you are
parked, move
the twilight sentinel control from ON to
OFF,
if it was on from the start. Or, move the control
from OFF to
ON, then back to OFF, if it was off from
the start. The lights will come back on when
you move
the transaxle out of PARK.
105
ProCarManuals.com
Page 108 of 324
Rear Seat Reading Lights
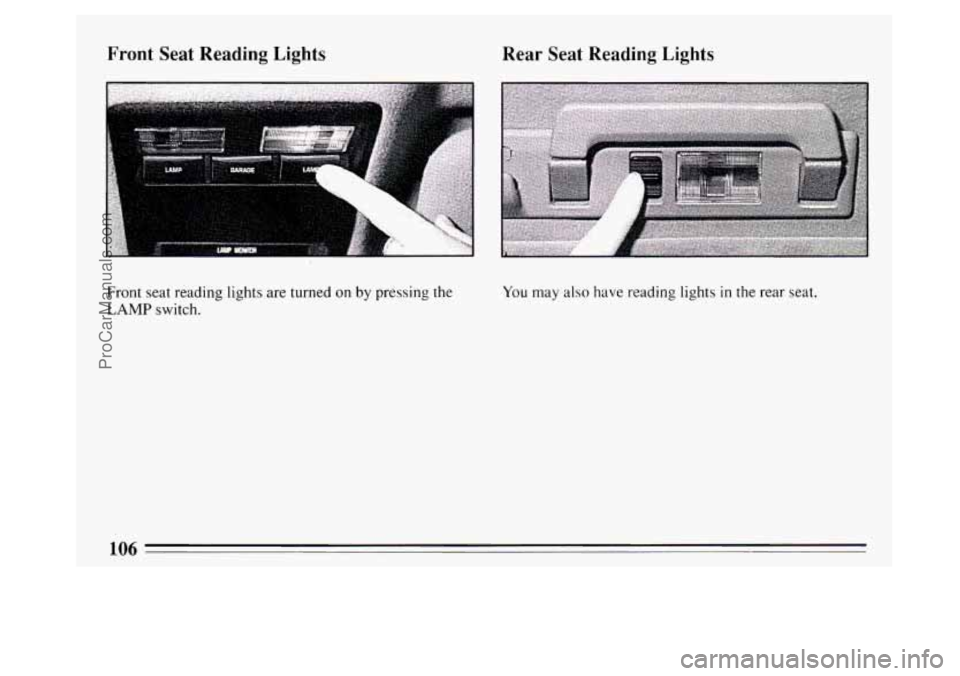
Front seat reading lights are turned on by pressing the
LAMP switch.
You may also have reading lights in the rear seat.
106
ProCarManuals.com
Page 109 of 324
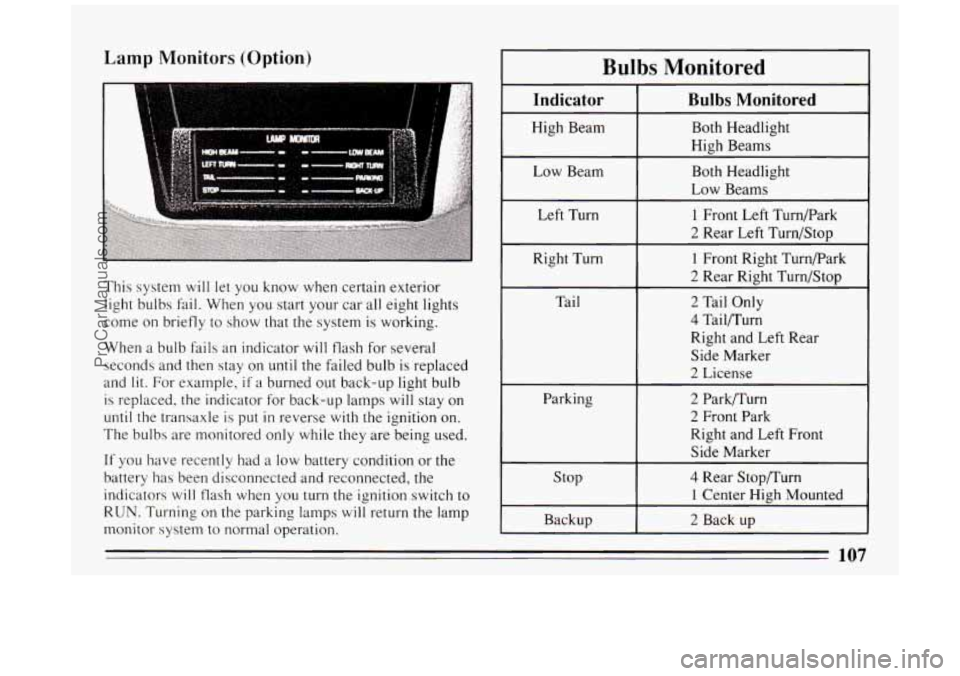
Lamp Monitors (Option)
This system will let you know when certain exterior
light bulbs fail. When you start your car all eight lights
come on briefly to show that the system is working.
When a bulb Fails an indicator
will flash for several
seconds and then stay on
until the failed bulb is replaced
and
lit. For example, if a burned out back-up light bulb
is replaced, the indicator for back-up lamps will stay on
until the transaxle is put in reverse with the ignition on.
The bulbs are monitored only while they are being used.
If you have recently had a low battery condition or the
battery has been disconnected and reconnected, the
indicators will flash when
you turn the ignition switch to
RUN. Turning on the parking lamps will return the lamp
monitor system
to normal operation.
Bulbs Monitored
Indicator
High Beam
Low Beam Left Turn
Right Turn
Tail
Parking stop
Backup
Bulbs Monitored
Both Headlight
High Beams
Both Headlight
Low Beams
1 Front Left Turn/Park
2 Rear Left Turn/Stop
1 Front Right Turnpark
2 Rear Right Turn/Stop
2 Tail Only
4 Tail/Turn
Right and Left Rear
Side Marker
2 License
2 Park/Turn
2 Front Park
Right and Left Front Side Marker
4 Rear Stop/Turn
1 Center High Mounted
2 Back up
107
ProCarManuals.com
Page 110 of 324
Mirrors
Manual Inside Mirror
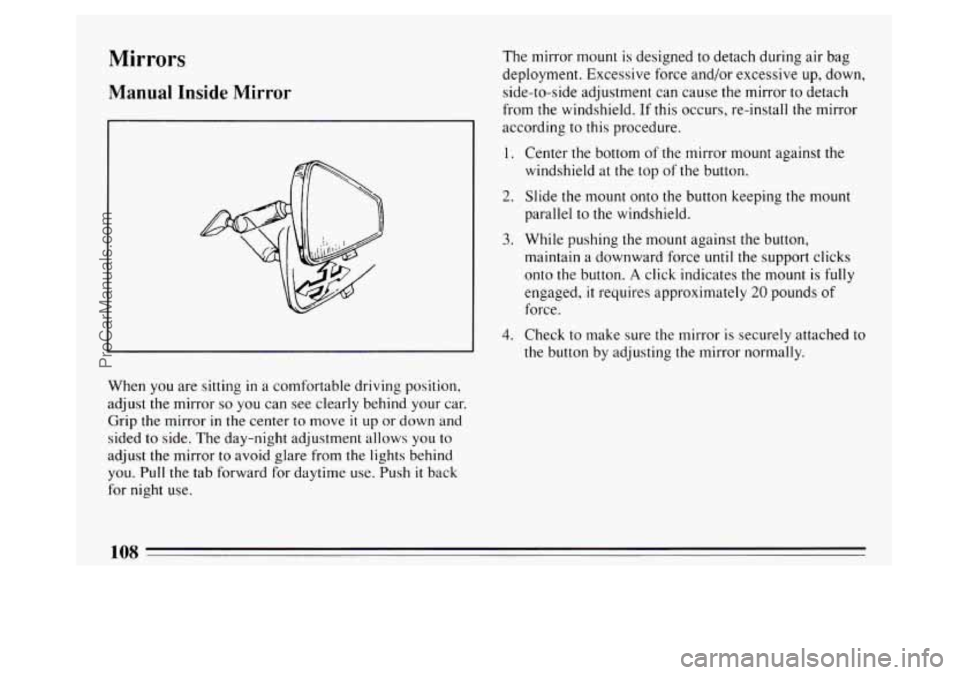
When you are sitting in a comfortable driving position,
adjust the mirror
so you can see clearly behind your car.
Grip the mirror
in the center to move it up or down and
sided to side. The day-night adjustment allows you to
adjust the mirror to avoid glare from the lights behind
you. Pull
the tab forward for daytime use. Push it back
for night use. The mirror mount
is designed
to detach during air bag
deployment. Excessive force and/or excessive up, down,
side-to-side adjustment can cause the mirror to detach
from the windshield. If this occurs, re-install the mirror
according to this procedure.
1.
2.
3.
4.
Center the bottom of the mirror mount against the
windshield at the top
of the button.
Slide the mount onto the button keeping the mount
parallel to the windshield.
While pushing the mount against the button,
maintain
a downward force until the support clicks
onto the button.
A click indicates the mount is fully
engaged, it requires approximately 20 pounds of
force.
Check to make sure the mirror is securely attached to
the button by adjusting the mirror normally.
108
ProCarManuals.com