BUICK PARK AVENUE 1997 Owners Manual
PARK AVENUE 1997
BUICK
BUICK
https://www.carmanualsonline.info/img/43/57692/w960_57692-0.png
BUICK PARK AVENUE 1997 Owners Manual
Trending: spare tire location, parking brake, wheel torque, clock, fuel reserve, display, dimensions
Page 301 of 420
5. Reverse the above steps to reassemble the
lamp assembly.
When reassembling the lamp, make sure to align the
pin at the outboard edge
of the headlamp assembly to
the plastic retainer at the outboard edge
of the vehicle.
Front Turn Signal
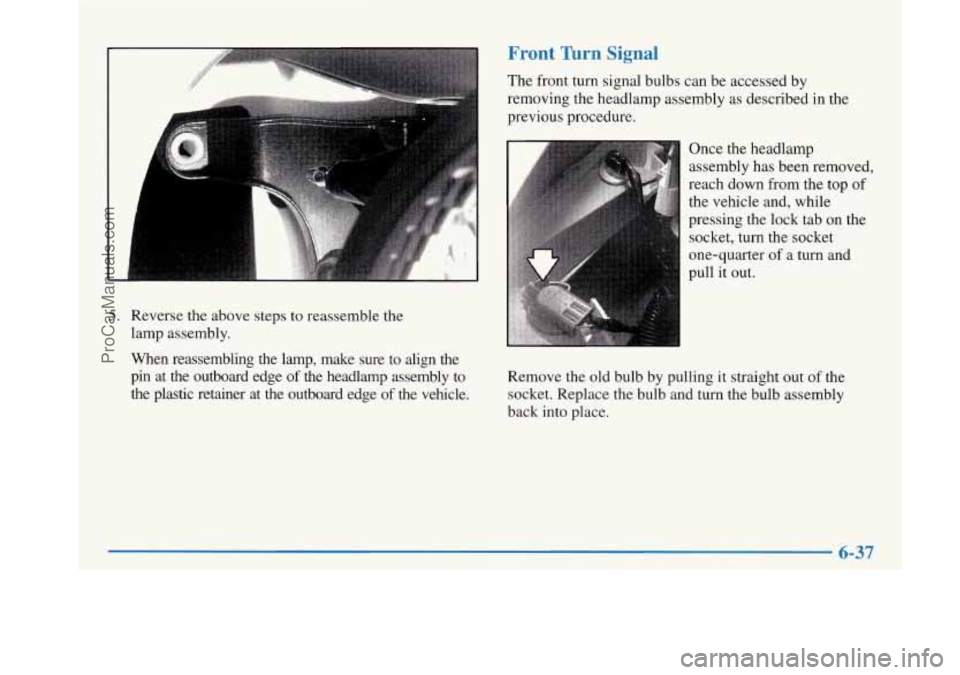
The front turn signal bulbs can be accessed by
removing the headlamp assembly as described in the
previous procedure.
Once the headlamp
assembly has been removed,
reach down from the
top of
the vehicle and, while
pressing the lock tab on the
socket, turn the socket
one-quarter
of a turn and
pull it out.
Remove the old bulb by pulling
it straight out of the
socket. Replace the bulb and turn the bulb assembly
back into place.
6-37
ProCarManuals.com
Page 302 of 420
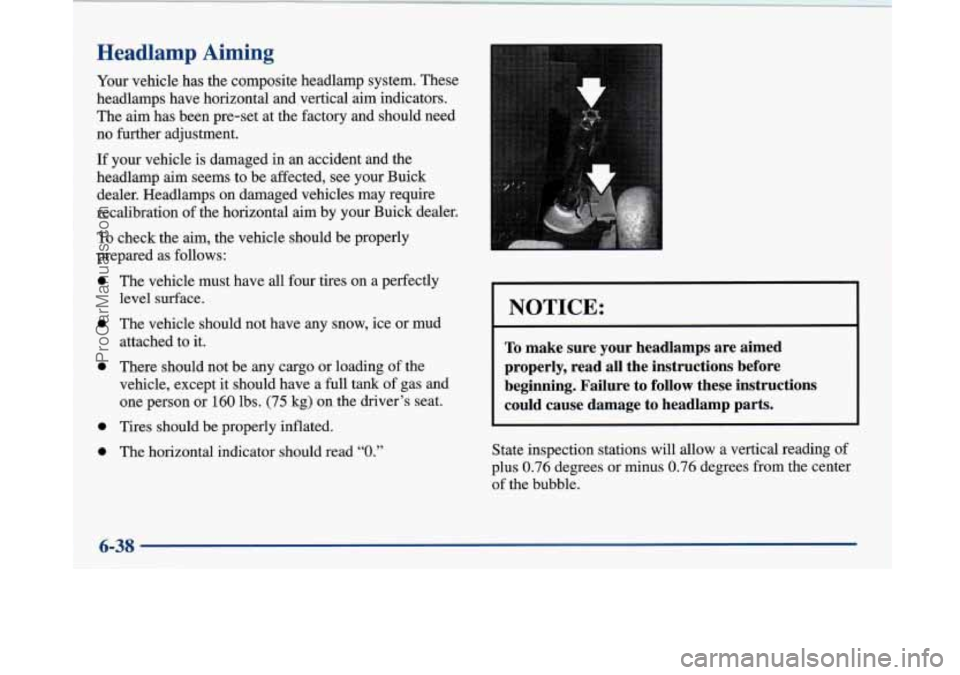
Headlamp Aiming
Your vehicle has the composite headlamp system. These
headlamps have horizontal and vertical aim indicators.
The
aim has been pre-set at the factory and should need
no further adjustment.
If your vehicle is damaged in an accident and the
headlamp
aim seems to be affected, see your Buick
dealer. Headlamps on damaged vehicles may require
~ recalibration of the horizontal aim by your Buick dealer.
To check the aim, the vehicle should be properly
prepared as follows:
0 The vehicle must have all four tires on a perfectly
level surface.
0 The vehicle should not have any snow, ice or mud
attached to it.
0 There should not be any cargo or loading of the
vehicle, except it should have a
full tank of gas and
one person or 160 lbs. (75 kg) on the driver’s seat.
0 Tires should be properly inflated.
0 The horizontal indicator should read “0.”
NOTICE:
I
~~
To make sure your headlamps are aimed
properly, read
all the instructions before
beginning. Failure to follow these instructions
could cause damage to headlamp parts.
State inspection stations will allow a vertical reading of
plus 0.76 degrees or minus 0.76 degrees from the center
of the bubble.
6-38
I
ProCarManuals.com
Page 303 of 420
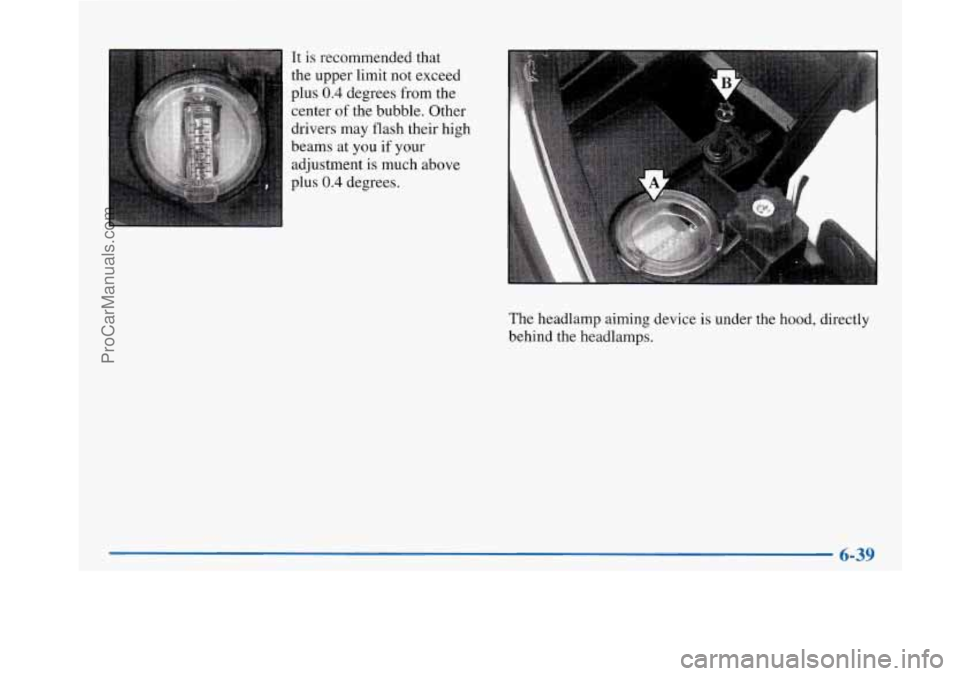
It is recommended that
the upper limit not exceed
plus
0.4 degrees from the
center
of the bubble. Other
drivers may flash their high
beams at you if your
adjustment is much above
plus
0.4 degrees.
The headlamp aiming device
is under the hood, directly
behind the headlamps.
6-39
ProCarManuals.com
Page 304 of 420
If you find that the headlamp aiming needs adjustment,
follow these steps:
Start with the vertical headlamp aim. Adjustment
screws can be turned with an
E8 Tom@ socket or T15
Torx screwdriver.
1. Check the vertical aim for each headlamp. The
vehicle must be on a level surface.
Turn the vertical
aiming screw until the bubble in the level is lined up
with the
0 (zero).
2. Now adjust the horizontal aim. The horizontal
aiming device is located on the inboard side of each
headlamp assembly, down lower from the vertical
aiming device. Check the horizontal aim and adjust
it
as necessary. There is a round dial located on the
horizontal adjuster, with an alignment notch
on it.
Turn the horizontal aiming screw until the zero is
lined up with the notch.
3. Now, visually recheck the vertical aim, to make sure
it is still correct after the horizontal aim adjustment.
Readjust, if necessary.
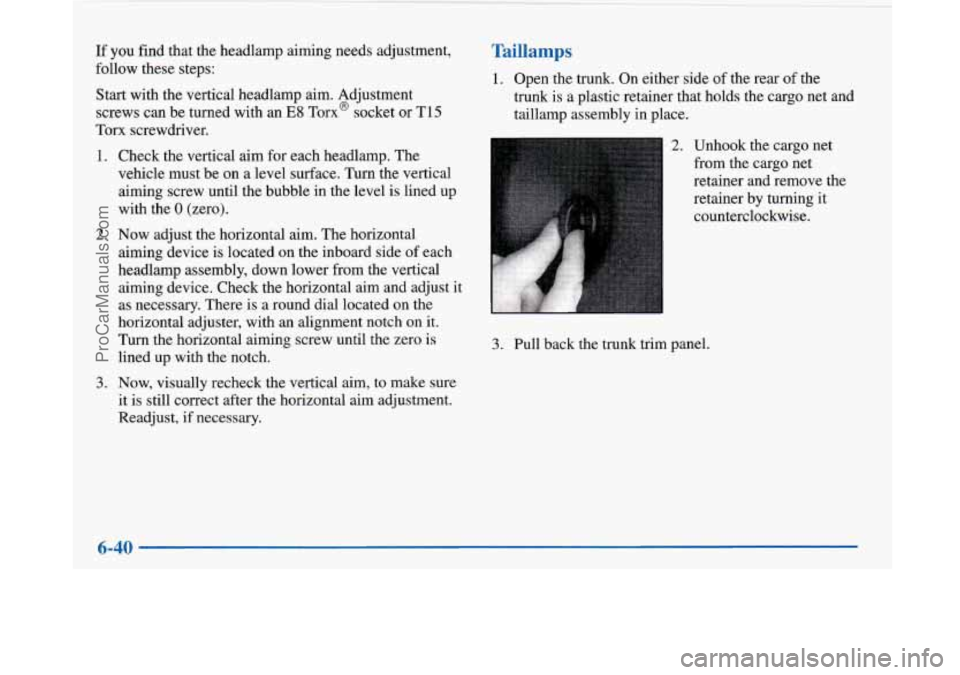
Taillamps
1. Open the trunk. On either side of the rear of the
trunk is a plastic retainer that holds the cargo net
and
taillamp assembly in place.
2. Unhook the cargo net
from the cargo net
retainer and remove the
retainer by turning it
counterclockwise.
3. Pull back the trunk trim panel.
ProCarManuals.com
Page 305 of 420
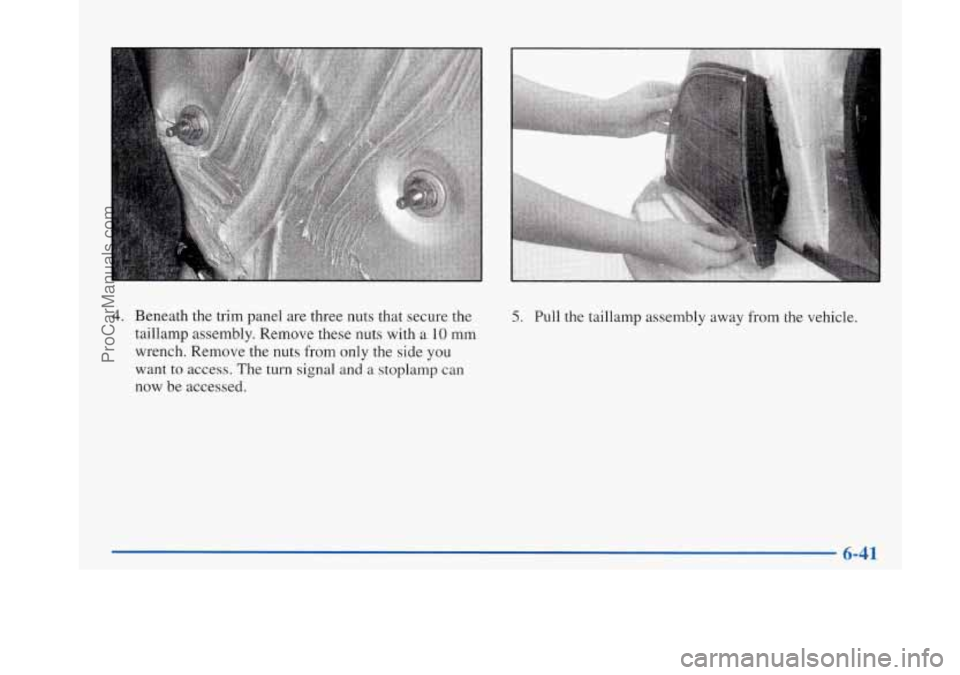
4. Beneath the trim panel are three nuts that secure the
taillamp assembly. Remove these nuts with a
10 mm
wrench. Remove the nuts from only the side you
want to access. The
turn signal and a stoplamp can
now be accessed.
5. Pull the taillamp assembly away from the vehicle.
6-41
ProCarManuals.com
Page 306 of 420
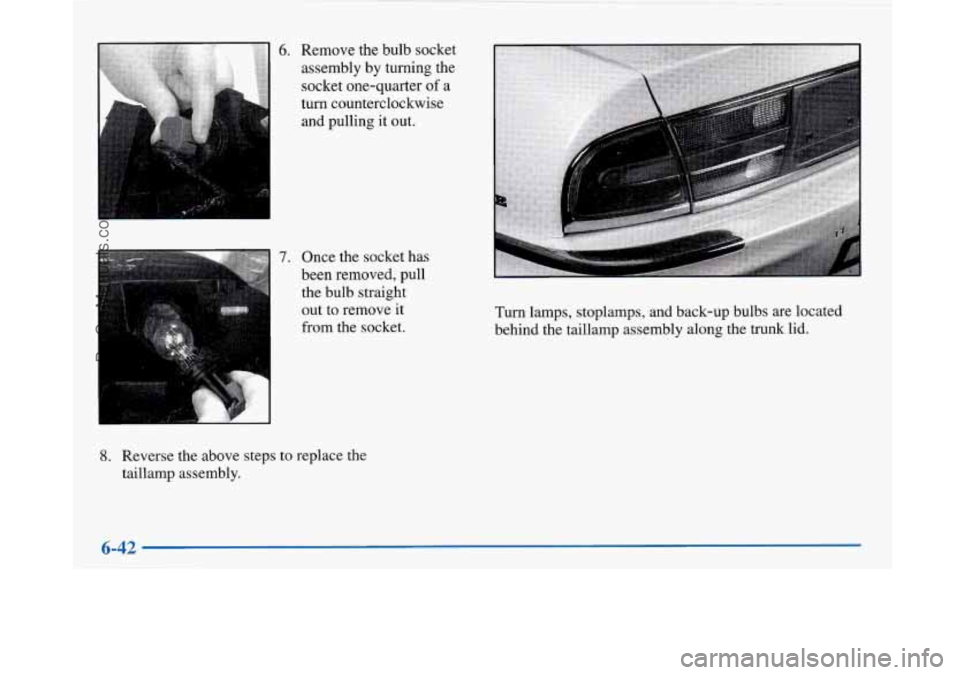
6. Remove the bulb socket assembly
by turning the
socket one-quarter of a
turn counterclockwise
and pulling it out.
". :.
7. Once the socket has
been removed, pull the bulb straight
out to remove
it
from the socket.
8. Reverse the above steps to replace the
taillamp assembly. Turn
lamps, stoplamps, and back-up bulbs are located
behind the taillamp assembly along the trunk lid.
6-42
ProCarManuals.com
Page 307 of 420
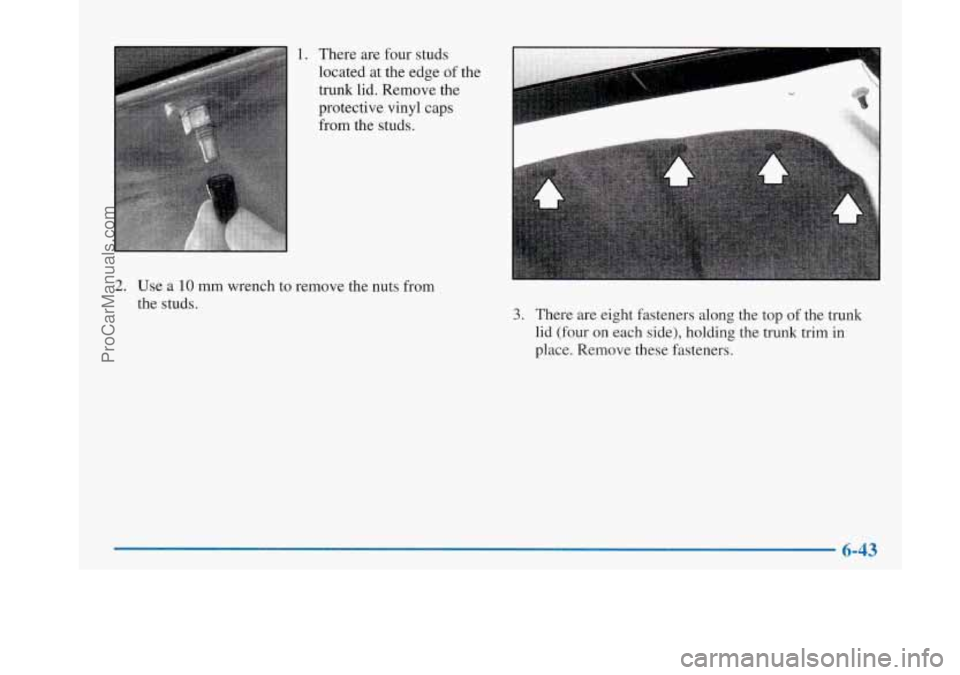
1. There are four studs
located at the edge
of the
trunk lid. Remove the
protective vinyl caps
from the studs.
2. Use a 10 mm wrench to remove the nuts from
the studs.
3. There are eight fasteners along the top of the trunk
lid (four on each side), holding the trunk trim in
place. Remove these fasteners.
6-43
ProCarManuals.com
Page 308 of 420
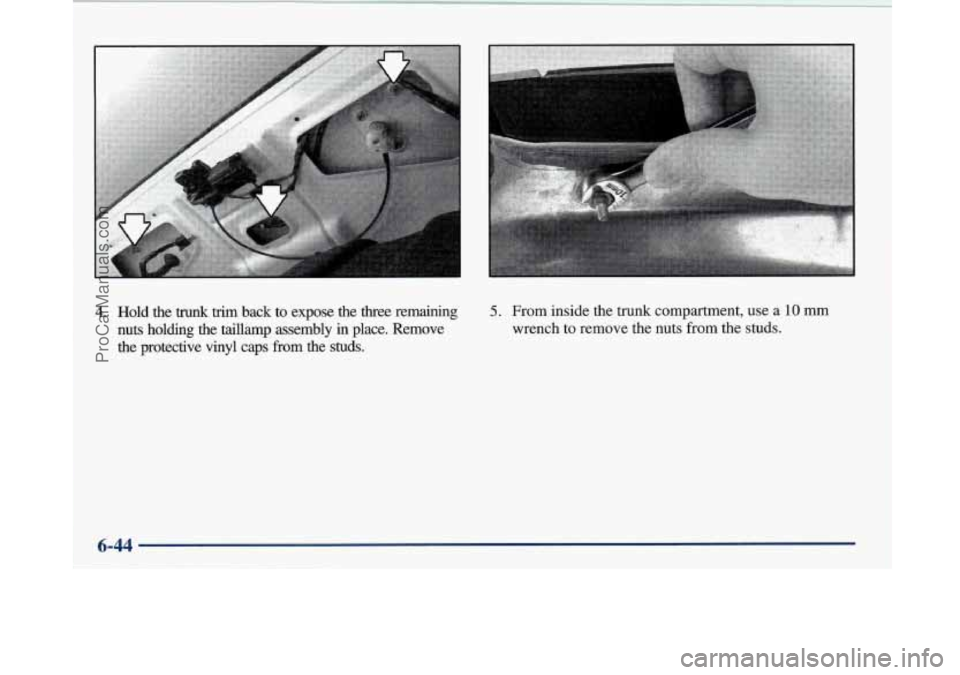
4. Hold the trunk trkn back to expose the three remaining
nuts holding the taillamp assembly in place. Remove
the protective vinyl caps from the
studs.
5. From inside the trunk compartment, use a 10 mm
wrench to remove the nuts from the studs.
6-44
ProCarManuals.com
Page 309 of 420
7.
I
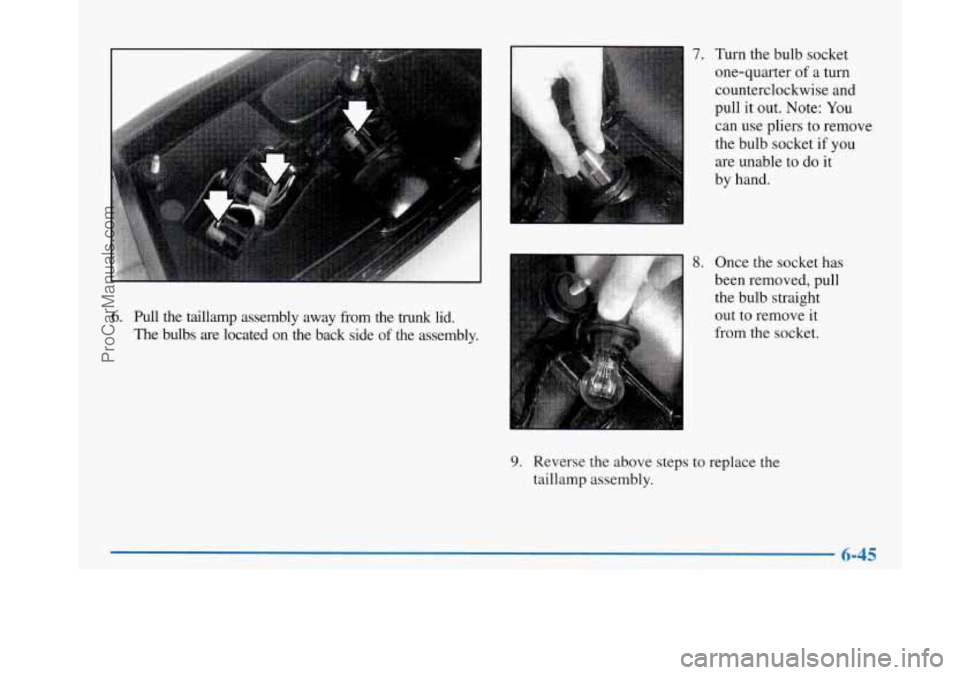
6. Pull the taillamp assembly away from the trunk lid.
The bulbs are located on the back side
of the assembly. Turn the bulb socket
one-quarter
of a turn
counterclockwise and
pull it out. Note: You
can use pliers
to remove
the bulb socket
if you
are unable to do it
by hand.
8. Once the socket has
been removed, pull
the bulb straight out to remove it
from the socket.
9. Reverse the above steps to replace the
taillamp assembly.
- 6-45
ProCarManuals.com
Page 310 of 420
Windshield Wiper Blade Replacement
Replacement blades come in different types and are
removed in different ways.
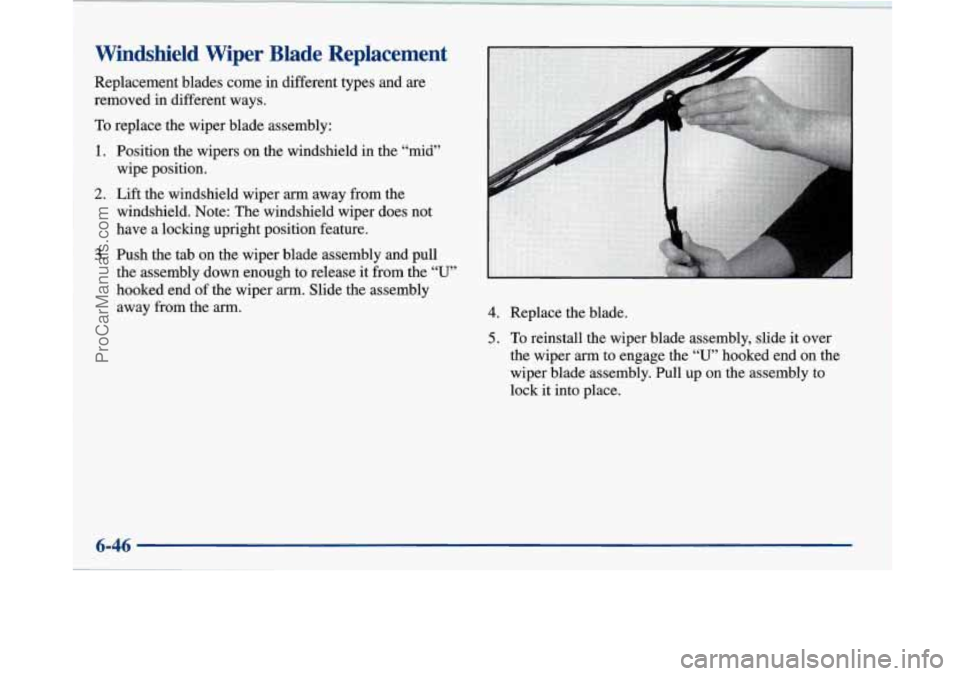
To replace the wiper blade assembly:
1.
2.
3.
Position the wipers on the windshield in the “mid”
wipe position.
Lift the windshield wiper
arm away from the
windshield. Note: The windshield wiper does not
have a locking upright position feature.
Push the tab on the wiper blade assembly and pull
the assembly down enough to release it from the
“U”
hooked end of the wiper arm. Slide the assembly
away
from the arm. 4. Replace the blade.
5. To reinstall the wiper blade assembly, slide it over
the wiper
arm to engage the “U” hooked end on the
wiper blade assembly. Pull up on the assembly to
lock it into place.
ProCarManuals.com
Trending: weight, lights, parking brake, octane, warning, battery, manual transmission
