headlamp bulb BUICK PARK AVENUE 2002 Owner's Manual
[x] Cancel search | Manufacturer: BUICK, Model Year: 2002, Model line: PARK AVENUE, Model: BUICK PARK AVENUE 2002Pages: 395, PDF Size: 2.67 MB
Page 102 of 395

2-39
As you signal a turn or a lane change, if the arrows flash
at twice the normal rate, this may indicate that a signal
bulb may be burned out and other drivers won't see your
turn signal.
If a bulb is burned out, replace it to help avoid an
accident. If the arrows don't go on at all when you
signal a turn, check the fuse (see ªFuses and Circuit
Breakersº in the Index) and for burned
-out bulbs.
If you have a trailer towing option with added wiring for
the trailer lamps, the signal indicator will flash even if a
turn signal bulb is burned out. Check the front and rear
turn signal lamps regularly to make sure they are
working. You do not need to add a different flasher.
Turn Signal On Chime
If your turn signal is left on for more than 3/4 of a mile
(1.2 km), a chime will sound at each flash of the turn
signal. To turn off the chime, move the turn signal lever
to the off position.
Headlamp High/Low-Beam Changer
To change the headlamps from low beam to high or
high to low, pull the turn signal lever toward you, then
release it.
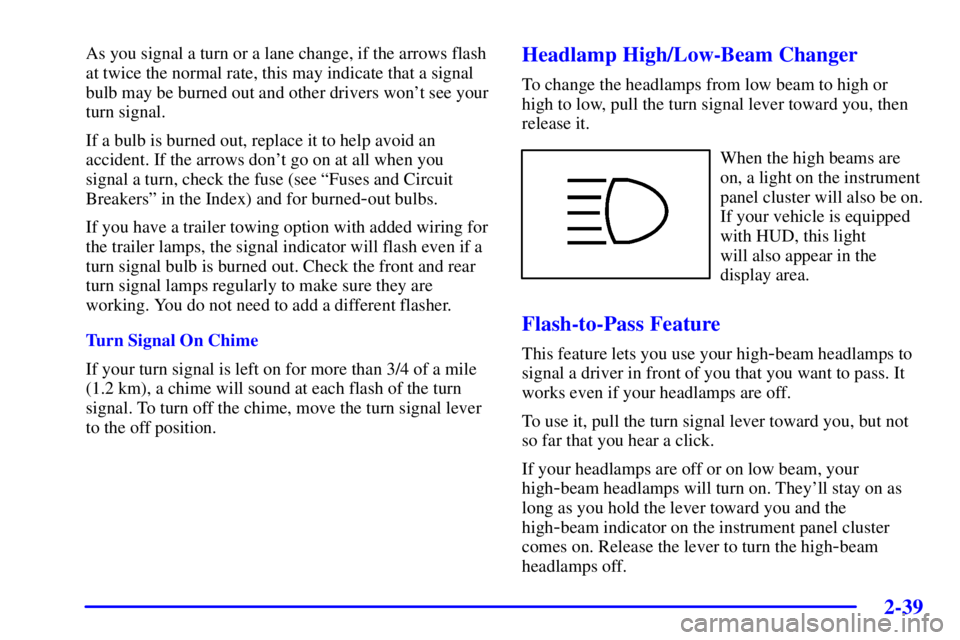
When the high beams are
on, a light on the instrument
panel cluster will also be on.
If your vehicle is equipped
with HUD, this light
will also appear in the
display area.
Flash-to-Pass Feature
This feature lets you use your high-beam headlamps to
signal a driver in front of you that you want to pass. It
works even if your headlamps are off.
To use it, pull the turn signal lever toward you, but not
so far that you hear a click.
If your headlamps are off or on low beam, your
high
-beam headlamps will turn on. They'll stay on as
long as you hold the lever toward you and the
high
-beam indicator on the instrument panel cluster
comes on. Release the lever to turn the high
-beam
headlamps off.
Page 301 of 395

6-37
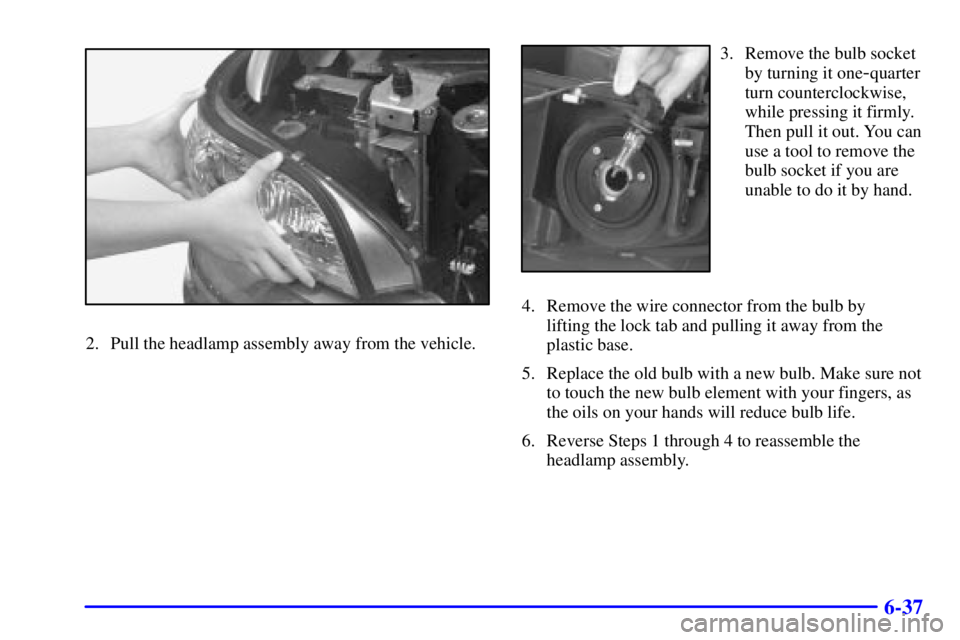
2. Pull the headlamp assembly away from the vehicle.
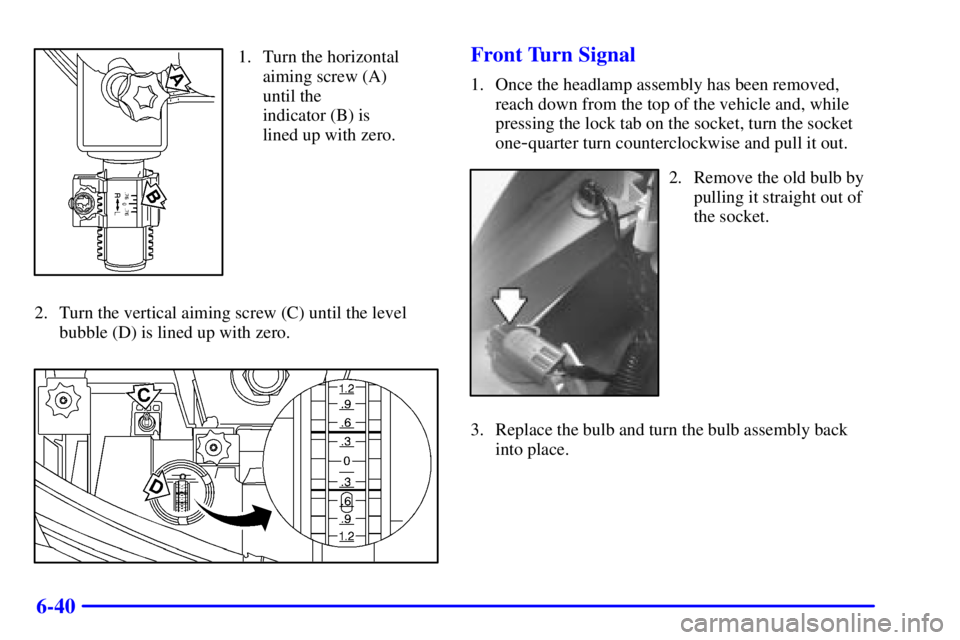
3. Remove the bulb socket
by turning it one
-quarter
turn counterclockwise,
while pressing it firmly.
Then pull it out. You can
use a tool to remove the
bulb socket if you are
unable to do it by hand.
4. Remove the wire connector from the bulb by
lifting the lock tab and pulling it away from the
plastic base.
5. Replace the old bulb with a new bulb. Make sure not
to touch the new bulb element with your fingers, as
the oils on your hands will reduce bulb life.
6. Reverse Steps 1 through 4 to reassemble the
headlamp assembly.
Page 304 of 395

6-40
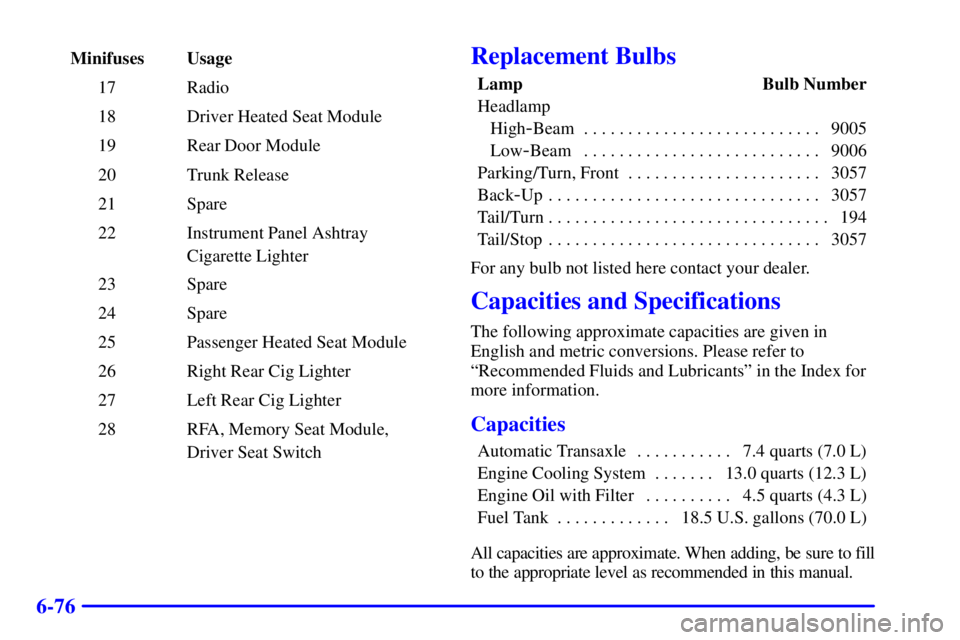
1. Turn the horizontal
aiming screw (A)
until the
indicator (B) is
lined up with zero.
2. Turn the vertical aiming screw (C) until the level
bubble (D) is lined up with zero.Front Turn Signal
1. Once the headlamp assembly has been removed,
reach down from the top of the vehicle and, while
pressing the lock tab on the socket, turn the socket
one
-quarter turn counterclockwise and pull it out.
2. Remove the old bulb by
pulling it straight out of
the socket.
3. Replace the bulb and turn the bulb assembly back
into place.
Page 340 of 395

6-76
Minifuses Usage
17 Radio
18 Driver Heated Seat Module
19 Rear Door Module
20 Trunk Release
21 Spare
22 Instrument Panel Ashtray
Cigarette Lighter
23 Spare
24 Spare
25 Passenger Heated Seat Module
26 Right Rear Cig Lighter
27 Left Rear Cig Lighter
28 RFA, Memory Seat Module,
Driver Seat SwitchReplacement Bulbs
Lamp Bulb Number
Headlamp
High
-Beam 9005. . . . . . . . . . . . . . . . . . . . . . . . . . .
Low
-Beam 9006. . . . . . . . . . . . . . . . . . . . . . . . . . .
Parking/Turn, Front 3057. . . . . . . . . . . . . . . . . . . . . .
Back
-Up 3057. . . . . . . . . . . . . . . . . . . . . . . . . . . . . . .
Tail/Turn 194. . . . . . . . . . . . . . . . . . . . . . . . . . . . . . . .
Tail/Stop 3057. . . . . . . . . . . . . . . . . . . . . . . . . . . . . . .
For any bulb not listed here contact your dealer.
Capacities and Specifications
The following approximate capacities are given in
English and metric conversions. Please refer to
ªRecommended Fluids and Lubricantsº in the Index for
more information.
Capacities
Automatic Transaxle 7.4 quarts (7.0 L). . . . . . . . . . .
Engine Cooling System 13.0 quarts (12.3 L). . . . . . .
Engine Oil with Filter 4.5 quarts (4.3 L). . . . . . . . . .
Fuel Tank 18.5 U.S. gallons (70.0 L). . . . . . . . . . . . .
All capacities are approximate. When adding, be sure to fill
to the appropriate level as recommended in this manual.