rear view mirror BUICK PARK AVENUE 2003 Owner's Manual
[x] Cancel search | Manufacturer: BUICK, Model Year: 2003, Model line: PARK AVENUE, Model: BUICK PARK AVENUE 2003Pages: 372, PDF Size: 2.8 MB
Page 65 of 372
Keys...............................................................2-3
Remote Keyless Entry System.........................2-5
Remote Keyless Entry System Operation...........2-5
Doors and Locks.............................................2-9
Door Locks....................................................2-9
Central Door Unlocking System........................2-9
Power Door Locks........................................2-10
Door Ajar Reminder......................................2-10
Delayed Locking...........................................2-10
Programmable Automatic` Door Locks..............2-11
Rear Door Security Locks..............................2-12
Lockout Protection........................................2-13
Leaving Your Vehicle....................................2-13
Trunk..........................................................2-13
Windows........................................................2-15
Power Windows............................................2-16
Sun Visors...................................................2-17
Theft-Deterrent Systems..................................2-17
Content Theft-Deterrent.................................2-17
PASS-Key
žIII ..............................................2-19
PASS-KeyžIII Operation...............................2-19Starting and Operating Your Vehicle................2-21
New Vehicle Break-In....................................2-21
Ignition Positions..........................................2-21
Starting Your Engine.....................................2-22
Engine Coolant Heater..................................2-23
Automatic Transaxle Operation.......................2-24
Parking Brake..............................................2-27
Shifting Into Park (P).....................................2-28
Shifting Out of Park (P).................................2-30
Parking Over Things That Burn.......................2-31
Engine Exhaust............................................2-31
Running Your Engine While You Are Parked. . . .2-32
Mirrors...........................................................2-33
Manual Rearview Mirror.................................2-33
Automatic Dimming Rearview Mirror................2-33
Automatic Dimming Rearview Mirror with
Compass.................................................2-33
Outside Power Mirrors...................................2-36
Outside Curb View Assist Mirror.....................2-36
Outside Convex Mirror...................................2-37
Outside Automatic Dimming Heated Mirror........2-37
Section 2 Features and Controls
2-1
Page 97 of 372
Mirrors
Manual Rearview Mirror
When you are sitting in a comfortable driving position,
adjust the mirror so you can see clearly behind your
vehicle. Grip the mirror in the center to move it up
or down and side to side. The day/night adjustment
allows you to adjust the mirror to avoid glare from the
lamps behind you. Pull the tab forward for daytime use;
push it back for night use.
Automatic Dimming Rearview Mirror
Your vehicle may have an automatic dimming rearview
mirror. Your vehicle's mirror may also contain OnStarž
controls. SeeOnStaržSystem on page 2-37for
more information.
At night, when the glare is too high, the mirror will
gradually darken to reduce glare. This change may take
a few seconds. The mirror will return to its clear
daytime state when the glare is reduced.
Mirror Operation
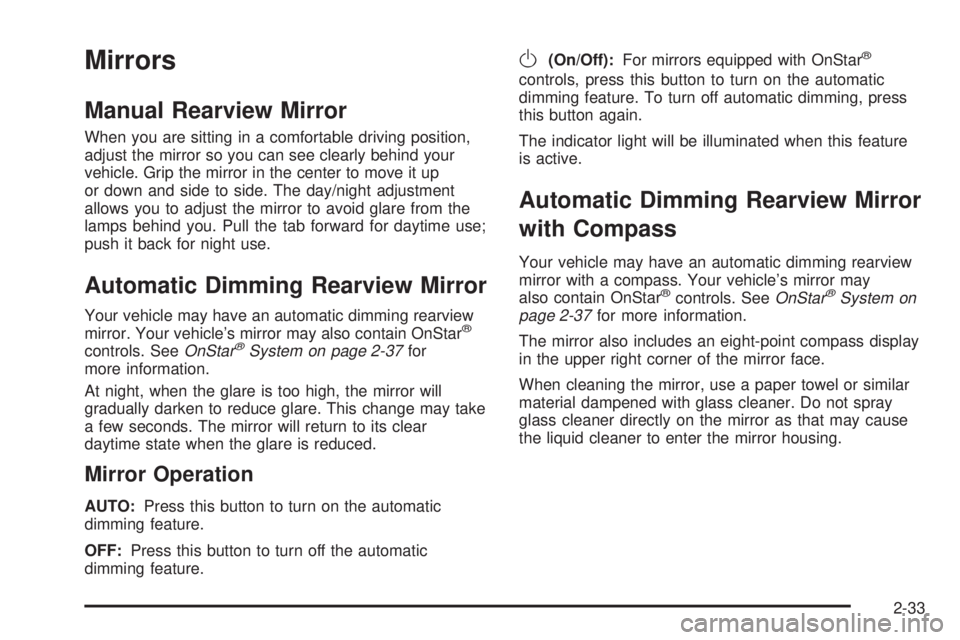
AUTO:Press this button to turn on the automatic
dimming feature.
OFF:Press this button to turn off the automatic
dimming feature.
O(On/Off):For mirrors equipped with OnStarž
controls, press this button to turn on the automatic
dimming feature. To turn off automatic dimming, press
this button again.
The indicator light will be illuminated when this feature
is active.
Automatic Dimming Rearview Mirror
with Compass
Your vehicle may have an automatic dimming rearview
mirror with a compass. Your vehicle's mirror may
also contain OnStar
žcontrols. SeeOnStaržSystem on
page 2-37for more information.
The mirror also includes an eight-point compass display
in the upper right corner of the mirror face.
When cleaning the mirror, use a paper towel or similar
material dampened with glass cleaner. Do not spray
glass cleaner directly on the mirror as that may cause
the liquid cleaner to enter the mirror housing.
2-33
Page 100 of 372
Outside Power Mirrors
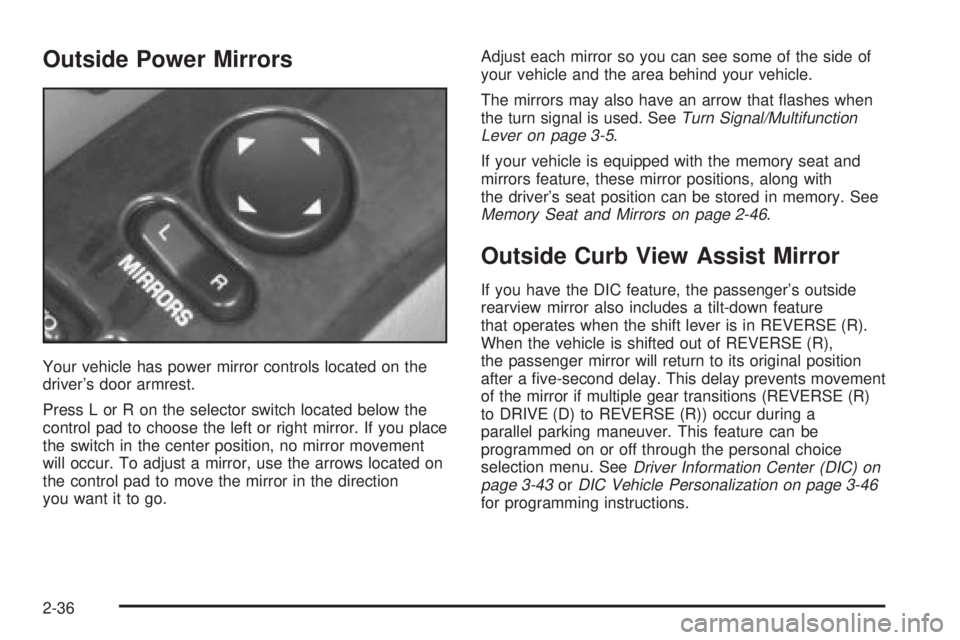
Your vehicle has power mirror controls located on the
driver's door armrest.
Press L or R on the selector switch located below the
control pad to choose the left or right mirror. If you place
the switch in the center position, no mirror movement
will occur. To adjust a mirror, use the arrows located on
the control pad to move the mirror in the direction
you want it to go.Adjust each mirror so you can see some of the side of
your vehicle and the area behind your vehicle.
The mirrors may also have an arrow that ¯ashes when
the turn signal is used. See
Turn Signal/Multifunction
Lever on page 3-5.
If your vehicle is equipped with the memory seat and
mirrors feature, these mirror positions, along with
the driver's seat position can be stored in memory. See
Memory Seat and Mirrors on page 2-46.
Outside Curb View Assist Mirror
If you have the DIC feature, the passenger's outside
rearview mirror also includes a tilt-down feature
that operates when the shift lever is in REVERSE (R).
When the vehicle is shifted out of REVERSE (R),
the passenger mirror will return to its original position
after a ®ve-second delay. This delay prevents movement
of the mirror if multiple gear transitions (REVERSE (R)
to DRIVE (D) to REVERSE (R)) occur during a
parallel parking maneuver. This feature can be
programmed on or off through the personal choice
selection menu. See
Driver Information Center (DIC) on
page 3-43orDIC Vehicle Personalization on page 3-46for programming instructions.
2-36
Page 101 of 372
Outside Convex Mirror
Your passenger's side mirror is convex. A convex
mirror's surface is curved so you can see more from the
driver's seat.
{CAUTION:
A convex mirror can make things (like other
vehicles) look farther away than they really are.
If you cut too sharply into the right lane, you
could hit a vehicle on your right. Check your
inside mirror or glance over your shoulder
before changing lanes.
Outside Automatic Dimming
Heated Mirror
If you have this feature, the driver's side outside
rearview mirror will adjust for the glare of headlamps
behind you. This feature is controlled using the on and
off settings on the automatic dimming rearview mirror.
See ªAutomatic Dimming Rearview Mirrorº or ªAutomatic
Dimming Rearview Mirror with Compassº earlier in
this section.If you have this feature, the left and right outside mirrors
are also heated when you activate the rear window
defogger. See ªRear Window Defoggerº under
Dual Automatic Climate Control System on page 3-22.
Both outside mirrors can be folded forward or rearward.
In the rearward position, they will fold ¯ush with the
vehicle. This feature is particularly useful in automatic
car washes.
OnStaržSystem
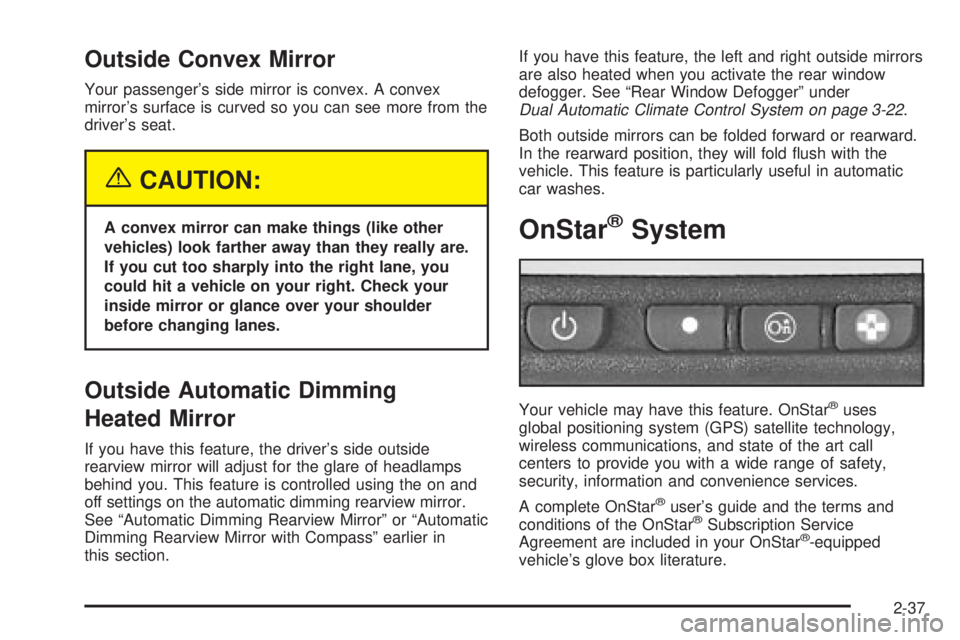
Your vehicle may have this feature. OnStaržuses
global positioning system (GPS) satellite technology,
wireless communications, and state of the art call
centers to provide you with a wide range of safety,
security, information and convenience services.
A complete OnStar
žuser's guide and the terms and
conditions of the OnStaržSubscription Service
Agreement are included in your OnStarž-equipped
vehicle's glove box literature.
2-37
Page 120 of 372
RainsenseŸ II Wipers
If your vehicle has this feature, the moisture sensor is
mounted on the interior of the windshield below the
rearview mirror and is used to automatically operate the
wipers. This system operates by monitoring the
amount of moisture build-up on the windshield. Wipes
occur as needed to clear the windshield depending
on the driving conditions and the sensitivity setting. In
light rain or snow, fewer wipes will occur. In heavy
rain or snow, wipes will occur more frequently.
The system will operate in the delay, low speed and
high speed modes. If the system is left on for long
periods of time, occasional wipes may occur without any
moisture on the windshield. This is normal and
indicates that the RainsenseŸ system is active.
The RainsenseŸ system is activated by turning the
wiper control band to one of the ®ve sensitivity levels
within the delay area. The delay position closest to
OFF/MIST is the lowest sensitivity setting, level
one. This allows more rain or snow to collect on the
windshield between wipes. You can increase the
sensitivity of the system and the frequency of wipes by
turning the wiper control band away from you to the
higher sensitivity levels. The highest sensitivity setting,
level ®ve, is closest to the LO position. A single wipe
will occur each time you turn the wiper control band to a
higher sensitivity level to indicate that the sensitivity
level has been increased.The windshield wipers also remain in a ªhigh parkº
position (the wipers are stopped on the windshield and
are not in the normal park position), even when the
ignition is turned off.
Notice:Turn the windshield wiper band on the
multifunction lever to off to avoid wiper damage
when going through an automatic car wash.
The MIST and wash cycles operate as normal and are
not affected by the moisture-sensing function. The
system can be overridden at any time by manually
turning the wiper band to LO or HI speed.
Notice:Do not place stickers or other items on the
exterior glass surface directly in front of the
moisture sensor. Doing this could cause the
moisture sensor to malfunction.
Windshield Washer
At the top of the multifunction lever there is a paddle
with the word PUSH on it. For ªprogrammedº operation,
press and release the paddle. The washer will provide
a measured amount of ¯uid to the windshield and
the wiper will either stop or return to your original wiping
speed. For ªdemandº operation, press and hold the
paddle for at least two seconds. Release the paddle
when you have enough ¯uid and the wipers will either
stop or return to your original wiping speed.
3-8
Page 132 of 372
The URPA display is located inside the vehicle, above
the rear window. It has three color-coded lights that can
be seen through the rearview mirror.
{CAUTION:
Even with the Ultrasonic Rear Park Assist
system, the driver must check carefully before
backing up. The system does not operate
above typical backing speeds of 3 mph
(5 km/h) while parking. And, the system
doesn't detect objects that are more than
5 feet (1.5 meters) behind the vehicle.
So, unless you check carefully behind you
before and when you back up, you could strike
children, pedestrians, bicyclists or pets behind
you, and they could be injured or killed.
Whether or not you are using Rear Park Assist,
always check carefully behind your vehicle
before you back up and then watch closely as
you do.
How the System Works
Ultrasonic rear parking assist comes on automatically
when the shift lever is moved into REVERSE (R) and the
vehicle speed is less than 3 mph (5 km/h). When the
system comes on, the three lights on the display
will illuminate to let you know that the system is working.
URPA senses how close your vehicle is to an object.
The distance is determined by the four rear sensors
located on the bumper. When shifting into REVERSE (R)
and an object is detected, one of the following will
occur:
·At 5 ft. (1.5 m) an amber light will come on.
·At 40 in. (1.0 m) two amber lights will come on.
·At 20 in. (0.5 m) two amber lights and a red light will
come on and a continuous chime will sound.
·At 1 ft. (0.3 m) the chime will still be going
continuously and all three lights will ¯ash.
A chime will sound the ®rst time an object is detected, if
the object is between 20 inches (0.5 m) and 5 feet
(1.5 m) away.
URPA can detect objects 3 inches (7.6 cm) and wider,
and at least 10 inches (2.5 cm) tall, but cannot detect
objects that are above trunk level. In order for the rear
sensors to recognize an object, it must be within
operating range.
3-20
Page 137 of 372
Sensors
The solar sensor on your vehicle monitors the solar
radiation and the air inside of your vehicle, then uses the
information to maintain the selected temperature by
initiating needed adjustments to the temperature, the fan
speed and the air delivery system. The system may
also supply cooler air to the side of the vehicle facing the
sun. The recirculation mode will also be activated, as
necessary. Do not cover the solar sensor located in the
center of the instrument panel, near the windshield,
or the system will not work properly.
Defogging and Defrosting
Fog on the inside of windows is a result of high humidity
(moisture) condensing on the cool window glass. This
can be minimized if the climate control system is
used properly.
1FRONT:Press the FRONT button to defrost the
windshield by directing air¯ow toward the windshield and
outboard outlets (for the side windows). To turn off
FRONT, press the AUTO or AIR FLOW buttons.
If the AIR FLOW up button is pressed while in the
FRONT defrost mode, the system will direct the
air toward the instrument panel outlets. If the AIR FLOW
down button is pressed while in the FRONT defrost
mode, the system will direct the air toward the ¯oor, and
the FRONT defrost mode will cancel. Do not drive the
vehicle until all the windows are clear.
Rear Window Defogger
The rear window defogger uses a warming grid to
remove fog or frost from the rear window.
=REAR:Press this button to turn the rear window
defogger on or off. Be sure to clear as much snow from
the rear window as possible.
At speeds above 30 mph (48 km/h), the defogger will
operate continuously until you press the REAR
button again. After 10 minutes of driving below 30 mph
(48 km/h), the defogger will turn off automatically. If
you need additional warming time, push the button
again. The system will then operate for ®ve minutes
before going off by itself.
If your vehicle has heated outside rearview mirrors, the
mirrors will heat to help clear fog or frost from the
surface of the mirror when the rear window defogger
button is pressed.
Notice:Don't use a razor blade or something else
sharp on the inside of the rear window. If you
do, you could cut or damage the defogger and the
repairs would not be covered by your warranty.
Do not attach a temporary vehicle license, tape, a
decal or anything similar to the defogger grid.
3-25
Page 160 of 372
4. Scroll through the following messages and feature
options:
·PARALLEL PARK ± OFF/ON
·AUTO DOOR LOCKS ± OFF/ON
·UNLOCK IN PARK ± OFF/ON
·WHICH DOORS ± ALL/DRIVER
·DELAYED LOCKING ± OFF/ON
·LOCK FEEDBACK ± OFF/ON
·LOCK FEEDBACK ± LIGHTS/LIGHTS + HORN
·UNLOCK FEEDBACK ± OFF/LIGHTS
·PERIMETER LIGHTS ± OFF/ON
·SEAT RECALL ± OFF/ON
·RECALL POSITION ± MEMORY/EXIT
·WINDOW LOCKOUT ± ALL PASS/REAR
If you would like to exit the selection mode without
moving through each of the personal choice features,
simply press a different button on the DIC or turn off the
ignition. However, personal choices you made may
not be retained.
If you happen to move past a selection you would like to
make a personal choice for, press the unlock button on
your transmitter or press the appropriate driver number
on the seat control. This will return you to the beginning of
the option feature programming mode.
A description of each feature programmable through the
DIC follows.
Outside Curb View Assist Mirror
The outside curb view assist mirror, which tilts the
passenger mirror while the vehicle is in REVERSE (R),
can be made active or inactive through the DIC.
When PARALLEL PARK-OFF-ON appears on the
display, use the ENG/MET button to toggle the arrow
between OFF and ON. When you have made your
choice, press the RESET button to record your
selection. For more information on this feature, see
Outside Curb View Assist Mirror on page 2-36.
Programmable Automatic Door Locks
The automatic door lock modes, when shifting in and out
of PARK (P), can be changed through the DIC. You
can change these modes using different selections from
the following DIC displays:
·AUTO DOOR LOCKS Ð OFF/ON
·UNLOCK IN PARK ÐOFF/ON
If you choose OFF for AUTO DOOR LOCKS, your door
locks will operate normally with no automatic feature.
If you choose ON for AUTO DOOR LOCKS, and ON for
UNLOCK IN PARK, your doors will lock every time
you shift out of PARK (P), and the doors will unlock
every time you stop and shift into PARK (P).
3-48
Page 197 of 372
Driving at Night
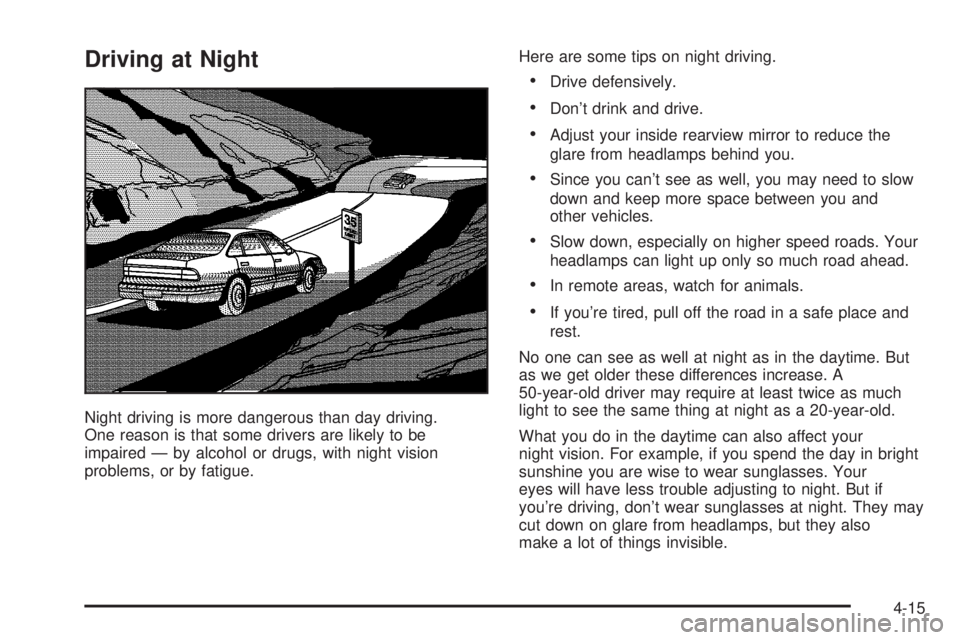
Night driving is more dangerous than day driving.
One reason is that some drivers are likely to be
impaired Ð by alcohol or drugs, with night vision
problems, or by fatigue.Here are some tips on night driving.
·Drive defensively.
·Don't drink and drive.
·Adjust your inside rearview mirror to reduce the
glare from headlamps behind you.
·Since you can't see as well, you may need to slow
down and keep more space between you and
other vehicles.
·Slow down, especially on higher speed roads. Your
headlamps can light up only so much road ahead.
·In remote areas, watch for animals.
·If you're tired, pull off the road in a safe place and
rest.
No one can see as well at night as in the daytime. But
as we get older these differences increase. A
50-year-old driver may require at least twice as much
light to see the same thing at night as a 20-year-old.
What you do in the daytime can also affect your
night vision. For example, if you spend the day in bright
sunshine you are wise to wear sunglasses. Your
eyes will have less trouble adjusting to night. But if
you're driving, don't wear sunglasses at night. They may
cut down on glare from headlamps, but they also
make a lot of things invisible.
4-15
Page 204 of 372
Highway Hypnosis
Is there actually such a condition as ªhighway
hypnosisº? Or is it just plain falling asleep at the wheel?
Call it highway hypnosis, lack of awareness, or
whatever.
There is something about an easy stretch of road with
the same scenery, along with the hum of the tires on the
road, the drone of the engine, and the rush of the
wind against the vehicle that can make you sleepy. Don't
let it happen to you! If it does, your vehicle can leave
the road in
less than a second,and you could crash and
be injured.
What can you do about highway hypnosis? First, be
aware that it can happen.
Then here are some tips:
·Make sure your vehicle is well ventilated, with a
comfortably cool interior.
·Keep your eyes moving. Scan the road ahead and
to the sides. Check your rearview mirrors and your
instruments frequently.
·If you get sleepy, pull off the road into a rest,
service or parking area and take a nap, get some
exercise, or both. For safety, treat drowsiness
on the highway as an emergency.
Hill and Mountain Roads
Driving on steep hills or mountains is different from
driving in ¯at or rolling terrain.
If you drive regularly in steep country, or if you're
planning to visit there, here are some tips that can make
your trips safer and more enjoyable.
·Keep your vehicle in good shape. Check all ¯uid
levels and also the brakes, tires, cooling system
and transaxle. These parts can work hard on
mountain roads.
4-22