BUICK RANDEZVOUS 2002 User Guide
Manufacturer: BUICK, Model Year: 2002, Model line: RANDEZVOUS, Model: BUICK RANDEZVOUS 2002Pages: 455, PDF Size: 2.86 MB
Page 11 of 455
1-4 Manual Lumbar
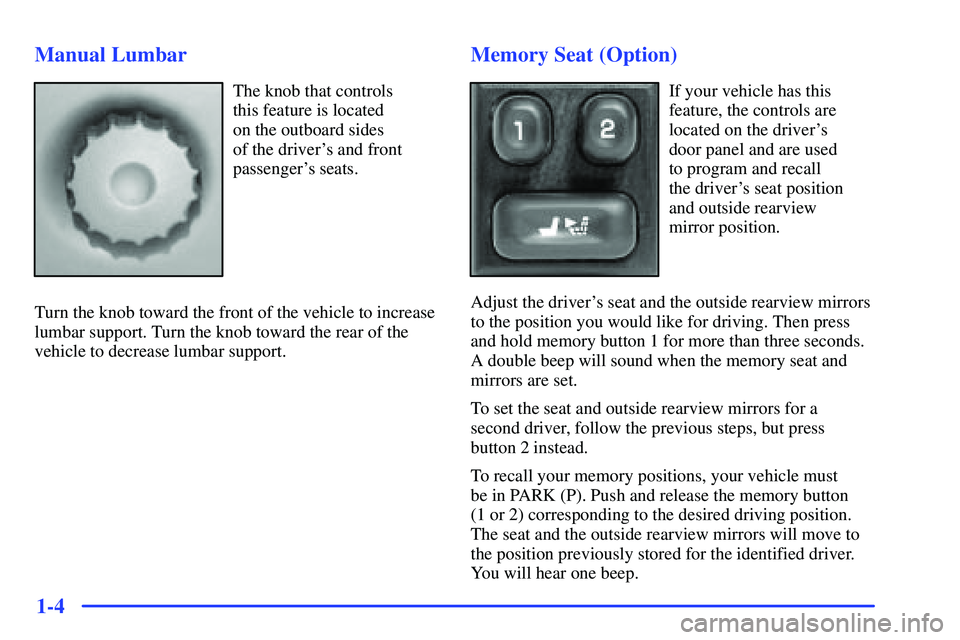
The knob that controls
this feature is located
on the outboard sides
of the driver's and front
passenger's seats.
Turn the knob toward the front of the vehicle to increase
lumbar support. Turn the knob toward the rear of the
vehicle to decrease lumbar support.
Memory Seat (Option)
If your vehicle has this
feature, the controls are
located on the driver's
door panel and are used
to program and recall
the driver's seat position
and outside rearview
mirror position.
Adjust the driver's seat and the outside rearview mirrors
to the position you would like for driving. Then press
and hold memory button 1 for more than three seconds.
A double beep will sound when the memory seat and
mirrors are set.
To set the seat and outside rearview mirrors for a
second driver, follow the previous steps, but press
button 2 instead.
To recall your memory positions, your vehicle must
be in PARK (P). Push and release the memory button
(1 or 2) corresponding to the desired driving position.
The seat and the outside rearview mirrors will move to
the position previously stored for the identified driver.
You will hear one beep.
Page 12 of 455

1-5
You can also store an exit position for each driver.
The exit position is programmed by moving the seat
to the desired exit position and then holding the exit
symbol button for more than three seconds. The exit
position set will be for the most recently selected driving
position (1 or 2). A double beep will sound when the
memory is set.
To use exit, your vehicle must be in PARK (P). Push
and release the exit symbol button and the seat will
move to the exit position stored for the most recently
selected driver. You will hear one beep.
To stop recall movement of the seat at any time,
press one of the three memory buttons or one of the
power seat controls located on the outboard side of
the driver's seat.
If your vehicle is equipped with a Driver Information
Center (DIC), you can use it to program certain
functions of the memory seats. See ªDriver Information
Center (DIC) Vehicle Customizationº in the Index.Heated Front Seats (Option)
The heated seat switches
are located in the center
console switchbank.
This feature will quickly heat the lower cushions and
lower back of the driver's and front passenger's seat for
added comfort. The left switch is for the driver's seat
and the right switch is for the front passenger's seat.
Press the top of the switch to turn the heater on.
Press the bottom of the switch to turn the heater off.
The heated seat switch will turn off when the ignition
is turned to OFF and will resume operation when the
ignition is turned to ON, unless the switch is manually
turned off.
Page 13 of 455
1-6 Reclining Front Seatbacks
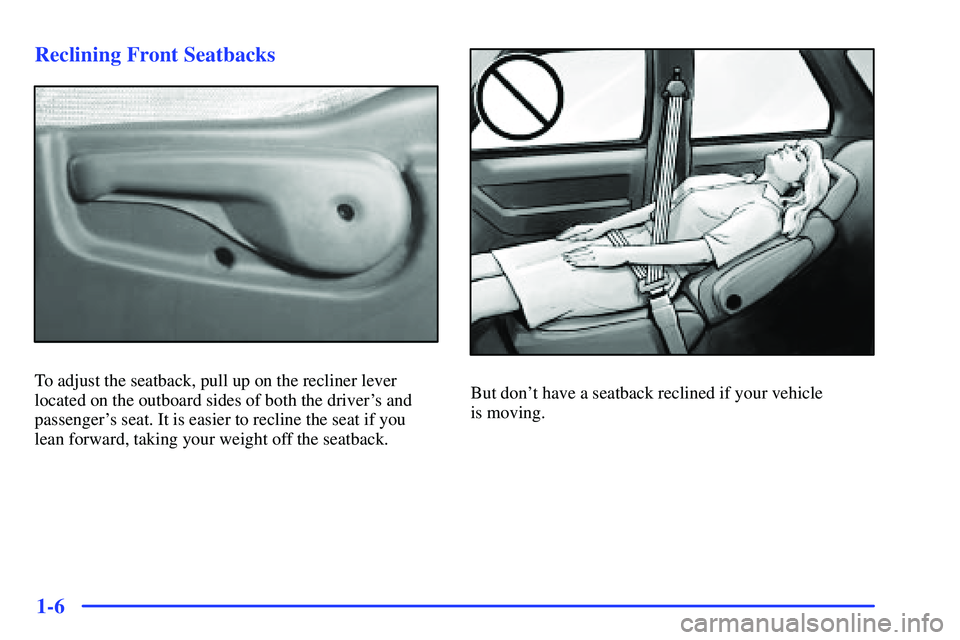
To adjust the seatback, pull up on the recliner lever
located on the outboard sides of both the driver's and
passenger's seat. It is easier to recline the seat if you
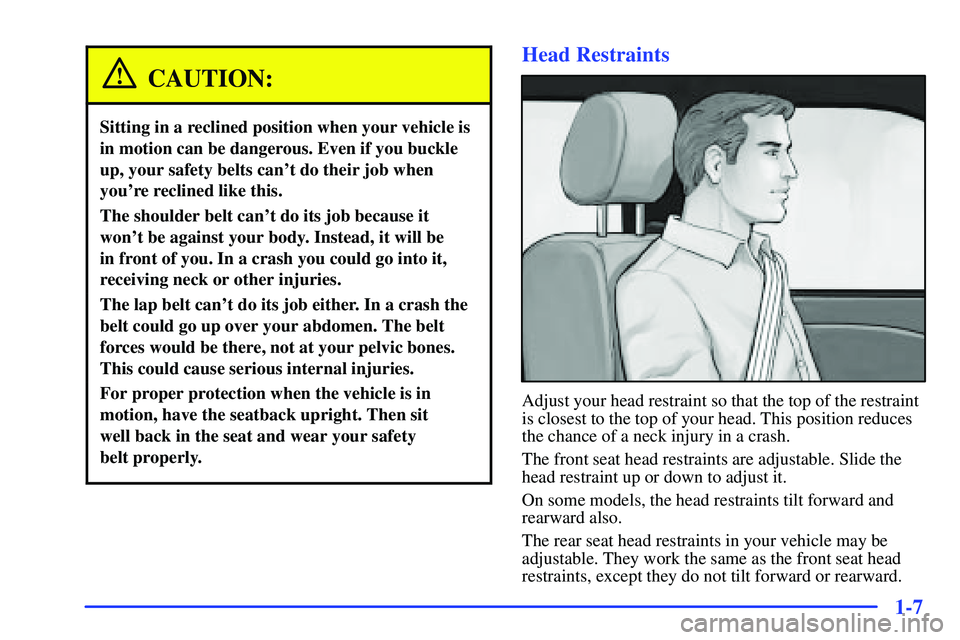
lean forward, taking your weight off the seatback.But don't have a seatback reclined if your vehicle
is moving.
Page 14 of 455
1-7
CAUTION:
Sitting in a reclined position when your vehicle is
in motion can be dangerous. Even if you buckle
up, your safety belts can't do their job when
you're reclined like this.
The shoulder belt can't do its job because it
won't be against your body. Instead, it will be
in front of you. In a crash you could go into it,
receiving neck or other injuries.
The lap belt can't do its job either. In a crash the
belt could go up over your abdomen. The belt
forces would be there, not at your pelvic bones.
This could cause serious internal injuries.
For proper protection when the vehicle is in
motion, have the seatback upright. Then sit
well back in the seat and wear your safety
belt properly.
Head Restraints
Adjust your head restraint so that the top of the restraint
is closest to the top of your head. This position reduces
the chance of a neck injury in a crash.
The front seat head restraints are adjustable. Slide the
head restraint up or down to adjust it.
On some models, the head restraints tilt forward and
rearward also.
The rear seat head restraints in your vehicle may be
adjustable. They work the same as the front seat head
restraints, except they do not tilt forward or rearward.
Page 15 of 455
1-8
Rear Seats
The rear seats in your vehicle have seat operating
features to adjust, fold, remove and reinstall the seats.
By using the seat operating features, in the correct order,
you can easily remove the seats from your vehicle.
When you put the seats back in the vehicle, be sure to
follow the label on the back of the seat for proper location.
Split Bench Seats (If Equipped)
If your vehicle has the split bench seat, the seatbacks
can be folded forward or reclined individually and the
sections can be flipped forward or removed individually.Folding or Reclining the Seatbacks
CAUTION:
If the seatback isn't locked, it could move forward
in a sudden stop or crash. That could cause injury
to the person sitting there. Always press rearward
on the seatback to be sure it is locked.
The seatbacks on each section of the split bench seat can
be reclined or folded forward.
Page 16 of 455
1-9
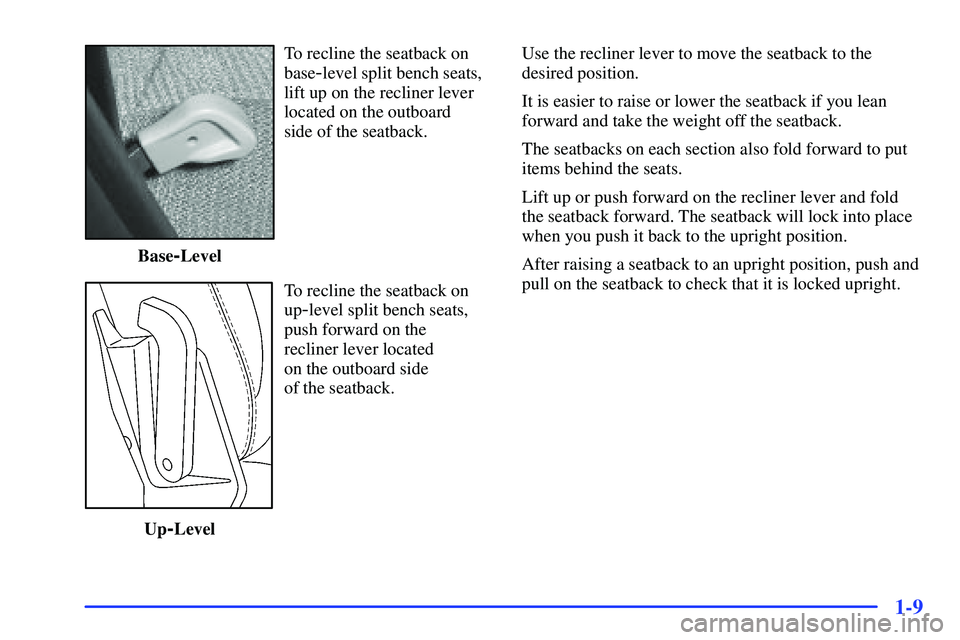
To recline the seatback on
base
-level split bench seats,
lift up on the recliner lever
located on the outboard
side of the seatback.
Base
-Level
To recline the seatback on
up
-level split bench seats,
push forward on the
recliner lever located
on the outboard side
of the seatback.
Up
-LevelUse the recliner lever to move the seatback to the
desired position.
It is easier to raise or lower the seatback if you lean
forward and take the weight off the seatback.
The seatbacks on each section also fold forward to put
items behind the seats.
Lift up or push forward on the recliner lever and fold
the seatback forward. The seatback will lock into place
when you push it back to the upright position.
After raising a seatback to an upright position, push and
pull on the seatback to check that it is locked upright.
Page 17 of 455
1-10
Removing the Split Bench Seat
Each section of the split bench seat can be flipped
forward or removed individually.
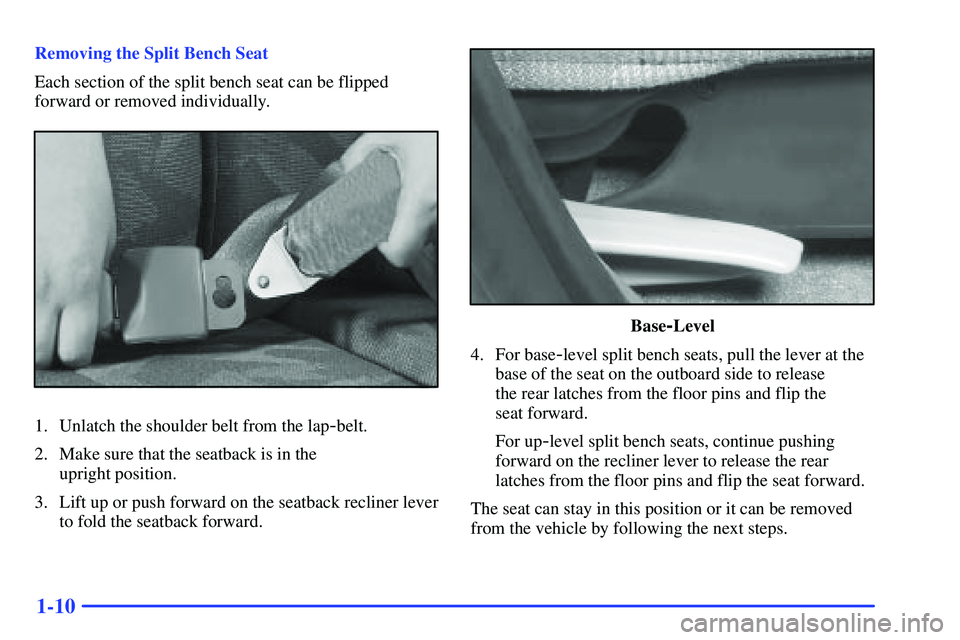
1. Unlatch the shoulder belt from the lap-belt.
2. Make sure that the seatback is in the
upright position.
3. Lift up or push forward on the seatback recliner lever
to fold the seatback forward.
Base-Level
4. For base
-level split bench seats, pull the lever at the
base of the seat on the outboard side to release
the rear latches from the floor pins and flip the
seat forward.
For up
-level split bench seats, continue pushing
forward on the recliner lever to release the rear
latches from the floor pins and flip the seat forward.
The seat can stay in this position or it can be removed
from the vehicle by following the next steps.
Page 18 of 455

1-11
5. To release the front latches, squeeze the angled latch
release bar toward the straight crossbar.
6. Remove the seat by rocking it slightly toward the
rear of the vehicle and then pulling it out.
Repeat these steps for the other section of the split
bench seat.Replacing the Split Bench Sections
CAUTION:
If the seatback isn't locked, it could move forward
in a sudden stop or crash. That could cause injury
to the person sitting there. Always press rearward
on the seatback to be sure it is locked.
CAUTION:
A seat that isn't locked into place properly
can move around in a collision or sudden stop.
People in the vehicle could be injured. Be sure
to lock the seat into place properly when
installing it.
Page 19 of 455

1-12
CAUTION:
A safety belt that is improperly routed, not
properly attached, or twisted won't provide
the protection needed in a crash. The person
wearing the belt could be seriously injured.
After installing the seat, always check to be
sure that the safety belts are properly routed
and attached, and are not twisted.
Make sure that the seatback is in the folded forward
position and that the safety belts are on the correct
section of the seat.
Don't put the sections of the bench seat in so that they
face rearward because they won't latch that way.
The split bench seat sections have seat position labels,
located on the back of each section, showing where
the section must go.
The seat must be placed in the proper location for
the legs to attach correctly.
1. Squeeze the angled latch release bar toward the
straight crossbar while placing the front hooks of
the bench seat onto the front two floor pins.
Page 20 of 455
1-13
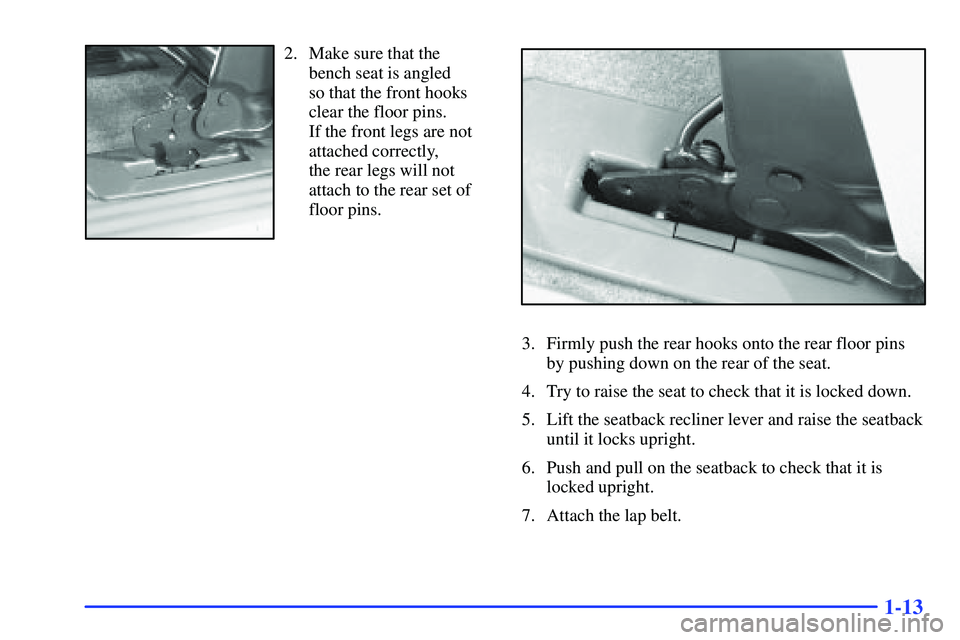
2. Make sure that the
bench seat is angled
so that the front hooks
clear the floor pins.
If the front legs are not
attached correctly,
the rear legs will not
attach to the rear set of
floor pins.
3. Firmly push the rear hooks onto the rear floor pins
by pushing down on the rear of the seat.
4. Try to raise the seat to check that it is locked down.
5. Lift the seatback recliner lever and raise the seatback
until it locks upright.
6. Push and pull on the seatback to check that it is
locked upright.
7. Attach the lap belt.