CD player BUICK REGAL 1994 Owners Manual
[x] Cancel search | Manufacturer: BUICK, Model Year: 1994, Model line: REGAL, Model: BUICK REGAL 1994Pages: 308, PDF Size: 15.78 MB
Page 123 of 308
Part 3 Comfort Controls and Audio Systems
In this part you’ll find out how to operate the comfort control systems and audio systems offered with your Buick . Be
sure to read about the particular system supplied with your vehicle .
Part 3 includes:
Comfort Control System ............................................................ 122
Heater
and Defroster ........................................................... 124
AirConditione
l- ............................................................... 123
Rear Window Defogger
........................................................ 125
Ventil~tio1.1 ................................................................... 124
AudioSystems
.................................................................... 125
Understanding Radio Reception
.................................................. 126
Setting the Clock
........................................................... 128.132
RadioControls
............................................................ 127. 131
Tape Player Controls ........................................................ 128. 132
CD Player Controls ............................................................ 129
Care 01’ Cassette Tape Player and Tapes ............................................ 125
Care
of Compact Discs ......................................................... 136
Antenna Care
...................................................... ........ 136
ProCarManuals.com
Page 128 of 308
~~ AM Stereo
This
means the Delco@ system can receive C-QUAM@
stereo broadcasts. Many AM stations around the country
use C-QUAM@ to produce stereo, though some do not.
(C-QUAM@ is a registered trademark of Motorola, Inc.)
If your Delco@ system can get C-QUAM@, your
“STEREO” light will come on when you’re receiving it.
Be aware that hearing damage.from loud noise is almost
undetectable until it is too late. Your hearing can adapt
to higher volumes of sound. Sound that seems normal
can be loud and harmful to your hearing. Take
precautions by adjusting the volume control on your
radio to a safe sound level before your hearing adapts to
it.
To help avoid hearing loss or damage:
Adjust the volume control to the lowest setting.
Increase volume slowly until you hear comfortably
and clearly.
NOTICE:
Before you add any sound equipment to your
vehicle
-- like a tape player, CB radio, mobile
telephone or two-way radio
-- be sure you can
add what you want. If you can, it’s very important
to do
it properly. Added sound equipment may
interfere with the operation of your vehicle’s
engine, Delco@ radio or other systems, and even
damage them. And, your vehicle’s systems may
interfere with the operation of sound equipment
that has been added improperly.
So, before adding sound equipment, check with
your dealer and be sure to check Federal rules
covering mobile radio and telephone units.
126
ProCarManuals.com
Page 130 of 308
Scan
Press the SCAN button to hear each station for a few
seconds. Push it again
to stop scanning,
Pushbuttons
The five pushbuttons let you return to favorite stations.
To set the pushbuttons for up to ten stations (5 AM and
5 FM).
0 Tune in the desired station.
Press SET.
Within 5 seconds, push one of the pushbuttons.
Whenever
you push that button again, the preset
station
will return.
Repeat these steps for each pushbutton.
Clock
To set the clock,
Press SET. SET must be lit in VF displa
adjusting the clock. lefore
Within 5 seconds,
push and hold the SCAN button
until the correct minute appears.
0 Push and hold the SEEK button until the correct
hour appears.
Bass
Press the (BAS +) side of the button to increase bass
tones and press the
(BAS -) side of the button to
decrease bass tones. Press the center of the control for
the preset bass setting.
Treble
Press the (TRB +) side of the button to increase treble
tones and press the (TRB
-) side of the button to
decrease treble tones. Press the center of the control for
the preset treble setting.
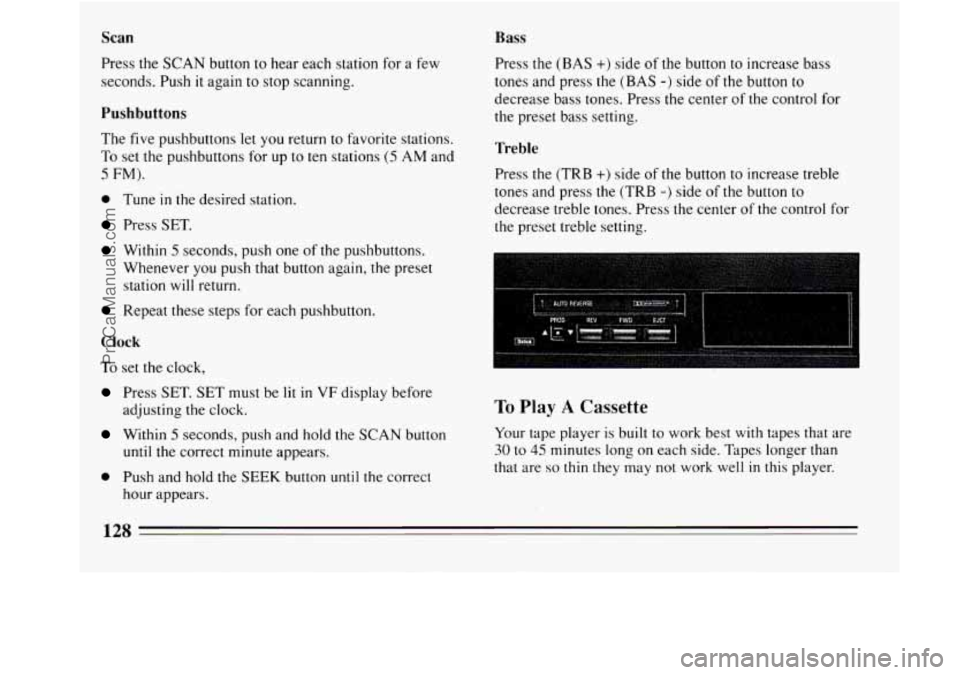
To Play A Cassette
Your tape player is built to work best with tapes that are
30 to 45 minutes long on each side. Tapes longer than
that are
so thin they may not work well in this player.
128
ProCarManuals.com
Page 131 of 308
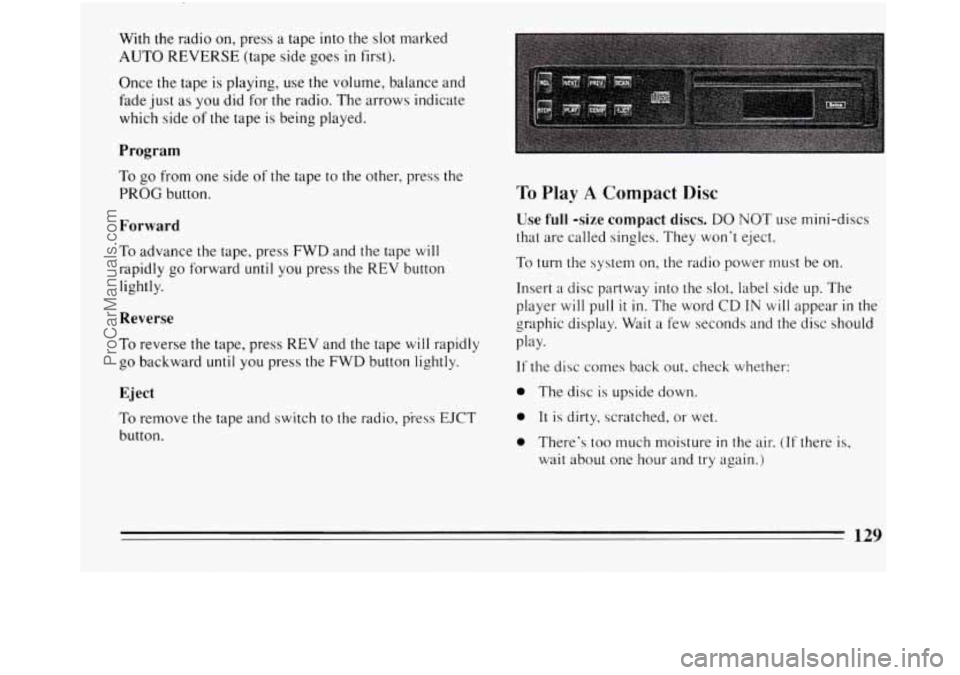
With the radio on, press a tape into the slot marked
AUTO REVERSE (tape side goes in first).
Once the tape is playing, use the volume, balance and
fade just
as you did for the radio. The arrows indicate
which side
of the tape is being played.
Program
To go from one side of the tape to the other, press the
PROG button.
Forward
To advance the tape, press FWD and the tape will
rapidly go forward until you press the REV button
lightly.
Reverse
To reverse the tape, press REV and the tape will rapidly
go backward until you press the FWD button lightly.
Eject
To remove the tape and switch to the radio, press EJCT
button.
To Play A Compact Disc
Use full -size compact discs. DO NOT use mini-discs
that are called singles. They won’t eject.
To turn the system on, the radio power must be on.
Insert a disc partway into the slot, label side up. The
player will pull
it in. The word CD IN will appear in the
graphic display. Wait a few seconds and the disc should
Play-
If the disc comes back out. check whether:
0 The disc is upside down.
0 It is dirty, scratched, or wet.
0 There’s too much moisture in the air. (If there is,
wait about one hour and try again.)
129
ProCarManuals.com
Page 132 of 308
Recall
Press RCL to see what track is playing. Press it again
within
5 seconds to see how long the CD has been
playing that track.
The track number also appears when you change the
volume or when a new track starts to play.
Next
Press NEXT to hear the next track now (instead of
waiting until the present track is finished.)
If you hold
this button, or press it more than once, the disc
will
advance further.
Previous
If you press and hold the PREV button, or press it more
than once, the disc will return to previous tracks.
Scan
Press SCAN to hear the first ten seconds of each track.
Press it again to stop scanning.
stop
By pressing STOP, the compact disc will stop playing
and the radio
will play.
Play
compact disc will play, if there is one inserted.
. Pressing PLAY will cause the radio to stop and the
Compression
Pressing the COMP'button makes soft and loud passages
more equal
in volume.
Eject
By pressing EJECT, the disc will eject and the radio will
play. The disc will start at track one when you reinsert it.
Press the OFF-VOL knob or turn the ignition key off
to
stop the disc player. The disc stays in the player and will
resume playing at the point where
it stopped.
ProCarManuals.com
Page 134 of 308
Scan
Press the SCAN button to hear each station for a few
seconds. Push
it again to stop scanning.
Pushbuttons
The five buttons can be used to preset ten radio stations
(5 AM and 5 FM stations.)
0 Tune in the desired station.
0 Press SET. (The SET indicator will appear on the
screen for five seconds.)
While the SET indicator is displayed, press one of
the five buttons. Whenever you press that button
again, the preset station
will return.
Repeat these steps for each of 5 AM and 5 FM
stations.
Loud
Press LD to increase the bass response.
Mute
Pressing Mute allows you to silence the radio or tape
player; press again to listen. During mute, only volume
up works.
Clock
With the ignition on and the radio off, press SET. The
set indicator
will appear on the display for five seconds.
0 During that five seconds, press SCAN to set the
minute.
0 Press SET again. Within 5 seconds, press SEEK to
set the hour.
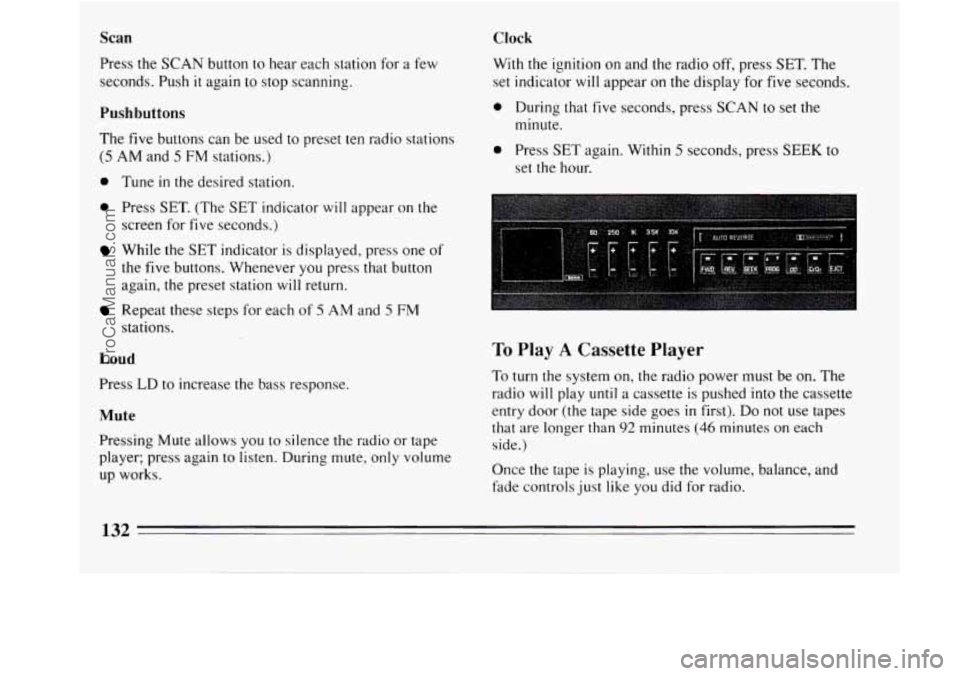
To Play A Cassette Player
To turn the system on, the radio power must be on. The
radio
will play until a cassette is pushed into the cassette
entry door (the tape side goes
in first). Do not use tapes
that are longer than
92 minutes (46 minutes on each
side.)
Once the tape is playing, use the volume, balance, and
fade controls just like you did for radio.
132
ProCarManuals.com
Page 135 of 308
Equalizer Program
The EQUALIZER enables you to adjust five separate
sound frequencies to your individual taste.
Slide an EQUALIZER control up to emphasize a
frequency, down to de-emphasize
it. It’s best to begin
with all the controls in the middle position, then adjust
each control as you like.
Forward
Press FWD to advance the tape rapidly. Press again to
play the tape. (The radio plays while a tape is
advancing.)
Reverse
Press REV to reverse the tape rapidly. Press again to
play the tape. (The radio plays while a tape is
rewinding.)
Seek
To search for the next selection on the tape, press SEEK
then press either FWD
or REV. For the SEEK to stop,
there must be at least a 4-second gap between selections
on the tape. Press PROG
to change the side of the tape being played.
When the
A is lit, the selections listed on the top side of
the tape are played. When the is lit, selections listed
on
the bottom side of the tape are played. When the end
of a tape is reached, the other side will then play.
Press
00 to remove unwanted noise on tapes.
Cr02
When playing high bias chrome or metal tapes, press
Cr02. This button sets tape bias. When playing standard
tapes, press again.
Eject
Press EJCT to eject the cassette tape from the tape
player.
133
ProCarManuals.com
Page 137 of 308
Care of Your Cassette Tape Player
A tape player that is not cleaned regularly can cause
reduced sound quality, ruined cassettes, or a damaged
mechanism. Cassette tapes should be stored in their
cases away from contaminants, direct sunlight, and
extreme heat. If
they aren't, they may not operate
properly or cause failure of the tape player.
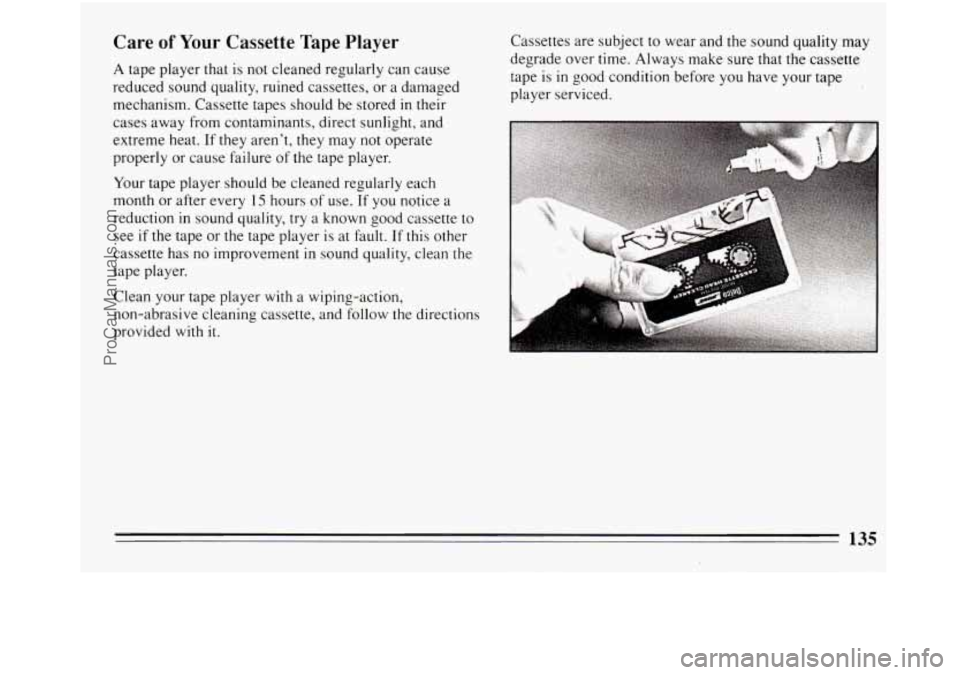
Your tape player should be cleaned regularly each
month or after every
15 hours of use. If you notice a
reduction in sound quality, try
a known good cassette to
see if the tape or the tape player is at fault. If this other
cassette has no improvement in sound quality, clean the
tape player.
Clean your tape player
with a wiping-action,
non-abrasive cleaning cassette, and follow the directions
provided with
it.
Cassettes are subject to wear and the sound quality may
degrade over time. Always make sure that the cassette
tape is
in good condition before you have your tape
player serviced.
135
ProCarManuals.com
Page 296 of 308
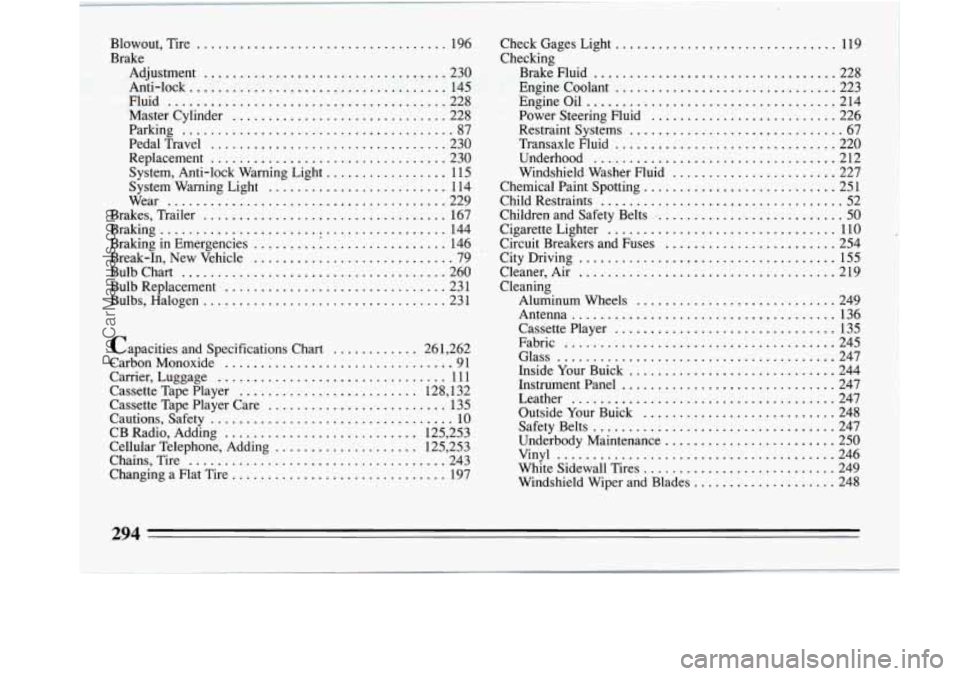
'Blowout. Tire ................................... 196
Adjustment
.................................. 230
Anti-lock
.................................... 145
Fluid
................................. ; ..... 228
Master Cylinder
.............................. 228
Parking
...................................... 87
Replacement
................................. 230
System. Anti-lock Warning Light
................. 115
System Warning Light
......................... 114
Wear
....................................... 229
Brakes. Trailer
.................................. 167
Braking
........................................ 144
Braking in Emergencies
......... : ................. 146
Break-In. New Vehicle
............................ 79
BulbChart
..................................... 2 60
Bulb Replacement ............................... 23 1
Bulbs. Halogen
.................................. 231
Brake
PedalTravel
................................. 230
Capacities and Specifications Chart
............. 261. 262
CarbonMonoxide
...... : ......................... 91
Carrier. Luggage
................................ 11 1
Cassette Tape Player ......................... 128, 132
Cassette Tape Player Care
......................... 135
Cautions, Safety
.................................. 10
CB Radio, Adding ........................... 125, 253
Changing a Flat Tire
.............................. 197
Cellular Telephone, Adding
.................... 125,
253
Chains, Tire
.................................... 243 Check Gages Light
............................... 119
Engine Coolant
................................ 223
Power Steering Fluid
.......................... 226
Restraint Systems
............................... 67
Transaxle Fluid
............................... 220
Underhood
.................................. 212
Windshield Washer Fluid
....................... 227
Chemical Paint Spotting
........................... 251
Child Restraints
.................................. 52
Children and Safety Belts
........................... 50
Cigarette Lighter ................................ 110
Circuit Breakers and Fuses
........................ 254
CityDriving
.................................... 155
Cleaner. Air
.................................... 219
Cleaning Aluminum Wheels
............................ 249
Antenna
..................................... 136
Cassette Player
............................... 135
Fabric
...................................... 245
Glass
....................................... 247
Inside Your Buick
............................. 244
Instrument Panel
.............................. 247
Leather
..................................... 247
Outside Your Buick
........................... 248
Safety Belts
.................................. 247
Underbody Maintenance
........................ 250
Vinyl
....................................... 246
White Sidewall Tires
........................... 249
Windshield Wiper and Blades
.................... 248
Checking
BrakeFluid
.................................. 228
Engine Oil
.................................... 214
294
ProCarManuals.com
Page 297 of 308
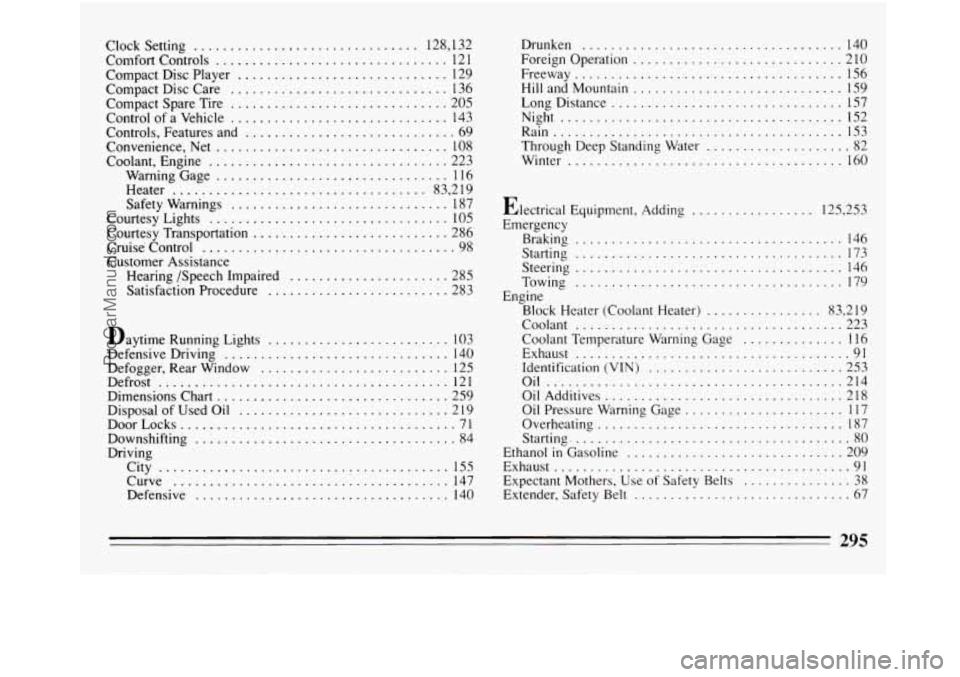
Clock Setting ............................... 128. 132
Comfort Controls
................................ 12 1
Compact Disc Player ............................. 129
Compact Disc Care
.............................. 136
Compact Spare Tire
.............................. 205
Control
of a Vehicle .............................. 143
Controls. Features and
............................. 69
Convenience. Net
................................ 108
Coolant. Engine
................................. 223
WarningGage
................................ 116
Heater
................................... 83. 2 19
Safety Warnings .............................. 187
Courtesy Lights
................................. 105
Courtesy Transportation
........................... 286
Cruise Control
................................... 98
Customer Assistance Hearing /Speech Impaired
...................... 285
Satisfaction Procedure
......................... 283
Daytime Running Lights
......................... 103
Defensive Driving
............................... 140
Defogger. Rear Window
.......................... 125
Defrost
........................................ 121
Dimensions Chart
................................ 259
Disposal of Used Oil
............................. 2 19
DoorLocks
...................................... 71
Downshifting
.................................... 84
Driving
City
........................................ 155
Curve
...................................... 147
Defensive
................................... 140 Drunken
.................................... 140
Foreign Operation
............................. 210 . Freeway ..................................... 156
Hill and Mountain
............................. 159
LongDistance
................................ 157
Night
....................................... 152
Rain
........................................ 153
Through Deep Standing Water
.................... 82
Winter
...................................... 160
Electrical Equipment. Adding
................. 125. 253
Emergency Braking
..................................... 146
Starting
..................................... 173
Towing
..................................... 179
Steering
..................................... 146
Engine Block Heater (Coolant Heater)
................ 83, 219
Coolant
..................................... 223
Coolant Temperature Warning Gage
.............. 116
Exhaust
...................................... 91
Identification
(VIN) ........................... 253
Oil
......................................... 214
Oil Additives
................................. 218
Oil Pressure Warning Gage
...................... 117
Overheating
.................................. 187
Starting
....................................... 80
Ethanol in Gasoline .............................. 209
Exhaust
......................................... 91
Expectant Mothers, Use of Safety Belts
............... 38
Extender, Safety Belt
.............................. 67
295
.- . ~ .. ...
ProCarManuals.com