CADILLAC CATERA 1997 1.G Owners Manual
Manufacturer: CADILLAC, Model Year: 1997, Model line: CATERA, Model: CADILLAC CATERA 1997 1.GPages: 338, PDF Size: 18.02 MB
Page 101 of 338
Downloaded from www.Manualslib.com manuals search engine Wiper Activated Headlamps
This feature activates the low-beam headlamps, parking
lamps, sidemarker lamps and taillamps after the
windshield wipers have been in use for about
20 seconds.
The wiper activated headlamps light the way in poor
weather and also make your vehicle more visible to
other drivers.
If the wipers are on and the ignition switch
is turned off, the headlamps will immediately turn off.
The headlamps will also deactivate if the windshield
wipers have been turned
off for about 20 seconds.
Lamps On Reminder
You will hear a warning buzzer if you open the door
while leaving the lamps
on, if the manual headlamp
control is activated. An exception to this is when you’re
using the twilight sentinel.
Daytime Running Lamps
Daytime Running Lamps (DRL) can make it easier for
others
to see the front of your vehicle during the day.
DRL can be helpful in many different driving
conditions, but they can be especially helpful in the
short periods after dawn and before sunset.
The DRL system will make the high-beam headlamps
come
on at reduced brightness when:
0 your vehicle’s ignition is in RUN or START,
0 the low-beam headlamps are off (the manual lamp
switch is in the
off or park lamp position) and
0 your vehicle’s transmission is shifted out of
PARK (P).
2-40
Page 102 of 338
Downloaded from www.Manualslib.com manuals search engine When DRL are on, only the high-beam headlamps (at
reduced brightness) will be on.
No other exterior lamps
such as the parking lamps, taillamps, etc. will be on
when the
DRL are being used. The instrument panel
won’t be lit up either.
When the twilight sentinel is on and it’s dark enough
outside, the high-beam headlamps (at reduced intensity)
will change to low-beam headlamps. When it’s bright
enough outside, the regular lamps will go off, and the
high-beam headlamps change to the reduced brightness
of DRL.
To idle your vehicle with the headlamps off, turn off the
twilight sentinel switch and shift the transmission into
PARK (P). Placing your vehicle in PARK
(P) disables
the DRL. The DRL will stay
off until you shift out of
PARK
(P).
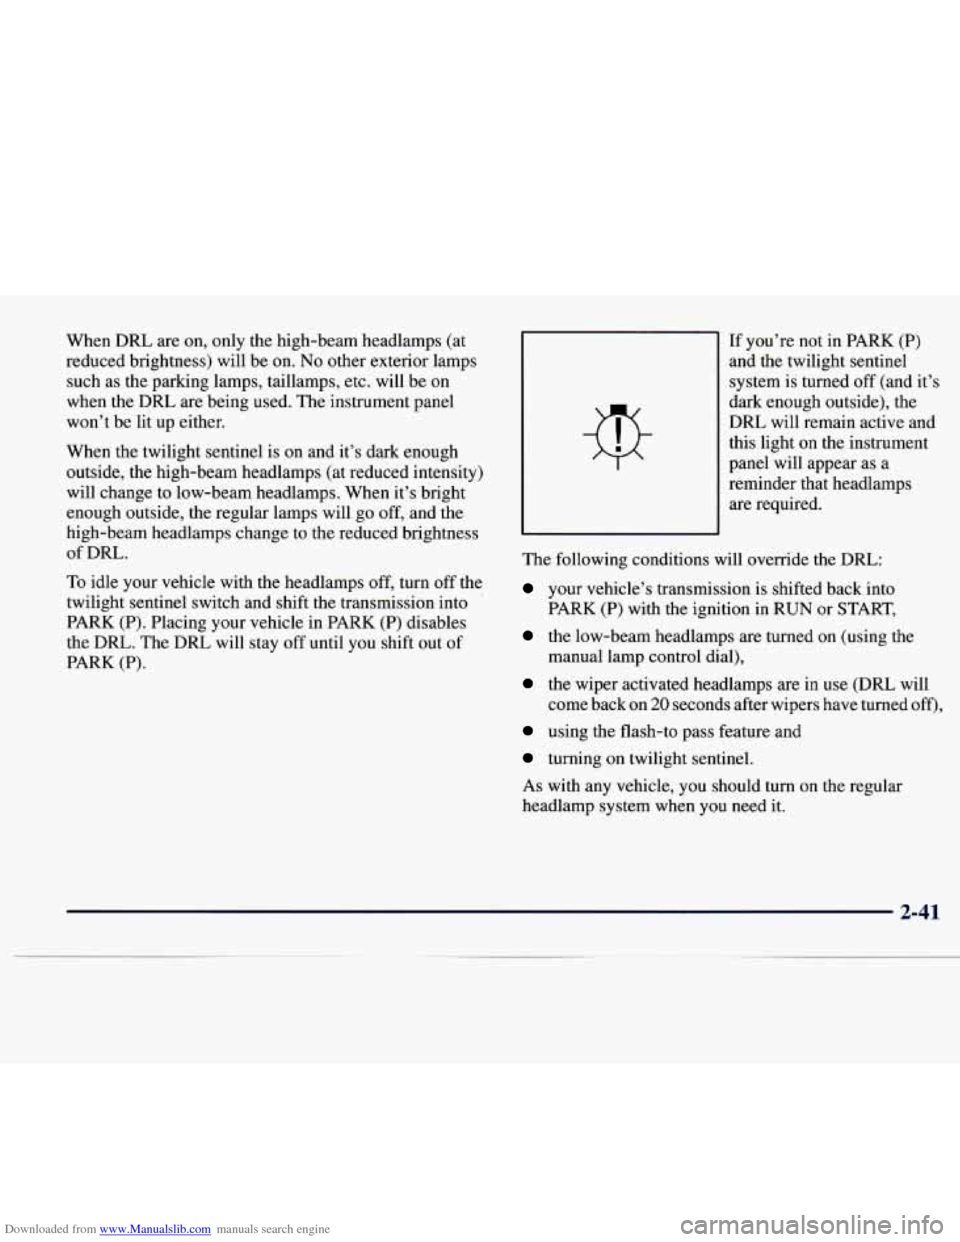
If you’re not in PARK (P)
and the twilight sentinel
system
is turned off (and it’s
dark enough outside), the
DRL will remain active and
this light on the instrument
panel will appear as a
reminder that headlamps
are required.
The following conditions will override the DRL:
your vehicle’s transmission is shifted back into
PARK
(P) with the ignition in RUN or START,
the low-beam headlamps are turned on (using the
manual lamp control dial),
the wiper activated headlamps are in use (DRL will
come back on
20 seconds after wipers have turned off),
using the flash-to pass feature and
turning on twilight sentinel.
As with any vehicle, you should turn on the regular
headlamp system when you need it.
2-41
Page 103 of 338
Downloaded from www.Manualslib.com manuals search engine Fog Lamps
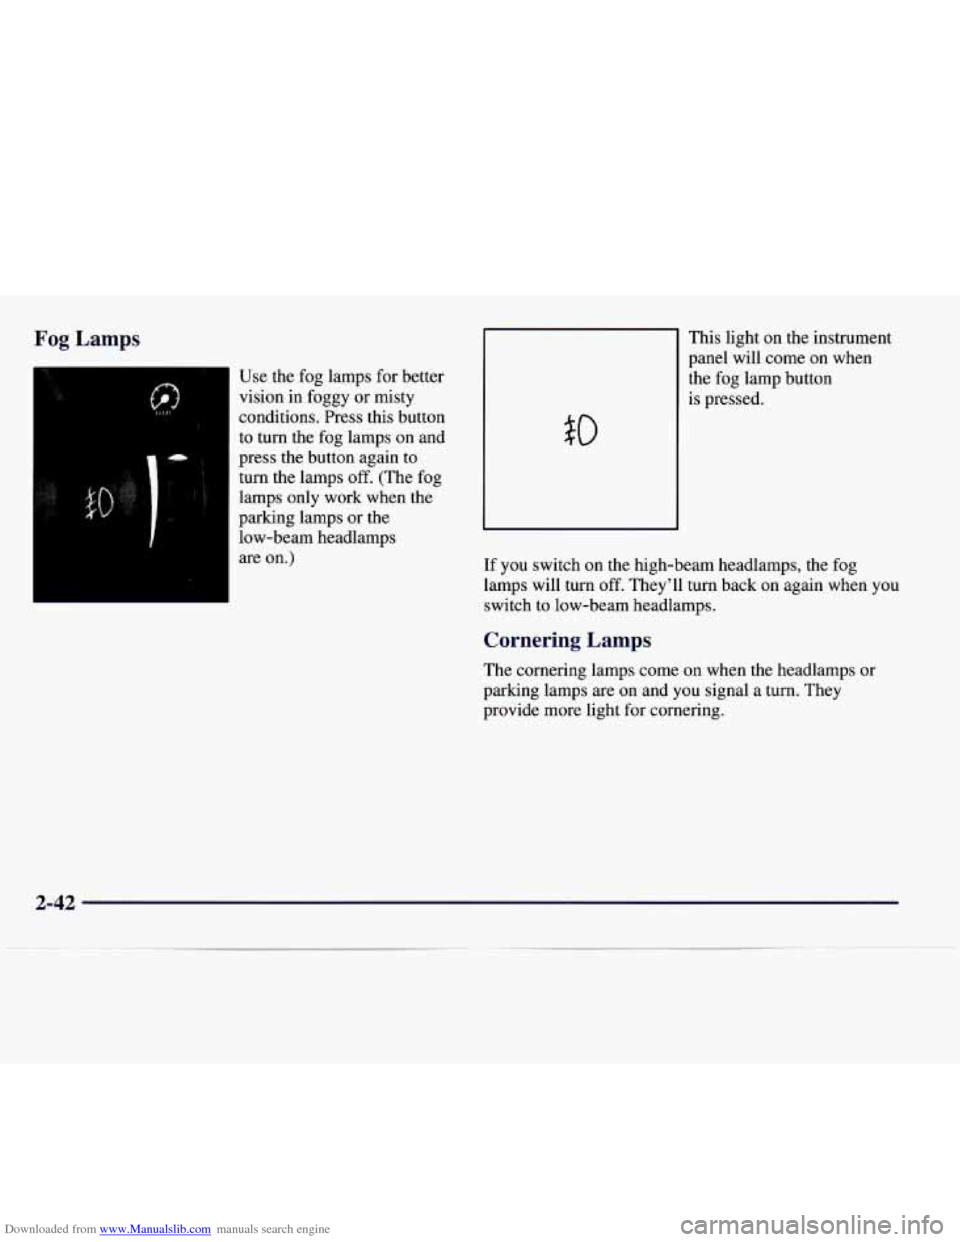
Use the fog lamps for better
vision in foggy or misty
conditions. Press this button
to turn the fog lamps on and
press the button again to
turn the lamps
off. (The fog
lamps only work when the
parking lamps or the
low-beam headlamps
are on.) This light
on the instrument
panel will come on when
the fog lamp button
$0
is pressed.
If you switch on the high-beam headlamps, the fog
lamps will turn off. They’ll turn back on again when you
switch to low-beam headlamps.
Cornering Lamps
The cornering lamps come on when the headlamps or
parking lamps are on and you signal a turn. They
provide more light for cornering.
2-42
Page 104 of 338
Downloaded from www.Manualslib.com manuals search engine Twilight Sentinel
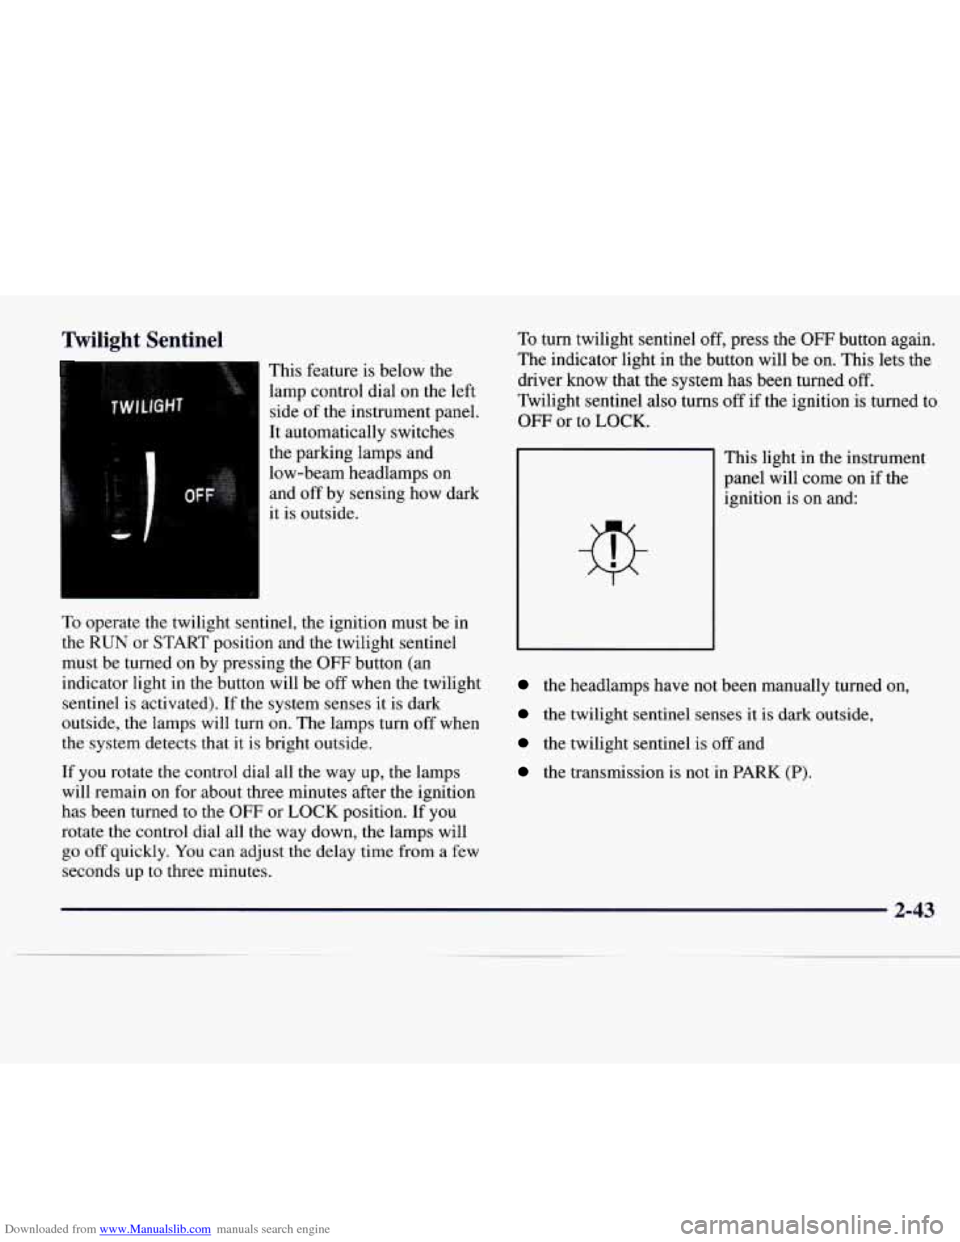
This feature is below the
lamp control dial on the left
side
of the instrument panel.
It automatically switches
the parking lamps and
low-beam headlamps on
and
off by sensing how dark
it is outside.
To operate the twilight sentinel, the ignition must be in
the
RUN or START position and the twilight sentinel
must be turned
on by pressing the OFF button (an
indicator light
in the button will be off when the twilight
sentinel
is activated). If the system senses it is dark
outside, the lamps will turn on. The lamps turn off when
the system detects that it is bright outside.
If you rotate the control dial all the way up, the lamps
will remain
on for about three minutes after the ignition
has been turned to the
OFF or LOCK position. If you
rotate the control dial all the way down, the lamps will
go off quickly. You can adjust the delay time from a few
seconds up to three minutes.
To turn twilight sentinel off, press the OFF button again.
The indicator light
in the button will be on. This lets the
driver know that the system has been turned
off.
Twilight sentinel also turns off if the ignition is turned to
OFF or to LOCK.
1
This light in the instrument
panel will come on if the
-
ignition is on and:
the headlamps have not b een manually turned 1
the twilight sentinel senses it is dark outside,
the twilight sentinel is off and
the transmission is not in PARK (P).
2-43
Page 105 of 338

Downloaded from www.Manualslib.com manuals search engine Light Sensor Interior Lamps
The light sensor for the twilight sentinel is located in the
center of the front defogger grille. If
you cover the
sensor, it will read “dark” and the parking lamps and
low-beam headlamps will come on.
Instrument Panel Brightness Control
This control dial is located to the right of the fog lamp
button.
As you rotate the control dial up, the instrument
panel lights will brighten.
Illuminated Entry
This system turns on the courtesy lamps (dome lamps
and door entry lamps) for about
20 seconds when any of
the following occur:
0 if you manually unlock your vehicle with the key,
if any door is opened or closed or
if you press the unlock button on the
RKE transmitter.
Illuminated entry immediately ends when your vehicle’s
ignition is turned to the RUN or START position.
2-44
Page 106 of 338
Downloaded from www.Manualslib.com manuals search engine Reading Lamps Map Lamps
The
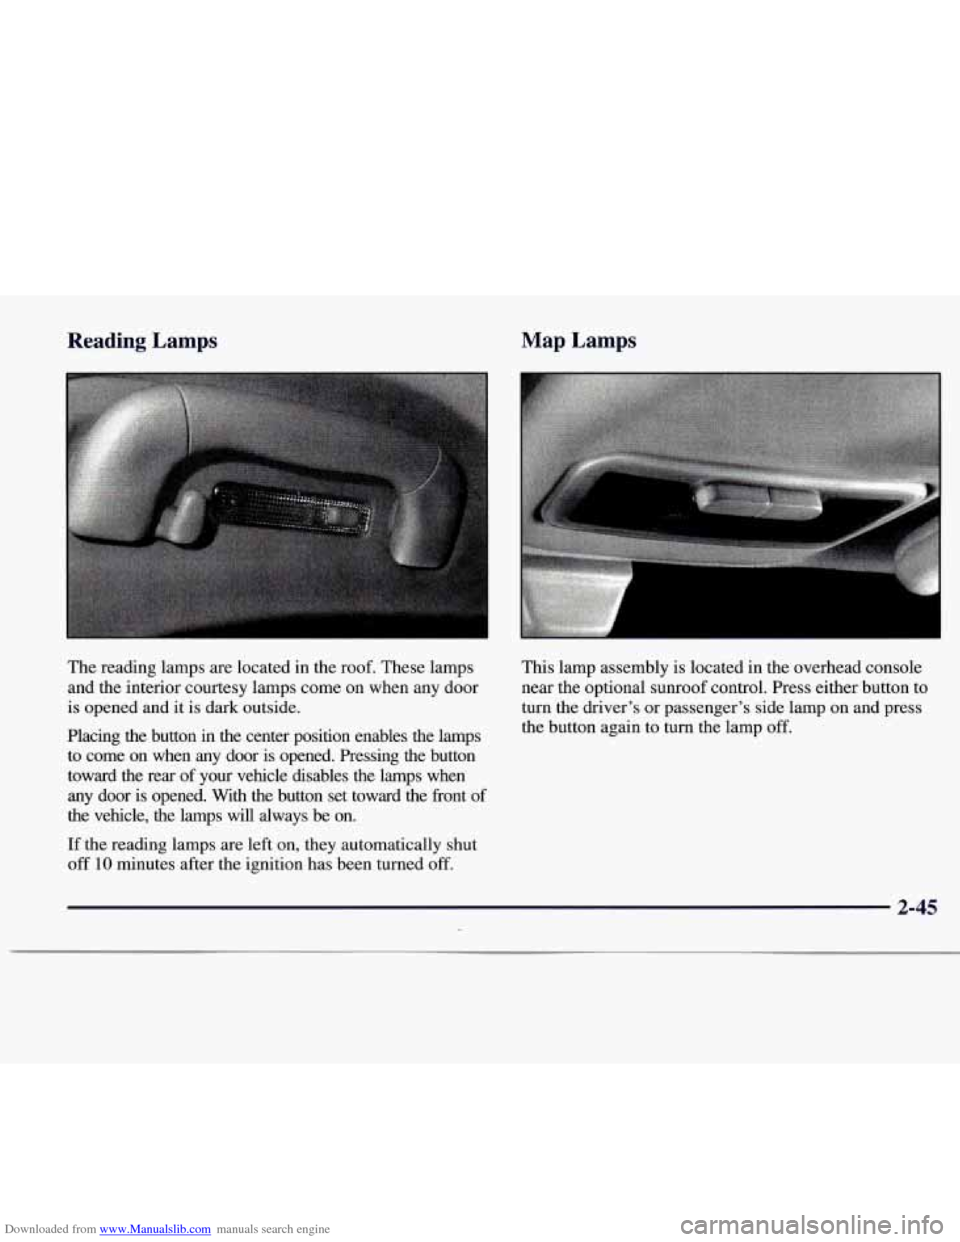
reading lamps are located in the roof. These lamps
and the interior courtesy lamps come on when any door
is opened and it is dark outside.
Placing the button in the center position enables the lamps to come on when any door is opened. Pressing the button
toward the rear of your vehicle disables the lamps when
any door is opened. With the button set toward
the front of
the vehicle, the lamps will always be on.
If the reading lamps are left on, they automatically shut
off 10 minutes after the ignition has been turned off.
This lamp assembly is located in the overhead console
near the optional
sunroo.f control. Press either button to
turn the driver’s or passenger’s side lamp on and press
the button again to turn the lamp
off.
2-45
Page 107 of 338
Downloaded from www.Manualslib.com manuals search engine Mirrors
Electrochromic Daymight Rearview Mirror
I
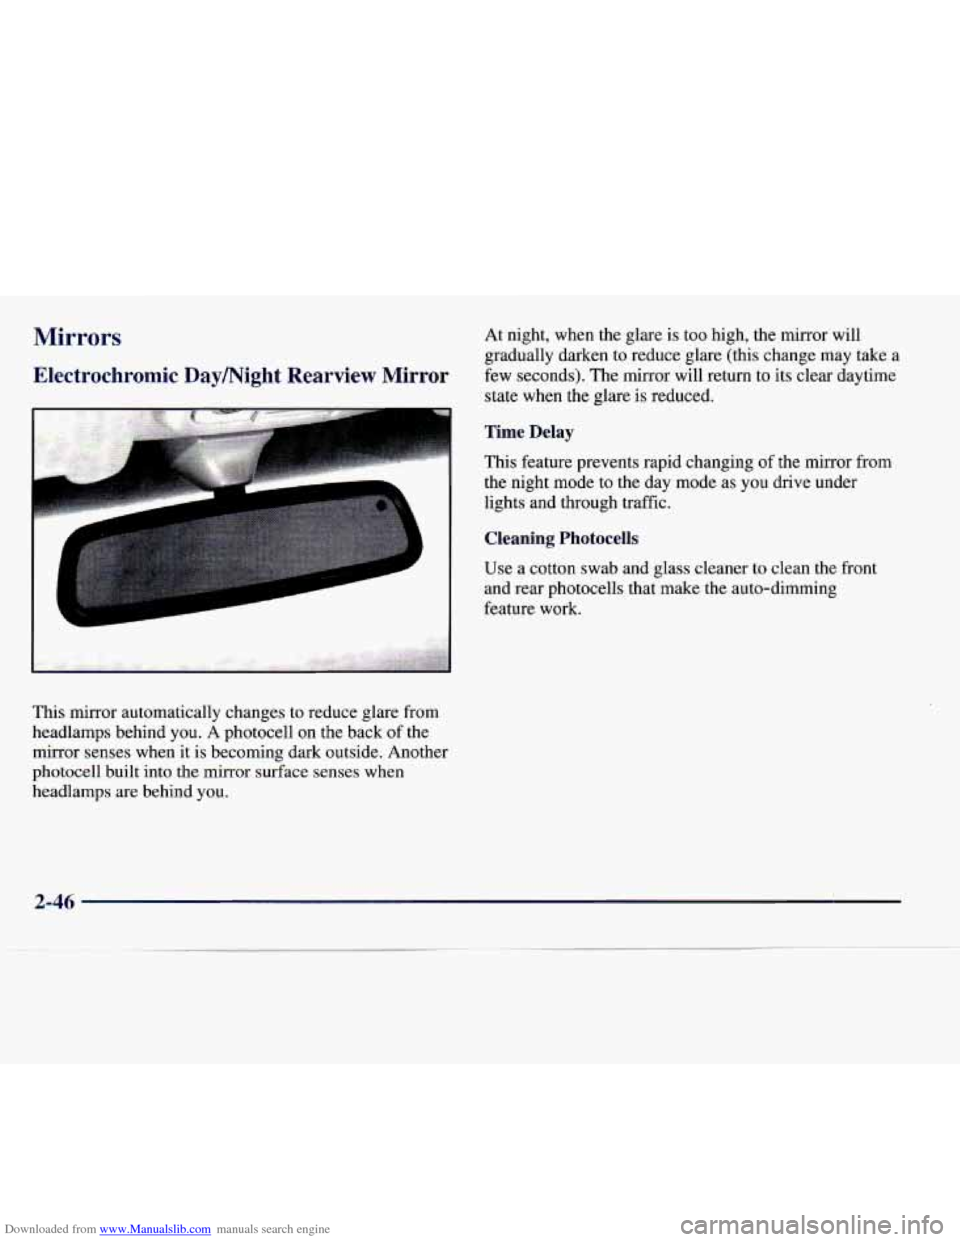
This mirror automatically changes to reduce glare from
headlamps behind you. A photocell
on the back of the
mirror senses when it is becoming dark outside. Another
photocell built into the mirror surface senses when
headlamps are behind you. At night, when the
glare is too high, the mirror will
gradually darken to reduce glare (this change may take a
few seconds). The mirror will return to its clear daytime
state when the glare is reduced.
Time Delay
This feature prevents rapid changing of the mirror from
the night mode to the day mode as you drive under
lights and through traffic.
Cleaning Photocells
Use a cotton swab and glass cleaner to clean the front
and rear photocells that make the auto-dimming
feature work.
2-46
Page 108 of 338
Downloaded from www.Manualslib.com manuals search engine Power Remote Control Mirror
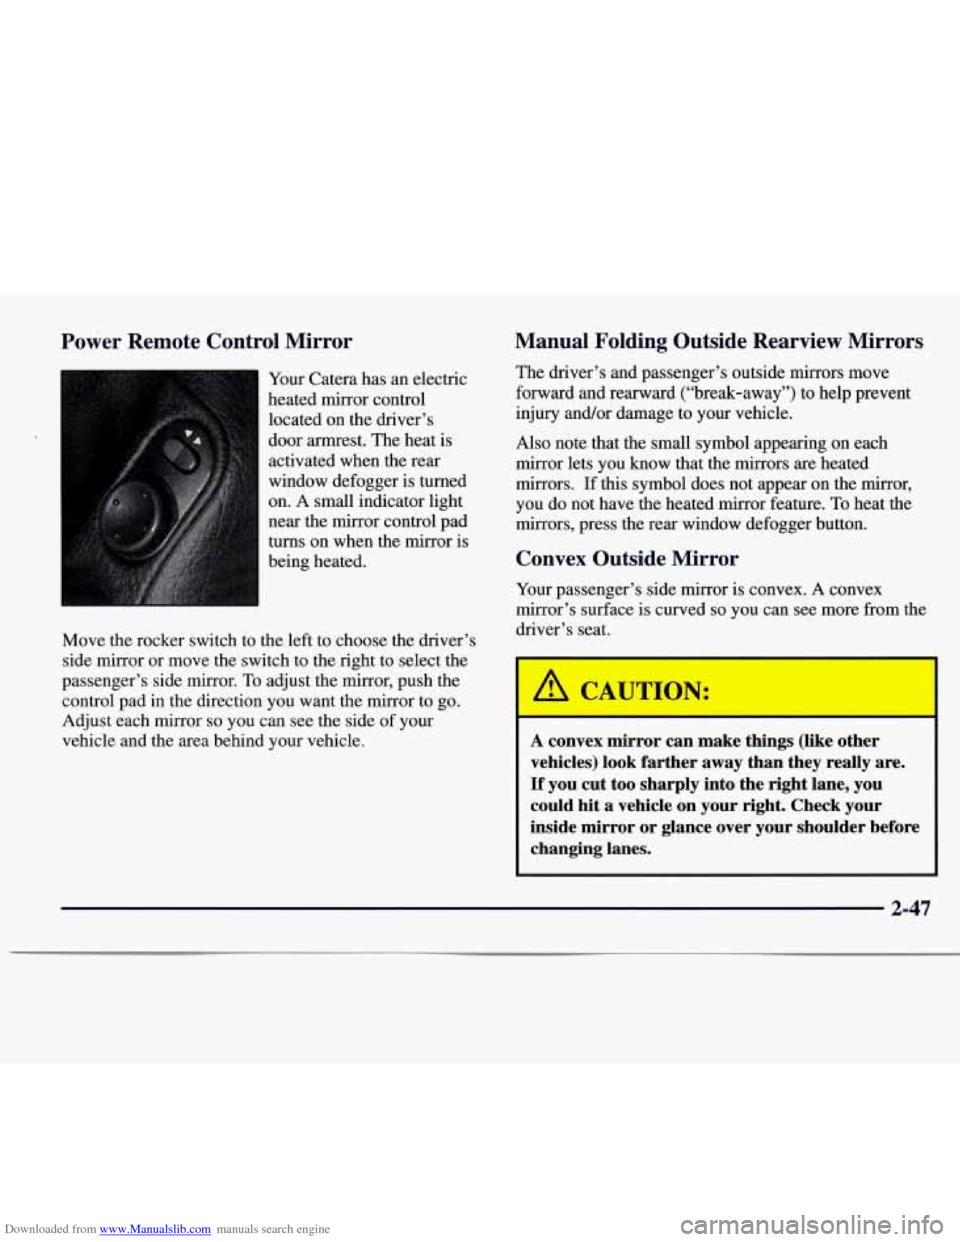
Your Catera has an electric
heated mirror control
located on the driver’s
door armrest. The heat is
activated when the rear
window defogger is turned
on.
A small indicator light
near the mirror control pad
turns on when the mirror
is
being heated.
Move the rocker switch to the left to choose the driver’s
side mirror or move the switch to the right to select the
passenger’s side mirror. To adjust the mirror, push the
control pad in the direction you want the mirror to go.
Adjust each mirror
so you can see the side of your
vehicle and the area behind your vehicle.
Manual Folding Outside Rearview Mirrors
The driver’s and passenger’s outside mirrors move
forward and rearward (“break-away”) to help prevent
injury and/or damage to your vehicle.
Also note that the small symbol appearing on each
mirror lets
you know that the mirrors are heated
mirrors.
If this symbol does not appear on the mirror,
you do
not have the heated mirror feature. To heat the
mirrors, press the rear window defogger button.
Convex Outside Mirror
Your passenger’s side mirror is convex. A convex
mirror’s surface is curved
so you can see more from the
driver’s seat.
I
A convex mirror can make things (like other
vehicles) look farther away than they really are.
If you cut too sharply into the right lane, you could hit .a vehicle on your right. Check your
inside mirror or glance over your shoulder before changing lanes.
2-47
Page 109 of 338
Downloaded from www.Manualslib.com manuals search engine Storage Compartments
Glove Box
The glove box is located in front of the passenger’s seat.
To lock the glove box door, insert the key into the lock
cylinder and turn it clockwise. Turn
the key
counterclockwise to unlock the door.
Note that the glove box is
air conditioned. This helps
to keep snack items cool while traveling. Use the slide
control inside
of the glove box to turn the air conditioning
on and off. Moving the slide control over the small hole
turns the air conditioning off and moving the control away
from the hole turns the air conditioning on.
Map Pockets
The mapktorage pockets are located on each front
door as well as on the passenger’s and driver’s front
seatbacks. Also located on the driver’s door map pocket
is a coin holder. The
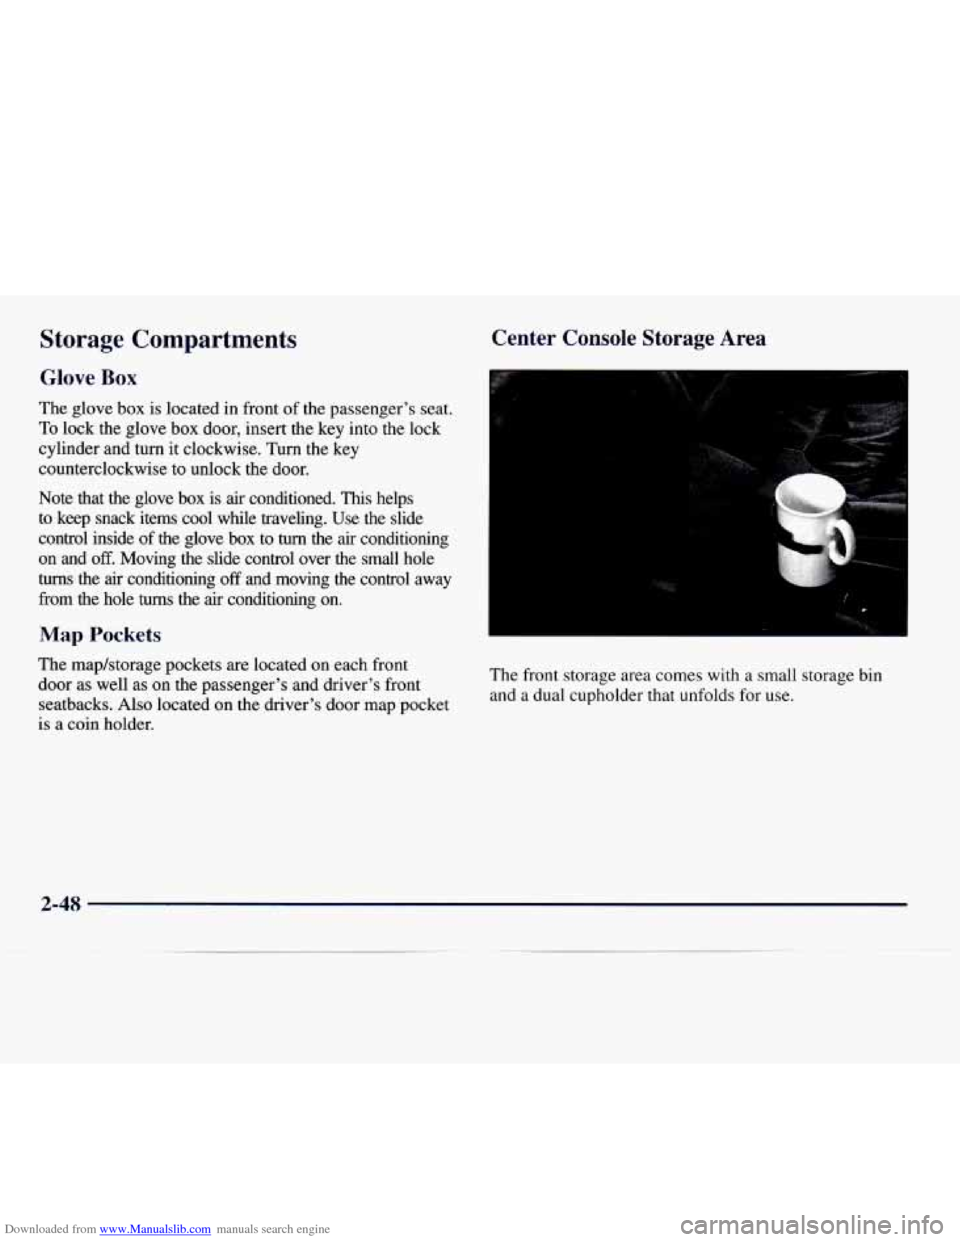
front storage area comes with a small storage bin
and a dual cupholder that unfolds for use.
2-48
Page 110 of 338
Downloaded from www.Manualslib.com manuals search engine Convenience Net
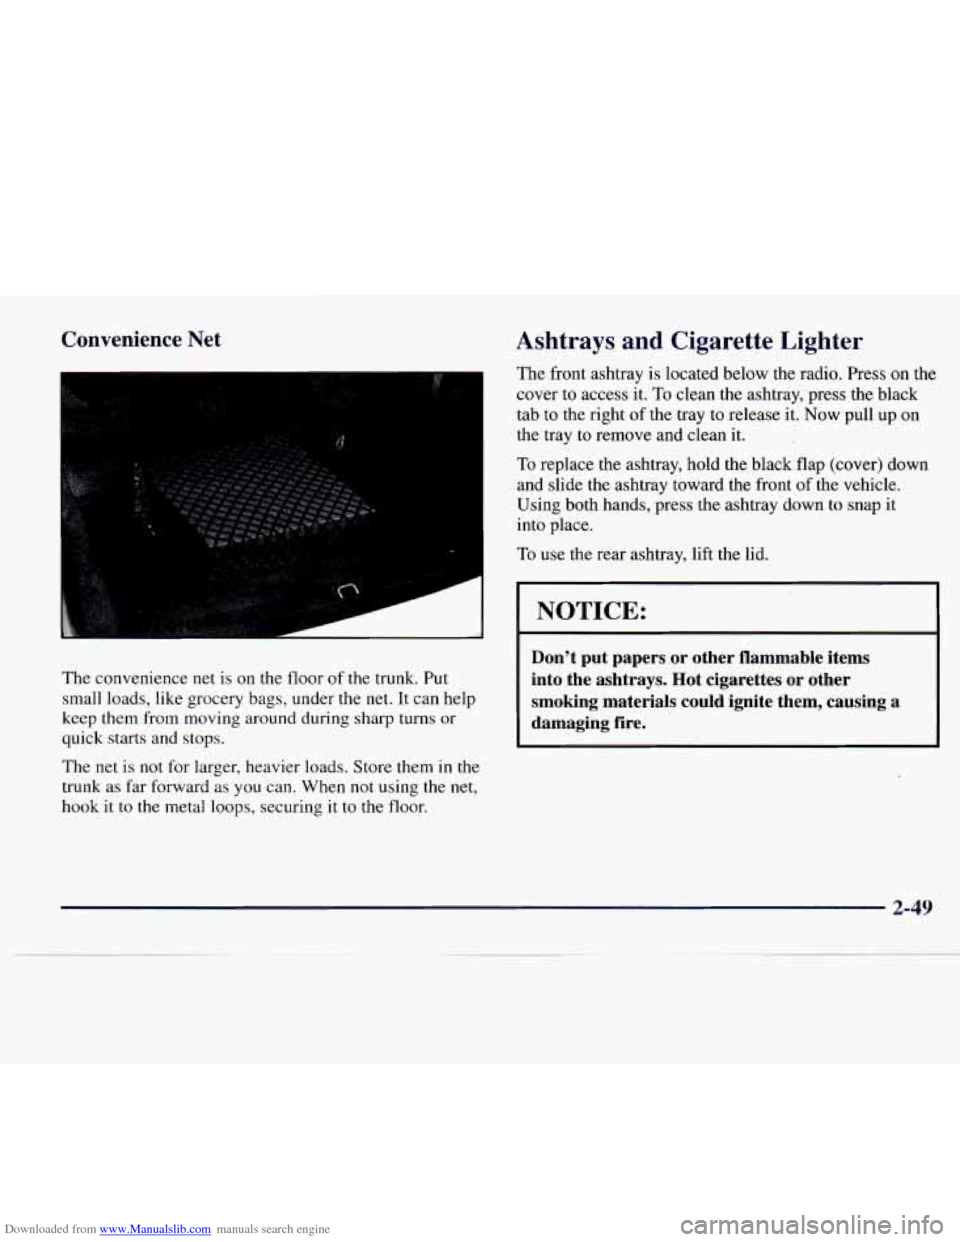
The convenience net is on the floor of the trunk, Put
small loads, like grocery bags, under the
net. It can help
keep them from moving around during sharp turns or
quick starts and stops.
The
net is not for larger, heavier loads. Store them in the
trunk as far forward
as you can. When not using the net,
hook it to the metal loops, securing it to the floor.
Ashtrays and Cigarette Lighter
The front ashtray is located below the radio. Press on the
cover to access it.
To clean the ashtray, press the black
tab to the right of the tray to release it.
Now pull up on
the tray to remove and clean it.
To replace the ashtray, hold the black flap (cover) down
and slide
the ashtray toward the front of the vehicle.
Using both hands, press the ashtray down to
snap it
into place.
To use the rear ashtray, lift the lid.
I NOTICE:
Don’t put papers or other flammable items
into the ashtrays. Hot cigarettes or other
smoking materials could ignite them, causing a
damaging fire.
2-49