center console CADILLAC CATERA 1997 1.G Owners Manual
[x] Cancel search | Manufacturer: CADILLAC, Model Year: 1997, Model line: CATERA, Model: CADILLAC CATERA 1997 1.GPages: 338, PDF Size: 18.02 MB
Page 15 of 338
Downloaded from www.Manualslib.com manuals search engine If your vehicle is in PARK (P), you can recall mirror and
seating positions by pressing and holding one of the
three memory buttons. This will adjust the seat and
mirrors
to where you have previously programmed
them. Seat and mirror movement is immediately stopped
if the memory button is released or if a seat or mirror
control is moved.
Note that the exterior mirrors will only adjust when the
ignition is turned on.
Heated Front Seat (Option)
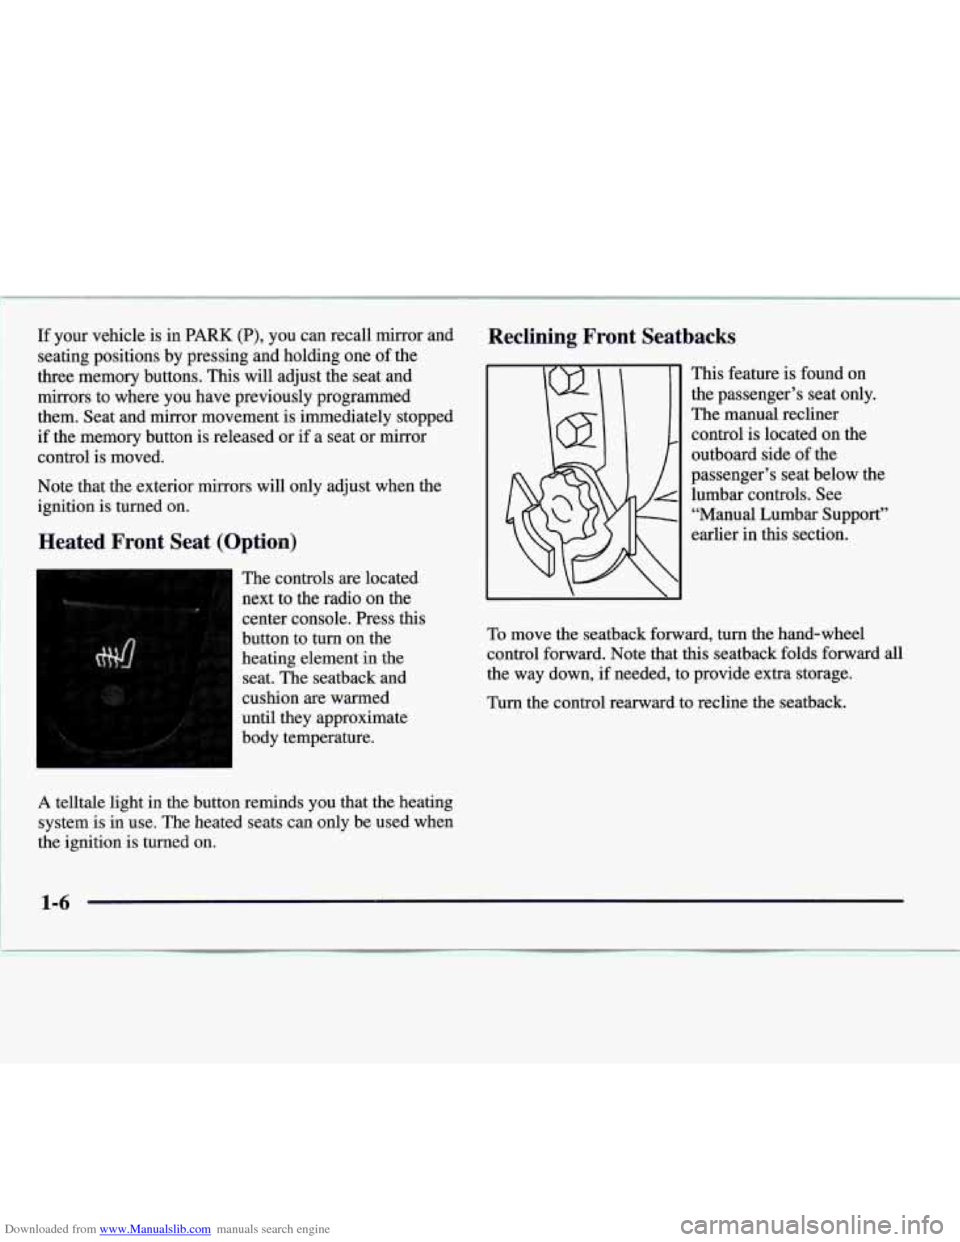
The controls are located
next to the radio on the
center console. Press this
button to
turn on the
heating element
in the
seat. The seatback and
cushion are warmed
until they approximate
body temperature.
A telltale light in the button reminds you that the heating
system is in use. The heated seats can only be used when
the ignition is turned on.
Reclining Front Seatbacks
This feature is found on
the passenger’s seat only.
The manual recliner
control is located on the
outboard side of the
passenger’s seat below the
lumbar controls. See “Manual Lumbar Support”
earlier in this section.
To move the seatback forward, turn the hand-wheel
control forward. Note that this seatback folds forward all
the way down,
if needed, to provide extra storage.
Turn the control rearward to recline the seatback.
Page 20 of 338
Downloaded from www.Manualslib.com manuals search engine Heated Rear Seat (Option)
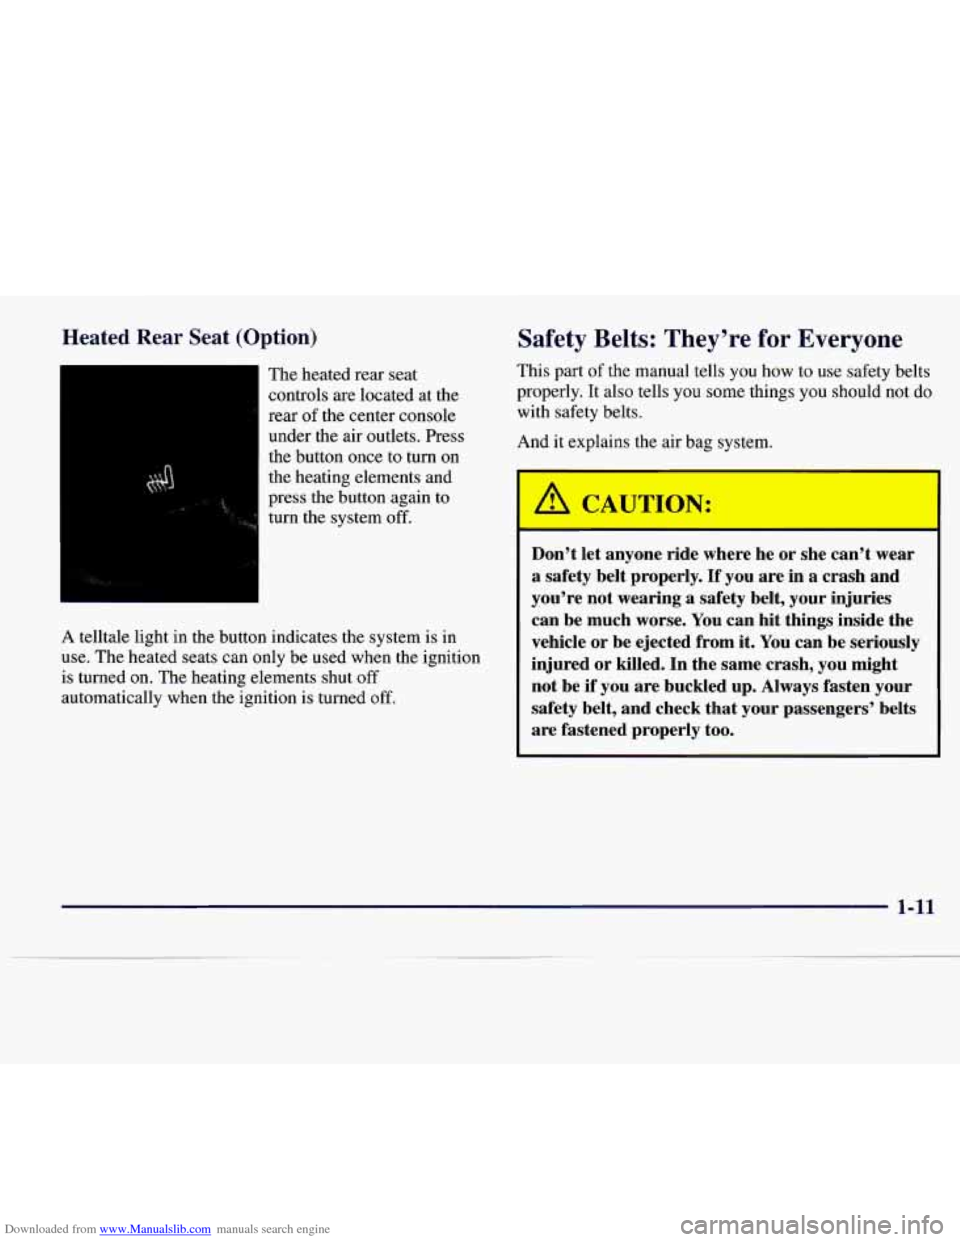
The heated rear seat
controls are located at the
rear
of the center console
under the air outlets. Press
the button once to turn
on
the heating elements and
press the button again to
turn the system
off.
A telltale light in the button indicates the system is in
use. The heated seats can only be used when the ignition
is turned on. The heating elements shut
off
automatically when the ignition is turned off.
Safety Belts: They’re for Everyone
This part of the manual tells you how to use safety belts
properly.
It also tells you some things you should not do
with safety belts.
And it explains the air bag system.
A CAU-ION:
Don’t let anyone ride where he or she can’t wear
a safety belt properly. If you are in a crash and
you’re not wearing a safety belt, your injuries
can be much worse. You can hit things inside the
vehicle or be ejected from it. You can be seriously
injured or killed. In the same crash, you might
not be
if you are buckled up. Always fasten your
safety belt, and check that your passengers’ belts
are fastened properly too.
1-11
Page 71 of 338
Downloaded from www.Manualslib.com manuals search engine 1
Trunk Trunk Release
It can be dangerous to drive with the trunk lid
open because carbon monoxide
(CO) gas can
come into your vehicle. You can’t see or smell
CO. It can cause unconsciousness and even death
If you must drive with the trunk lid open or if
electrical wiring or other cable connections must
pass through the seal between the body and the
trunk lid:
0 Make sure all windows are shut.
0 lhrn the fan on your heating or cooling
system to its highest speed with the setting
on
AUTO and the temperature between
65°F (18°C) and 85°F (29°C). That will
force outside
air into your vehicle. See
“Comfort Controls’’ in the Index.
0 If you have air outlets on or under the
instrument panel, open them all the
way.
See “Engine Exhaust” in the Index.
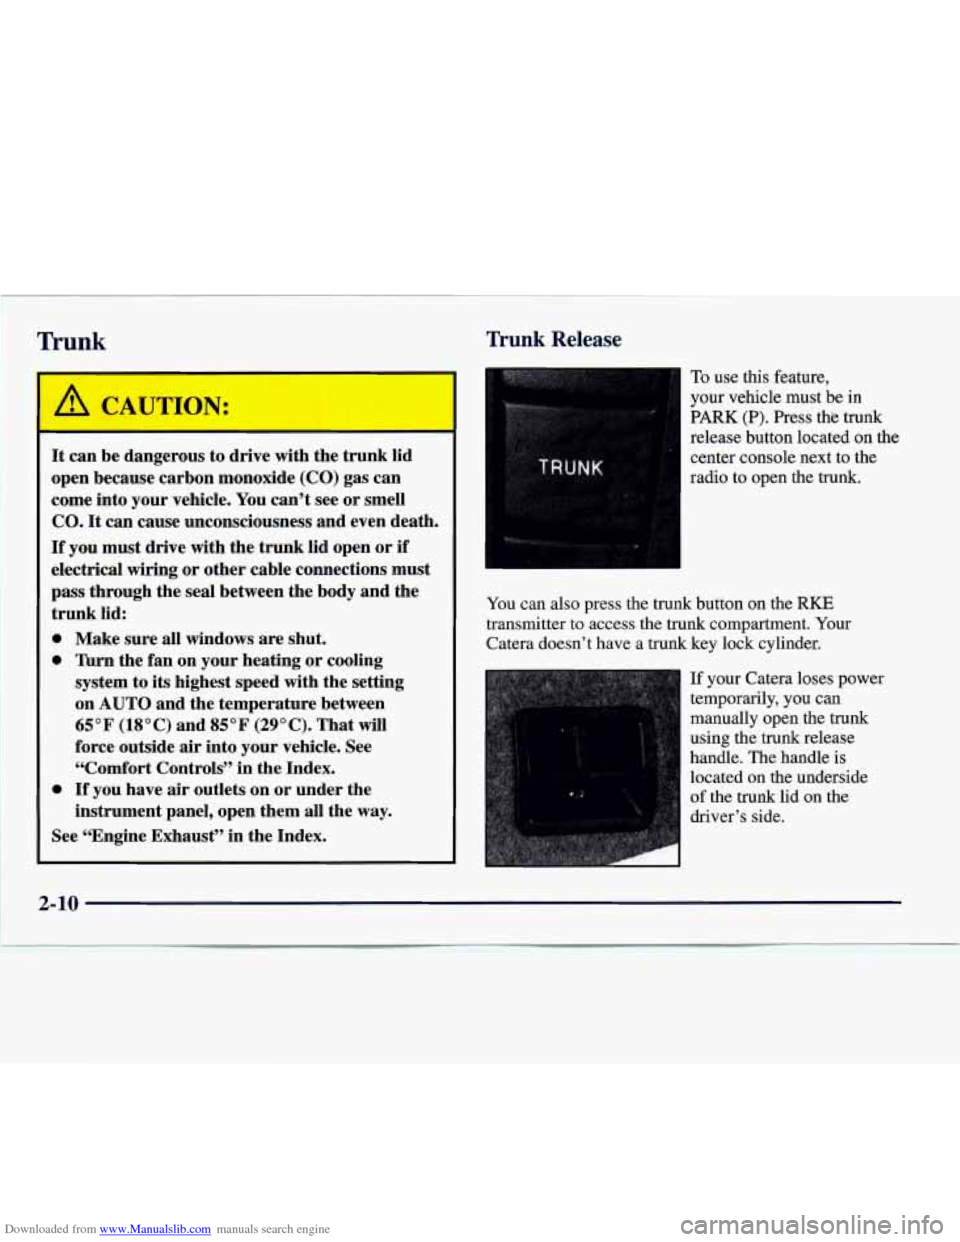
To use this feature,
your vehicle must be in
PARK (P). Press the trunk
release button located on the
center console next to the
radio to open the
trunk.
You can also press the trunk button on the RKE
transmitter to access the trunk compartment. Your
Catera doesn’t have
a trunk key lock cylinder.
If your Catera loses power
temporarily, you can
manually open the
trunk
using the trunk release
handle. The handle is
located on the underside
of the trunk lid on the
driver’s side.
2-10
Page 100 of 338
Downloaded from www.Manualslib.com manuals search engine -4
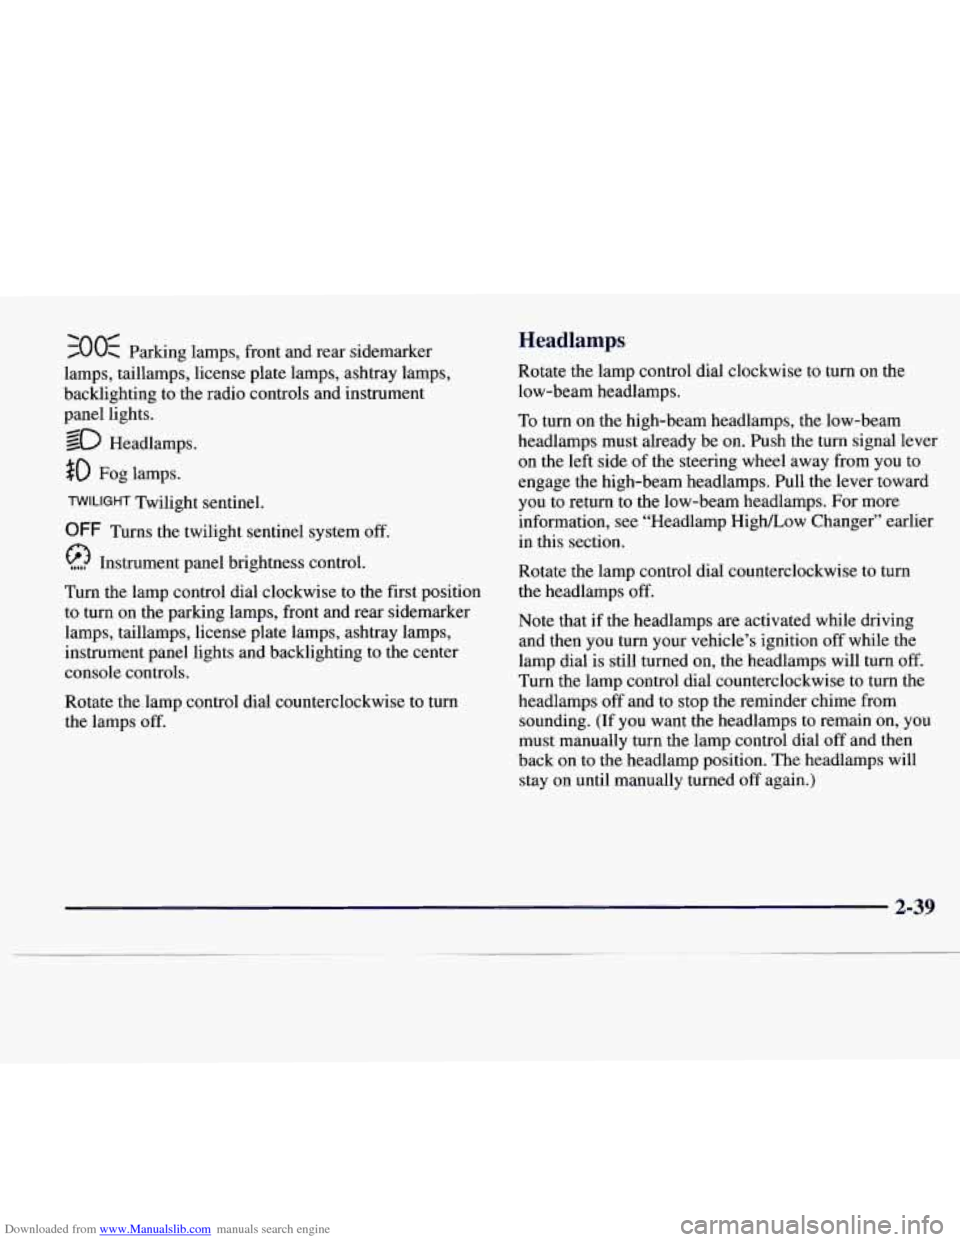
700< Parking lamps, front and rear sidemarker
lamps, taillamps, license plate lamps, ashtray lamps,
backlighting to the radio controls and instrument
panel lights.
so Headlamps .
$0 Fog lamps.
TWILIGHT Twilight sentinel.
OFF Turns the twilight sentinel system off.
@ Instrument panel brightness control.
Turn the lamp control dial clockwise to the first position
to turn on the parking lamps, front and rear sidemarker
lamps, taillamps, license plate lamps, ashtray lamps,
instrument panel lights and backlighting to the center
console controls.
Rotate the lamp control dial counterclockwise to turn
the lamps
off.
Headlamps
Rotate the lamp control dial clockwise to turn on the
low-beam headlamps.
To turn on the high-beam headlamps, the low-beam
headlamps must already be on. Push the turn signal lever
on the left side of the steering wheel away from you to
engage the high-beam headlamps. Pull the lever toward you to return
to the low-beam headlamps. For more
information, see “Headlamp High/Low Changer” earlier
in this section.
Rotate the lamp control dial counterclockwise
to turn
the headlamps off.
Note that if the headlamps are activated while driving
and then you turn your vehicle’s ignition off while the
lamp dial is still turned on, the headlamps will turn
off.
Turn the lamp control dial counterclockwise to turn the
headlamps off and to stop the reminder chime from
sounding. (If you want the headlamps to remain on, you
must manually turn the lamp control dial off and then
back on to the headlamp position. The headlamps will
stay
on until manually turned off again.)
2-39
Page 106 of 338
Downloaded from www.Manualslib.com manuals search engine Reading Lamps Map Lamps
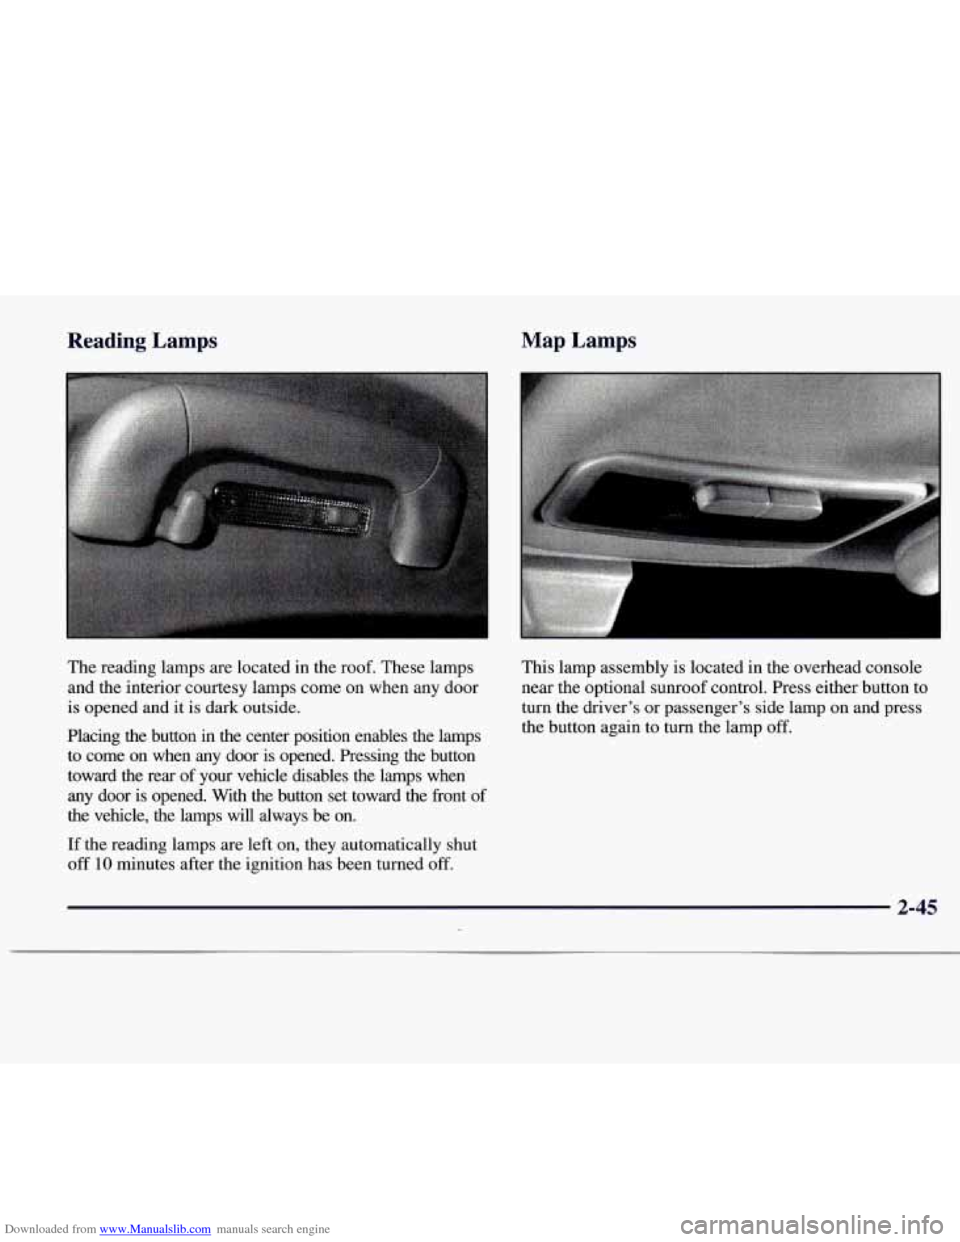
The
reading lamps are located in the roof. These lamps
and the interior courtesy lamps come on when any door
is opened and it is dark outside.
Placing the button in the center position enables the lamps to come on when any door is opened. Pressing the button
toward the rear of your vehicle disables the lamps when
any door is opened. With the button set toward
the front of
the vehicle, the lamps will always be on.
If the reading lamps are left on, they automatically shut
off 10 minutes after the ignition has been turned off.
This lamp assembly is located in the overhead console
near the optional
sunroo.f control. Press either button to
turn the driver’s or passenger’s side lamp on and press
the button again to turn the lamp
off.
2-45
Page 111 of 338
Downloaded from www.Manualslib.com manuals search engine The cigarette lighter is located next to the ashtray. Press
it all the way in and release. It will
pop back by itself
when it’s ready to light. You also have a lighter on the
back
of the center console near the rear seat air outlet.
Sun Visors
Illuminated Visor Vanity Mirror
NOTICE:
Don’t hold a cigarette lighter in with your hand
while it is heating.
If you do, it won’t be able to
back away from the heating element when it’s ready. That can make it overheat, damaging the
lighter and the heating element.
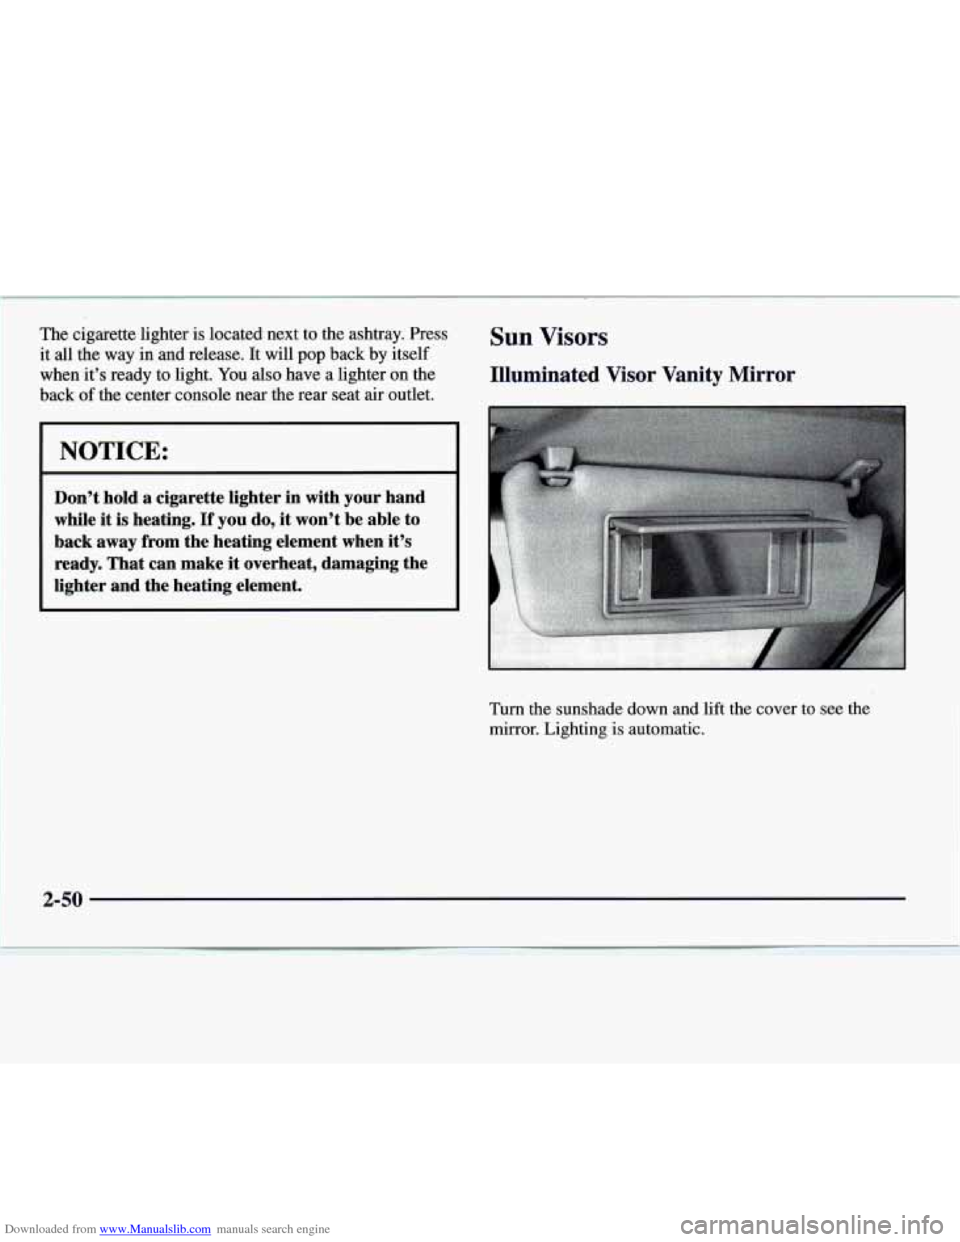
Turn the sunshade down and lift the cover to see the
mirror. Lighting is automatic.
2-50
Page 177 of 338
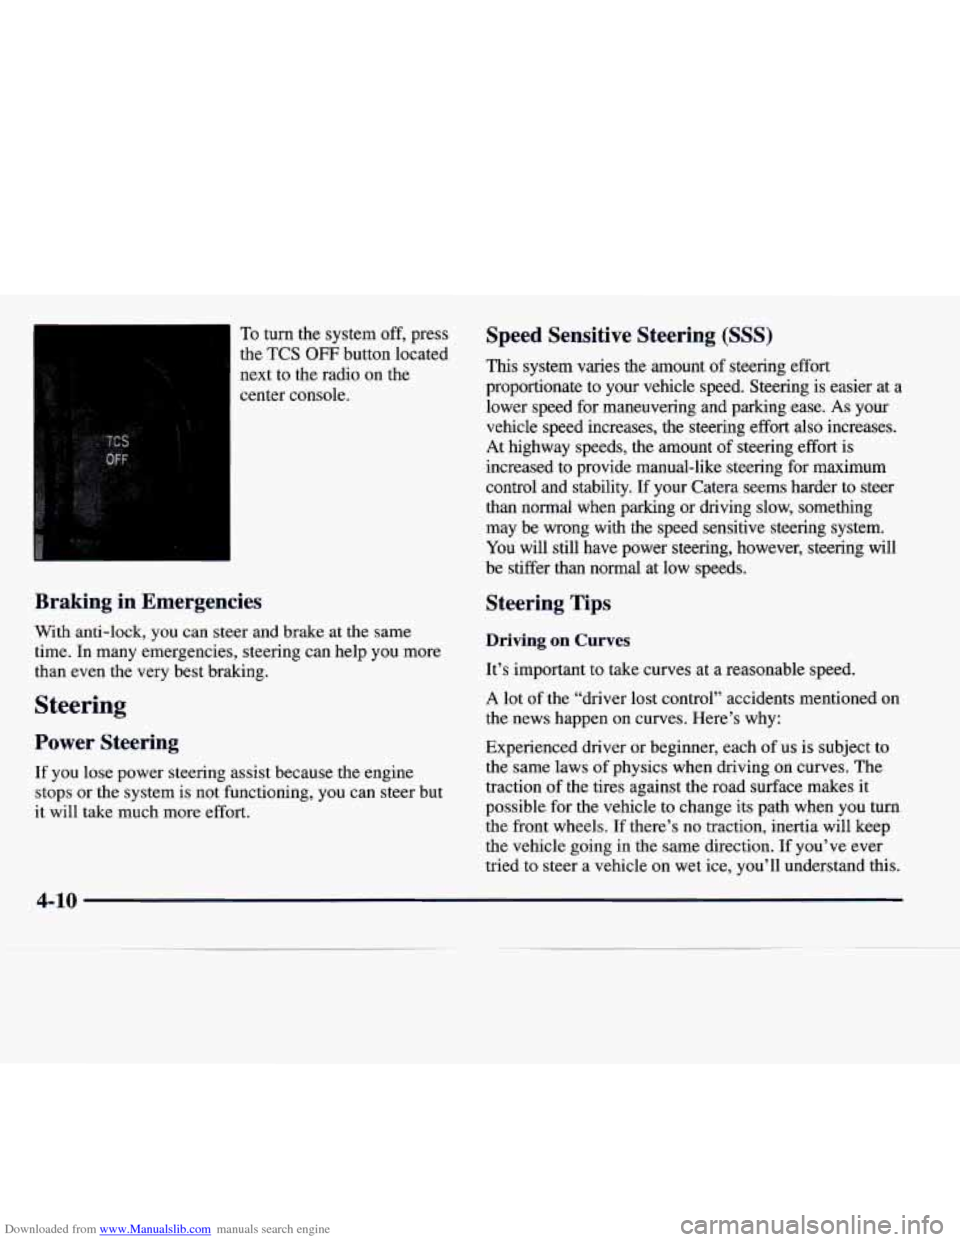
Downloaded from www.Manualslib.com manuals search engine To turn the system off, press
the
TCS OFF button located
next to the radio on the
center console.
b
Braking in Emergencies
With anti-lock, you can steer and brake at the same
time. In many emergencies, steering can help
you more
than even the very best braking.
Steering
Power Steering
If you lose power steering assist because the engine
stops or the system is not functioning, you
can steer but
it will take much more effort.
Speed Sensitive Steering (SSS)
This system varies the amount of steering effort
proportionate to your vehicle speed. Steering is
easier at a
lower speed for maneuvering and parking ease. As your
vehicle speed increases, the steering
effort also increases.
At highway speeds, the amount of steering
effort is
increased to provide manual-like steering for maximum
control and stability.
If your Catera seems harder to steer
than normal when parking or driving slow, something
may be wrong with the speed sensitive steering
system.
You will still have power steering, however, steering will
be stiffer than normal at low speeds.
Steering Tips
Driving on Curves
It’s important to take curves at a reasonable speed.
A lot of the “driver lost control” accidents mentioned on
the news happen on curves. Here’s why:
Experienced driver or beginner, each
of us is subject to
the same laws of physics when driving on curves. The
traction
of the tires against the road surface makes it
possible for the vehicle to change its path when you turn
the front wheels.
If there’s no traction, inertia will keep
the vehicle going in the same direction.
If you’ve ever
tried to steer a vehicle on wet ice, you’ll understand this.
4-10
Page 209 of 338
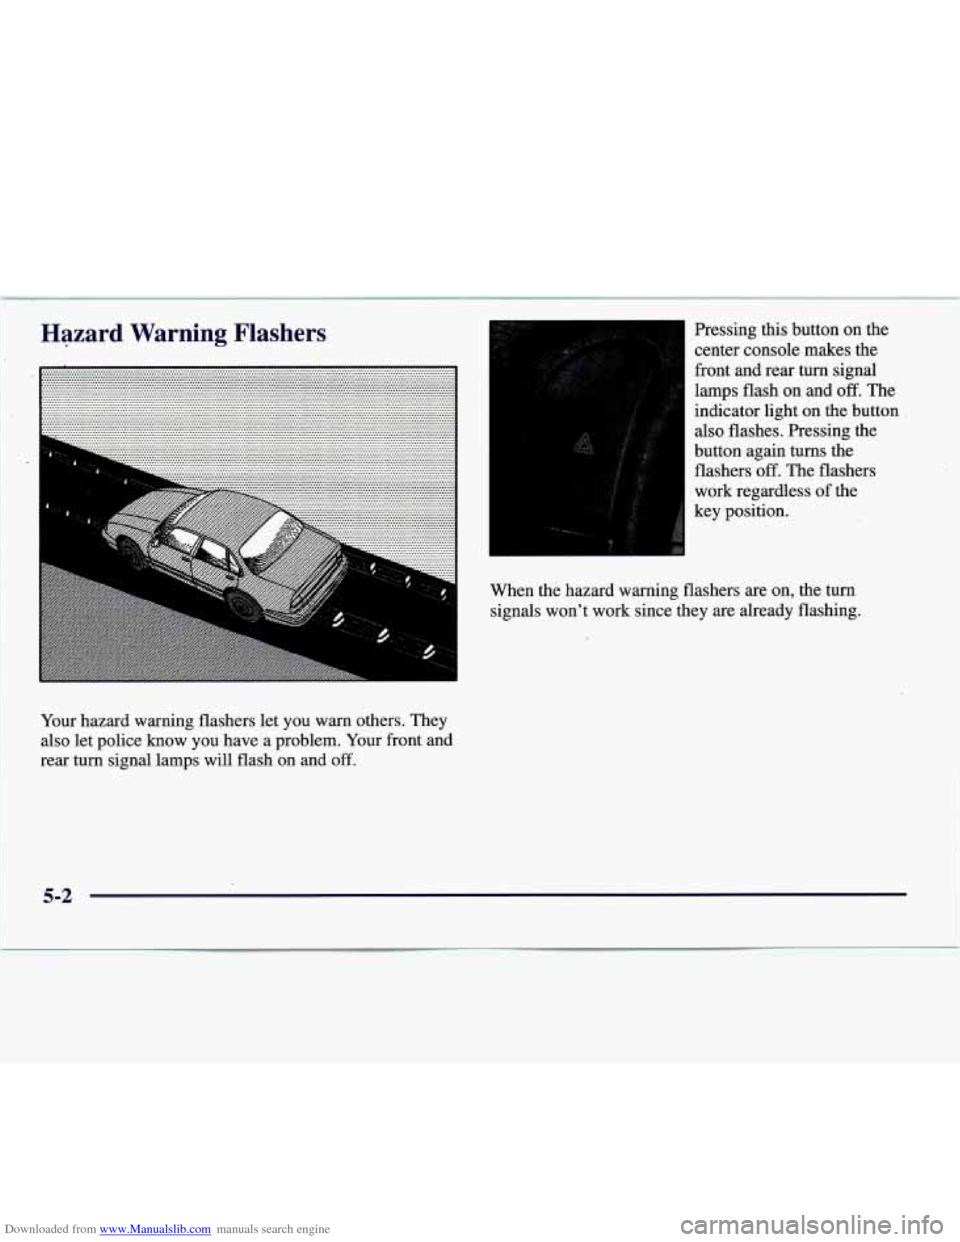
Downloaded from www.Manualslib.com manuals search engine Pressing this button on the
center console makes the
front and rear turn signal
lamps flash on and
off. The
indicator light on the button
also flashes. Pressing the
button again turns the
flashers
off. The flashers
work regardless of the
key position.
When the hazard warning flashers are on, the turn
signals won’t work since they
are already flashing.
Your hazard warning flashers let you warn others. They
also let police know you have a problem. Your front and
rear turn signal lamps will flash on and
off.
5-2
Page 249 of 338
Downloaded from www.Manualslib.com manuals search engine I
I A CAUTION:
1
Gasoline vapor is highly flammable. It burns
violently, and that can cause very bad injuries.
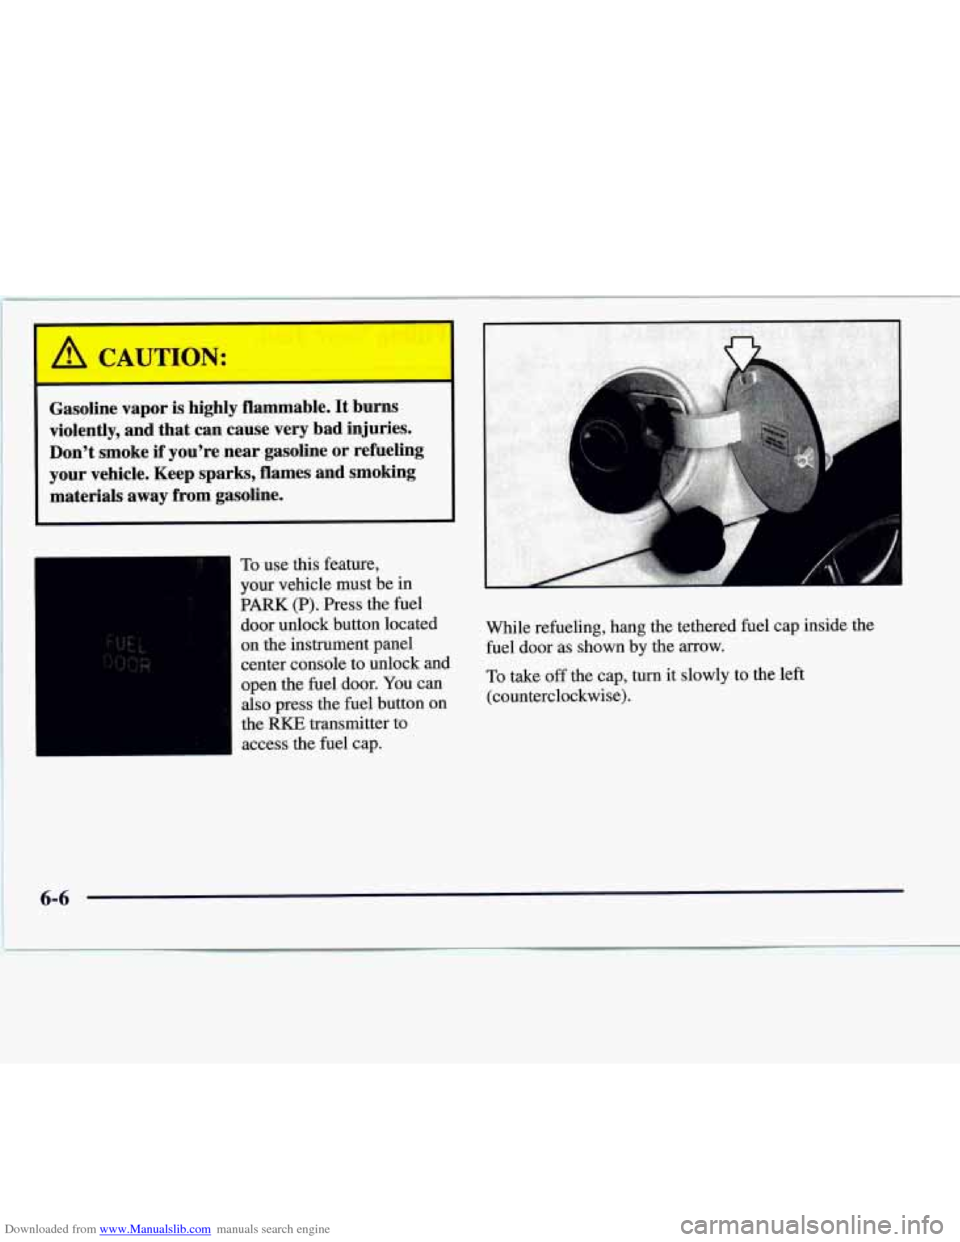
Don't smoke if you're near gasoline or refueling your vehicle. Keep sparks, flames and smoking materials away from gasoline.
To use this feature,
your vehicle must be in
PARK (P). Press the fuel
door unlock button located
on the.instrument panel
center console to unlock and
open the fuel door. You can
also press the fuel button on
the
RKE transmitter to
access the fuel cap. While
refueling, hang the tethered fuel cap inside the
fuel door as shown
by the arrow.
To take off the cap, turn it slowly to the left
(counterclockwise).
Page 327 of 338

Downloaded from www.Manualslib.com manuals search engine Brake Adjustment
.................................. 6-28
Fluid
....................................... 6-25
Master Cylinder
.............................. 6-25
PedalTravel
................................. 6-28
Replacing System Parts
........................ 6-28
System Warning Light
......................... 2-64
To Shift Light
................................ 2-73
Transmission Shift Interlock
.................... 2-27
Wear
....................................... 6-27
Brake Pad Wear Indicator Light
.................... 2-76
Brakes. Anti-Lock
............................... 4-7
Braking
........................................ 4-6
Braking in Emergencies
.......................... 4- 10
Break-In. New Vehicle .......................... 2-14
Brightness Control
.............................. 2-44
Bulb Replacement
.............................. 6-29
Capacities and Specifications
.................... 6-62
Carbon Monoxide
......................... 4.29. 4.35
Cassette Tape Player
....................... 3- 12. 3. 15
Cassette Tape Player Care
........................ 3-22
Cassette Tape Player Errors
.................. 3- 12. 3. 15
Cellular Telephone .............................. 2-5 1
Center Console Storage Area
...................... 2-48
Center High-Mounted Stoplamp. Bulb Replacement ... 6-34
Center Passenger Position
........................ 1-35
Central Door Unlocking System
.................... 2-4
Certification Label
.............................. 4-30
Chains. Safety
................................. 4-36
Chains. Tire
................................... 6-45
Parking
..................................... 2-24
BTSI ......................................... 2-27
Changing a Flat Tire
............................. 5-23
Charging System Indicator Light
................... 2-63
Check Engine Light
............................. 2-69
Checking Your Restraint Systems
.................. 1-50
Chemical Paint Spotting
.......................... 6-53
Child Restraints
................................ 1-39
Securing
in the Center Rear Seat Position .......... 1-43
Securing
in the Right Front Seat Position .......... 1-45
TopStrap
................................... 1-40
Where
to Put ................................ 1-39
CHMSL
...................................... 6-34
Chrome Wheels. Cleaning
........................ 6-51
Cigarette Lighter
............................... 2-50
Cleaner. Air ................................... 6-15
Cleaning Aluminum or Chrome Wheels
................... 6-51
Exterior LampsLenses
........................ 6-51
Fabric
................................. 6-46. 6-47
Glass Surfaces
............................... 6-49
Inside
of Your Catera .......................... 6-46
Instrument Panel
............................. 6-48
Leather
..................................... 6-48
Outside of Your Catera
......................... 6-50
Speakercovers
.............................. 6-49
Special Problems
............................. 6-47
Stains
................................. 6-47. 6-48
Tires
....................................... 6-52
Vinyl
....................................... 6-48
Wheels
..................................... 6-51
Windshield and Wiper Blades ................... 6-50
Check Oil Light
................................ 2-73
Securing
in a Rear Outside Seat Position ........... 1-41
8-2