bulb CADILLAC DEVILLE 1994 7.G Owners Manual
[x] Cancel search | Manufacturer: CADILLAC, Model Year: 1994, Model line: DEVILLE, Model: CADILLAC DEVILLE 1994 7.GPages: 399, PDF Size: 20.97 MB
Page 119 of 399
Downloaded from www.Manualslib.com manuals search engine To signal a lane change, just raise or lower the lever until the green arrow
starts to flash. Hold it there until you complete your lane change. The
lever will return by itself when
you release it.
If for some reason your turn signal is left on, the Driver Information
Center
will display “TURN SIGNAL ON” (after driving about a mile) to
remind you to turn
it off.
As you signal a turn or a lane change, if the arrows don’t flash but just
stay on,
a signal bulb may be burned out and other drivers won’t see your
turn signal.
If
a bulb is burned out, replace it to help avoid an accident. If the green
arrows don’t
go on at all when you signal a turn, check the fuse (see
“Fuses”
in the Index) and for burned-out bulbs.
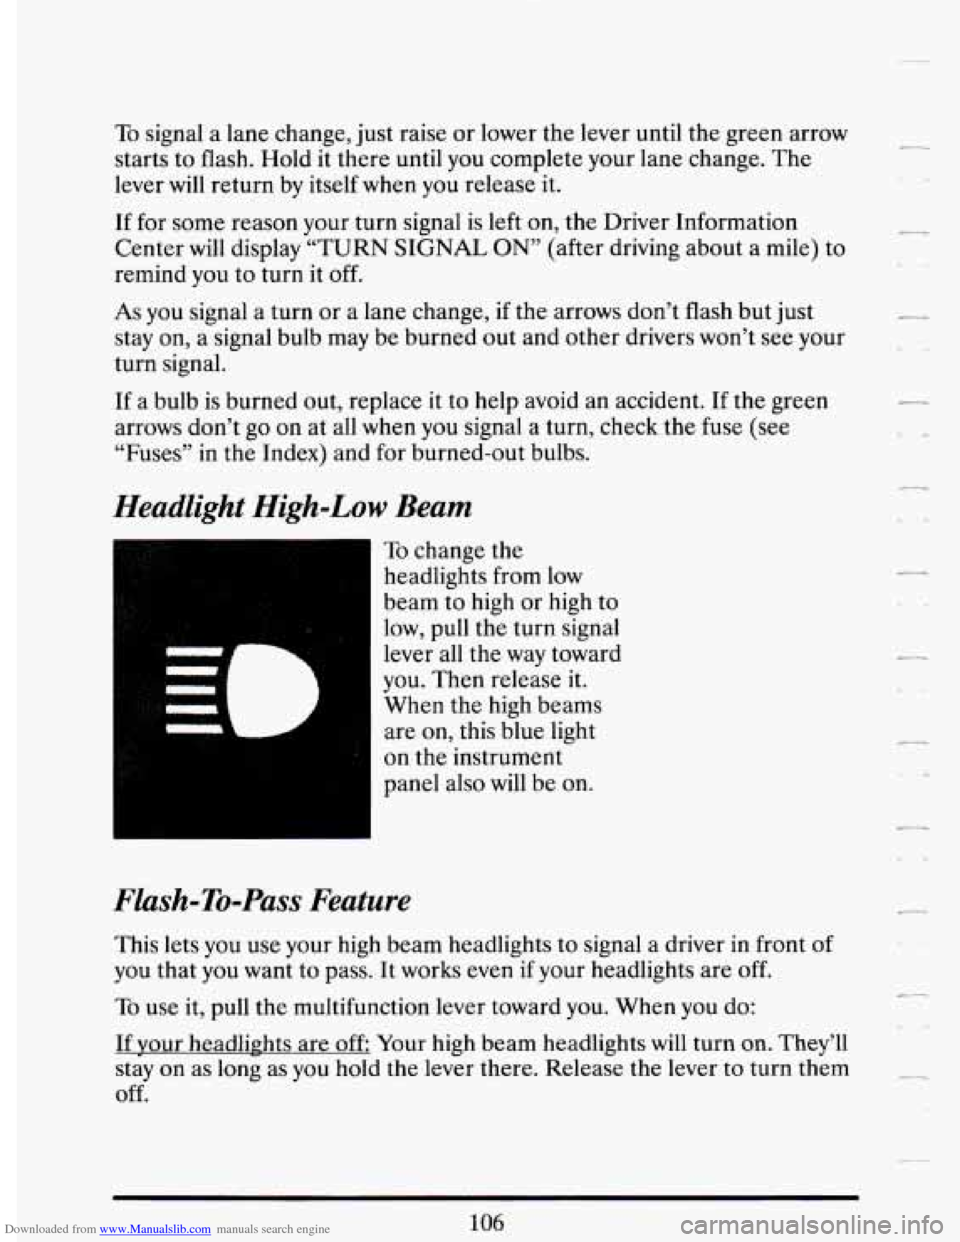
Headlight High-Low Beam
I
To change the
headlights from
low
beam to high or high to
low, pull the turn signal
lever all the way toward
you. Then release it.
When the high beams
are on, this blue light
on the instrument
panel also will be
on.
Flash-To-Pass Feature
This lets you use your high beam headlights to signal a driver in front of
you that you want to pass. It works even if your headlights are
off.
To use it, pull the multifunction lever toward you. When you do:
If vour headlights are
off Your high beam headlights will turn on. They’ll
stay on as long as you hold the lever there. Release the lever to turn them
off.
106
Page 224 of 399
Downloaded from www.Manualslib.com manuals search engine Following Distance
--
>-
Stay at least twice as far behind the vehicle ahead as you would when
driving your vehicle without
a trailer. This can help you avoid situations
that require heavy braking and sudden turns.
Passing
You’ll need more passing distance up ahead when you’re towing a trailer.
And, because you’re a good deal longer, you’ll need to go much farther
beyond the passed vehicle before you can return to your lane.
Bucking Up
Hold the bottom of the steering wheel with one hand. Then, to move the
trailer
to the left, just move that hand to the left. To move the trailer to
the right, move your hand to the right. Always back up slowly and,
if
possible, have someone guide you.
Making Turns
When you’re turning with a trailer, make wider turns than normal. Do
this so your trailer won’t strike soft shoulders, curbs, road signs, trees, or
other objects. Avoid jerky or sudden maneuvers. Signal
well in advance.
Turn Signals When Towing a Trailer
When you tow a trailer, your vehicle has to have a different turn signal
flasher and extra wiring. The green arrows on your instrument panel
will
flash whenever you signal a turn or lane change. Properly hooked up, the
trailer lights will also flash, telling other drivers you’re about to turn,
change lanes or stop.
When towing a trailer, the green arrows on your instrument panel
will
flash for turns even if the bulbs on the trailer are burned out. Thus, you
may think drivers behind you are seeing your signal when they are not.
It’s important to check occasionally to be sure the trailer bulbs are still
working. -
21 1
Page 294 of 399
Downloaded from www.Manualslib.com manuals search engine Start the engine in “P” (Park) and let it idle for 15 minutes. Then:
Put your foot on the brake pedal, shift the transaxle to @ and let it
idle for
3 minutes or more. Do not accelerate the engine. Then:
With the car in @ (Drive), turn the Electronic Climate Control to
“Auto” and let the engine idle for 3 minutes or more.
Turn your engine off.
Now your computer is programmed.
UOGEN BULBS
EXTERIOR UP HOUSINGS
I NOTICE:
Your Cadillac’s lamp housings are designed with small vents so
moisture will be removed when the lights are on, or after driving
for
a short time. If an excessive amount of moisture is present
which does not clear, see your Cadillac dealer for service.
28 1
Page 295 of 399
Downloaded from www.Manualslib.com manuals search engine HEmLIGHT BULB REMOVAL
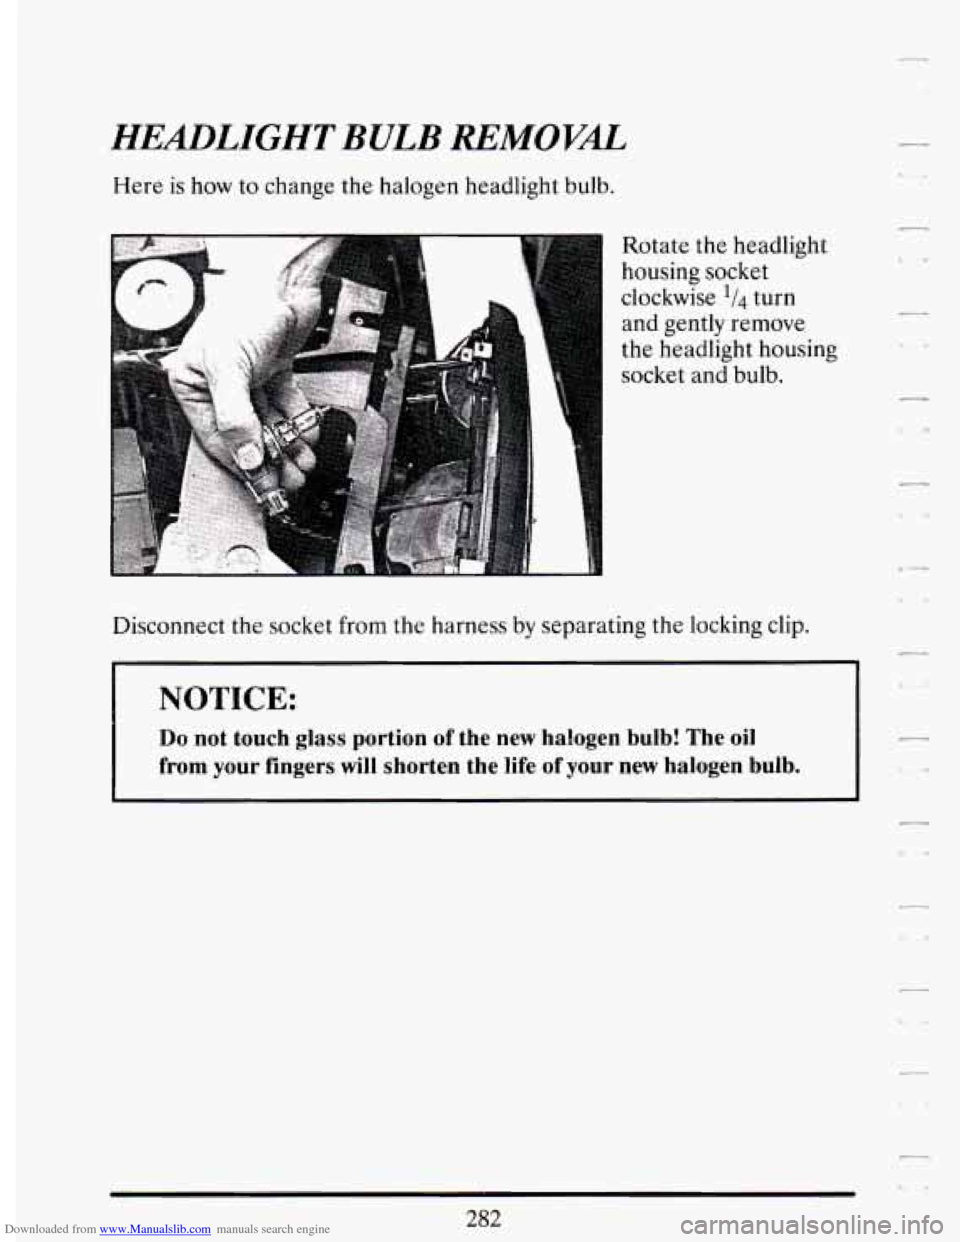
Here is how to change the halogen headlight bulb.
Rotate the headlight
housing socket
clockwise
1/4 turn
and gently remove
the headlight housing
socket and bulb.
Disconnect the socket from the harness by separating the locking
clip.
.-
NOTICE:
Do not touch glass portion of the new halogen bulb! The oil
from your fingers will shorten the life of your new halogen bulb.
Page 296 of 399
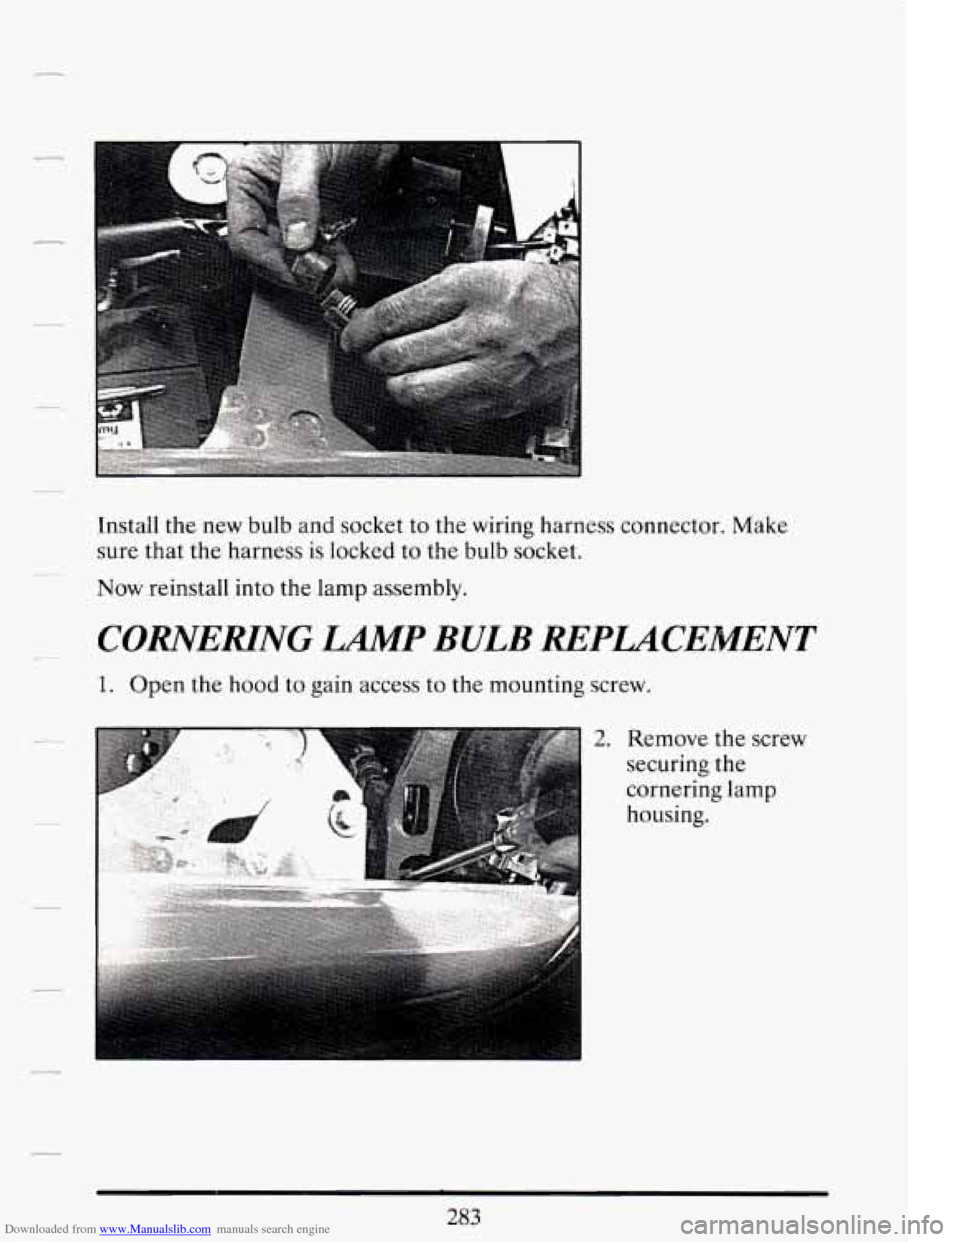
Downloaded from www.Manualslib.com manuals search engine Install the new bulb and socket to the wiring harness connector. Make
sure that the harness is locked to the bulb socket.
Now reinstall into the lamp assembly.
CORiVEMNG HP BULB REPLACEMENT
1. Open the hood to gain access to the mounting screw.
I
2. Remove the screw
securing the
cornering lamp
housing.
Page 297 of 399

Downloaded from www.Manualslib.com manuals search engine 4. Remove the socket by rotating it counterclockwise slightly, then
replace the bulb and reinstall.
5. When instaliing the
cornering lamp
housing be sure
that the
two guide
pins are aligned
with the holes.
Page 298 of 399
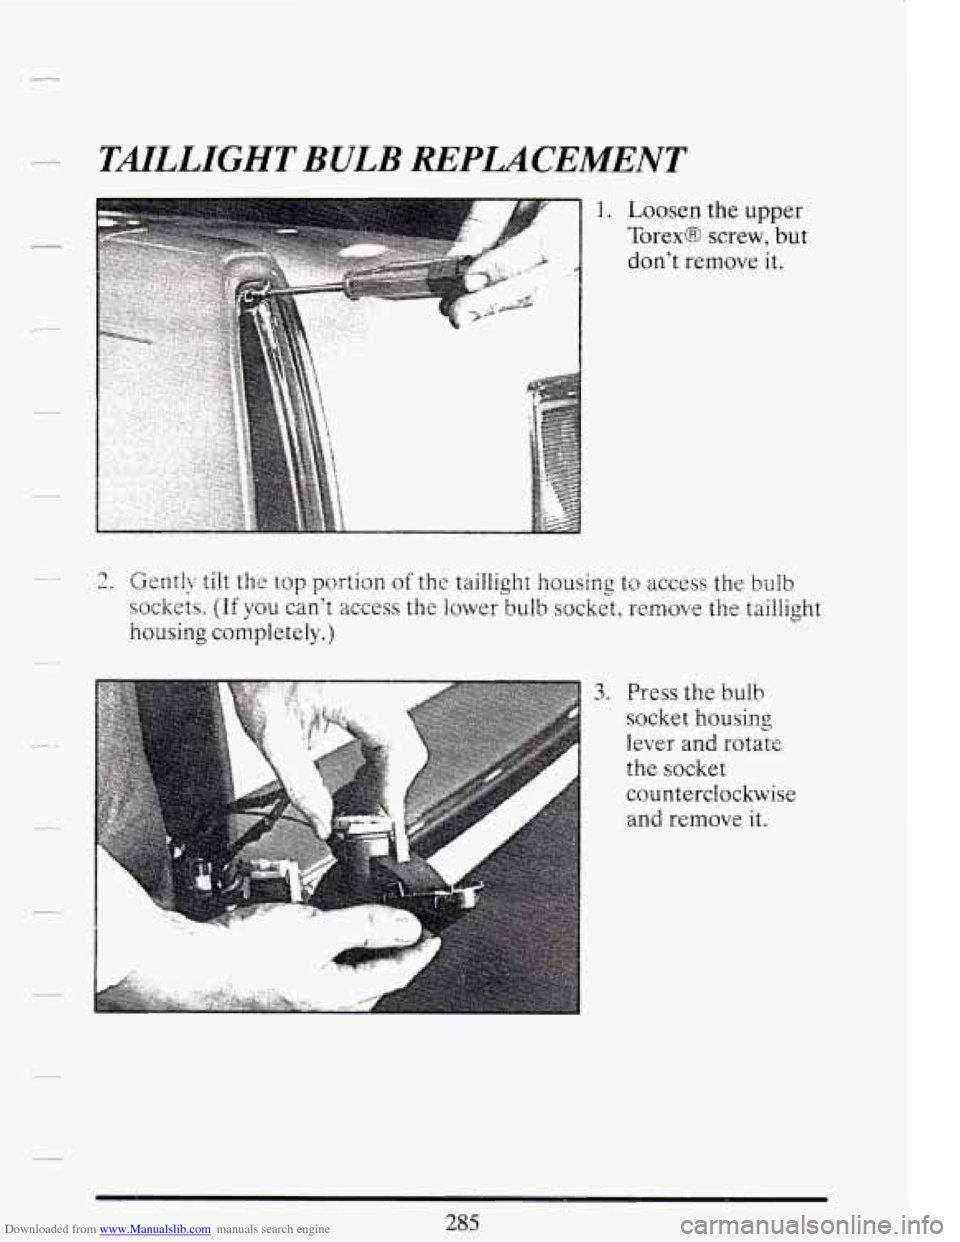
Downloaded from www.Manualslib.com manuals search engine TMLLIGHT BULB REPUCEMENT
1. Loosen the upper
Torex@ screw, but
don’t remove
it.
2, Gently tilt the top portion of the taillight h~using to access the bulb
sockets. (If you can’t access the lower bulb socket: remove the taillight
housing completely.)
.. ~~
3. Press the bulb
socket housing
lever and rotate
the socket
counterclockwise
and remove it.
Page 299 of 399

Downloaded from www.Manualslib.com manuals search engine 4. Replace bulb by
pressing and
turning bulb
counterclockwise.
5. Reinstall taillamp housing. Be sure to insert tab (located on the lower
portion of the housing) into extension housing
if you have removed it
completely.
Center.High Mounted Stop Lamp Bulb Replacement
I
Gently pry up on the trim cover.
286
Page 300 of 399

Downloaded from www.Manualslib.com manuals search engine ........... ................... ... .... -. .... I. ..................................... ...
............................... ...... . -. ..- ......... ^,._ _..,
...
.. .
Twist the socket counterclockwise and remove the socket and bulb
from the housing.
Replace the bulb, and reinstall. ...
Position the windshield wipers on the windshield in the “mid” wipe
position. To do this, turn the ignition key to Accessory and turn the wipers
--on. Then with the .door open,-turn-the ignition key to off.
Startwith the dr;iver side wiper blade,assembly.
287
Page 332 of 399

Downloaded from www.Manualslib.com manuals search engine - Headlights
The headlight wiring is protected by a circuit breaker in the light switch.
An electrical overload will cause the lights to go on and off, or in some
cases to remain off.
If this happens, have your headlight wiring checked
right away.
Windshield Wipers
The windshield wiper motor is protected by a circuit breaker and a fuse.
If the motor overheats due to heavy snow, etc., the wiper will stop until
the motor cools. If the overload is caused by some electrical problem and
not snow, etc., be sure to get it fixed.
Power Windows and Other Power Options
Circuit breakers in the fuse panel protect the power windows and other
opens and closes, protecting the circuit until the problem is fixed or goes
away.
__ power accessories. When the current load is too heavy, the circuit breaker
--
BULB CH4RT
DESCRIPTION BULB NO.
Backup Lights ......................................... 2057
Cornering Light ..................................... 3156 52
Ash Tray Illumination .................................. 1445
Courtesy Reading Light
................................. 168
Glove Compartment Light
............................... 194
-Inner High Beam
................................. 9005 HB3
Headlights Composite
-Outer Low Beam
................................. 9006 HB4
License Plate Light
..................................... 194
Park and Turn Signal
................................ 3157 K2
Side Marker Lights ..................................... 194
Stop/Tail/Turn Signal
................................ 2057 NA
Trunk Light
........................................... 1003
Vanity Mirror Illumination
............................... 124
319