check engine CADILLAC DEVILLE 1997 7.G Owners Manual
[x] Cancel search | Manufacturer: CADILLAC, Model Year: 1997, Model line: DEVILLE, Model: CADILLAC DEVILLE 1997 7.GPages: 386, PDF Size: 21.61 MB
Page 16 of 386

Downloaded from www.Manualslib.com manuals search engine &&* -A*,
Section 1 Seats and Restraint Systems
Here you’ll find information about the seats in your Cadillac and how to use your safety belts properly. You can also
learn about some things you should
not do with air bags and safety belts.
1-2
1-7
1-12 1-13
1-13
1-21
1-22
1-22 Seats
and Seat Controls
Safety Belts: They’re for Everyone
Here Are Questions Many People Ask About
Safety Belts
-- and the Answers
How to Wear Safety Belts Properly
Driver Position
Safety Belt Use During Pregnancy
Right Front Passenger Position
Supplemental Inflatable Restraint (SIR)
Systems 1-30
1-31
1-35
1-37
1-45 1-48
1-48
1-48 Center Passenger Position
Rear
Seat Passengers
Children
Child Restraints
Larger Children Safety Belt Extender
Checking Your Restraint Systems
Replacing Restraint System
Parts
After a Crash
Page 22 of 386
Downloaded from www.Manualslib.com manuals search engine Head Restraints
Slide the head restraint up or down so that the top of the
restraint
is closest to the top of your ears. This position
reduces the chance of a neck injury in a crash.
The head restraints tilt forward and rearward also.
Safety Belts: They’re for Everyone
This part of the manual tells you how to use safety belts
properly. It
also tells you some things you should not do
with safety belts.
And it explains the Supplemental Inflatable Restraint
(SIR), or air bag system.
6!!!, CAUTLN:
Don’t let anyone ride where he or she can’t wear
a safety belt properly. If you are in a crash and
you’re not wearing a safety belt, your injuries
can be much worse. You can hit things inside the
vehicle or be ejected from it. You can be seriously
injured or killed. In the same crash, you might
not be if you are buckled up. Always fasten your
safety belt, and check that your passengers’ belts
are fastened properly too.
1-7
Page 38 of 386

Downloaded from www.Manualslib.com manuals search engine I /11 CAUTION:
I
Both frontal and side impact air bags inflate with
great force, faster than the blink
of an eye. If
you’re too close to an inflating air bag, it could
seriously injure you. Safety belts help keep you in
position for air bag inflation before and during
a
crash. Always wear your safety belt, even with air
bags. The driver should sit as far back as possible
while still maintaining control of the vehicle.
Front occupants should not lean on or sleep
against the door.
I /i CAUTION:
An inflating air bag can seriously injure small
children. Always secure children properly in your
vehicle. To read how, see the part of this manual
called “Children” and the caution label on the
right front passenger’s safety belt.
AIR BAG
There is an air bag readiness light on the instrument
panel, which shows AIR BAG.
The system checks the
air bag electrical system for
malfunctions. The light tells you if there is an electrical
problem. See “Air Bag Readiness Light” in the Index
for more information.
1-23
Page 63 of 386

Downloaded from www.Manualslib.com manuals search engine Safety Belt Extender
If the vehicle’s safety belt will fasten around you, you
should use it.
But
if a safety belt isn’t long enough to fasten, your
dealer will order you an extender. It’s free. When you go
in to order it, take the heaviest coat you will wear,
so the
extender will be long enough for you. The extender will
be just for you, and just for the seat in your vehicle that
you choose. Don’t let someone else use it, and use it
only for the seat it is made to fit.
To wear it, just attach it
to the regular safety belt.
Checking Your Restraint Systems
Now and then, make sure the safety belt reminder light
and all your belts, buckles, latch plates, retractors and
anchorages are working properly.
Look for any other
loose or damaged safety belt system parts. If you see
anything that might keep a safety belt system from
doing its job, have
it repaired.
Tom
or frayed safety belts may not protect you in a
crash. They can rip apart under impact forces. If a belt
is torn or frayed, get a new one right away.
Also look for any opened or broken air bag covers, and
have them repaired
or replaced. (The air bag system
does not need regular maintenance.)
Replacing Restraint System Parts
After
a Crash
If you’ve had a crash, do you need new belts?
After a very minor collision, nothing may be necessary.
But if the belts were stretched, as they would be
if worn
during a more severe crash, then you need new belts.
If belts are cut or damaged, replace them. Collision
damage also may mean you will need to have safety belt
or seat parts repaired or replaced. New parts and repairs
may be necessary even if the belt wasn’t being used at
the time of the collision.
If an air bag inflates, you’ll need to replace air bag
system parts. See the part on the air bag system earlier
in this section.
Page 73 of 386
Downloaded from www.Manualslib.com manuals search engine This device complies with Part 15 of the FCC Rules.
Operation
is subject to the following two conditions:
(1) this device may not cause harmful interference, and
(2) this device must accept any interference received,
including interference that may cause undesired operation.
This device complies with
RSS-210 of Industry and
Science Canada. Operation is subject to the following
two conditions:
(1) this device may not cause
interference, and
(2) this device must accept any
interference received, including interference that may
cause undesired operation of the device.
The range of this system is about
10 feet (3 m). At times
you
may notice a decrease in range. This is normal for
any remote lock control system. If the transmitter does
not work
or if you have to stand closer to your vehicle
for the transmitter to work, try this:
Check to determine if battery replacement is
necessary. See the instructions that follow.
Check the distance. You may be too far from your
vehicle. You may need to stand closer during rainy
or snowy weather.
Check the location. Other vehicles or objects may be
blocking the signal. Take a few steps
to the left or
right, hold the transmitter higher, and try again.
If you’re still having trouble, see your Cadillac
dealer
or a qualified technician for service. Changes
or modifications to this system
by other than an
authorized service facility could void authorization to
use this equipment.
Operation
* When you press this symbol to unlock the
driver’s door, the parking lamps on your vehicle will
blink twice. (You can program your vehicle
so the
parking lamps will not flash. For more information, see
“Remote Confirmation” later in this section.) Pressing it
again within five seconds will unlock the other doors.
Pressing this button will also disarm the optional
theft-deterrent system and turn
on the interior lamps
at night.
8 When you press this symbol to lock the doors, the
parking lamps will blink once. (You can program your
vehicle
so the parking lamps will not flash. For more
information,
see “Remote Confirmation” later
in this section.) This also
arms the optional
theft-deterrent system.
Press this symbol to open the trunk.
Press this button to open the fuel door.
Page 75 of 386
Downloaded from www.Manualslib.com manuals search engine Exterior Lighting (If Equipped)
This personalization feature enables the driver to
program the exterior lamps to turn on for 20 seconds or
to remain off when using the RKE transmitter to unlock
your vehicle.
If exterior lighting is selected, the parking lamps,
taillamps, sidemarker lamps, license plate lamps,
low-beam headlamps, etc. will turn on for about
20 seconds or until the ignition key is turned to RUN.
Check the back of the RKE transmitter to verify
that the
correct driver
is selected before you start programming.
To begin programming, press the INFORMATION
(INFO) and RESET (INFO RESET) buttons at the same
time for about two seconds. Exterior lighting is the third
feature to display. Press the INFORMATION (INFO)
button to “skip” past the first two features
-- DOOR
LOCKS IN GEAR and REMOTE FLASH LIGHTS.
When EXT LIGHTS AT UNLOCK appears, a “yes” or
“no” response is required. Press the TRIP SET (TRIP
RESET) button to answer yes or press the RESET
(INFO RESET) button to indicate a no response.
FEATURE ON displays when a yes response
is made
and FEATURE OFF shows after a no response.
For a list
of the other personalization features available, see
“Memory and Personalization Features” later in
this section.
Remote Recall Memory quipped)
Your vehicle may have memory personalization. If it
does,
REMOTE RECALL MEMORY will be the fourth
personalization feature to display
on the DIC system.
Memory settings that have been previously programmed
(HVAC settings, radio preset settings, exterior lighting
choices, remote confirmation choices and programmable automatic door lock choices) can be recalled either by
using the
RKE transmitter or by placing the key in your
vehicle’s ignition.
To begin programming, check the back of the RISE
transmitter to verify that the correct driver is selected.
Press the INFORMATION
(INFO) and RESET (INFO
RESET) buttons at
the same time for about two seconds.
As mentioned, memory recall is the fourth feature to
appear. To “skip” past the first three personalization
features, press the INFORMATION (INFO) button.
When REMOTE RECALL MEMORY appears, the driver is able to recall memory settings when the unlock
button on the RKE transmitter is pressed with the
ignition in LOCK. Press the TRIP SET (TRIP RESET)
button to select or press the RESET (INFO RESET)
button to answer no
and to continue on to the next
prompt. (FEATURE ON displays when a yes response
is made and FEATURE
OFF shows when a no response
is made.)
Page 83 of 386
Downloaded from www.Manualslib.com manuals search engine Testing the Alarm
1. From inside the vehicle, roll down the window, then
get out of the vehicle, keeping the door open.
2. From outside of the vehicle, with the door open, lock
the vehicle using the power door lock or the RKE system and close the door. Wait
30 seconds until the
SECURITY lamp goes off.
3. Reach in and unlock the door using the manual lock
and open the door. The horn will sound and the
headlamps will flash.
If the alarm does not sound when it should, check to see
if the horn works. The horn fuse may be blown. To
replace the fuse, see “Fuses and Circuit Breakers” in the\
Index.
If the fuse does not need to be replaced, you may
need to have your Cadillac serviced.
To reduce the possibility of theft, always activate the
theft-deterrent system when leaving your vehicle.
Security Override
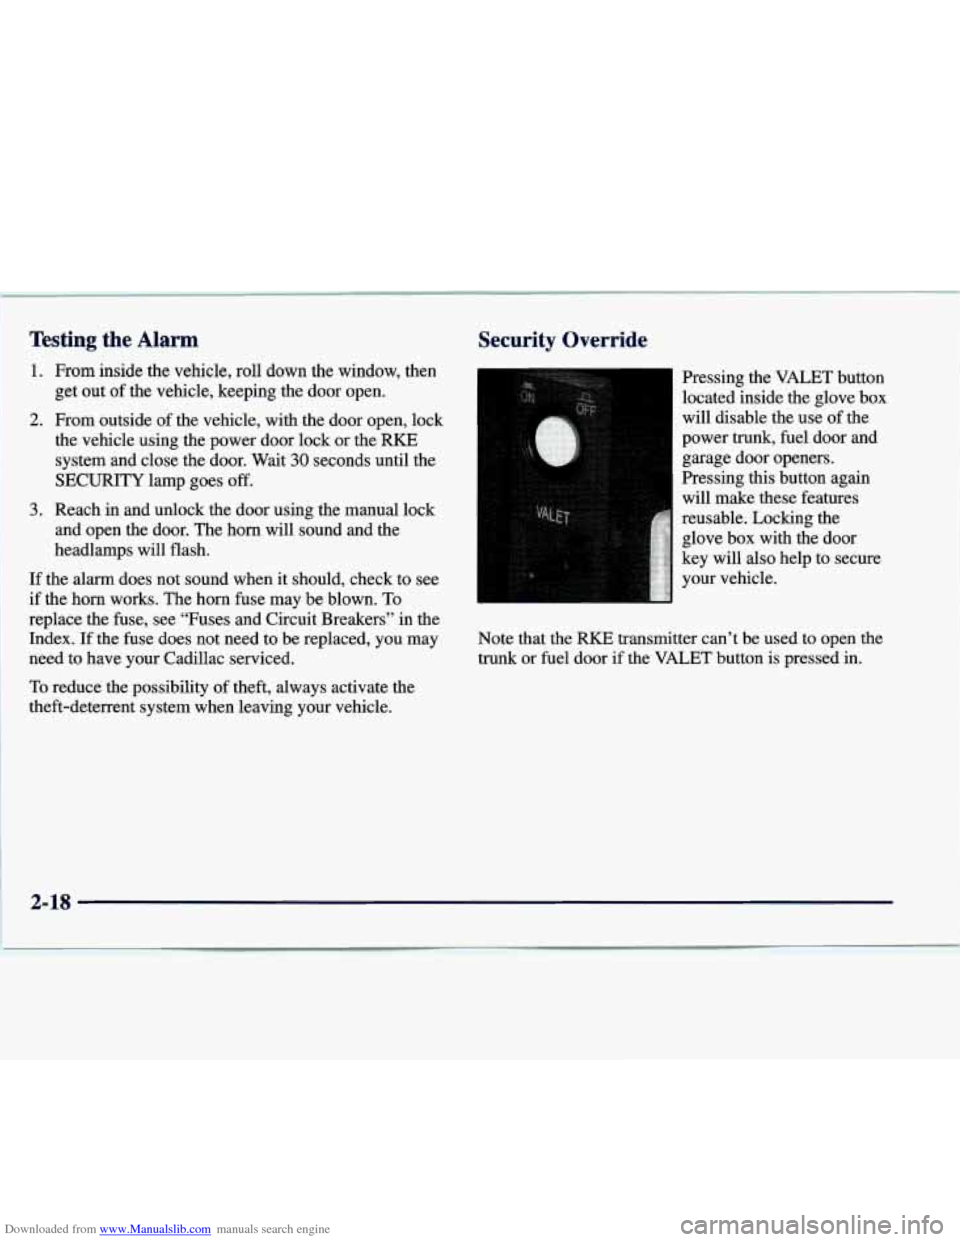
Pressing the VALET button
located inside the glove box
will disable the use
of the
power
trunk, fuel door and
garage door openers.
Pressing this button again will make these features
reusable. Locking the glove box with the door
key will also help to secure
your vehicle.
Note that the RKE transmitter can’t be used to open the
trunk or fuel door if the VALET button is pressed in.
Page 84 of 386
Downloaded from www.Manualslib.com manuals search engine PASS-Key@ I1
p:
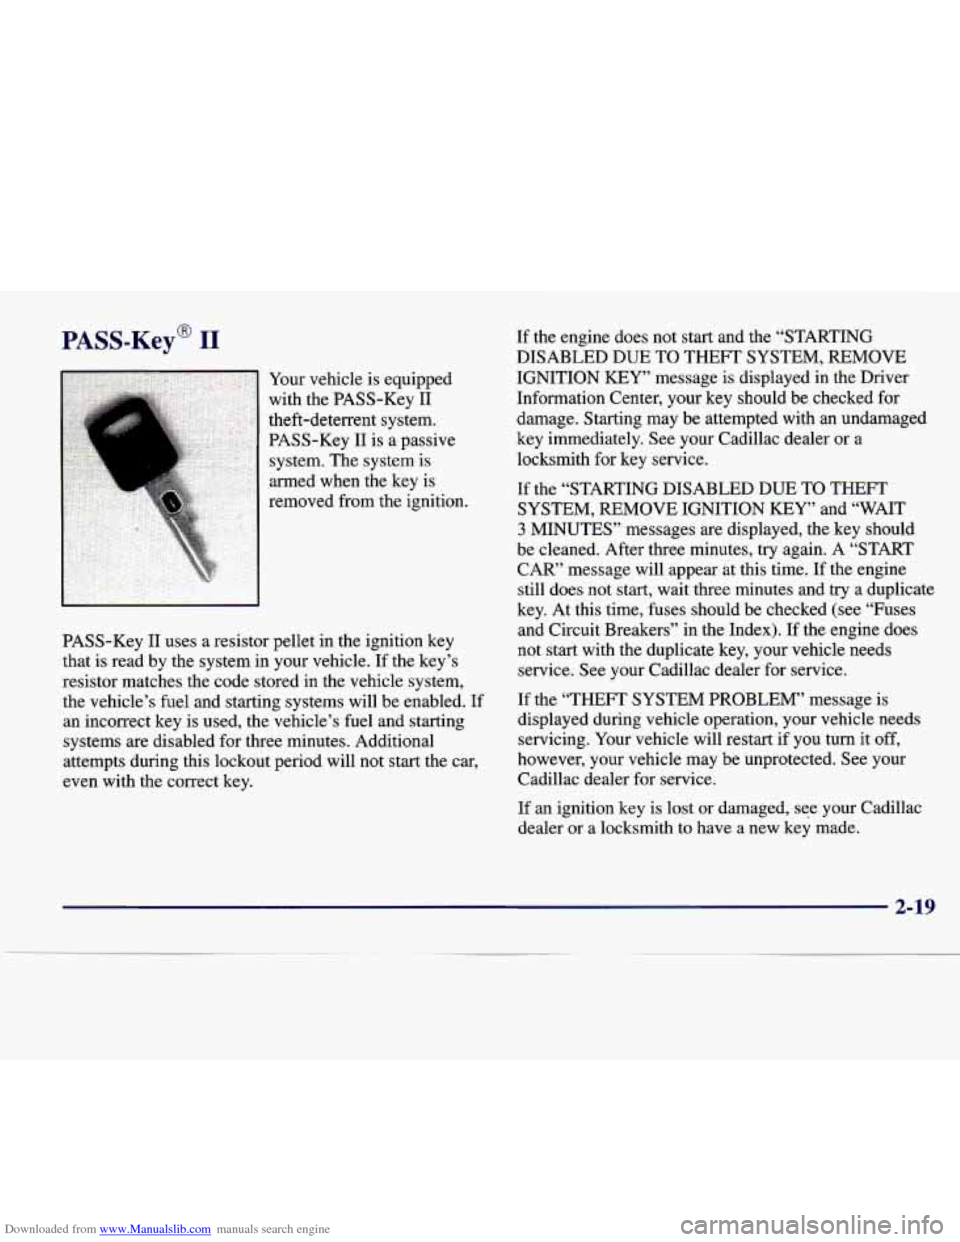
Your vehicle is equipped
with the PASS-Key I1
theft-deterrent system.
PASS-Key I1 is a passive
system. The system is
armed when the key
is
removed from the ignition.
PASS-Key
11 uses a resistor pellet in the ignition key
that is read by the system in your vehicle. If the key’s
resistor matches the code stored in the vehicle system,
the vehicle’s fuel and starting systems will be enabled.
If
an incorrect key is used, the vehicle’s fuel and starting
systems are disabled for three minutes. Additional
attempts during this lockout period will not start the car,
even with the correct key. If
the engine does not start and the “STARTING
DISABLED DUE TO THEFT SYSTEM, REMOVE
IGNITION
KEY” message is displayed in the Driver
Information Center, your key should be checked for
damage. Starting may be attempted with an undamaged
key immediately. See your Cadillac dealer or a
locksmith for key service.
If the “STARTING DISABLED DUE TO THEFT
SYSTEM, REMOVE IGNITION
KEY” and “WAIT
3 MINUTES” messages are displayed, the key should
be cleaned. After three minutes,
try again. A “START
CAR’ message will appear at this time. If the engine
still does not start, wait three minutes and try a duplicate
key. At this time, fuses should be checked (see “Fuses
and Circuit Breakers” in the Index). If the engine does
not start with the duplicate key, your vehicle needs
service. See your Cadillac dealer for service.
If the “THEFT SYSTEM PROBLEM’ message
is
displayed during vehicle operation, your vehicle needs
servicing. Your vehicle will restart if you turn it
off,
however, your vehicle may be unprotected. See your
Cadillac dealer for service.
If an ignition key
is lost or damaged, see your Cadillac
dealer or a locksmith to have a
new key made.
2-19
Page 88 of 386

Downloaded from www.Manualslib.com manuals search engine 3. If your engine still won’t start (or starts but then
stops), it could be flooded with too much gasoline.
Try pushing your accelerator pedal all the way to the
floor and holding it there as you hold the key in
START for about three seconds. If the vehicle starts
briefly but then stops again, do the same thing.
NOTICE:
Your engine is designed to work with the
electronics in your vehicle.
If you add electrical
parts or accessories, you could change the
way
the engine operates. Before adding electrical
equipment, check with your dealer.
If you don’t,
your engine might not perform properly.
If you ever have to have your vehicle towed, see
the part
of this manual that tells how to do it
without damaging your vehicle. see “Towing
Your Vehicle” in the Index.
Engine Coolant Heater (Option)
(Canada Only)
In very cold weather, 0 OF (- 18 O C) or colder, the engine
coolant heater can help. You’ll get easier starting and
better fuel economy during engine warm-up. Usually,
the coolant heater should be plugged in a minimum
of
four hours prior to starting your vehicle.
2-23
Page 102 of 386
Downloaded from www.Manualslib.com manuals search engine lhrn SignaVMultifunction Lever
’hrn and Lane Change Signals
To signal a turn, move the lever all the way up or down.
The lever returns automatically when the turn is complete.
An arrow on the instrument
panel will flash in the
direction of the turn or
lane change. If
the turn signal is left on, a warning chime will sound
and the
DIC will display TURN SIGNAL ON (after
driving about
a mile) to remind you to turn it off.
Arrows that flash rapidly when signaling for a turn or
lane change may be caused by a burned out signal bulb.
Other drivers won’t see the turn signal.
Replace burned-out bulbs to help avoid possible
accidents. Check the fuse (see “Fuses and Circuit
Breakers” in the Index) and for burned-out bulbs if the
arrow fails to work when signaling
a turn.
r Beam Changer Headlamp High/Low
Raise or lower the lever until the arrow starts to flash to
signal a lane change. Hold it there until
the lane change
is complete. The lever returns when it’s released. Pull the turn signal lever all
the way toward
you and
then release it to change the
headlamps from low beam
to high or from high beam
to low. This light on the
instrument panel will be on,
indicating high beam usage.
2-37