CADILLAC DEVILLE 1998 7.G Owners Manual
Manufacturer: CADILLAC, Model Year: 1998, Model line: DEVILLE, Model: CADILLAC DEVILLE 1998 7.GPages: 386, PDF Size: 22.36 MB
Page 121 of 386
Downloaded from www.Manualslib.com manuals search engine Mirror Operation Compass Operation
I-
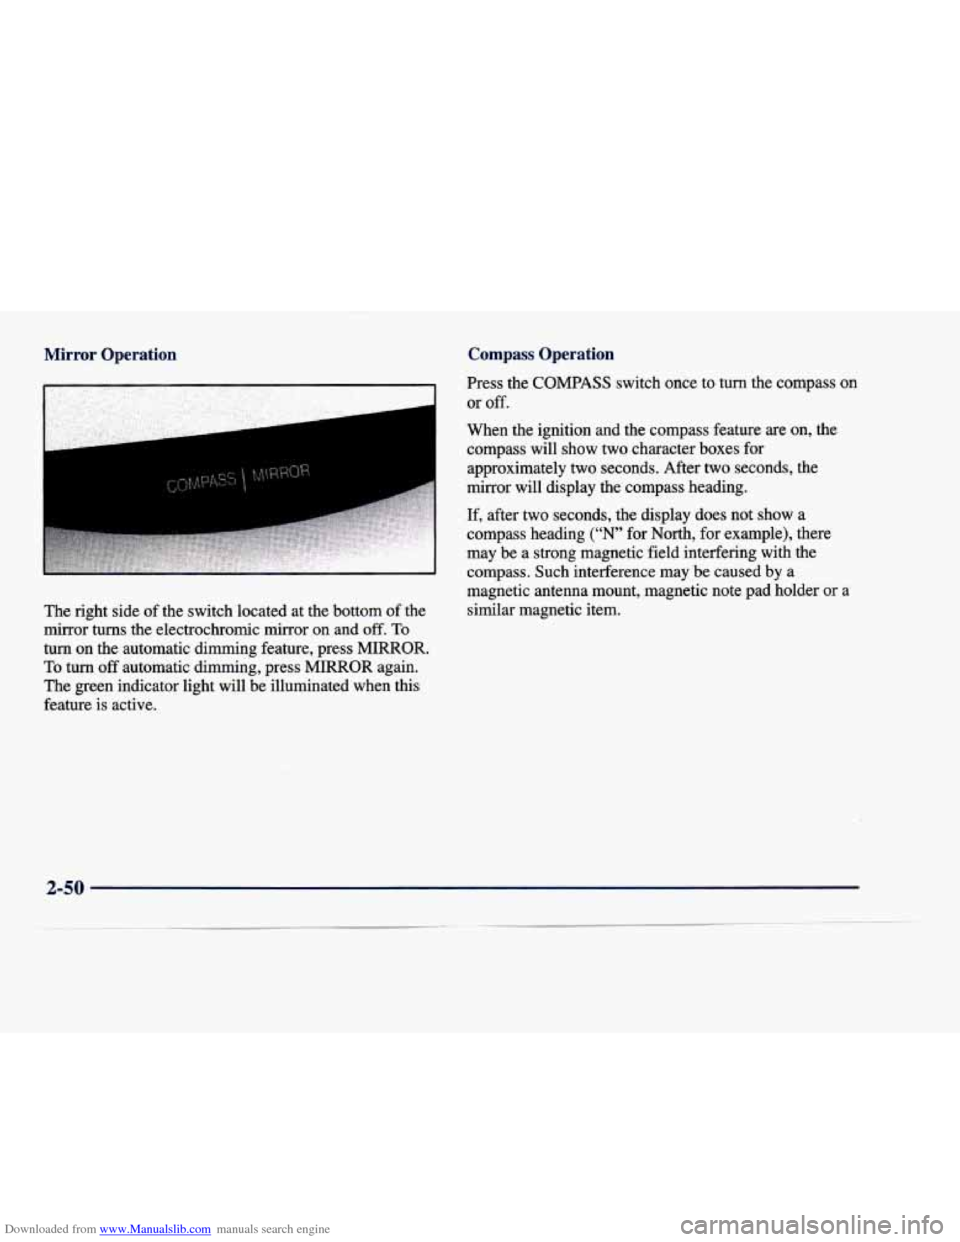
The right side of the switch located at the bottom of the
mirror turns the electrochromic mirror on
and off. To
turn on the automatic dimming feature, press MIRROR.
To turn off automatic dimming, press MIRROR again.
The green indicator light will be illuminated when this
feature is active. Press the COMPASS switch once to turn the compass on
or off.
When the ignition and the compass feature are on, the
compass will show two character boxes for
approximately two seconds. After two seconds, the
mirror will display the compass heading.
If, after two seconds, the display does not show a
compass heading
("N' for North, for example), there
may be a strong magnetic field interfering with the compass. Such interference may be caused by a
magnetic antenna mount, magnetic note pad holder
or a
similar magnetic item.
2-50
Page 122 of 386
Downloaded from www.Manualslib.com manuals search engine Compass Variance
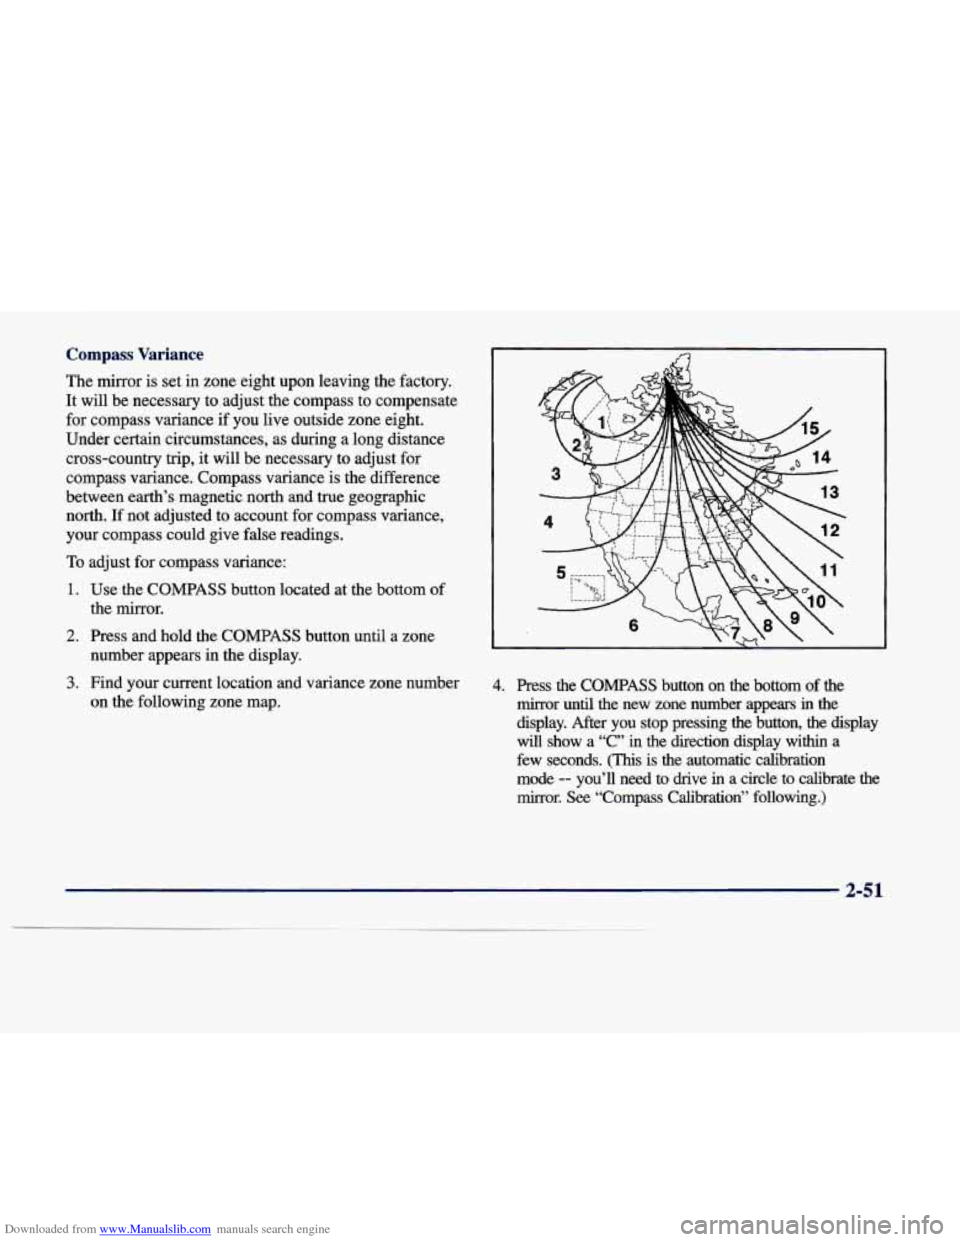
The mirror is set in zone eight upon leaving the factory.
It will be necessary to adjust the compass to compensate
for compass variance if
you live outside zone eight.
Under certain circumstances,
as during a long distance
cross-country trip, it will be necessary to adjust for
compass variance. Compass variance
is the difference
between earth’s magnetic north and true geographic
north.
If not adjusted to account for compass variance,
your compass could give
false readings.
To adjust for compass variance:
1. Use the COMPASS button located at the bottom of
the mirror.
2. Press and hold the COMPASS button until a zone
number appears in the display.
on the following zone map.
3. Find your current location and variance zone number 4. Press the COMPASS button on the bottom of the
mirror until the new zone number appears
in the
display. After you stop pressing the button,
the display
will show a
“C” in the direction display within a
few seconds.
(This is the automatic calibration
mode
-- you’ll need to drive in a circle to calibrate the
mirror. See “Compass Calibration” following.)
2-51
Page 123 of 386
Downloaded from www.Manualslib.com manuals search engine Compass Calibration
If the letter “C” appears in the compass display, the
mirror may need calibration.
The mirror can be calibrated in one
of two ways:
0 Drive the vehicle in circles at 5 mph (8 km/h) or less
0 Drive the vehicle on’your everyday routine.
until the display reads a direction, or
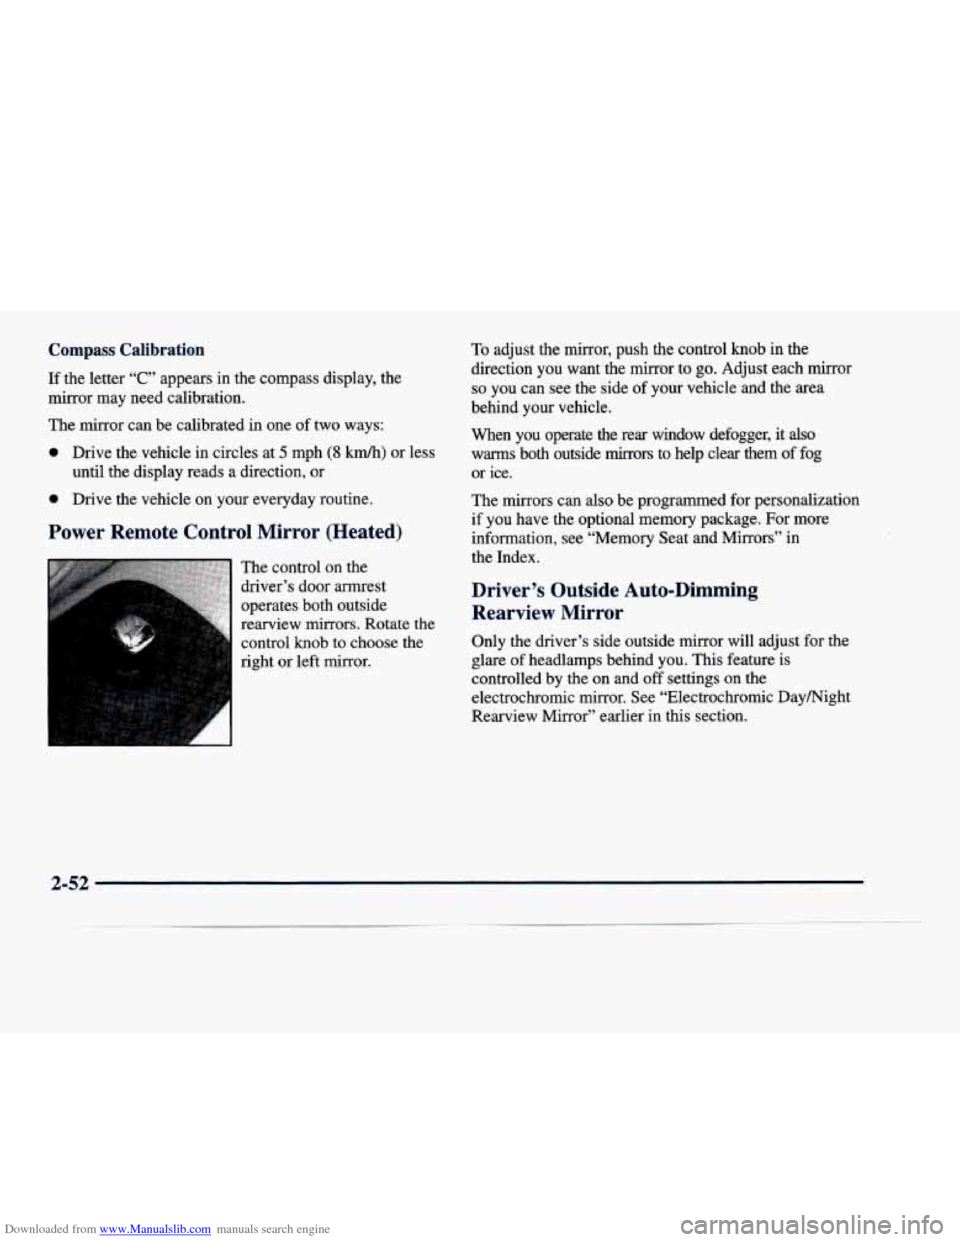
The control on the
driver’s door armrest
operates both outside
rearview
mirrors. Rotate the
control knob to choose the
right or left mirror.
To adjust the mirror, push the control knob in the
direction you want the mirror to
go. Adjust each mirror
so you can see the side of your vehicle and the area
behind your vehicle.
When you operate the rear window defogger, it
also
warms both outside mirrors to help clear them of fog
or ice.
The mirrors can also be programmed for personalization
if you have the optional memory package. For more
information, see “Memory Seat and Mirrors” in
the Index.
Driver’s Outside Auto-Dimming Rearview Mirror
Only the driver’s side outside mirror will adjust for the
glare
of headlamps behind you. This feature is
controlled by the on and
off settings on the
electrochromic mirror. See “Electrochromic Daymight
Rearview Mirror” earlier in this section.
2-52
Page 124 of 386
Downloaded from www.Manualslib.com manuals search engine Curb View Assist Mirror (If Equipped)
If your vehicle is equipped with memory mirrors, it will
. also be equipped with the curb view assist mirror
feature.
This featbre, will cause the passenger mirror to
tilt when the vehicle is in REVERSE (R). This feature
may be useful
in allowing you to view the curb when
you are parallel
parking.
When the vehicle is shifted out of REVERSE (R) and a,
five second delay has occurred, the passenger.mirror
,
will return to its original position.
If mer adjustment is needed after the mirror is tilted,
the mirror switch may be used.
,,
Convex Outside Mirror
Your passenger’s side mirror is convex. A convex
mirror’s surface is curved
so you can see more from the,
driver’s seat.
A convex mirror can make things (like other
vehicles) look farther away than they really are.
If you cut too sharply into the right lane, you
could hit a vehicle on your right. Check your
inside mirror
or glance over your shoulder before
changing lanes.
L
2-53
Page 125 of 386
Downloaded from www.Manualslib.com manuals search engine Storage Compartments
Glove Box
The glove box is located in front of the passenger’s seat.
To lock the glove box door, insert the oval key into
the
lock cylinder and turn it to the right. Turn the key to the
left
to unlock the door.
Map Pocket
The maphtorage pockets are located on each
front door as well as on the passenger’s and driver’s
front seatbacks.
Front Storage Armrest
(DeVille and DeVille d’Elegance Only)
The front storage area comes with a coinholder, a
storage compartment for CDs or tapes, an optional
phone and a dual cupholder that unfolds for use.
Center Console Storage Area
(DeVille Concours Only)
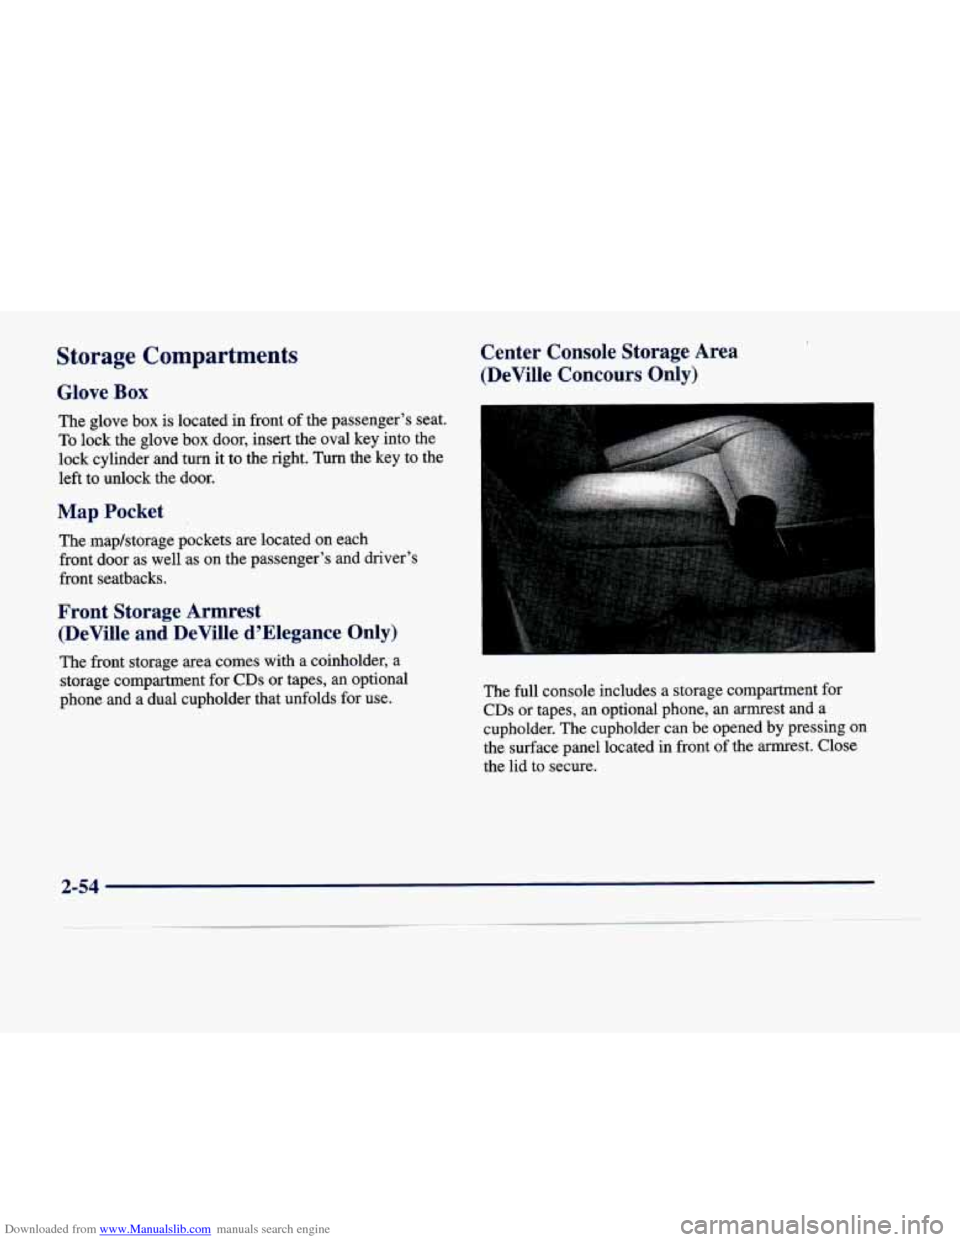
The full console includes a storage co,mpartment for
CDs or tapes, an optional phone, an armrest and a
cupholder. The cupholder can
be opened by pressing on
the surface panel located in front of the armrest. Close
the lid
to secure.
2-54
Page 126 of 386
Downloaded from www.Manualslib.com manuals search engine Rear Storage Armrest (If Equipped)
Your vehicle may be equipped with a rear seat armrest
which includes an open storage compartment and a dual
cupholder that unfolds for use.
To open, lift the front
edge.
(This feature is available on vehicles with leather
interiors only.)
Conver 0 I nce Net
The convenience net is located inside the back wall of
the trunk. Put small loads, like grocery bags, behind the
net. It can help keep them from falling over during sharp
turns or quick starts and stops.
The net is not for larger, heavier loads. Store them in the
trunk as far forward as you can. When not using the net,
hook the net to the tabs securing it to the sill plate.
Ashtrays and Cigarette Lighter
With the full center console (available on DeVille
Concours only), press
on the cover, which is located
below the climate control system, to reveal the front
ashtray. To clean this ashtray, lift it out by gripping the
sides. For vehicles without the center console, pull the tray
out to reveal the ashtray. The tray is located beneath
the radio.
To clean this ashtray, lift it out by pulling on
the snuffer.
To use the rear ashtray, lift the lid.
I NOTICE: I
Don’t put papers or other flammable items
into your ashtrays. Hot cigarettes or other
smoking materials could ignite them, causing a
damaging fire.
The cigarette lighter is located near the ashtray. Press it
all the way in and release. It will pop back by itself
when it’s ready to light. You may also have a lighter
located at the rear seat air outlet.
Note that power to the cigarette lighter will shut
off 10
minutes after the ignition is turned off. This helps to
prevent battery drainage. For more information, see “Inadvertent Battery Saver” earlier in this section.
2-55
Page 127 of 386
Downloaded from www.Manualslib.com manuals search engine NOTICE:
Illuminated Visor Vanity Mirror
Turn the sunshade down and lift the cover to see the
mirror. Move the slide switch
up or down to brighten or
Don’t hold a cigarette lighter in with your hand
while it is heating.
If you do, it won’t be able to
dim the lamp.
lighter and the heating element. Turn the sunshade down and lift the cover to see the
(If Equipped) ready. That can make it overheat, damaging the
Illuminated Rear Seat Visor Vanity Mirror back away from the heating element when it’s
mirror. Move the slide switch up or down to brighten or
dim the lamp.
ur 7isors
awing down the visor to block out glare. It can also be Cellular Telephone (Option)
detached from the center mount and moved to the side
Your vehicle has been prewired for dealer installation of
while the auxiliary sunshade remains to block glare a Cadillac dual-mode (analog/digital) cellular telephone.
from the front.
hll the front shade from the headliner A fixed mobile or a portable hand-heid system is
and position it to your preference.
available. Either system has steering wheel telephone
The driver’s sunshade is
also equipped with a storage controls and information output through the Driver
flap that can be used for maps or toll tickets. Information Center (DIC). Voice activation and
hands-free operation are standard features. For more
information, contact your dealer.
A user’s guide is
provided with the telephone.
2-56
Page 128 of 386

Downloaded from www.Manualslib.com manuals search engine OnStar System (Option)
This system may be ordered through your dealer and
will include the optional fixed cellular telephone. The
following services are available
24 hours a day:
Roadside Service with Location
0 Emergency Services Button
Remote Door Unlock
Theft DetectiodNotification and
S tolen-Vehicle Tracking
Bag Deployment
Automatic Notification of Front Air
0 Concierge/Customer Convenience Services
For more information, contact your dealer.
Assist Handles
A handle above each door can be used when getting out
of your vehicle.
Umbrella Holder
(DeVille d’Elegance Only)
The driver’s front seat cushion comes equipped
with an umbrella holder. Gently slide the umbrella into
the slot located under the front portion of the driver’s
seat cushion.
Floor Mats
Your vehicle is equipped with rubber-backed front and
rear floor mats. Keep them clean by vacuuming and
using a spot cleaner, if necessary.
Do not machine wash.
2-57
Page 129 of 386

Downloaded from www.Manualslib.com manuals search engine Bstroroof (Option)
The control switch only works when the ignition is on or when the Retained Accessory Power
(RAP) is active. Press the switch rearward and release to express-open
the glass panel and sunshade. The sunshade can also be
opened by hand.
If you want to stop the roof in a
partially opened position, press the switch in either
direction. Press and release the switch again to open it fully.
Press and hold the switch forward to close the glass
panel. The sunshade can only be closed by hand.
To vent, press the switch forward when the glass panel
is closed. Open the sunshade by hand. To close the vent,
press the switch rearward.
2-58
Page 130 of 386
Downloaded from www.Manualslib.com manuals search engine Universal Transmitter (Option)
This device complies with Part 15 of the FCC Rules.
Operation is subject to the following two conditions:
(1) this device may not cause harmful interference,
and
(2) this device must accept any interference
received, including interference that may cause
undesired operation.
This device complies with
RSS-210 of Industry Canada.
Operation is subject to the following two conditions:
(1) this device may not cause interference, and (2) this
device must accept any interference, including interference that may cause undesired operation
of
the device.
Changes and modifications to this system
by other than
an authorized service facility could void authorization to
use this equipment.
Programming the Transmitter
Do not use the universal transmitter with any garage
door opener that does not have the “stop and reverse”
safety feature. This includes any garage door opener
model manufactured before April
1, 1982.
Be sure that people and objects are clear of the garage
door you are programming.
Your vehicle’s engine should
be turned off while
programming the transmitter. Follow these steps
to
program up to three channels:
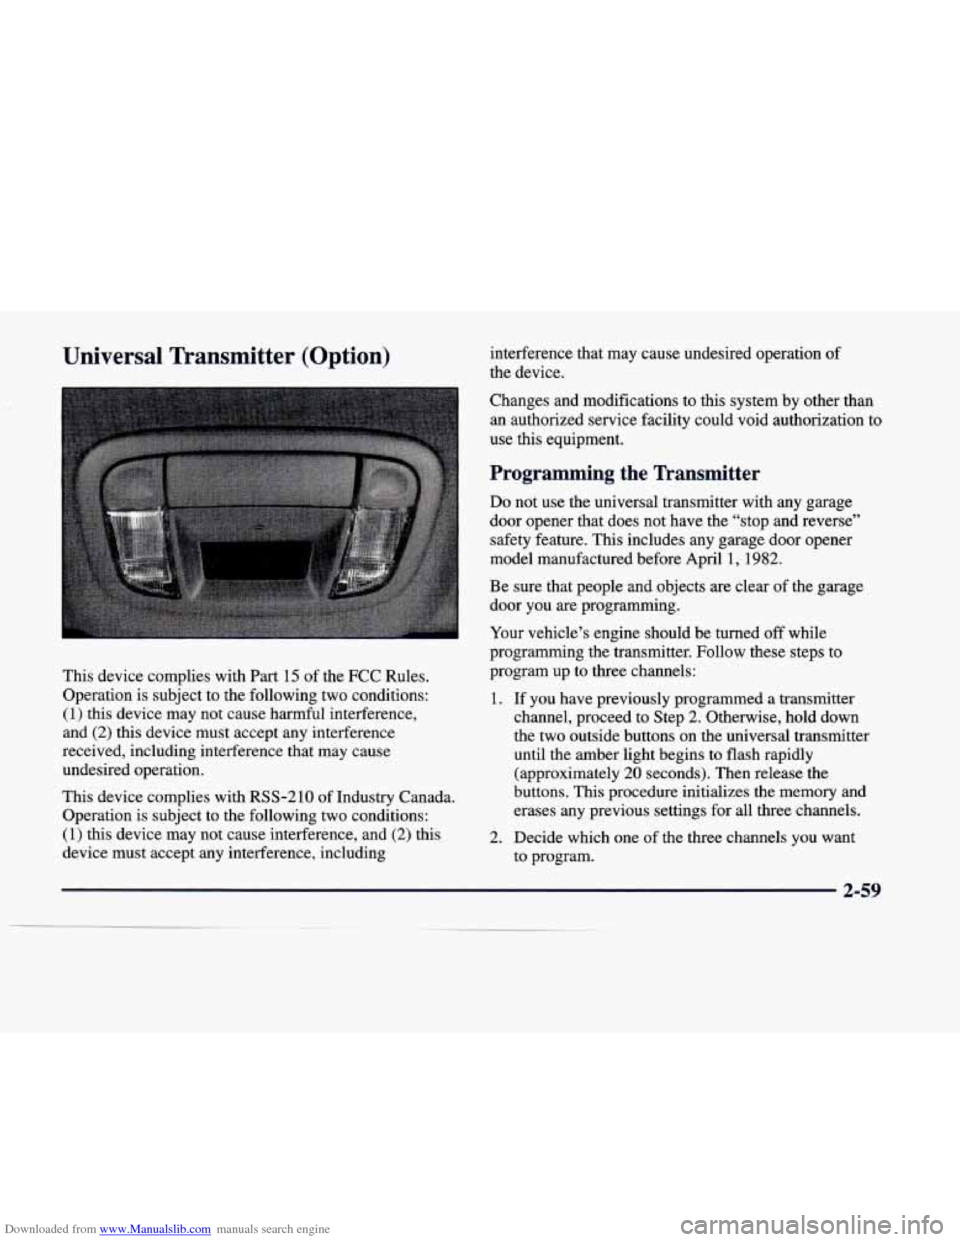
1. If you have previously programmed a transmitter
channel, proceed to Step
2. Otherwise, hold down
the two outside buttons on the universal transmitter
until the amber light begins to flash rapidly
(approximately
20 seconds). Then release the
buttons. This procedure initializes the memory and erases any previous settings for all three channels.
2. Decide which one of the three channels you want
to program.