CADILLAC DEVILLE 1998 7.G Manual Online
Manufacturer: CADILLAC, Model Year: 1998, Model line: DEVILLE, Model: CADILLAC DEVILLE 1998 7.GPages: 386, PDF Size: 22.36 MB
Page 81 of 386
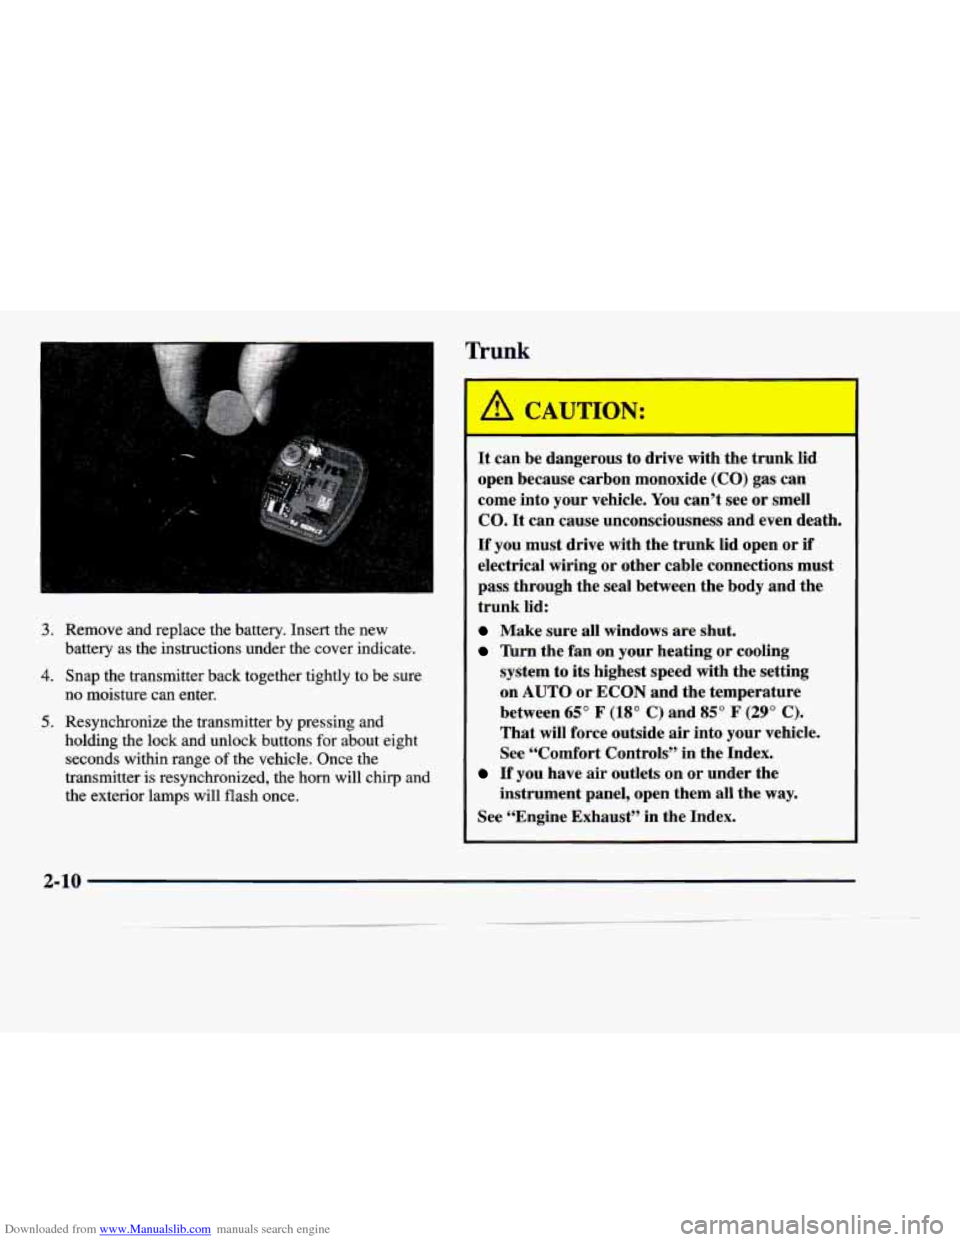
Downloaded from www.Manualslib.com manuals search engine 3. Remove and replace the battery. Insert the new
4. Snap the transmitter back together tightly to be sure
battery as the instructions under the cover indicate.
no moisture can enter.
5. Resynchronize the transmitter by pressing and
holding the lock and unlock buttons for
about eight
seconds within range of the vehicle. Once the
transmitter is resynchronized, the horn will chirp and
the exterior lamps will flash once.
Trunk
It can be dangerous to drive with the trunk lid
open because carbon monoxide
(CO) gas can
come into your vehicle. You can’t see or smell
CO. It can cause unconsciousness and even death.
If you must drive with the trunk lid open or if
electrical wiring or other cable connections must
pass through the seal between the body and the
trunk lid:
Make sure all windows are shut.
Turn the fan on your heating or cooling
system to its highest speed with the setting
on
AUTO or ECON and the temperature
between
65” F (18” C) and 85” F (29” C).
That will force outside air into your vehicle.
See “Comfort Controls” in the Index.
If you have air outlets on or under the
instrument panel, open them all the
way.
See “Engine Exhaust’’ in the Index.
2-10
Page 82 of 386
Downloaded from www.Manualslib.com manuals search engine Trunk Lock Release Trunk Storage System (Option)
To use this feature,
your vehicle must be in
PARK (P) and the valet
lockout button must be
off.
~ Press the trunk release
button, located on the
headlamp control panel on
the left side
of the
instrument panel, to open
the trunk.
You can also press the trunk button on the remote
keyless entry transmitter to access the trunk
compartment.
To disable the use of this feature, see
“Valet Lockout Button’’ in the Index.
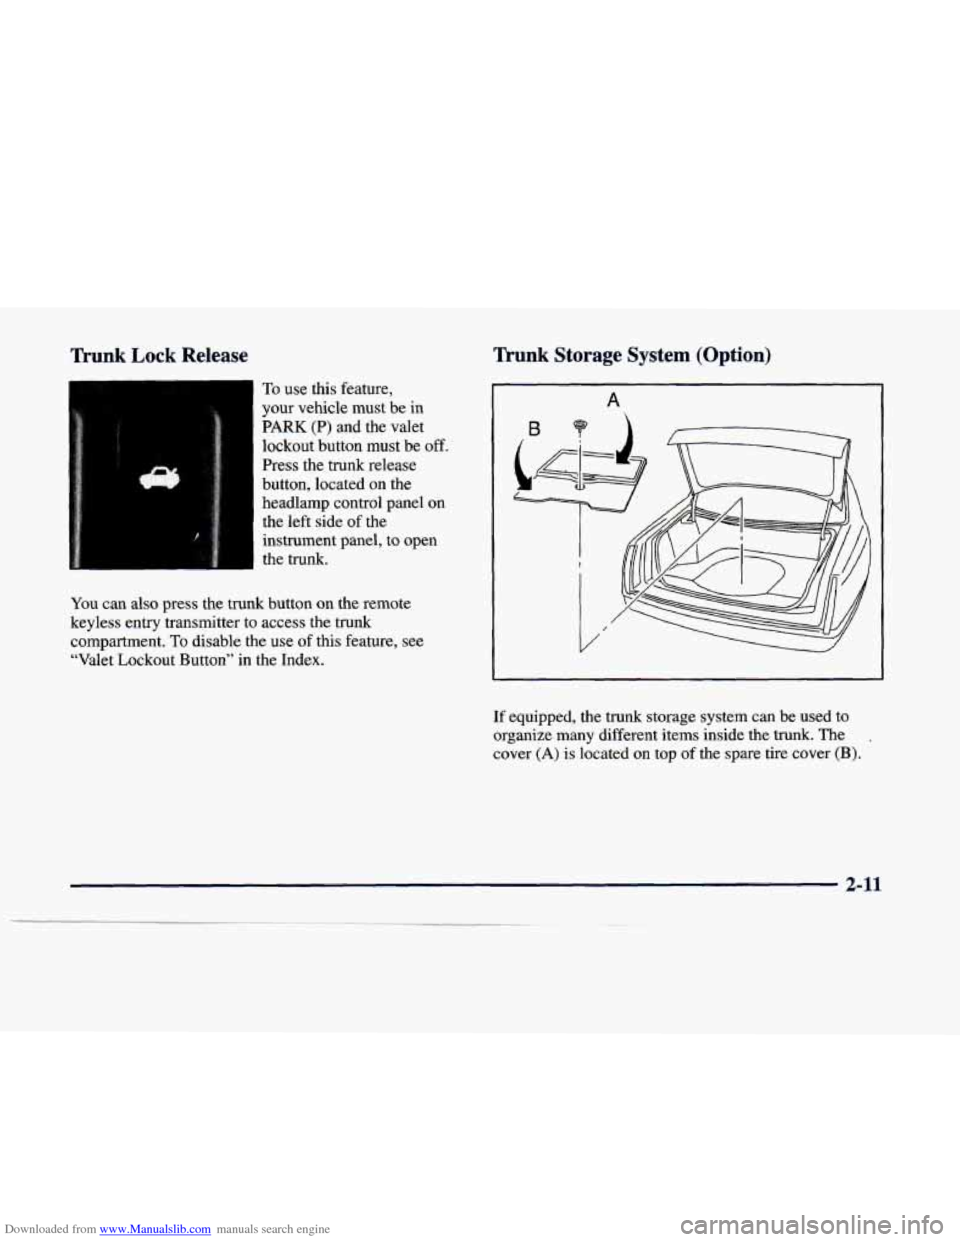
If equipped, the trunk storage system can be used to
organize many different items inside the trunk. The
,
cover (A) is located on top of the spare tire cover (B).
2-11
Page 83 of 386
Downloaded from www.Manualslib.com manuals search engine To install the storage system:
1. Pull the carpeting from the floor of the trunk. Turn
the retainer (center dial) on the compact spare tire
cover to the left to remove it.
2. Place the trunk storage system on the center of the
trunk floor.(the cut out portion of the storage system
should be facing the rear of the vehicle).
3. Open the storage system by pulling up on the handle
located in the carpeted area. This allows the unit to
fold up into place. Fold the divider walls open and
move them into the retention slots.
4. Remove the rectangular access panel from the floor
of the storage system. The access panel should
unsnap'by hand.
5. Center the storage system access hole over the area
where the spare tire is secured by the retainer.
Position the storage system as needed and then
secure
it with the retainer.
6.; Replace the access panel.
7. Attach the removable net to the slots located on the
front of the divider walls and attach the hooks to the
holes on each side of the storage system. Once in place, the storage system can be moved
forward or rearward for convenience and easy access
of
stored items.
The following steps explain how to remove the
trunk
storage system for cleaning or in case you need to access
the spare tire. Follow
all of these steps if the storage
system is in the closed position. Begin with Step
2 if the
system is already open.
1.
2.
3.
4.
Open the storage system by pulling up on the handle
located in the carpeted area.
This allows the unit to
fold up into place. Fold the divider walls open and
move them into the retention slots.
Remove the rectangular access panel from the floor of the storage system. The access panel should
unsnap by hand.
Center the storage system access hole over the &ea
where the spare tire
is secured by the retainer.
Position the storage system as needed and then
remove the retainer
(turn the retainer to the left to
remove it).
Replace the access panel and remove the storage system.
2-12
Page 84 of 386

Downloaded from www.Manualslib.com manuals search engine Trunk Lid Automatic Pull-Down Feature
Your car has an automatic pull-down feature that
helps close the trunk electronically. Your fingers
can be trapped under the trunk lid as it goes
down. Your fingers could be injured, and you
would need someone
to help you free them. Keep
your fingers away from the trunk lid
as you close
it and as it is going down.
With the automatic pull-down feature, you never have to
slam the trunk lid in order to close the trunk. Instead,
gently lower the trunk lid until it is nearly shut
-- the
automatic pull-down unit will take over and lock the
trunk firmly.
/A
/-
B
A. Trunk Lid
B. Lever
If for some reason me trunk lid
(A) will not close, it may
be because the trunk pull-down unit was accidently
bumped. Even though the trunk lid remains open, the
motor from the pull-down unit has already cycled down.
If this happens, press the lever
(B) on the trunk lid. The
pull-down unit motor will reset itself allowing the trunk lid to close when lowered.
2-13
Page 85 of 386
Downloaded from www.Manualslib.com manuals search engine Theft Parking Lots
Vehicle theft is big business, especially in some cities.
Although your vehicle has a number of theft-deterrent
features, we know that nothing we put on it can make
it impossible to steal. However, there are ways you
can help.
Key in the Ignition
If you leave your vehicle with the keys inside, it’s an
easy target for joy riders or professional thieves -- so
don’t do it.
When you park your vehicle and open the driver’s door, you’ll hear a chime reminding you to remove your key
from the ignition and take
it with you. Always do this.
Your steering wheel will be locked, and
so will your
ignition and transaxle. And remember to lock the doors.
Parking at Night
Park in a lighted spot, close all windows and lock your
vehicle. Remember to keep your valuables out of sight.
Put them in a storage area,
or take them with you. If you park in
a lot where someone will be watching
your vehicle, it’s best to lock it
up and take your keys.
But what if you have to leave your ignition key?
0
0
0
0
0
0
If possible, park in a busy, well lit area.
Put your valuables
in a storage area, like your
trunk or glove
box. Be sure to close and lock the
storage area.
Close all windows.
Lock the glove
box.
Lock all the doors except the driver’s.
Then take the door key and remote keyless entry
transmitter with you.
2-14
Page 86 of 386
Downloaded from www.Manualslib.com manuals search engine Theft-Deterrent System (If Equipped) Remember, the theft-deterrent system won’t activate if
you lock the doors with a key or use the manual door
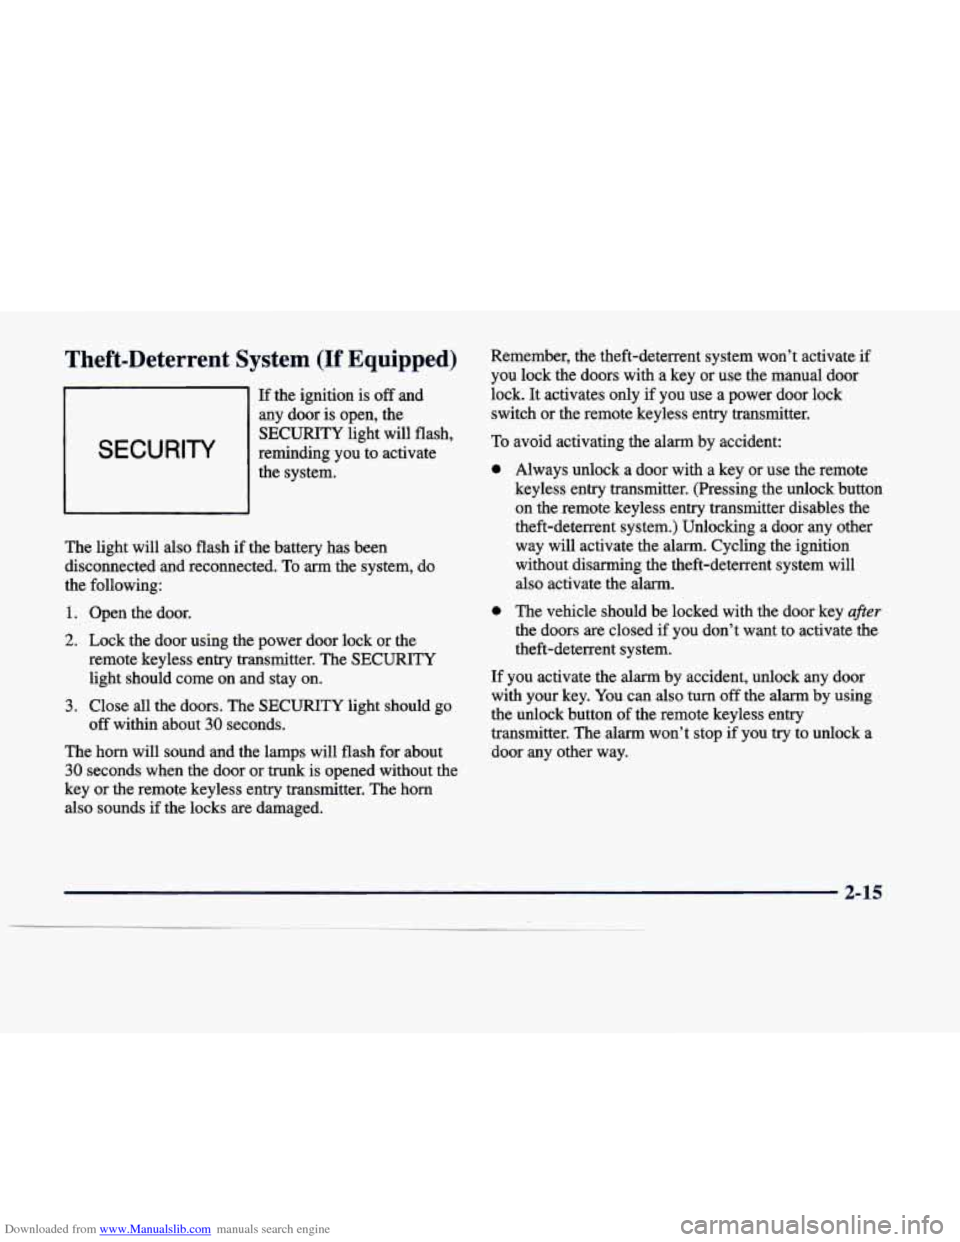
If the ignition
is off and lock.
It activates only if you use a power door lock
any door
is open, the switch or the remote keyless entry transmitter.
SECURITY
SECURITY
light will flash,
reminding you to activate
the system. To
0
The light will also flash if the battery has been
disconnected and reconnected. To arm the system, do
the following:
1. Open the door.
2. Lock the door using the power door lock or the
remote keyless entry transmitter. The SECURITY
light should come on and stay on.
3. Close all the doors. The SECURITY light should go
The horn will sound and the lamps will flash for about
30 seconds when the door or trunk is opened without the
key or the remote keyless entry transmitter. The horn
also sounds if the locks
are damaged.
off within about
30 seconds. avoid activating
the alarm by accident:
Always unlock a door with a key or use the remote
keyless entry transmitter. (Pressing the unlock button
on the remote keyless entry transmitter disables the
theft-deterrent system.) Unlocking a door any other
way will activate the alarm. Cycling the ignition
without disarming the theft-deterrent system will
also activate the alarm.
The vehicle should be locked with the door key
after
the doors are closed if you don’t want to activate the
theft-deterrent system.
If you activate the alarm by accident, unlock any door with your key. You can also
turn off the alarm by using
the unlock button of the remote keyless entry
transmitter. The alarm won’t stop if you try to unlock a
door any other way.
2-15
Page 87 of 386
Downloaded from www.Manualslib.com manuals search engine Testing the Alarm
1. From inside the vehicle, roll down the window, then get out of the vehicle, keeping the door open.
2. From outside of the vehicle, with the door open, lock
the vehicle using the power door lock or the remote
keyless entry transmitter and close the door. Wait
30
seconds until the SECURITY light goes off.
3. Reach in and unlock the door using the manual lock
and open the door. The horn
will sound and the
headlamps will flash.
If the alarm does not sound when it should, check to see
if the horn works. The horn fuse may be blown. To
replace the fuse, see “Fuses and Circuit Breakers” in the
Index.
If the fuse does not need to be replaced, you may
need to have your vehicle serviced.
To reduce the possibility of theft, always activate the
theft-deterrent system when leaving your vehicle.
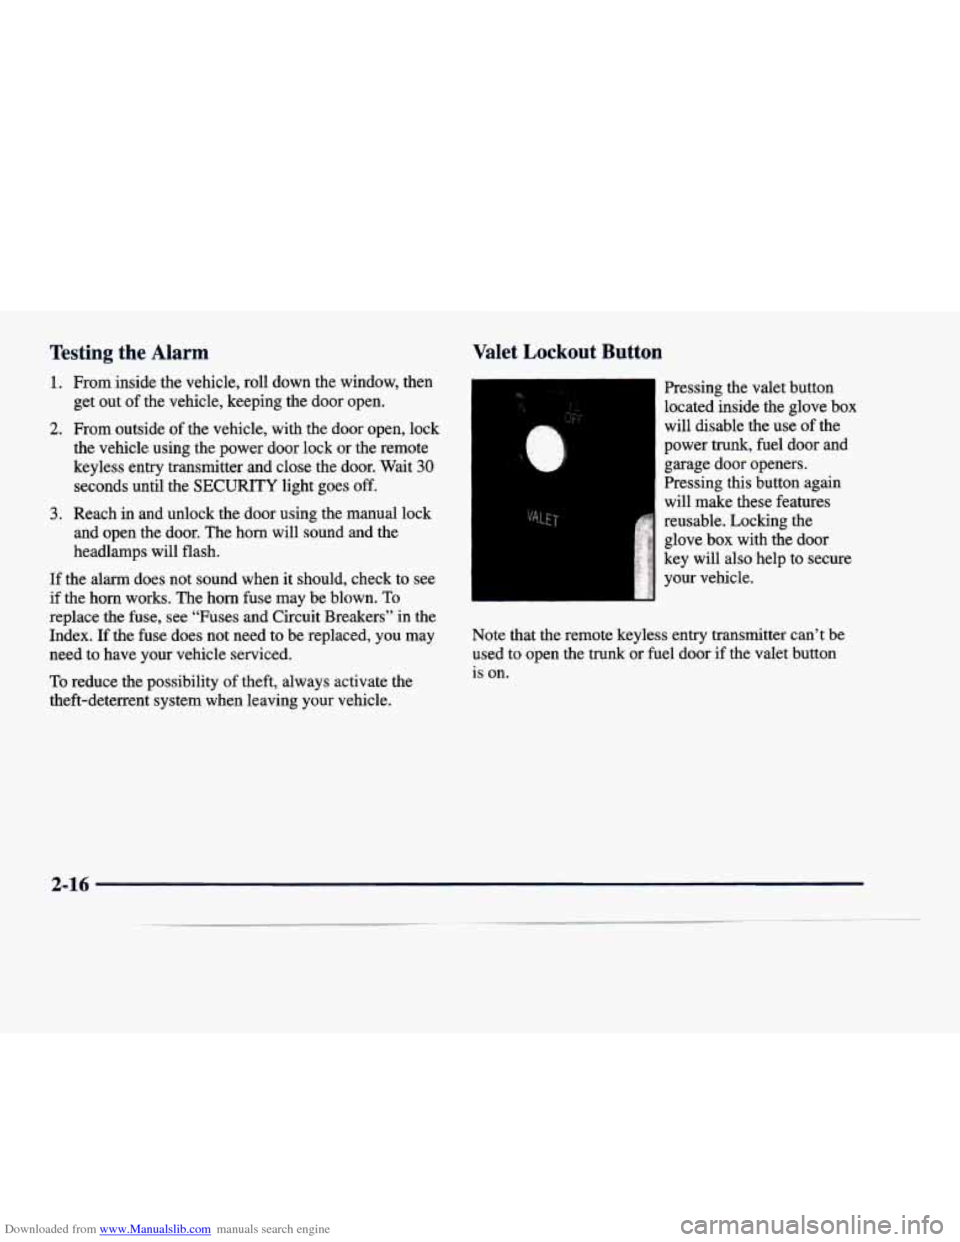
Valet Lockout Button
Pressing the valet button
located inside the glove box
will disable the use of the
power trunk, fuel door and
garage door openers.
Pressing this button again
will make these features
reusable. Locking the
glove box with the door
key will also help to secure
your vehicle.
Note that the remote keyless entry transmitter can’t be used to open the
trunk or fuel door if the valet button
is on.
2-16
Page 88 of 386
Downloaded from www.Manualslib.com manuals search engine PASS-Kev@ I1
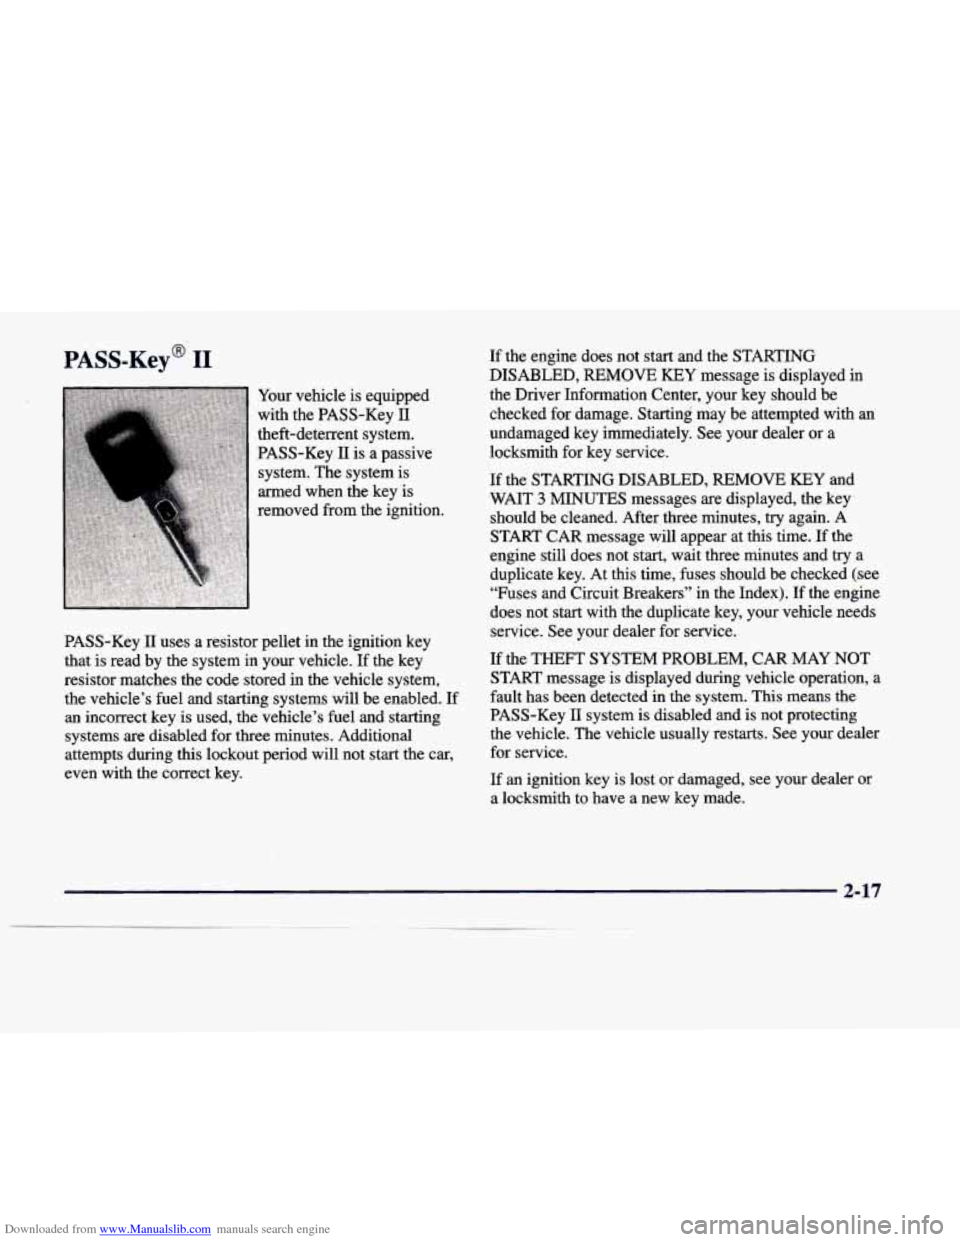
Your vehicle is equipped
with the PASS-Key
11
theft-deterrent system.
PASS-Key I1 is a passive
system. The system is
armed when the key
is
removed from the ignition.
PASS-Key
I1 uses a resistor pellet in the ignition key
that is read by the system in your vehicle.
If the key
resistor matches the code stored in the vehicle system,
the vehicle’s fuel and starting systems will be enabled.
If
an incorrect key is used, the vehicle’s fuel and starting
systems are disabled for three minutes. Additional
attempts during this lockout period will not start the car,
even with the correct key.
If the engine does not start and the STARTING
DISABLED, REMOVE KEY message is displayed in
the Driver Information Center, your key should be
checked for damage. Starting may be attempted with an
undamaged key immediately. See your dealer
or a
locksmith for key service.
If the STARTING DISABLED, REMOVE KEY and
WAIT
3 MINUTES messages are displayed, the key
should be cleaned. After three minutes,
try again. A
START CAR message will appear at this time. If the
engine still does not start, wait three minutes and
try a
duplicate key. At this time, fuses should be checked
(see
“Fuses and Circuit Breakers” in the Index). If the engine
does not start with the duplicate key, your vehicle needs
service. See your dealer for service.
If the THEFT SYSTEM PROBLEM, CAR MAY NOT
START message is displayed during vehicle operation, a
fault has been detected in the system. This means
the
PASS-Key I1 system is disabled and is not protecting
the vehicle. The vehicle usually restarts. See your dealer
for service.
If an ignition key
is lost or damaged, see your dealer or
a locksmith to have a new key made.
2-17
Page 89 of 386
Downloaded from www.Manualslib.com manuals search engine New Vehicle 66Break-In” Ignition Positions
NOTICE:
Your vehicle doesn’t need an elaborate
“break-in.” But it will perform better in the long
run
if you follow these guidelines:
0
e
0
Don’t drive at any one speed -- fast or
slow
-- for the first 500 miles (805 km).
Don’t make full-throttle starts.
Avoid making hard stops for the first
200 miles (322 km) or so. During this time
your new brake linings aren’t yet broken
in. Hard stops with new linings can mean
premature wear and earlier replacement.
Follow this breaking-in guideline every
time you get new brake linings.
Don’t tow
a trailer during break-in.
See “Towing
a Trailer’’ in the Index for
more information.
C
A E
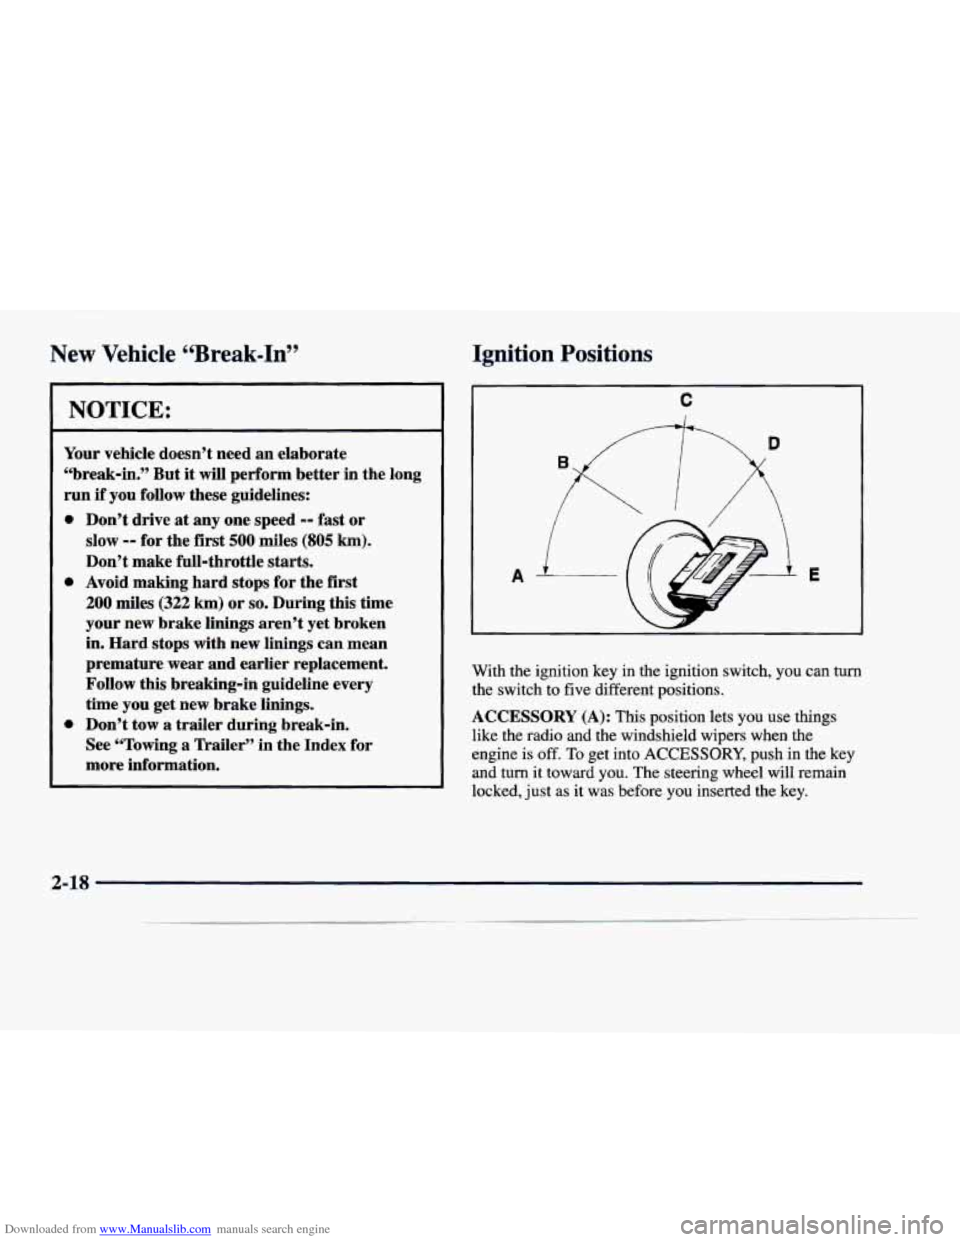
With the ignition key in the ignition switch, you can turn
the switch to five different positions.
ACCESSORY (A): This position lets you use things
like the radio and the windshield wipers when the
engine is
off. To get into ACCESSORY, push in the key
and turn it toward you. The steering wheel will remain
locked, just as it was before you inserted the key.
2-18
Page 90 of 386
Downloaded from www.Manualslib.com manuals search engine LOCK (B): Before you put the key in, the ignition will
be in LOCK. This is the only position in which you can
remove the key. This position locks the ignition, steering
wheel and transaxle. It’s a theft-deterrent feature.
NOTICE:
If your key seems stuck in LOCK and you can’t
turn
it, be sure you are using the correct key; if
so, is it all the way in? If it is, then turn the
steering wheel left and right while you turn the
key hard. But turn the key only with your hand.
Using
a tool to force it could break the key or the
ignition switch.
If none of this works, then your
vehicle needs service.
Retained Accessory Power (RAP)
The following accessories on your vehicle may be used
for up to
10 minutes after the ignition key is turned from
RUN to OFF:
Radio
Power Windows
Astroroof
Power to these accessories stops after
10 minutes or
if any door is opened. If you want power for another
10 minutes, turn the ignition key to RUN, then back
to
OFF, then to LOCK. Always leave your key in
LOCK when using RAP.
If you leave your key in
any other position than LOCK, your battery will
discharge prematurely.
OFF (C): This position lets you turn off the engine but
still turn the steering wheel. It doesn’t lock the steering
wheel like LOCK does. Use
OFF if you must have your
vehicle in motion while the engine is off (for example, if
your vehicle is being pushed).
RUN (D): This is the position for driving.
START (E): This position starts the engine.
2-19