Engine mount CADILLAC DEVILLE 1998 7.G User Guide
[x] Cancel search | Manufacturer: CADILLAC, Model Year: 1998, Model line: DEVILLE, Model: CADILLAC DEVILLE 1998 7.GPages: 386, PDF Size: 22.36 MB
Page 168 of 386
Downloaded from www.Manualslib.com manuals search engine Section 3 Comfort Controls and Audio Systems
In this section, you’ll find out how to operate the comfort control and audio systems offered with your vehicle. Be
sure to read about the particular systems supplied
with your vehicle.
3-2 Comfort Controls 3-22
AM-FM Stereo with Cassette Tape and
3-2 Digital
Cluster Climate Control.Pane1
Systems
(RDS) and Digital Signal Processing
(DeWlle and DeVille d’Elegance Only) Compact Disc Player with Radio Data
. .
3-6 Analog Cluster Climate Control Panel
(DSP) (If Equipped)
. (DeVille Concours Only) 3-3 1 Radio Data Systems (RDS) Program Type
3-
10 Air Conditioning. 3-32 Trunk Mounted CD Changer (If Equipped)
3-10
’ Heating
3- 11 Ventilation System
3-4
1 Power Antenna Mast Care 3- 18 AM-FM Stereo with Cassette Tape and 3-41 Care
of Your Compact Disc Player
3-14 AM-FM Stereo with Cassette Tape Player 3-40 Care
of Your
Compact Discs
3-14 Setting the Clock 3-39 Care
of Your
Cassette Tape Player
3-14 Audio Systems 3-38 Tips
About Your
Audio System
3-13 Climate Control Personalization If (Equipped) 3-38 Understanding Radio Reception
3-13 HVAC Steering Whed Controls 3-37 Audio Steering Wheel Controls
(If Equipped) 3-12 Rear Window Defogger 3-36 Theft-Deterrent Feature
3- 12 Defogging and Defrosting 3-36 Radio Personalization (If Equipped)
319
Electronic Solar Sensor
(PTY) Selections
.-- 3-35 CD Adapter Kits
Compact Disc Player
(If Equipped)
3-1
Page 172 of 386
Downloaded from www.Manualslib.com manuals search engine Manual Operation
0 RECIRCULATION: Press this button to limit the
amount of fresh
air entering your vehicle. This is helpful
when you
are trying to cool the air quickly or limit
odors entering your vehicle. In the AUTO mode, the
system will use recirculation as necessary to cool the
air. Pressing the recirculation button will change the
operation to a manual mode and the
air will recirculate
non-stop. Press this button again to turn off the
recirculation feature.
If you notice the windows fogging, press the
recirculation button to exit the recirculation mode.
OFF: Press this button to turn the system off. Fresh
air will continue to flow through the vehicle, and
the system will try to maintain the previously set
temperature. The outside temperature will show in
the display when the system
is off.
DEFOG: Press this button to divide the air between the
windshield and the heater outlets. This is useful when
fog appears on the windshield or side glass due to
sudden rain or snowy conditions.
AUTOECON: Press this button to switch between
AUTO and
ECON. The ECON setting attempts to keep
air at a selected temperature, however, it does not remove
humidity from the
air. Use this setting in cold or cool weather to save fuel. The AUTO setting is used when
it’s warm outside and you need
to cool the air in order to
maintain
a selected temperature and blower speed.
FAN SPEEDS: Press the button with the fan symbol
on it until AUTO is displayed on the screen. At this
setting, the fan speed is automatically controlled. If
it is
cold outside, the blower may not run in the maximum
high fan speed right away. The system checks the
temperature of the engine coolant to assure it is warm
enough to provide heat. When the engine coolant is
warm, the controller allows the fan to gradually increase
.
to a higher speed. This prevents cold air from blowing
into the passenger compartment.
If you want the blower
fan at a high speed, press the up arrow button until you
see HI on the display. If you want the fan speed to be
automatic, but you like the
fan speed to be higher than
the AUTO setting, press the fan symbol button until
HI
AUTO is shown on the display. If you want the blower
fan at a low speed, press the down arrow button until LO
is shown on the display. If you want the fan speed to run
lower than the AUTO setting, press the button until
AUTO
LO is shown on the display.
DEFROST Press this button to quickly remove
fog or frost from the windshield. This setting sends
most of the airflow to the windshield with only a
small amount to the floor outlets.
3-5
Page 175 of 386
Downloaded from www.Manualslib.com manuals search engine If you leave your vehicle, the system will remember
the control setting the next time you start your engine,
except for recirculation and defrost. Each ignition cycle
cancels recirculation, whereas, DEFROST will change
to automatic operation when the ignition is shut
off and
then turned back on.
Manual Operation
You may manually adjust the air delivery mode or
fan speed.
H AC: This setting directs airflow through the middle
instrument panel outlets.
A.
A@
BI-LEVEL: This setting directs air into your
vehicle in two ways. Cool air
is directed to the upper
portion of your body through the four instrument panel
outlets while warmed air
is directed to the floor.
7. HEATEIUDEFROSE This setting directs air to
the floor outlets and toward the windshield.
l# HEATER: This setting directs warmed air
through the floor outlets. Some warm air is diverted to
the windshield to minimize fogging.
.
DEFROST: Press this button to quickly remove
fog or frost from the windshield. This setting sends most
of the airflow to the windshield with only a small
amount to the floor outlets.
FAN SPEEDS: Press the button with the fan
symbol on it until AUTO is displayed on the screen.
At this setting, the fan speed
is automatically controlled.
If it is cold outside, the blower may not run in the
maximum high
fan speed right away. The system
checks the temperature of the engine coolant to assure
it is warm enough to provide heat. When the engine
coolant is warm, the controller allows the fan to
gradually increase to a higher speed. This prevents
cold air from blowing into the passenger compartment.
If you want the blower fan at
a high speed, press the
up arrow button until you see
HI on the display. If you
want the fan speed to be automatic, but you like the fan
speed to be higher than the AUTO setting, press the fan
symbol button until HI AUTO
is shown on the display.
If you want the blower fan at a low speed, press the
down arrow button until
LO is shown on the display.
If you want the
fan speed to.run lower than the AUTO
setting, press the button until
LO AUTO is shown on
the display.
3-8
Page 176 of 386
Downloaded from www.Manualslib.com manuals search engine OFF: Press this button to turn the system off. Fresh
air will continue to flow through the vehicle, and the
system will try
to maintain the previously set
temperature. The outside temperature will show on
the display when the system is
OFF.
AC: Press this button to turn the air conditioning on and
off. The system will cool and dehumidify the air inside
the vehicle. In the
AUTO mode, the display will show
that
AC is active, but the air conditioning compressor
only operates when the system determines it is needed.
0 RECIRCULATION: Press this button to limit the
amount of fresh air entering your vehicle. This is helpful
when you are trying to cool the air quickly or limit odors
entering your vehicle. In the
AUTO mode, the system
will use recirculation as necessary to cool the air.
Pressing the recirculation button will change the
operation to a manual mode and the air will recirculate
non-stop. Press this button again to turn off the
recirculation feature.
If you notice the windows fogging, press the recirculation button to exit the recirculation mode.
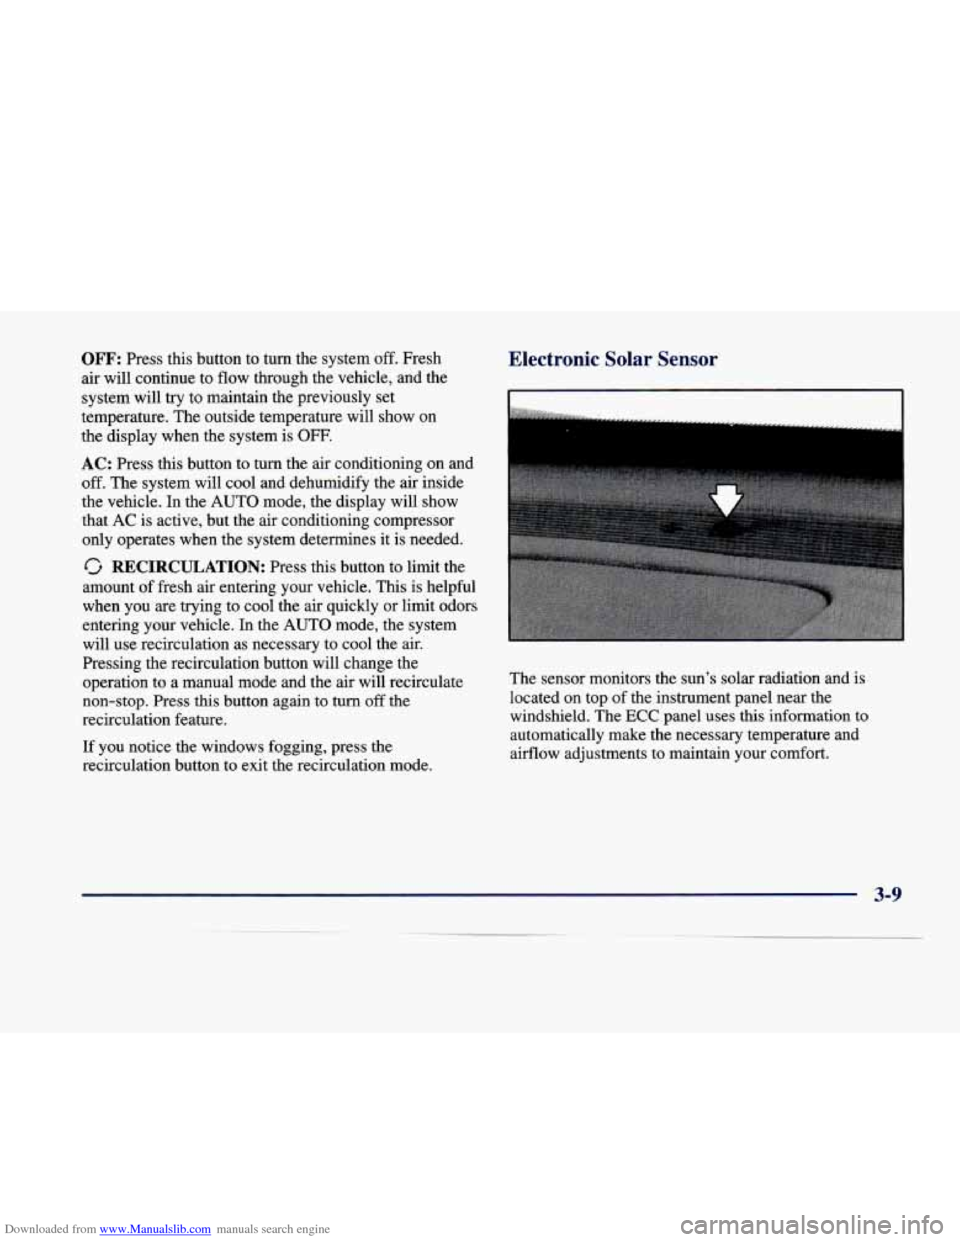
Electronic Solar Sensor
The sensor monitors the sun's solar radiation and is
located on top of the instrument panel near the
windshield. The
ECC panel uses this information to
automatically make the necessary temperature and
airflow adjustments to maintain your comfort.
3-9
Page 195 of 386
Downloaded from www.Manualslib.com manuals search engine AUDITORIUM: This setting is used to make the
listening space seem larger.
LEVEL: Press the plus (+) or minus (-) symbol on
this button to adjust the amount of effect desired
when in DSP mode.
Adjusting the Speakers
TONE:
Press and release this button until the desired
BALANCE or
FADE control is found.
LEVEL: After selecting the desired BALANCE or
FADE control, press the plus
(+) or minus (-) symbol on
this button to select the desired level.
Playing a Cassette Tape
With the radio on, insert a cassette tape. The tape will
begin playing as soon as it is inserted. When one side of
your cassette tape is done playing, auto reverse plays the
other side of your cassette tape. Cassette tapes may be
loaded with the radio off but they will not start playing
until the radio is on. If you want to insert a cassette tape
when the ignition is off, first press EJECT. tape is playing, with
an arrow
to indicate which side of
the tape is playing.
If an error occurs while trying to play a cassette tape, it
could be that:
The cassette tape is tight and the cassette player
cannot turn the hubs of the tape. Hold the cassette
tape with the open end down and
try turning the right
hub to the left with a pencil. Flip the tape over and repeat. If the hubs do not turn easily, your cassette
tape may be damaged and should not be used in the
player. Try a new tape to be sure your player is working properly.
The cassette tape is broken. (Check to see if your
tape is broken. Try'a new tape.)
RW Press the left arrow to rewind the tape rapidly. The
radio will play while the tape rewinds. You may use
your station pushbuttons
to tune to another radio station
while in RW mode. Press the left arrow again to return
to playing speed.
While the tape is playing, use the VOL, TONE, LEVEL
and DSP controls just as you do for the radio. Other
controls may have different functions when a tape is
inserted. The display will show an underlined tape
symbol. TAPE PLAY will appear on the display when a
3-28
FF: Press the right arrow to fast forward to another part
of the tape. The radio will play while the tape advances.
You may use your station pushbuttons to tune to another
radio station while in
FF mode. Press the right arrow
again to return to playing speed.
Page 199 of 386
Downloaded from www.Manualslib.com manuals search engine Trunk Mounted CD Changer (If Equipped)
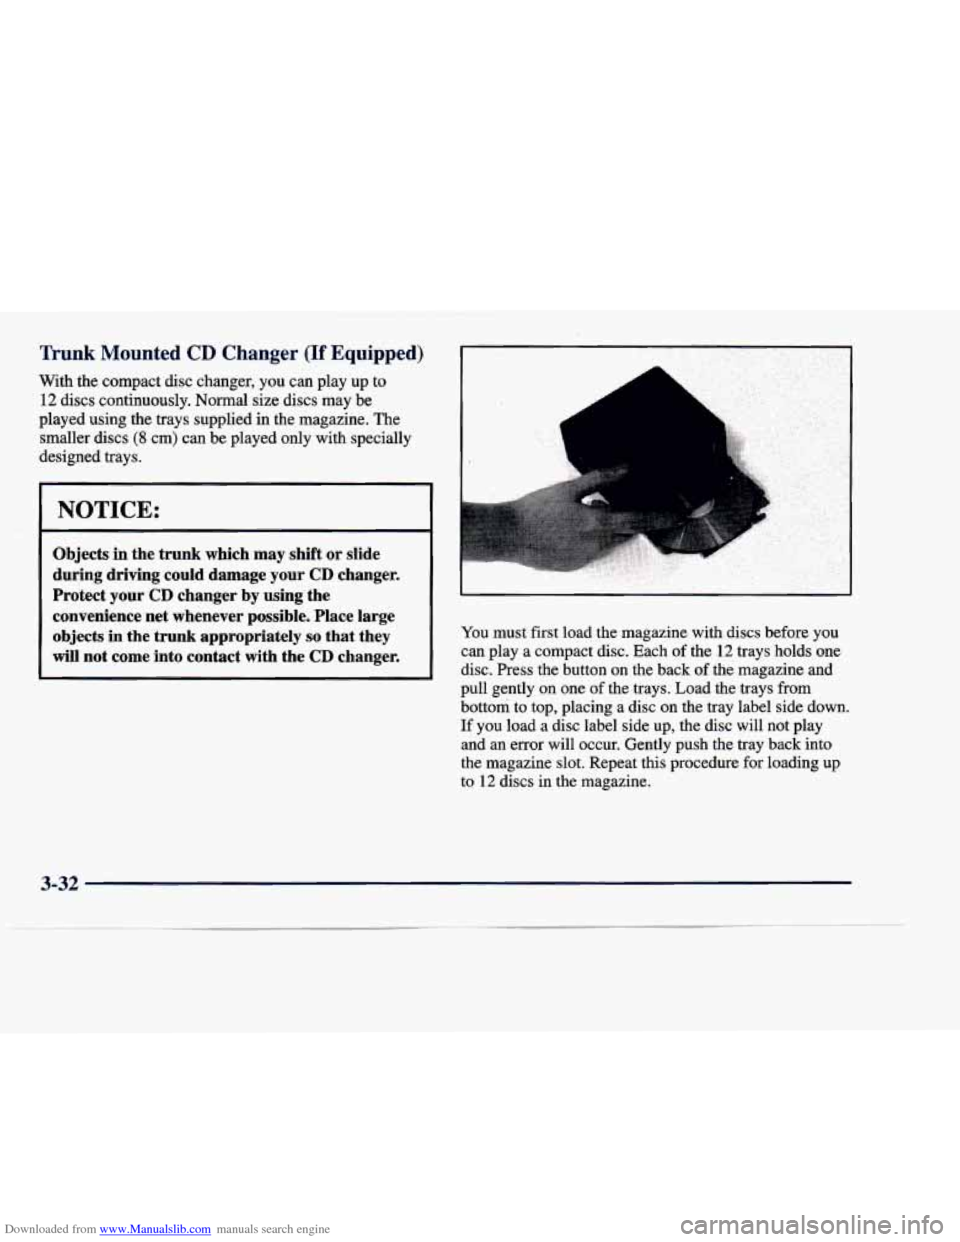
With the compact disc changer, you can play up to 12 discs continuously. Normal size discs may be
played using the trays supplied in the magazine. The
smaller discs
(8 cm) can be played only with specially
designed trays.
Objects in the trunk which may shift or slide
during driving could damage your CD changer.
' Protect your CD changer by using the
I convenience net whenever possible. Place large
objects in the trunk appropriately
so that they
will not come into contact with the CD changer.
You must first load the magazine with discs before you
can play a compact disc. Each of the 12 trays holds one
disc. Press the button on the back
of the magazine and
pull gently on one of the trays. Load the trays from
bottom to top, placing a disc on the tray label side down.
If you load a disc label side up, the disc will not play
and
an error will occur. Gently push the tray back into
the magazine slot. Repeat this procedure for loading up
to
12 discs in the magazine.
3-32
Page 212 of 386
Downloaded from www.Manualslib.com manuals search engine Section 4 Your Driving and the Road
Here you’ll find information about driving on different kinds of roads and in varying weather conditions. We’ve also
included many other useful tips on driving.
4-2
4-3
4-6 4-6
4- 10
4- 12
4-13
4- 14
4-15 Defensive Driving
Drunken Driving
Control of a Vehicle
Braking Steering
Off-Road Recovery
Passing
Loss of Control
Driving at Night 4-
17
4-20
4-2i
4-22
4-23
4-23 4-25
4-29
4-3
1
Driving in Rain and on Wet Roads
City Driving
Freeway Driving
Before Leaving on a Long Trip
Highway Hypnosis Hill and Mountain Roads
Winter Driving
Loading
Your Vehicle
Towing a Trailer
4-1
Page 214 of 386
Downloaded from www.Manualslib.com manuals search engine Drunken Driving
Death and injury.%saclared with drinking and driving is
a national tragedy. It’s the number one contributor to
the highway death toll, claiming thousands of victims
every year.
Alcohol affects four things that anyone needs to drive
a vehicle:
Judgment
Muscular Coordination
Vision
Attentiveness.
Police records show that almost half of all motor
vehicle-related deaths involve alcohol. In most cases,
these deaths are the result of someone who was drinking
and driving. In recent years, over
17,000 annual motor
vehicle-related deaths have been associated with the use
of alcohol, with more than 300,000 people injured.
Many adults
-- by some estimates, nearly half the
adult population
-- choose never to drink alcohol, so
they never drive after drinking. For persons under 2 1,
it’s against the law in every
U.S. state to drink alcohol.
There are good medical, psychological and developmental reasons for these laws. The
obvious way to solve this highway safety problem
is for people never to drink alcohol and then drive. But
what if people do? How much is “too much”
if the
driver plans to drive? It’s a lot less than many might
think. Although it depends on each person and situation,
here
is some general information on the problem.
The Blood Alcohol Concentration (BAC) of someone
who is drinking depends upon four things:
0 The amount of alcohol consumed
0 The drinker’s body weight
0 The amount of food that is consumed before and
during drinking
The length of time it has taken the drinker to
consume the alcohol.
According to the American Medical Association, a
180-lb. (82 kg) person who drinks three 12-ounce
(355 ml) bottles of beer in an hour will end up with a
BAC
of about 0.06 percent. The person would reach the
same BAC by drinking three 4-ounce (120 ml) glasses
of wine or three mixed drinks
if each had 1 - 1/2 ounces
(45 ml) of a liquor like whiskey, gin or vodka.
4-3
Page 215 of 386
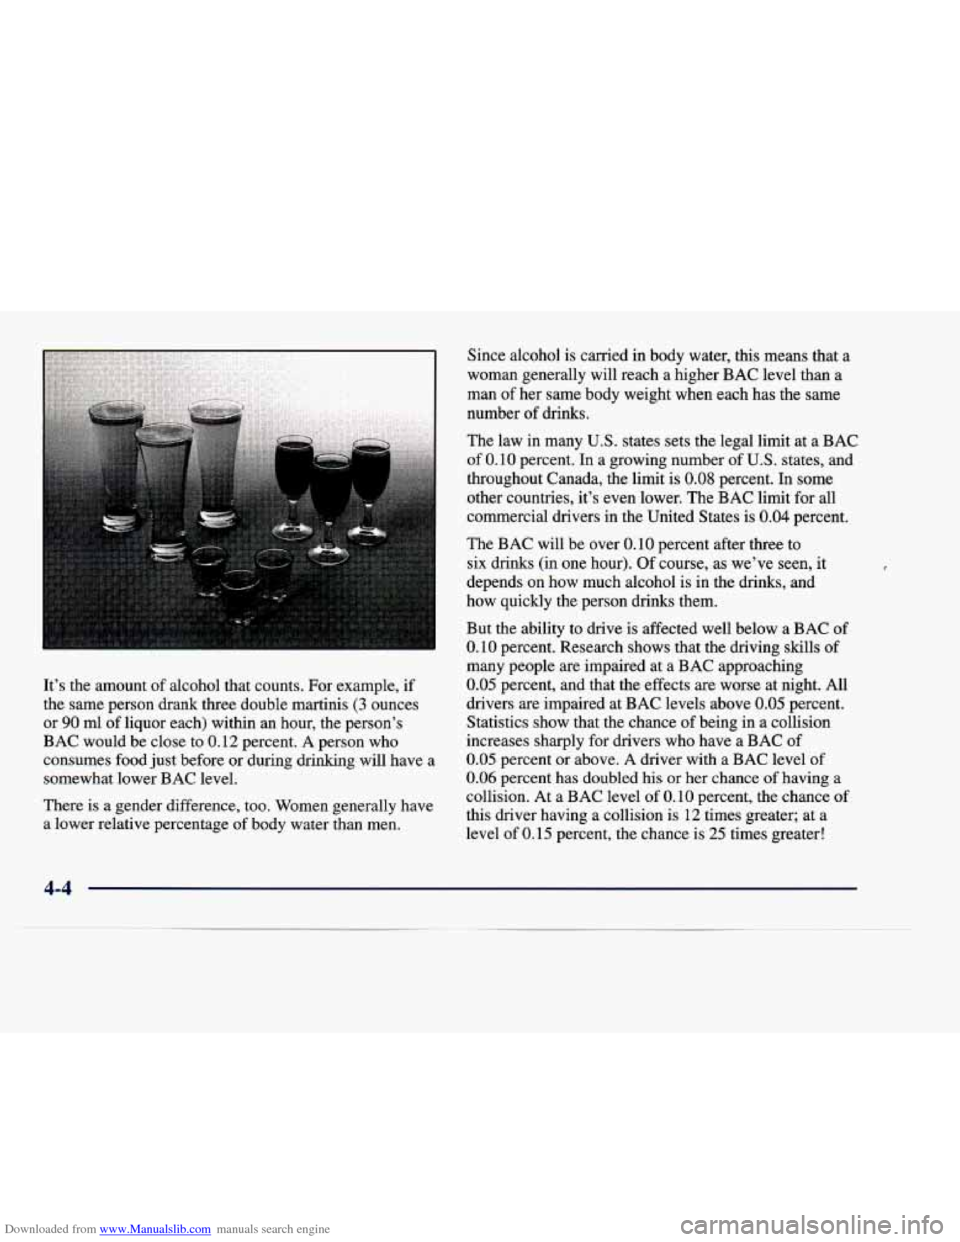
Downloaded from www.Manualslib.com manuals search engine It’s the amount of alcohol that counts. For example, if
the same person drank three double martinis
(3 ounces
or
90 ml of liquor each) within an hour, the person’s
BAC would be close to
0.12 percent. A person who
consumes food just before or during drinking will have a
somewhat lower BAC level.
There is a gender difference, too. Women generally have
a lower relative percentage of body water than men. Since alcohol is carried in body water, this means that a
woman generally will reach a higher BAC level than a
man
of her same body weight when each has the same
number of drinks.
The law in many U.S. states sets the legal limit at a BAC
of
0.10 percent. In a growing number of U.S. states, and
throughout Canada, the limit is
0.08 percent. In some
other countries, it’s even lower. The BAC limit for all
commercial drivers in the United States is
0.04 percent.
The BAC will be over
0.10 percent after three to
six drinks (in one hour). Of course, as we’ve seen, it
depends on how much alcohol is in the drinks, and
how quickly the person drinks them.
But the ability to drive is affected well below a BAC of
0.10 percent. Research shows that the driving skills of
many people are impaired at a BAC approaching
0.05 percent, and that the effects are worse at night. All
drivers are impaired at BAC levels above
0.05 percent.
Statistics show that the chance of being in a collision
increases sharply for drivers who have a BAC of
0.05 percent or above. A driver with a BAC level of
0.06 percent has doubled his or her chance of having a
collision. At a
BAC level of 0.10 percent, the chance of
this driver having a collision is 12 times greater; at a
level of
0.15 percent, the chance is 25 times greater!
4-4
Page 216 of 386

Downloaded from www.Manualslib.com manuals search engine The body takes about an hour to rid itself of the alcohol
in one drink.
No amount of coffee or number of cold
showers will speed that up. “I’ll be careful” isn’t \
the
right answer. What if there’s an emergency, a need to take sudden action, as when a child darts into the street?
A person with even a moderate BAC might not be able
to react quickly enough to avoid the collision.
There’s something else about drinking and driving that
many people don’t know. Medical research shows that
alcohol in
a person’s system can make crash injuries
worse, especially injuries to the brain, spinal cord or
heart. This means that when anyone who has been
drinking
-- driver or passenger -- is in a crash, that
person’s chance
of being killed or permanently disabled
is higher than if the person had not been drinking.
I
A CAUTION:
Drinking and then driving is very dangerous.
Your reflexes, perceptions, attentiveness and
judgment can be affected
by even a small amount
of alcohol. You can have a serious -- or even
fatal
-- collision if you drive after drinking.
Please don’t drink and drive or ride with a driver
who has been drinking. Ride home in a cab; or if
you’re with a group, designate a driver who will
not drink.
4-5
-