headlamp CADILLAC DEVILLE 1998 7.G User Guide
[x] Cancel search | Manufacturer: CADILLAC, Model Year: 1998, Model line: DEVILLE, Model: CADILLAC DEVILLE 1998 7.GPages: 386, PDF Size: 22.36 MB
Page 119 of 386
Downloaded from www.Manualslib.com manuals search engine Inadvertent Power Battery Saver
This feature is designed to protect your vehicle’s
battery against drainage from the interior lamps,
trunk lamp, glove box lamp, cigarette lighters or the
garage door opener. When the ignition is turned
off,
the power to these features will automatically turn off
after 10 minutes (three minutes if a new car has 15 miles
(24 km) or less). Power will be restored for an additional
10 minutes if any door is opened, the trunk is opened or
the courtesy lamp switch is turned on.
Storage Mode Personalization
This feature is for long term use and must be
programmed through the Driver Information Center
(DIC) while the ignition is in RUN. Storage mode
personalization protects the battery by placing your
vehicle
in a storage mode so that the radio, amplifiers,
instrument cluster and remote keyless entry will not
drain the battery over a long period of time. For
programming information, see “Programmable, Memory
and Personalization Features” later in
this section.
Mirrors
Electrochromic Daymight Rearview Mirror
When this feature is turned on, the mirror automatically
changes to reduce glare from headlamps behind you. A
photocell on the mirror senses when it is becoming dark
outside. Another photocell, built into the mirror face,
senses when headlamps are behind you.
At night, when the glare is too high, the mirror will
gradually darken to reduce glare (this change may take a
few seconds). The mirror will return to its clear daytime
state when.the glare is reduced.
2-48
Page 120 of 386
Downloaded from www.Manualslib.com manuals search engine Mirror Operation
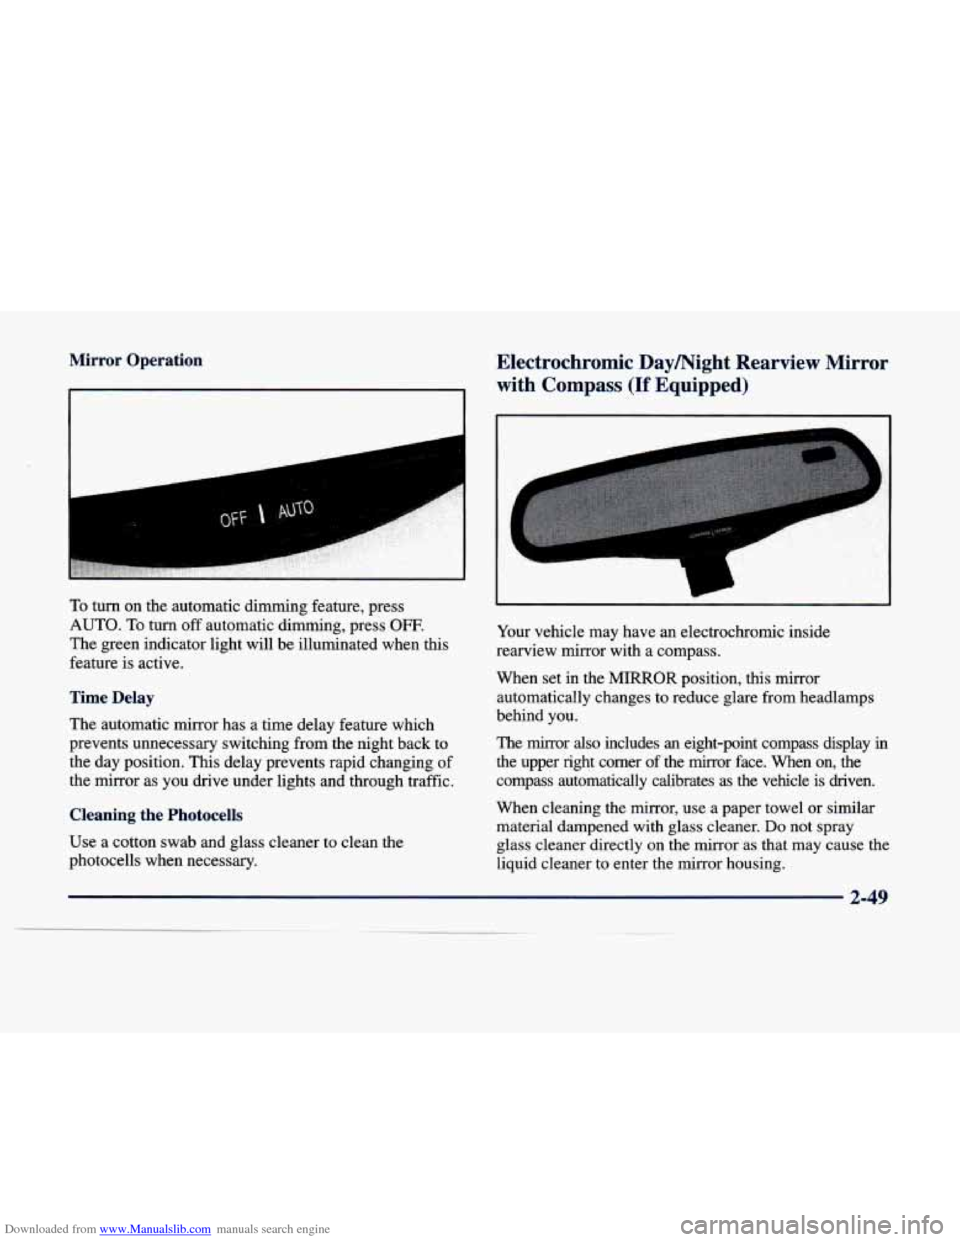
To turn on the automatic dimming feature, press
AUTO.
To turn off automatic dimming, press OW.
The green indicator light will be illuminated when this
feature is active.
Time Delay
The automatic mirror has a time delay feature which
prevents unnecessary switching from the night back to
the day position.
This delay prevents rapid changing of
the mirror as you drive under lights and through traffic.
Cleaning the Photocells
Use a cotton swab and glass cleaner to clean the
photocells when necessary.
Electrochromic Daymight Rearview Mirror
with Compass
(If Equipped)
L
Your vehicle may have an electrochromic inside
rearview mirror with a compass.
When set in the
MIRROR position, this mirror
automatically changes
to reduce glare from headlamps
behind you.
The
mirror also includes an eight-point compass display in
the upper right corner of the mirror face. When on, the compass automatically calibrates as the vehicle is driven.
When cleaning the mirror, use a paper towel or similar
material dampened with glass cleaner.
Do not spray
glass cleaner directly on the mirror as that may cause the
liquid cleaner to enter the mirror housing.
Page 123 of 386
Downloaded from www.Manualslib.com manuals search engine Compass Calibration
If the letter “C” appears in the compass display, the
mirror may need calibration.
The mirror can be calibrated in one
of two ways:
0 Drive the vehicle in circles at 5 mph (8 km/h) or less
0 Drive the vehicle on’your everyday routine.
until the display reads a direction, or
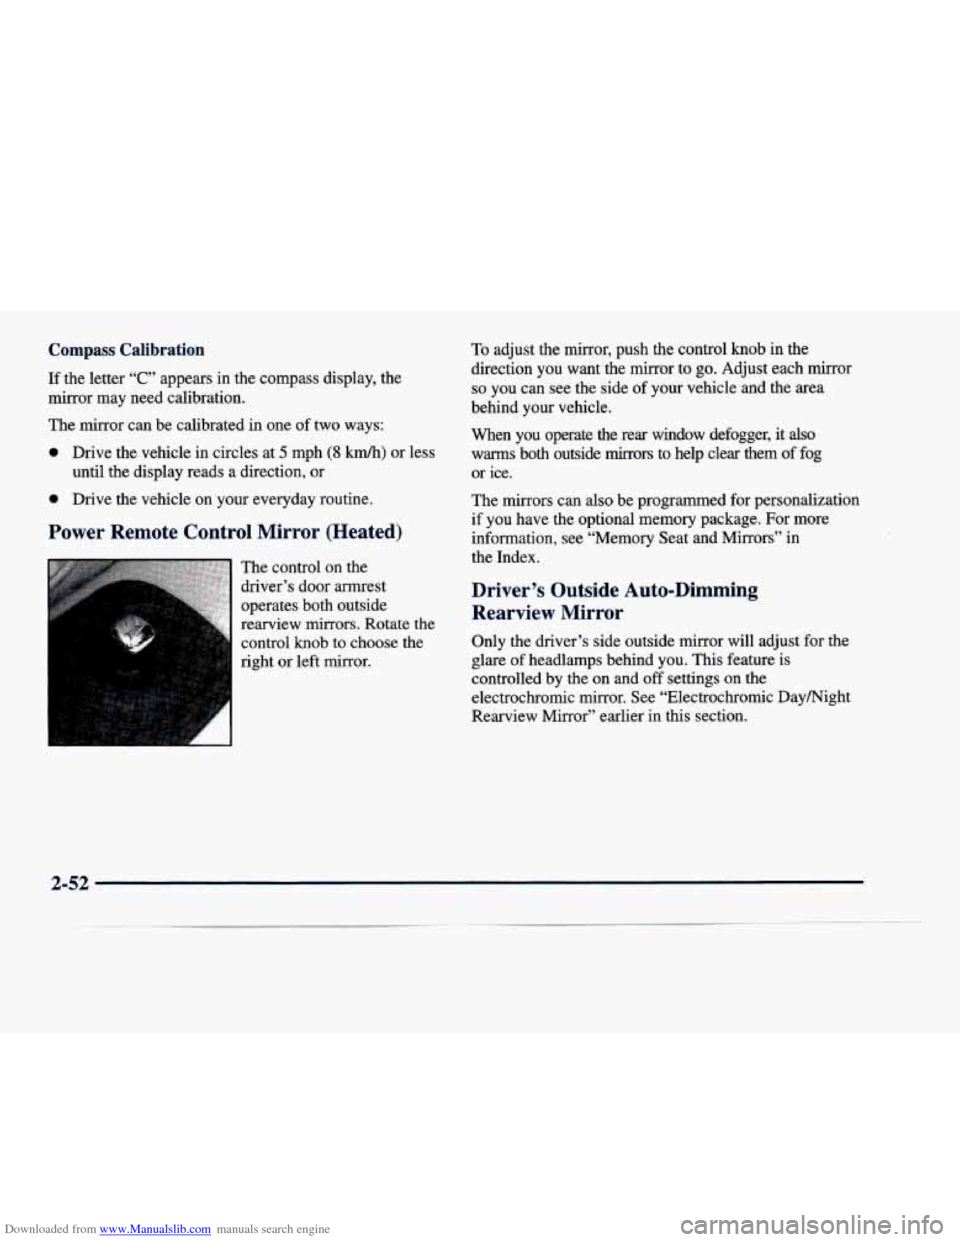
The control on the
driver’s door armrest
operates both outside
rearview
mirrors. Rotate the
control knob to choose the
right or left mirror.
To adjust the mirror, push the control knob in the
direction you want the mirror to
go. Adjust each mirror
so you can see the side of your vehicle and the area
behind your vehicle.
When you operate the rear window defogger, it
also
warms both outside mirrors to help clear them of fog
or ice.
The mirrors can also be programmed for personalization
if you have the optional memory package. For more
information, see “Memory Seat and Mirrors” in
the Index.
Driver’s Outside Auto-Dimming Rearview Mirror
Only the driver’s side outside mirror will adjust for the
glare
of headlamps behind you. This feature is
controlled by the on and
off settings on the
electrochromic mirror. See “Electrochromic Daymight
Rearview Mirror” earlier in this section.
2-52
Page 156 of 386
Downloaded from www.Manualslib.com manuals search engine down or the message is removed. If it does not cool
down, turn
off the engine and have it serviced before
driving it again. Severe engine damage can result from
an overheated engine. See “Engine Overheating”
in
the Index.
ENGINE HOT - NC OFF - 16: This message displays
when the engine coolant becomes hotter than the normal
operating temperature.
To avoid added strain on a hot
engine, the
air conditioning compressor is automatically
turned
off so that air conditioned air is not delivered. If
the coolant temperature returns to normal, you must
select AC to return
to a normal A/C compressor
operation. If this message continues to appear, have
the system repaired as soon as possible to avoid
compressor damage.
ENGINE MISFIRE, EASE OFF GAS PEDAL - 114:
An engine misfire has occurred. You’ll need to ease off
the gas pedal.
ENGINE OVERHEATED, STOP ENGINE - 42: This
message
will appear when the engine has overheated.
Stop and turn the engine
off immediately to avoid severe
engine damage. See “Engine Overheating” in the Index.
A multiple chime will also sound when this message
is displayed.
ENGINE POWER REDUCED - 41: This message
informs the driver that their vehicle is reducing engine
power because the transaxle is being placed in gear
under conditions that may cause damage to the vehicle
powertrain or vehicle acceleration.
FUEL LEVEL LOW - 11: This message serves as a
warning that the fuel level in the tank
is critically low.
Stop for fuel soon.
HEADLAMPS SUGGESTED - 23: If it’s dark enough
outside and the twilight sentinel control is
off, a
HEADLAMPS SUGGESTED message will display on
the Driver Information Center (DIC). This message
informs the driver that turning on the exterior lamps is
recommended even though the Daytime Running
Lamps (Dm) are still illuminated. It’s become dark
enough outside to require the headlamps andQr
exterior lamps.
ICE POSSIBLE - 13: This message appears when
the outside air temperature is cold enough to create icy
road conditions.
Page 163 of 386
Downloaded from www.Manualslib.com manuals search engine FEATURE OFF appears as well as the next
prompt
-- DOORS UNLOCK IN PARK. If this
prompt is chosen, FEATURE ON appears. If a no
response was made, DOORS UNLOCK
KEY OFF will
appear. At this point, a yes or no response automatically
brings up the LGHTS
FLSH AT UNLOCK feature.
LocWnlock Confirmation
This personalization feature allows the driver to
program the parking lamps to blink when the lock or
unlock buttons on the remote keyless entry transmitter
are pressed, to program the horn to sound when the lock
button is pressed. and/or to program the exterior lamps to
turn on when the unlock button is pressed. Press the
TRIP (TRIP RESET) button to answer “yes,” press the
RESET (INFO RESET) button to indicate “no” or press
the INFORMATION (INFO) button to “skip” to the next
personalization feature.
To begin programming, your vehicle’s ignition must be
in RUN. Press and hold the INFORMATION (INFO)
and RESET (INFO RESET) buttons at the same time to display the following prompts. LOCKNNLOCK
confirmation is the second feature to appear. To “skip”
past the first personalization feature, press the
INFORMATION
(INFO) button.
LGHTS FLSH AT UNLOCK: Parking lamps blink
twice when the unlock button on the remote keyless
entry transmitter is pressed.
LIGHTS FLASH AT LOCK: Parking lamps blink
once when
the lock button on the remote keyless entry
transmitter
is pressed.
HORN SOUNDS AT LOCK: Horn sounds when
the lock button on the remote keyless entry transmitter
is pressed.
EXT LIGHTS AT UNLOCK: Exterior lamps (parking
lamps, taillamps, sidemarker lamps, license plate lamps, low-beafn headlamps, etc.)
turn on when the unlock
button on the remote keyless entry transmitter is pressed, and
it is dark outside. These lamps stay on for
about
20 seconds or when the key is turned out of OFF.
The prompts listed here appear in the same order as
displayed on the Driver Information Center (DIC).
FEATURE ON appears when a yes response is made
and FEATURE
OFF appears with a no response. To skip
to the next personalization feature (REMOTE RECALL
MEMORY), press the INFORMATION (INFO) button.
2-92
Page 227 of 386
Downloaded from www.Manualslib.com manuals search engine Here are some tips on night driving.
0 Drive defensively.
0 Don’t drink and drive.
Since you can’t see as well, you may need to slow
down and keep more space between you and
other vehicles.
Slow down, especially on higher speed roads. Your
headlamps can light up only
so much road ahead.
0 In remote areas, watch for animals.
If you’re tired, pull off the road in a safe place
and rest.
Night Vision
No one can see as well at night as in the daytime. But as
we get older these differences increase.
A 50-year-old
driver may require at least twice as much light to see the
same thing at night as a 20-year-old.
What you do in the daytime can also affect your night
vision. For example, if you spend the day in bright
sunshine you are wise to wear sunglasses. Your eyes
will have less trouble adjusting to night. But if you’re
driving, don’t wear sunglasses at night. They may cut
down
on glare from headlamps, but they also make a lot
of things invisible. You
can be temporarily blinded by approaching
headlamps. It can take a second or two, or even several
seconds, for your eyes to readjust to the dark. When you
are faced with severe glare (as from a driver who
doesn’t lower the high beams, or a vehicle with
misaimed headlamps), slow down a little. Avoid staring
directly into the approaching headlamps.
Keep your windshield and all the glass on your vehicle
clean
-- inside and out. Glare at night is made much
worse by dirt on the glass. Even the inside of the glass
can build up a film caused by dust. Dirty glass makes
lights dazzle and flash more than clean glass would,
making the pupils of your eyes contract repeatedly.
Remember that your headlamps light up far less of a
roadway when you are in a turn or curve. Keep your
eyes moving; that way, it’s easier to pick out dimly
lighted objects. Just as your headlamps should be
checked regularly for proper aim,
so should your eyes
be examined regularly. Some drivers suffer from night
blindness
-- the inability to see in dim li,ght -- and
aren’t even aware of it.
4-16
Page 240 of 386
Downloaded from www.Manualslib.com manuals search engine Run your engine only as long as you must. This saves
fuel. When you run the engine, make it go a little faster
than just idle. That is, push the accelerator slightly. This
uses less fuel for the heat that you get and it keeps the
battery charged. You will need a well-charged battery to
restart the vehicle, and possibly for signaling later on
with your headlamps. Let the heater run for a while.
Then, shut the engine
off and close the window almost
all the way to preserve the heat. Start the engine again
and repeat this only when you feel really uncomfortable
from the cold. But do it as little as possible. Preserve the
fuel as long as you can. To help keep warm, you can get
out of the vehicle and do some fairly vigorous exercises
every half hour or
so until help comes.
Loading Your Vehicle
OCCUPANTS
VEHICLE CAP. WT.
TIRE-LOADING
INFORMATION
FRT. CTR.
RR. TOTAL LBS. KG
MAX. LOADING
& GVWR SAME AS VEHICLE
CAPACITY WEIGHT XXX COLD TIRE
TIRE SIZE SPEED PRESSURE
RTG PSI/KPa
FRT.
RR.
SPA.
IF TIRES ARE HOT, ADD 4PS1/28KPa
SEE OWNER'S MANUAL FOR ADDITIONAL
, INFORMATION
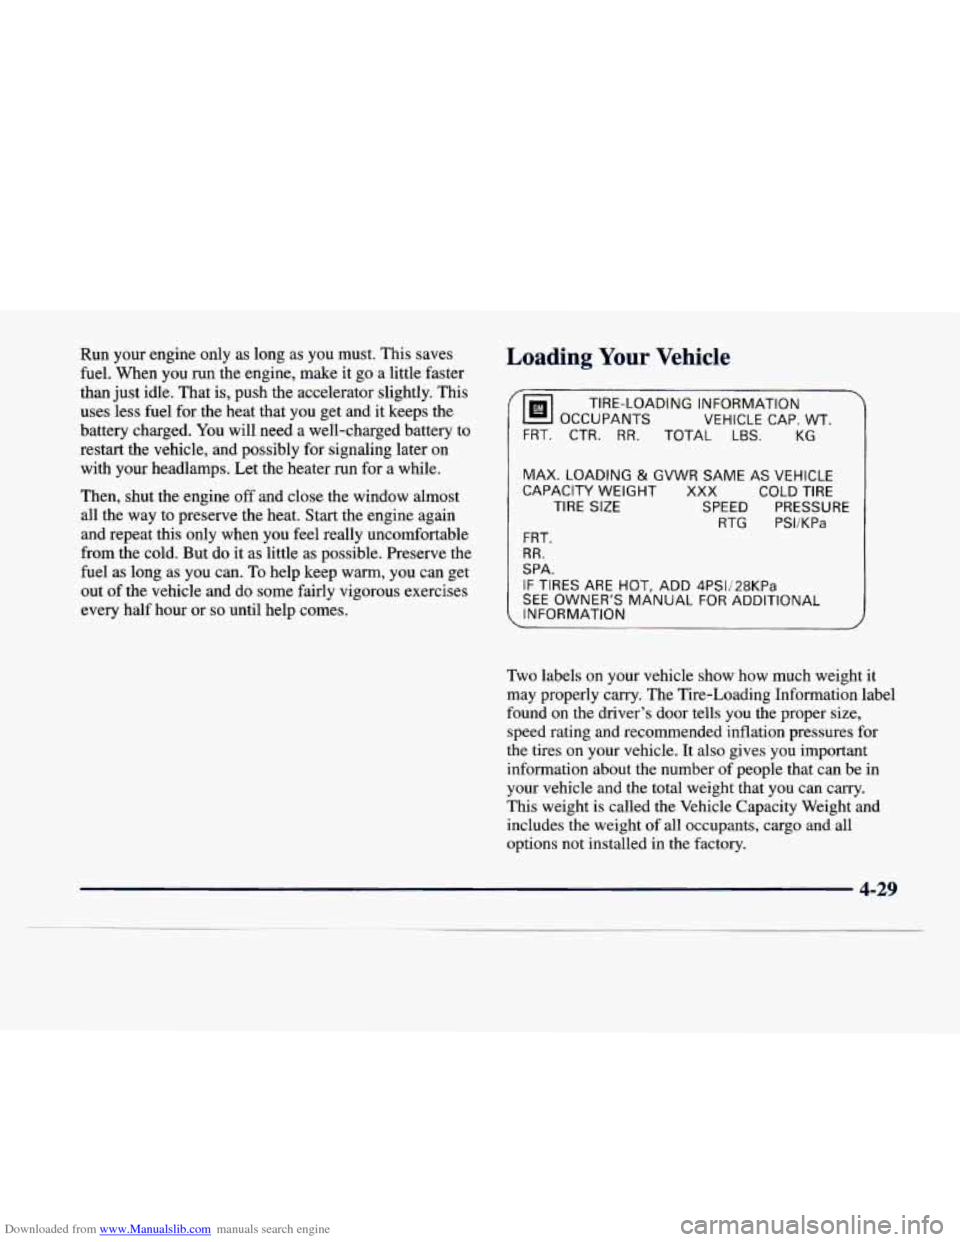
Two labels on your vehicle show how much weight it
may properly carry. The Tire-Loading Information label
found
on the driver's door tells you the proper size,
speed rating and recommended inflation pressures for
the tires on your vehicle. It also gives you important
information about the number of people that can be in
your vehicle and the total weight that you can carry.
This weight is called the Vehicle Capacity Weight and
includes the weight
of all occupants, cargo and all
options not installed
in the factory.
4-29
Page 288 of 386
Downloaded from www.Manualslib.com manuals search engine &&* -%%-,
Section 6 Service and Appearance Care
Here you will find information about the care of your vehicle. This section begins with service and fuel informa\
tion,
and then it shows how to check important fluid and lubricant levels. There is also techn\
ical information about your
vehicle, and a part devoted to its appearance care.
6-2
6-3
6-5 6-5
6-8
6-8
6-11
6-15
6-18
6-22
6-26
6-28
6-3 1
6-32
6-3
8
6-3 8
Service
Fuel
Fuels in Foreign Countries Filling Your Tank
Filling a Portable Fuel Container
Checking Things Under the Hood
Engine Oil
Air Cleaner
Automatic Transaxle Fluid
Engine Coolant
Windshield Washer Fluid
Brakes
Battery
Bulb Replacement
Windshield Wiper Blade Replacement Headlamp Aiming 6-4
1
6-49
6-49
6-52
6-54
6-55
6-55
6-56
6-57 6-57
6-66
6-66
6-67
6-67 Tires
Appearance Care
Cleaning the Inside of Your Vehicle
Cleaning the Outside
of Your Vehicle
Cleaning Aluminum or Chrome Wheels
(If Equipped)
Underbody Maintenance
Chemical Paint Spotting
Appearance Care Materials Chart
Vehicle Identification Number (VIN)
Electrical System Replacement Bulbs
Capacities and Specifications
Air Conditioning Refrigerants
Normal Maintenance Replacement
Parts
Page 293 of 386
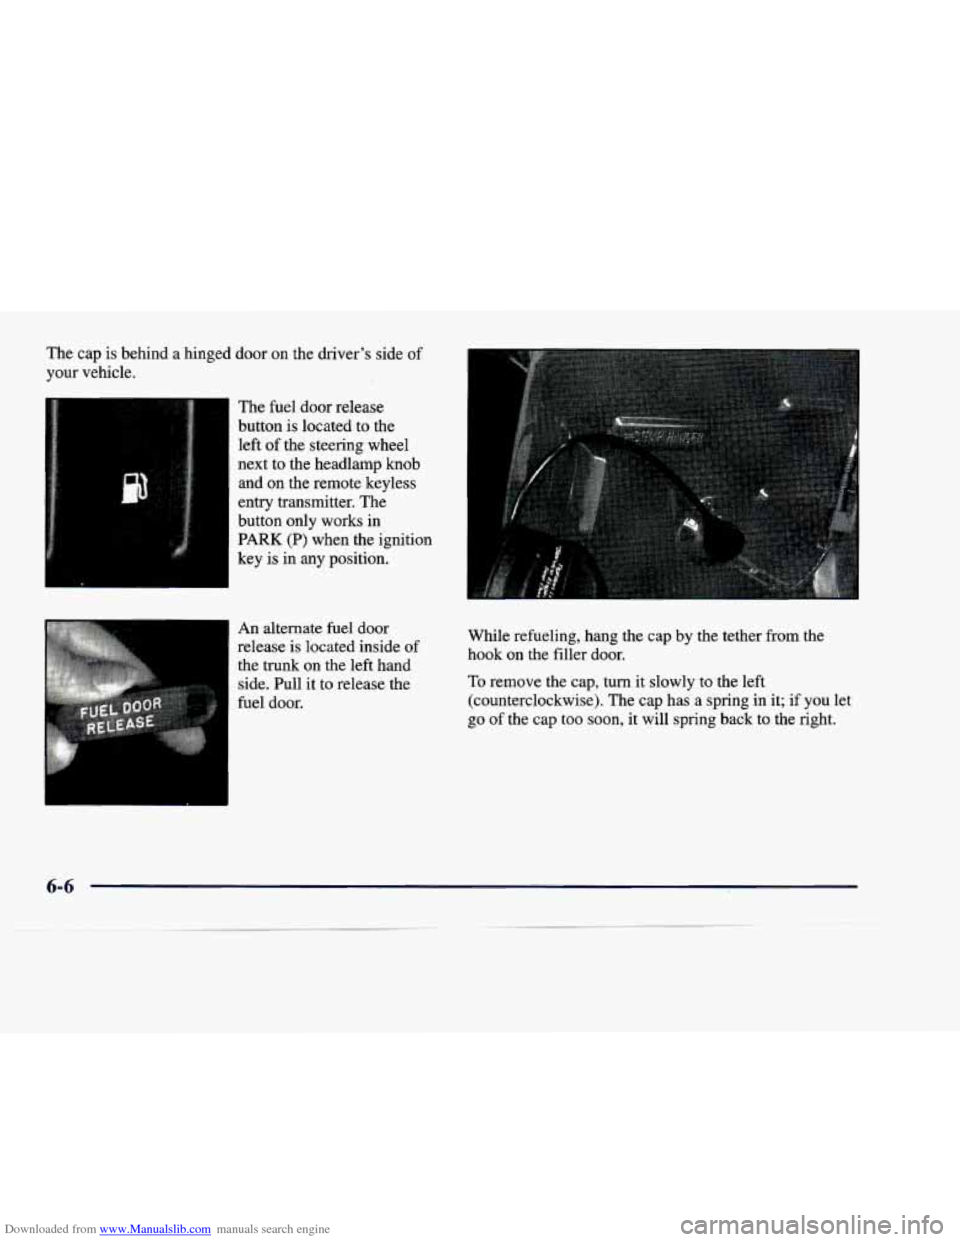
Downloaded from www.Manualslib.com manuals search engine The cap is behind a hinged door on the dnver’s side of
your vehicle.
The fuel door release
button is located to the
left of the steering wheel
next to the headlamp knob and on the remote keyless
entry transmitter. The
button only works in
PARK
(P) when the ignition
key
is in any position.
I
An alternate fuel door
release is located inside of
the trunk
on the left hand
side. Pull it to release the
fuel door. While refueling, hang the cap
by the tether from the hook on the filler door.
To remove the cap,
turn it slowly to the left
(counterclockwise). The cap has a spring in it; if
you let
go of the cap too soon, it will spring back to the right.
6-6
Page 319 of 386

Downloaded from www.Manualslib.com manuals search engine Bulb Replacer3
For any bulb changing procedure not listed in this
section, contact
your dealer's service department.
Hnlogen Bulbs
A CAUdC J:
Halogen bulbs have pressurized gas inside and
can burst if
you drop or scratch the bulb. You or
others could
be injured. Be sure to read and
follow
the instructions on the bulb package.
Headlamps
A
A
A
1. To access the headlamps, lift the cover as shown.
6-32