ignition CADILLAC DEVILLE 1998 7.G Repair Manual
[x] Cancel search | Manufacturer: CADILLAC, Model Year: 1998, Model line: DEVILLE, Model: CADILLAC DEVILLE 1998 7.GPages: 386, PDF Size: 22.36 MB
Page 195 of 386
Downloaded from www.Manualslib.com manuals search engine AUDITORIUM: This setting is used to make the
listening space seem larger.
LEVEL: Press the plus (+) or minus (-) symbol on
this button to adjust the amount of effect desired
when in DSP mode.
Adjusting the Speakers
TONE:
Press and release this button until the desired
BALANCE or
FADE control is found.
LEVEL: After selecting the desired BALANCE or
FADE control, press the plus
(+) or minus (-) symbol on
this button to select the desired level.
Playing a Cassette Tape
With the radio on, insert a cassette tape. The tape will
begin playing as soon as it is inserted. When one side of
your cassette tape is done playing, auto reverse plays the
other side of your cassette tape. Cassette tapes may be
loaded with the radio off but they will not start playing
until the radio is on. If you want to insert a cassette tape
when the ignition is off, first press EJECT. tape is playing, with
an arrow
to indicate which side of
the tape is playing.
If an error occurs while trying to play a cassette tape, it
could be that:
The cassette tape is tight and the cassette player
cannot turn the hubs of the tape. Hold the cassette
tape with the open end down and
try turning the right
hub to the left with a pencil. Flip the tape over and repeat. If the hubs do not turn easily, your cassette
tape may be damaged and should not be used in the
player. Try a new tape to be sure your player is working properly.
The cassette tape is broken. (Check to see if your
tape is broken. Try'a new tape.)
RW Press the left arrow to rewind the tape rapidly. The
radio will play while the tape rewinds. You may use
your station pushbuttons
to tune to another radio station
while in RW mode. Press the left arrow again to return
to playing speed.
While the tape is playing, use the VOL, TONE, LEVEL
and DSP controls just as you do for the radio. Other
controls may have different functions when a tape is
inserted. The display will show an underlined tape
symbol. TAPE PLAY will appear on the display when a
3-28
FF: Press the right arrow to fast forward to another part
of the tape. The radio will play while the tape advances.
You may use your station pushbuttons to tune to another
radio station while in
FF mode. Press the right arrow
again to return to playing speed.
Page 196 of 386
Downloaded from www.Manualslib.com manuals search engine TUNE-SEEK: When this button is pressed, it has two
positions. This button works the same, whether it is
pressed to the first or second position. Press this button
to seek to the next or previous selection on the tape.
Your tape must have at least three seconds
of silence
between each selection for
TUNE-SEEK to work. The
sound will mute while seeking.
SCAN: Press this button to listen to selections for a few
seconds. The tape will go to a selection, stop for a few
seconds, then go on to the next selection. Press this
button again to stop scanning.
SIDE: Press this button to change the side of the tape
that is playing.
A EJECT Press the upward triangle button to
remove a tape. The radio will play. Eject may be
activated with the radio
off andor the vehicle
ignition
off.
CLEAN TAPE: If this message appears on the display,
the cassette tape player needs to be cleaned. It will still
play tapes, but you should clean it as soon as possible to
prevent damage to the tapes and player. See “Care of
Your Cassette Tape Player” in the Index. After
you clean
the player, press and hold EJECT for three seconds to
reset the CLEAN TAPE indicator. Dolby Noise Reduction
is manufactured under a license
from Dolby Laboratories Licensing Corporation. Dolby
and the double-D symbol are trademarks
of Dolby
Laboratories Licensing Corporation.
Auto CrO2 allows the cassette tape player to adjust to
the type of cassette tape for clearer sound for CrO2
cassette tapes.
Playing a Compact Disc
Insert a disc partway into the slot, label sidedp. The
player
will pull it in. If the ignition and the radio are on
and the underlined compact disc symbol appears on the
display, the disc will begin playing. Compact discs may
be loaded with the radio
off but they will not start
playing until the radio is on. If you want to insert a disc
when the ignition is
off, first press EJECT.
The integral CD player can play the smaller
8 cm
compact discs. Full-size compact discs and the smaller
compact discs are loaded in the same manner.
Page 203 of 386
Downloaded from www.Manualslib.com manuals search engine CD Adapter Kits
It is possible to use a CD adapter kit with your cassette
tape player after activating the bypass feature on your
tape player.
To activate the bypass feature, use the following steps:
Turn the ignition to RUN or ACCESSORY.
Turn the radio off.
Press and hold the SOURCE button for two seconds.
The tape symbol on the display will flash three
times, indicating the feature is active.
Insert the adapter.
This override routine will remain active until EJECT
is pressed.
Radio Personalization (If Equipped)
If your vehicle is equipped with the AM-FM Stereo
with Cassette Tape Player and
1 (H or A) or 2 (H or A)
appears in the display when the radio is first turned on,
your vehicle is equipped with this feature. If your
vehicle is equipped with any other audio system and
DRIVER
1 (HOME or AWAY) PRESETS or DRIVER 2
(HOME or AWAY) PRESETS appears in the display
when the radio is first turned
on, your vehicle is
equipped with this feature.
A A/
With this feature, your vehicle will recall the latest
radio settings as adjusted the last time your vehicle was
operated. This feature allows two different drivers to
store and recall their own radio settings. The settings
recalled by the radio are determined by which RKE
transmitter
(“1” or “2”) was used to enter the vehicle.
The number on the back of the RKE transmitter
corresponds to driver
1 or to driver 2. The radio settings
will automatically adjust to where they were last set by
the identified driver. The settings can also be recalled by
briefly pressing the memory seat buttons
1 or 2 located
on the driver’s door.
Your radio can store home and away presets. Home and
away presets allow you to use one set of preset radio
settings in the area where
you live, and another set when
you go out of town. That way, you will not need to
reprogram your presets every time you travel. With the
radio
off and the clock displayed, use FF and RW to
select home or away presets.
To select the away presets,
press and hold
FF for five counts until you hear a beep.
The next time the radio comes on, the away presets will
be active. To select the home presets, press and hold RW
for five counts until you hear a beep. The next time the
radio comes on, the home presets will be active.
3-30
Page 204 of 386
Downloaded from www.Manualslib.com manuals search engine Theft-Deterrent Feature
THEFTLOCK@ is designed to discourage theft of your
radio. Your vehicle has a “built-in” theft-deterrent
feature on each radio that is automatic
-- there is no
programming required. The radio in your vehicle cannot
be used in any other vehicle. When the radio was
originally installed in your vehicle at the factory, it
stored the Vehicle Identification Number (VIN). Each
time the ignition is turned on, the VIN
is verified. If the
vehicle’s VIN does not match the VIN stored in the
radio, the radio will THEFTLOCK. If the radio is
removed from your vehicle, the original VIN
in the
radio can be used to trace the radio back to your vehicle.
Audio Steering Wheel Controls
(If Equipped)
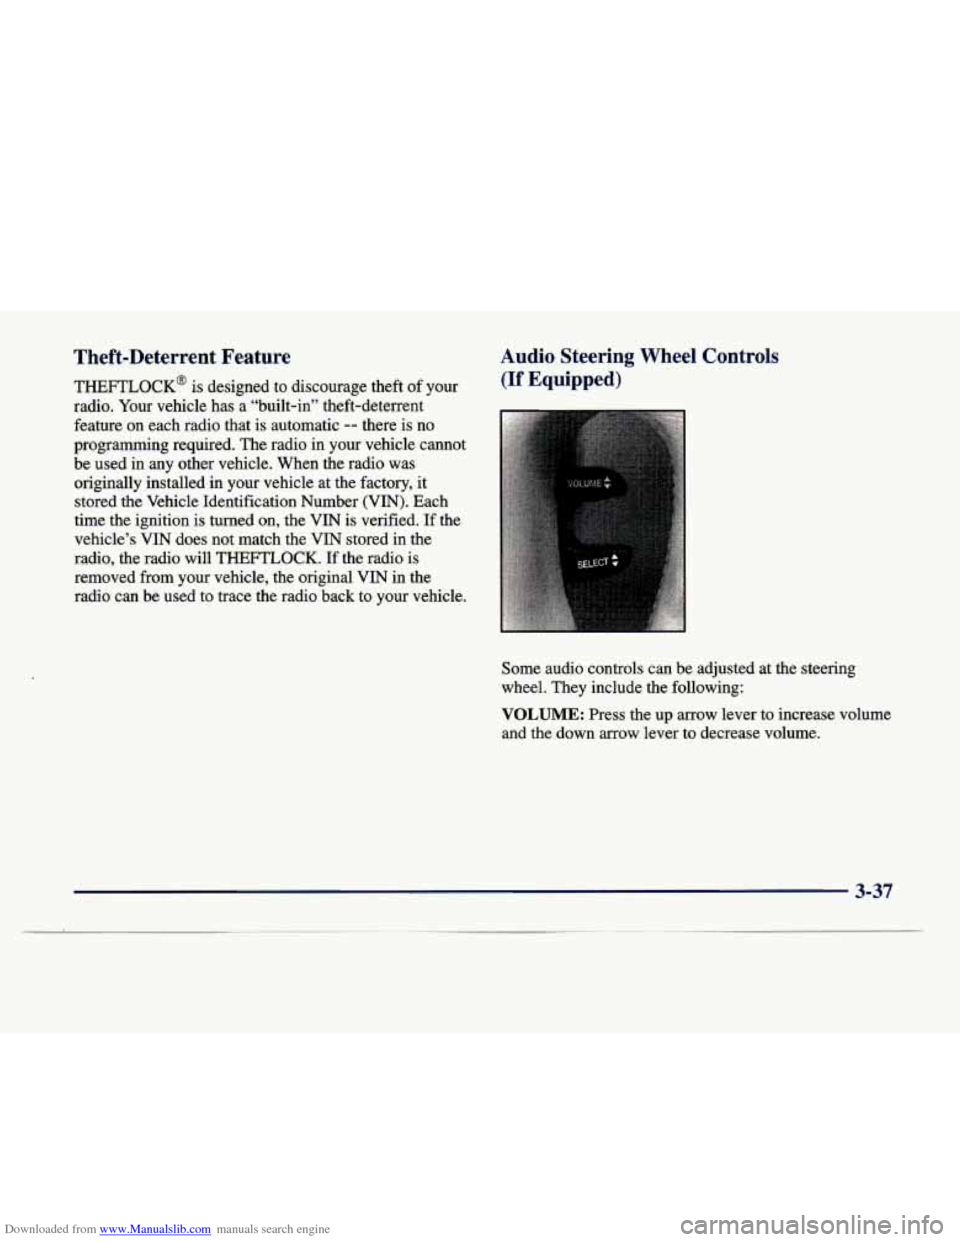
Some audio controls can be adjusted at the steering
wheel. They include the following:
VOLUME: Press the up arrow lever to increase volume
and the down arrow lever to decrease volume.
3-37,
Page 207 of 386

Downloaded from www.Manualslib.com manuals search engine When using a scrubbing action, non-abrasive cleaning
cassette, it is normal for the cassette to eject because
your unit is equipped with a cut tape detection feature
and
a cleaning cassette may appear as a broken tape. To
prevent the cleaning cassette from being ejected, use the following steps.
Turn the ignition to RUN or ACCESSORY
Turn the radio off.
Press and hold the SOURCE button for two seconds.
The tape symbol on the display will flash three
times.
Turn the radio on and insert the scrubbing action
cleaning cassette.
Eject the cleaning cassette after the manufacturer’s
recommended cleaning time.
When the cleaning cassette has been ejected, the cut tape
detection feature is active again.
You may also choose a non-scrubbing action, wet-type
cleaner which uses a cassette with a fabric belt to clean
the tape head.
This type of cleaning cassette will not
eject on its own.
A non-scrubbing action cleaner may
not clean as thoroughly as the scrubbing type cleaner.
The use
of a non-scrubbing action, dry-type cleaning
cassette is not recommended.
If your vehicle is equipped with the AM-FM Stereo with
Cassette Tape Player, press and hold EJECT for five
seconds
to reset the CLN indicator after you clean the
player. The radio will display
--- to show the indicator
was reset.
If your vehicle is equipped with any other radio, press
and hold EJECT for three seconds to reset the CLEAN
TAPE indicator after you clean the player. The radio will
display CLEAN TAPE
MSG CLEARED to show the
indicator was reset.
Cassettes are subject to wear and the sound quality
may degrade over time. Always make sure the cassette
tape is
in good condition before you have your tape
player serviced.
Care of Your Compact Discs
Handle discs carefully. Store them in their original cases
or other protective cases and away from direct sunlight
and dust. If the surface of a disc is soiled, dampen a
clean, soft cloth in a mild, neutral detergent solution and
clean
it, wiping from the center to the edge.
Be sure never to touch the signal surface when handling discs. Pick up discs by grasping the outer edges or the
edge
of the hole and the outer edge.
3-40
Page 208 of 386

Downloaded from www.Manualslib.com manuals search engine Care of Your Compact Disc Player
The use of CD lens cleaner discs is not advised, due to
the, risk
of contaminating the lens of the CD optics with
lubricants internal to
the CD mechanism.
Power Antenna Mast Care
Your power antenna will look its ‘best and work
well
if it’s cleaned from time to time. To clean the
antenna mast:
1. -Turn on the ignition and radio to raise the antenna.
2. Dampen a clean cloth with mineral spirits or
3. Wipe the cloth over the mast sections, removing
4. Wipe dry with a clean cloth.
5. Make the antenna go up and down by turning the
radio or ignition
off and on.
equivalent solvent.
any
dirt.
6. Repeat if necessary.
.- )I
NOTICE:
Don’t lubricate the power antenna. Lubrication
could damage
it.
NOTICE:
Before entering an automatic car wash, turn off
your radio to make the power antenna go down.
This will prevent the mast from-possibly getting
damaged.
If the antenna does not go down when
you turn the radio
off, it may be damaged or
need to be cleaned.
In either ease, lower the
antenna by hand by carefully pressing the
antenna down.
If the mast portion of your antenna is damaged, you can-
easily replace it. See your dealer for a replacement kit
and follow the instructions in the kit.
3-41
Page 235 of 386
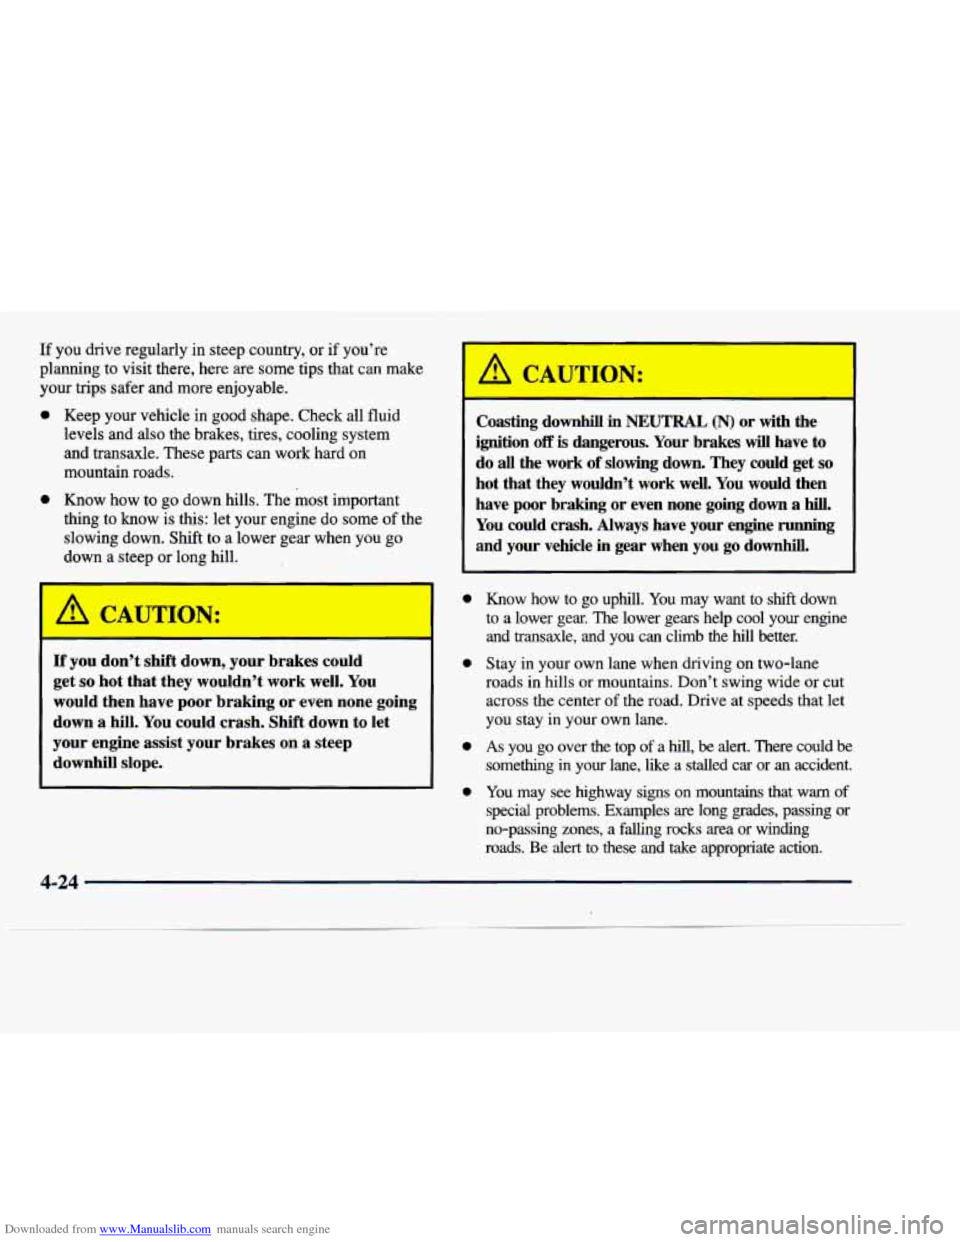
Downloaded from www.Manualslib.com manuals search engine If you drive regularly in steep country, or if you’re
planning to visit there, here are some tips that
can make
your trips safer and more enjoyable.
0 Keep your vehicle in good shape. Check all fluid
levels and
also the brakes, tires, cooling system
and transaxle. These parts can work hard on
mountain roads.
0 Know how to go down hills. The most important
thing to know is
this: let your engine do some of the
slowing down. Shift to a lower gear when you go
down
a steep or long hill.
If you don’t shift down, your brakes could
get
so hot that they wouldn’t work well. You
would then have poor braking or even none going
down
a hill. You could crash. Shift down to let
your engine assist your brakes on a steep
downhill slope. Coasting downhill
in NEUTRAL (N) or
with the
ignition
off is dangerous. Your brakes will have to
do all the work
of slowing down. They could get so
hot that they wouldn’t work well. You would then
have poor braking or even none going down
a hill.
You could crash. Always have your engine running
and your vehicle in gear when you go downhill.
Know how to go uphill. You may want to shift down 0
0
0
0
to a lower gek The lower gearshelp cool your engine
and transaxle, and you
can climb the hill better.
Stay in your own lane when driving
on two-lane
roads in hills or mountains. Don’t swing wide or cut across the center
of the road. Drive at speeds that let
you stay in your own lane.
As you go over the top of a hill, be alert. There could be
something in your lane, like a stalled
car or an accident.
You
may see highway signs on mountains that warn of
special problems. Examples are long grades, passing or
no-passing zones, a
falling rocks area or winding
roads. Be alert to these
and take appropriate action.
4-24
Page 253 of 386
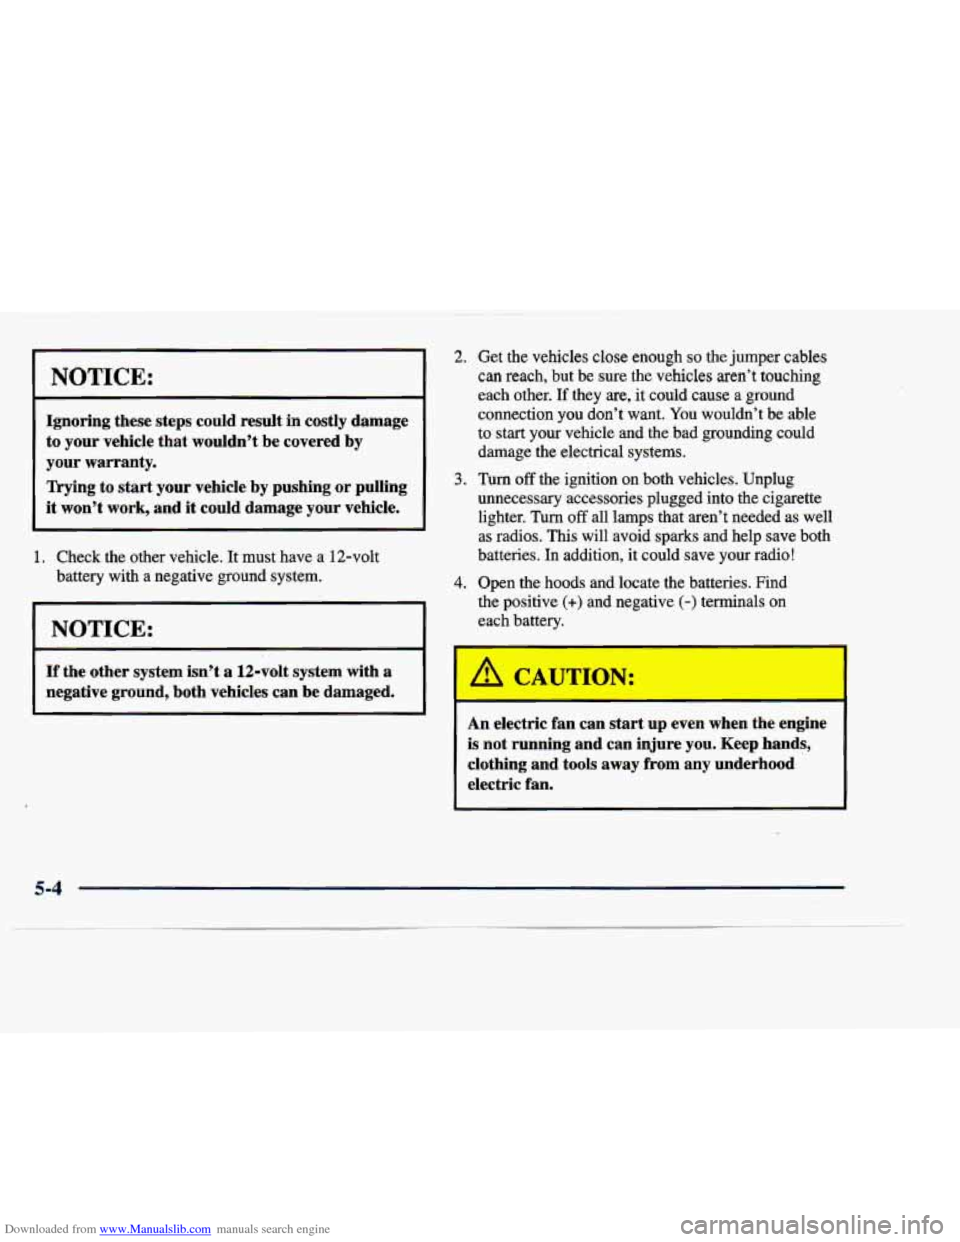
Downloaded from www.Manualslib.com manuals search engine I NOTICE:
Ignoring these steps could result in costly damage
to your vehicle that wouldn’t be covered
by
your warranty.
Trying to
start your vehicle by pushing or pulling
it won’t work, and it could damage your vehicle.
1. Check the other vehicle. It must have a 12-volt
battery with a negative ground system.
I NOTICE: I
2. Get the vehicles close enough so the jumper cables
can reach, but be sure the vehicles aren’t touching
each other. If they are, it could cause a ground
connection you don’t want.
You wouldn’,t be able
to start your vehicle and the bad grounding could
damage the electrical systems.
unnecessary accessories plugged into the cigarette
lighter.
Turn off all lamps that aren’t needed as well
as radios. This
will avoid sparks and help save both
batteries. In addition, it could save your radio!
4. Open the hoods and locate the batteries. Find
the positive
(+) and negative (-) terminals on
each battery.
3. Turn off the ignition on both vehicles. Unplug
I
If the other system isn’t a 12-volt system with a
negative ground, both vehicles can be damaged.
A CAUTION:
I I
An electric fan can start up even when the engine
is not running and can injure you. Keep hands,
clothing and tools away from any underhood
electric fan.
5-4
Page 259 of 386

Downloaded from www.Manualslib.com manuals search engine I I
A vehicle can fall from a car carrier if it isn’t
adequately secured. This can cause a collision,
serious personal injury and vehicle damage. The
vehicle should be tightly secured with chains
or
steel cables before it is transported.
Don’t use substitutes (ropes, leather straps,
canvas webbing, etc.) that can be cut by sharp
edges underneath the towed vehicle. Always use
T-hooks inserted in the front T-hook slots or
R-hooks inserted in the rear R-hook slots. Never
use J-hooks. They will damage drivetrain and
suspension components.
When your vehicle is being towed, have the ignition key
turned to
OFF. The steering wheel should be clamped in
a straight-ahead position, with a clamping device
designed for towing service. Do not use the vehicle’s steering column lock for this. The transaxle should be in
NEUTRAL (N) and the parking brake released.
Don’t have your vehicle towed on the drive wheels
unless you must.
If the vehicle must be towed on the
drive wheels, be sure to follow the speed and distance
restrictions later in this section or your transaxle will be
damaged.
If these limitations must be exceeded, then the
drive wheels have to be supported on a dolly.
5-10
Page 293 of 386
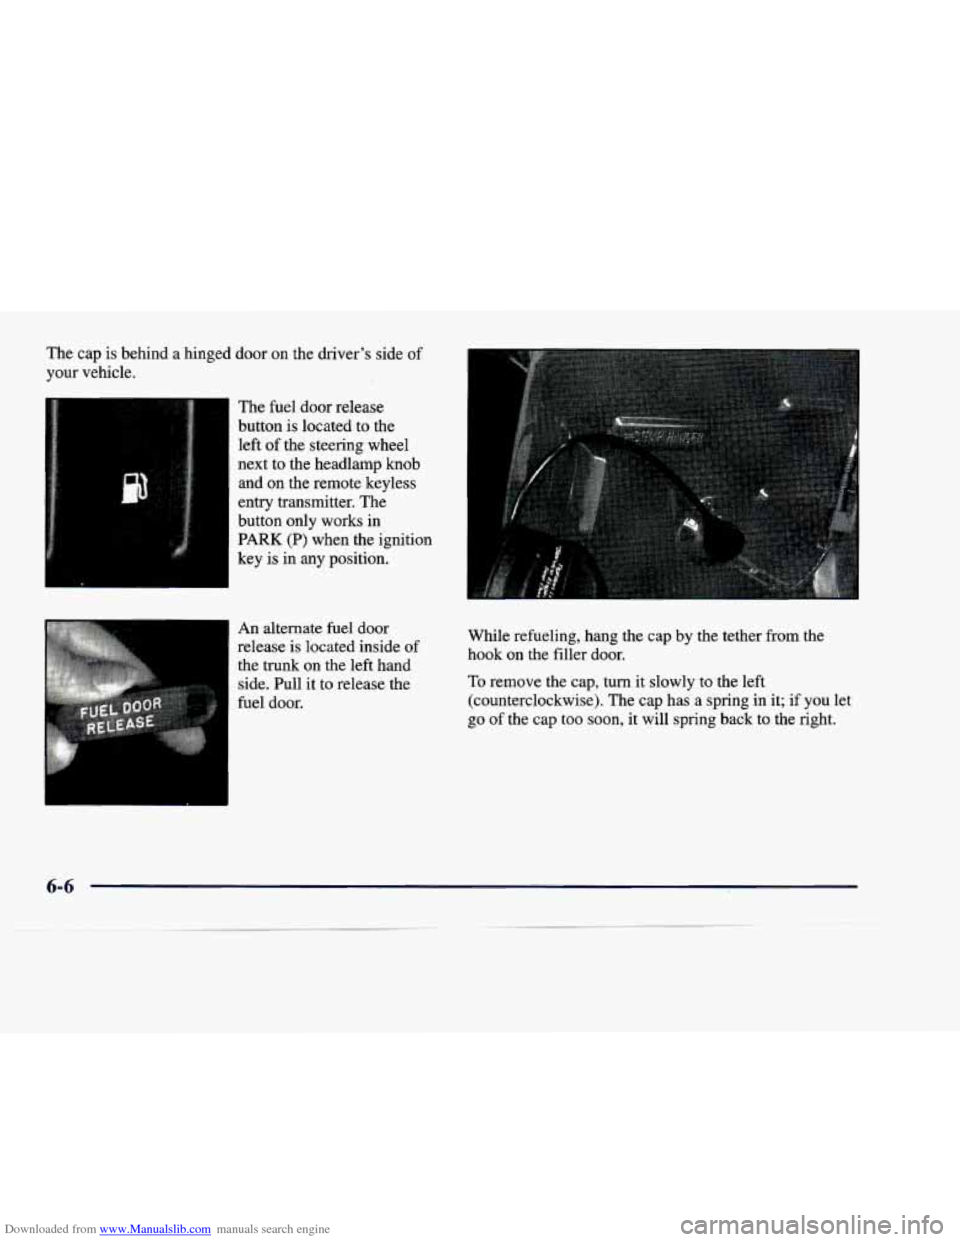
Downloaded from www.Manualslib.com manuals search engine The cap is behind a hinged door on the dnver’s side of
your vehicle.
The fuel door release
button is located to the
left of the steering wheel
next to the headlamp knob and on the remote keyless
entry transmitter. The
button only works in
PARK
(P) when the ignition
key
is in any position.
I
An alternate fuel door
release is located inside of
the trunk
on the left hand
side. Pull it to release the
fuel door. While refueling, hang the cap
by the tether from the hook on the filler door.
To remove the cap,
turn it slowly to the left
(counterclockwise). The cap has a spring in it; if
you let
go of the cap too soon, it will spring back to the right.
6-6