low beam CADILLAC DEVILLE 2005 8.G Owners Manual
[x] Cancel search | Manufacturer: CADILLAC, Model Year: 2005, Model line: DEVILLE, Model: CADILLAC DEVILLE 2005 8.GPages: 420, PDF Size: 2.63 MB
Page 121 of 420

Instrument Panel Overview...............................3-4
Hazard Warning Flashers................................3-6
Other Warning Devices...................................3-6
Horn.............................................................3-6
Tilt Wheel.....................................................3-6
Power Tilt Wheel and Telescopic Steering
Column......................................................3-7
Heated Steering Wheel...................................3-7
Turn Signal/Multifunction Lever.........................3-8
Turn and Lane-Change Signals........................3-8
Headlamp High/Low-Beam Changer..................3-9
Flash-to-Pass.................................................3-9
Windshield Wipers..........................................3-9
Rainsense™ II Wipers...................................3-10
Windshield Washer.......................................3-11
Cruise Control..............................................3-12
Exterior Lamps.............................................3-15
Wiper Activated Headlamps............................3-16
Headlamps on Reminder................................3-16
Daytime Running Lamps (DRL).......................3-16
Fog Lamps..................................................3-18
Cornering Lamps..........................................3-18
Twilight Sentinel
®..........................................3-18
Exterior Lighting Battery Saver........................3-20
Instrument Panel Brightness...........................3-20
Courtesy Lamps...........................................3-21
Entry Lighting...............................................3-21Parade Dimming...........................................3-21
Reading Lamps............................................3-21
Battery Load Management.............................3-22
Inadvertent Power Battery Saver.....................3-22
Night Vision System......................................3-22
Ultrasonic Parking Assist................................3-26
Accessory Power Outlets...............................3-28
Ashtrays and Cigarette Lighter........................3-29
Climate Controls............................................3-30
Dual Climate Control System..........................3-30
Outlet Adjustment.........................................3-34
Rear Climate Control System.........................3-35
Passenger Compartment Air Filter...................3-36
Steering Wheel Climate Controls.....................3-38
Climate Controls Personalization.....................3-39
Warning Lights, Gages, and Indicators............3-40
Instrument Panel Cluster................................3-41
Speedometer and Odometer...........................3-43
Trip Odometer..............................................3-43
Tachometer (Analog Cluster Only)...................3-44
Engine Speed Limiter....................................3-44
Safety Belt Reminder Light.............................3-45
Airbag Readiness Light..................................3-45
Charging System Light..................................3-46
Brake System Warning and Parking Brake
Indicator Light...........................................3-47
Section 3 Instrument Panel
3-1
Page 128 of 420

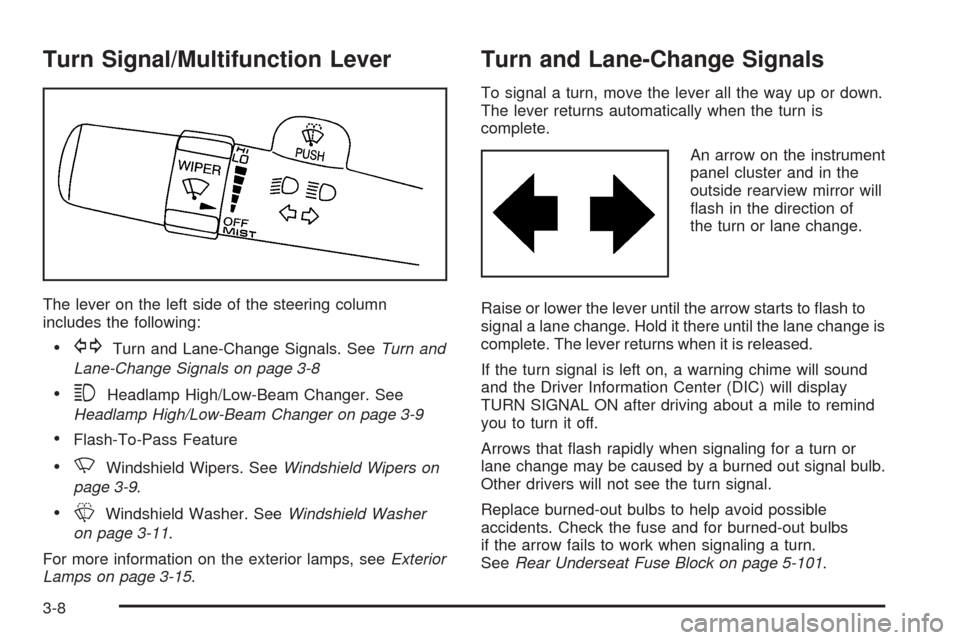
Turn Signal/Multifunction Lever
The lever on the left side of the steering column
includes the following:
GTurn and Lane-Change Signals. SeeTurn and
Lane-Change Signals on page 3-8
3Headlamp High/Low-Beam Changer. See
Headlamp High/Low-Beam Changer on page 3-9
Flash-To-Pass Feature
NWindshield Wipers. SeeWindshield Wipers on
page 3-9.
LWindshield Washer. SeeWindshield Washer
on page 3-11.
For more information on the exterior lamps, seeExterior
Lamps on page 3-15.
Turn and Lane-Change Signals
To signal a turn, move the lever all the way up or down.
The lever returns automatically when the turn is
complete.
An arrow on the instrument
panel cluster and in the
outside rearview mirror will
�ash in the direction of
the turn or lane change.
Raise or lower the lever until the arrow starts to �ash to
signal a lane change. Hold it there until the lane change is
complete. The lever returns when it is released.
If the turn signal is left on, a warning chime will sound
and the Driver Information Center (DIC) will display
TURN SIGNAL ON after driving about a mile to remind
you to turn it off.
Arrows that �ash rapidly when signaling for a turn or
lane change may be caused by a burned out signal bulb.
Other drivers will not see the turn signal.
Replace burned-out bulbs to help avoid possible
accidents. Check the fuse and for burned-out bulbs
if the arrow fails to work when signaling a turn.
SeeRear Underseat Fuse Block on page 5-101.
3-8
Page 129 of 420

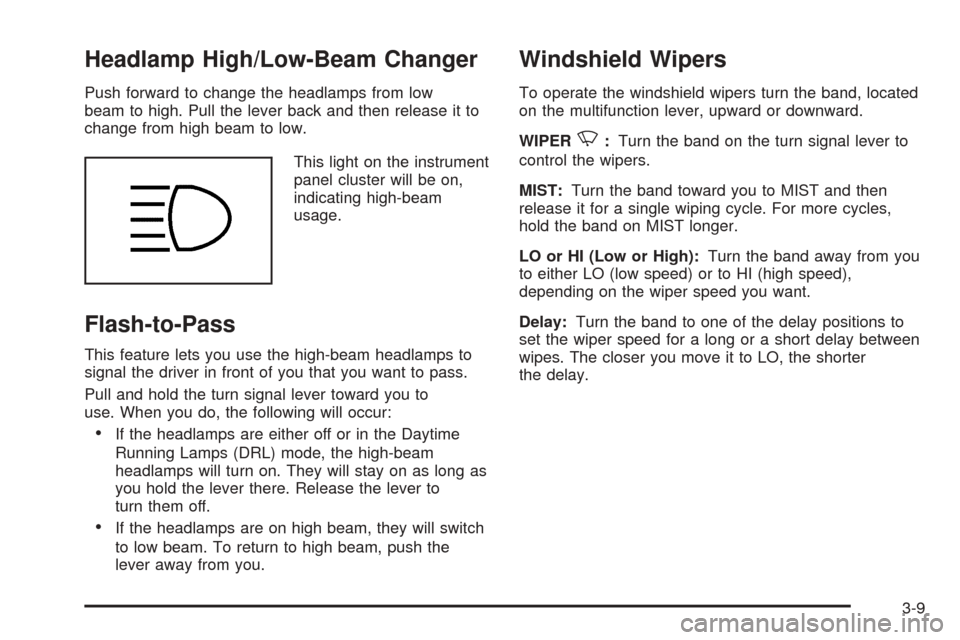
Headlamp High/Low-Beam Changer
Push forward to change the headlamps from low
beam to high. Pull the lever back and then release it to
change from high beam to low.
This light on the instrument
panel cluster will be on,
indicating high-beam
usage.
Flash-to-Pass
This feature lets you use the high-beam headlamps to
signal the driver in front of you that you want to pass.
Pull and hold the turn signal lever toward you to
use. When you do, the following will occur:
If the headlamps are either off or in the Daytime
Running Lamps (DRL) mode, the high-beam
headlamps will turn on. They will stay on as long as
you hold the lever there. Release the lever to
turn them off.
If the headlamps are on high beam, they will switch
to low beam. To return to high beam, push the
lever away from you.
Windshield Wipers
To operate the windshield wipers turn the band, located
on the multifunction lever, upward or downward.
WIPER
N:Turn the band on the turn signal lever to
control the wipers.
MIST:Turn the band toward you to MIST and then
release it for a single wiping cycle. For more cycles,
hold the band on MIST longer.
LO or HI (Low or High):Turn the band away from you
to either LO (low speed) or to HI (high speed),
depending on the wiper speed you want.
Delay:Turn the band to one of the delay positions to
set the wiper speed for a long or a short delay between
wipes. The closer you move it to LO, the shorter
the delay.
3-9
Page 136 of 420

Wiper Activated Headlamps
This feature activates the headlamps and parking lamps
after the windshield wipers have been in use for
approximately six seconds. To operate, the Twilight
Sentinel
®feature must be turned on.
When the exterior lamp control is in the off position or
parking lamp position and the wiper control is on delay,
LO or HI, the HEADLAMPS SUGGESTED message
will appear on the Driver Information Center (DIC).
When the ignition is turned to OFF, the wiper-activated
headlamps will immediately turn off. The wiper-activated
headlamps will also turn off if the Twilight Sentinel
®or
the windshield wipers are turned off.
Headlamps on Reminder
A warning chime will sound if the exterior lamp control
is left on in either the headlamp or parking lamp position
and the driver’s door is opened with the ignition off.
Daytime Running Lamps (DRL)
Daytime Running Lamps (DRL) can make it easier for
others to see the front of your vehicle during the
day. DRL can be helpful in many different driving
conditions, but they can be especially helpful in the short
periods after dawn and before sunset. Fully functional
daytime running lamps are required on all vehicles
�rst sold in Canada.
The DRL system will make the low-beam headlamps
come on at reduced intensity when the following
conditions are met:
It is still daylight and the ignition is on.
The exterior lamp control is in the off position.
The transaxle is not in PARK (P).
When DRL are on, only your low-beam headlamps at
reduced brightness will be on. No other exterior
lamps such as the parking lamps, taillamps, etc. will be
on when the DRL are being used. Your instrument
panel will not be lit up either.
3-16
Page 137 of 420

When the Twilight Sentinel®lever is on and it is dark
enough outside, the low-beam headlamps at reduced
intensity will turn off and normal low-beam headlamp
operation will occur.
When the Twilight Sentinel
®lever is on and it is bright
enough outside, the regular lamps will go off, and
the low-beam headlamps at reduced brightness will take
over. If you start your vehicle in a dark garage, the
automatic headlamp system will come on immediately.
Once you leave the garage, it will take approximately
one minute for the automatic headlamp system to
change to DRL if it is light outside. During that delay,
your instrument panel cluster may not be as bright
as usual. Make sure your instrument panel brightness
knob is in the full bright position. SeeInstrument
Panel Brightness on page 3-20.
If it is dark enough outside and the Twilight Sentinel
®
lever is off, a HEADLAMPS SUGGESTED message will
display on the Driver’s Information Center (DIC). This
message informs the driver that turning on the exterior
lamps is recommended even though the DRL are
still illuminated.Turning on the Twilight Sentinel
®or the headlamps will
deactivate the DRL and remove the HEADLAMPS
SUGGESTED message. If the parking lamps or the fog
lamps were turned on instead, the DRL will still
deactivate and the HEADLAMPS SUGGESTED
message will continue to be displayed.
To idle your vehicle with the DRL off at night, turn off the
Twilight Sentinel
®and shift the transaxle into PARK (P).
Placing your vehicle in PARK (P) disables the DRL.
The DRL will stay off until you shift out of PARK (P).
To drive your vehicle with the DRL off, turn off the
Twilight Sentinel
®and manually turn on the parking
lamps or fog lamps (if equipped).
As with any vehicle, you should turn on the regular
headlamp system when you need it.
3-17
Page 138 of 420

Fog Lamps
If your vehicle has fog lamps, use them for better vision
in foggy or misty conditions.
The fog lamp button is
located to the left of the
steering wheel on the
instrument panel.
When you press the fog lamp button, a fog lamp symbol
in the button and the fog lamp light on the instrument
panel cluster will come on to indicate that the fog lamps
and the parking lamps are on.
Press the button again to turn them off.
If you turn on the high-beam headlamps, the fog lamps
will turn off. They will turn back on again when you
switch to low-beam headlamps.When the Twilight Sentinel
®is on and the fog lamps are
turned on, the fog lamps, headlamps and parking
lamps will remain on.
The ignition must be on for the fog lamps to operate.
Cornering Lamps
The cornering lamps come on when the headlamps or
parking lamps are on and you signal a turn with the
multifunction lever. They provide more light for cornering.
Twilight Sentinel®
This lever is located next
to the exterior lamp
control. It automatically
turns the lamps on and off
by sensing how dark it
is outside.
To operate the Twilight Sentinel
®, leave the exterior
lamp control in the off position and move the TWILIGHT
lever to any position but OFF.
3-18
Page 142 of 420

Battery Load Management
The battery load management feature is designed to
monitor the vehicle’s electrical load and determine when
the battery is in a heavy discharge condition. During
times of high electrical loading, the engine may idle at a
higher revolutions per minute (rpm) setting than
normal to make sure the battery charges. High electrical
loads may occur when several of the following are
on: headlamps, high beams, fog lamps, rear window
defogger, the climate control fan at high speeds, heated
seats and engine cooling fans.
If the battery continues to discharge, even with the
engine idling at a higher rpm setting, some electrical
loads will automatically be reduced. When this occurs,
the rear window defogger may take slightly longer
to clear the glass, the heated seats may not get as warm
as they usually do and the fan may cut back to a
lower speed. For more battery saving information, see
“Battery Saver Active Message” underDIC Warnings
and Messages on page 3-60.
Inadvertent Power Battery Saver
This feature is designed to protect your vehicle’s battery
against drainage from the interior lamps, trunk lamp,
glove box lamp, or the garage door opener. When the
ignition is turned off, the power to these features will
automatically turn off after 10 minutes (three minutes if
a new car has 15 miles (24 km) or less). Power will
be restored for an additional 10 minutes if any door is
opened, the trunk is opened or the courtesy lamp switch
is turned on.
Night Vision System
If your vehicle is equipped with the Night Vision System,
it can help you see better when you drive at night.
The system works by sensing heat given off by objects
in its �eld of view. Warmer objects, such as pedestrians,
animals, and other moving vehicles, will appear
whiter. Colder objects, such as the sky, signs, and
parked vehicles, will appear darker.
3-22
Page 174 of 420

Fog Lamp Light
The fog lamps light will
come on when the fog
lamps are in use.
The light will go out when the fog lamps are turned off.
SeeFog Lamps on page 3-18for more information.
Lights On Reminder
This light comes on whenever the parking lamps are on
so that you know that your exterior lamps are on.
Cruise Control Light
This light comes on
whenever the cruise
control system is in use.
It will go out when the
system is turned off.
SeeCruise Control on page 3-12for more information.
Highbeam On Light
This light will come on
when the high-beam
headlamps are in use.
SeeHeadlamp High/Low-Beam Changer on page 3-9.
United StatesCanada (Analog Only)
3-54
Page 245 of 420

You can be temporarily blinded by approaching
headlamps. It can take a second or two, or even several
seconds, for your eyes to re-adjust to the dark. When
you are faced with severe glare, as from a driver
who does not lower the high beams, or a vehicle with
misaimed headlamps, slow down a little. Avoid
staring directly into the approaching headlamps.
Keep your windshield and all the glass on your vehicle
clean — inside and out. Glare at night is made much
worse by dirt on the glass. Even the inside of the glass
can build up a �lm caused by dust. Dirty glass makes
lights dazzle and �ash more than clean glass would,
making the pupils of your eyes contract repeatedly.
Remember that your headlamps light up far less of a
roadway when you are in a turn or curve. Keep
your eyes moving; that way, it is easier to pick out dimly
lighted objects. Just as your headlamps should be
checked regularly for proper aim, so should your eyes
be examined regularly. Some drivers suffer from
night blindness — the inability to see in dim light — and
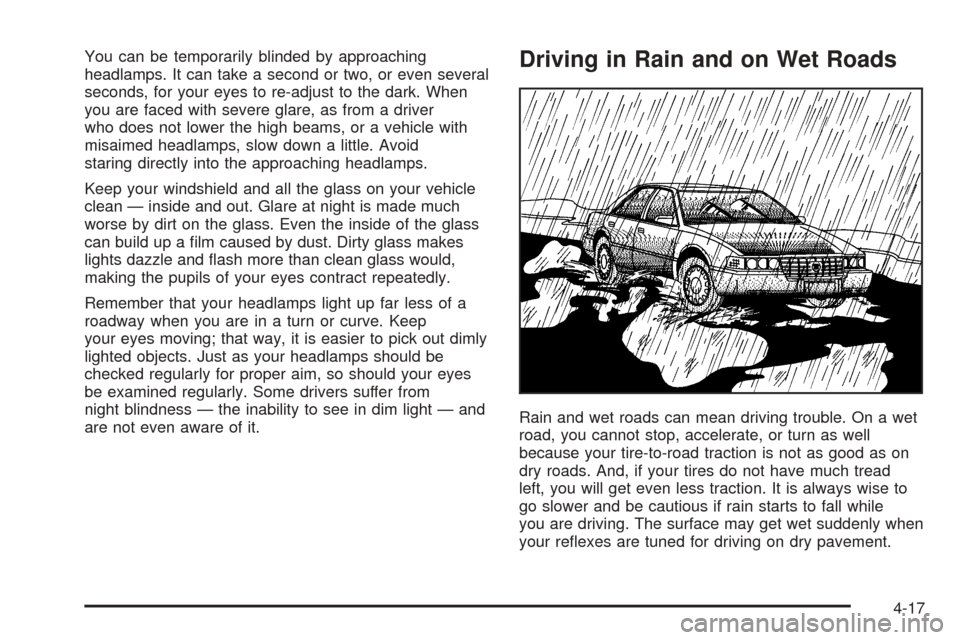
are not even aware of it.Driving in Rain and on Wet Roads
Rain and wet roads can mean driving trouble. On a wet
road, you cannot stop, accelerate, or turn as well
because your tire-to-road traction is not as good as on
dry roads. And, if your tires do not have much tread
left, you will get even less traction. It is always wise to
go slower and be cautious if rain starts to fall while
you are driving. The surface may get wet suddenly when
your re�exes are tuned for driving on dry pavement.
4-17
Page 320 of 420

Headlamp Aiming
Your vehicle has a visual optical headlamp aiming
system which may be equipped with horizontal aim
indicators. The aim has been preset at the factory and
should need no further adjustment. This is true even
though your horizontal aim indicators (if equipped) may
not fall exactly on the “0” (zero) marks on their scales.
If your vehicle is damaged in an accident, the headlamp
aim may be affected. Aim adjustment to the low beam
may be necessary if it is difficult to see lane markers
(for horizontal aim), or if oncoming drivers �ash
their high beams at you (for vertical aim). If you believe
your headlamps need to be re-aimed, we recommend
that you take your vehicle to your dealer for service.
However, it is possible for you to re-aim your headlamps
as described in the following procedure.Adjustment screws can be turned with an E8 Torx
®
socket or T15 Torx®screwdriver.
Notice:To make sure your headlamps are aimed
properly, read all the instructions before beginning.
Failure to follow these instructions could cause
damage to headlamp parts.
The vehicle should be properly prepared as follows:
The vehicle should be placed so the headlamps are
25 ft. (7.6 m) from a light colored wall or other �at
surface.
The vehicle must have all four tires on a perfectly
level surface which is level all the way to the wall
or other �at surface.
The vehicle should be placed so it is perpendicular
to the wall or other �at surface.
The vehicle should not have any snow, ice or mud
attached to it.
The vehicle should be fully assembled and all other
work stopped while headlamp aiming is being done.
The vehicle should be normally loaded with a
full tank of fuel and one person or 160 lbs (75 kg) on
the driver’s seat.
Tires should be properly in�ated.
5-48