CADILLAC ELDORADO 1995 10.G Owners Manual
Manufacturer: CADILLAC, Model Year: 1995, Model line: ELDORADO, Model: CADILLAC ELDORADO 1995 10.GPages: 395, PDF Size: 20.17 MB
Page 121 of 395
Downloaded from www.Manualslib.com manuals search engine You can brighten or dim your instrument cluster by rotating the
Press the switch all the way in to turn off your lamps.
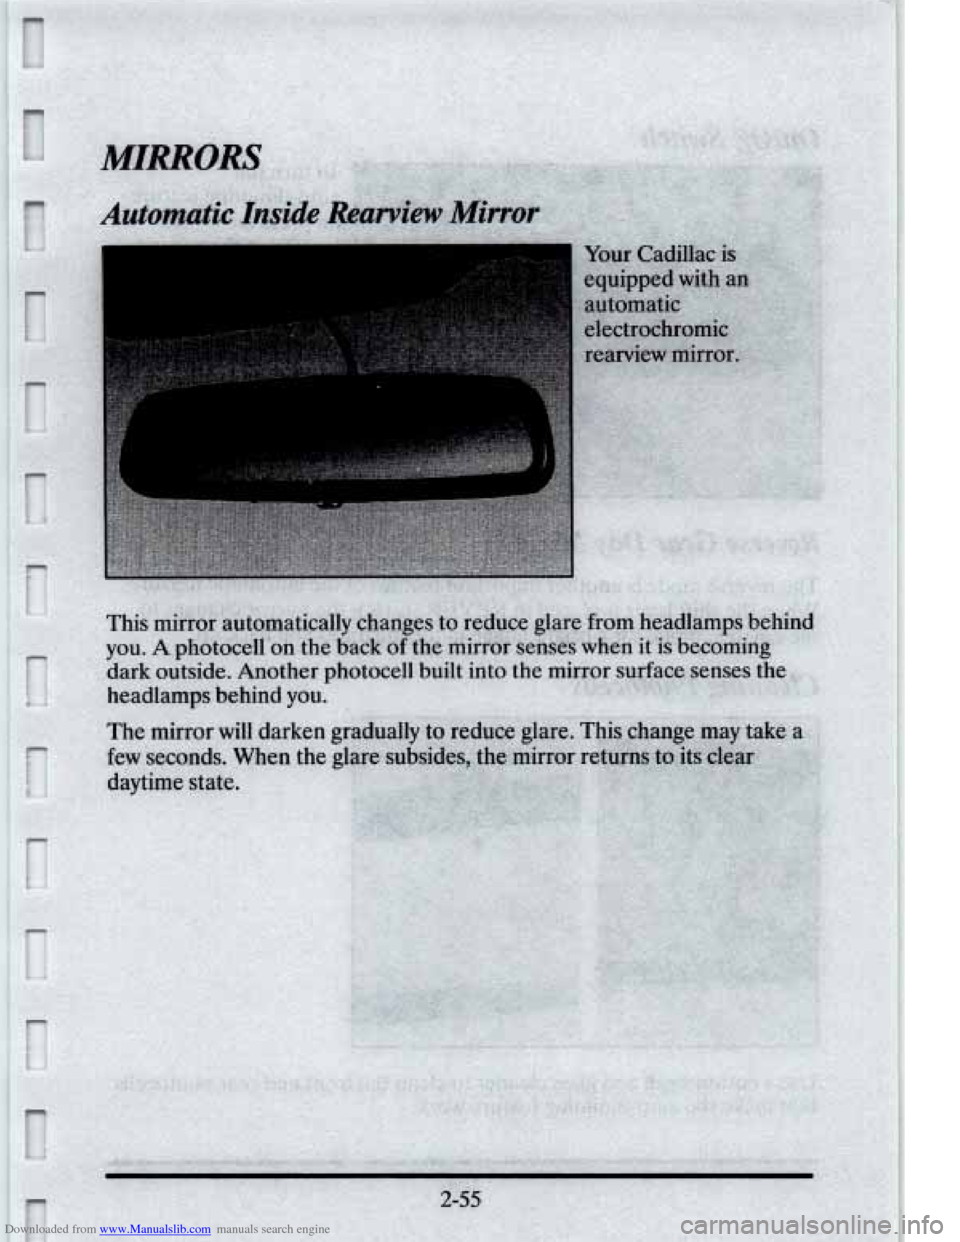
Your Cadillac is also equipped with a feature that will automatically turn
your exterior lamps
on after about 25 seconds of wiper operation.
headlamp
switch.
La-mps On Reminder
If you open the door while leaving the lamps on, except when using
twilight sentinel,
you will hear a warning tone.
Interior Lamps
Turn the headlamp switch past HI to turn on the interior lamps.
Twilight Sentinel
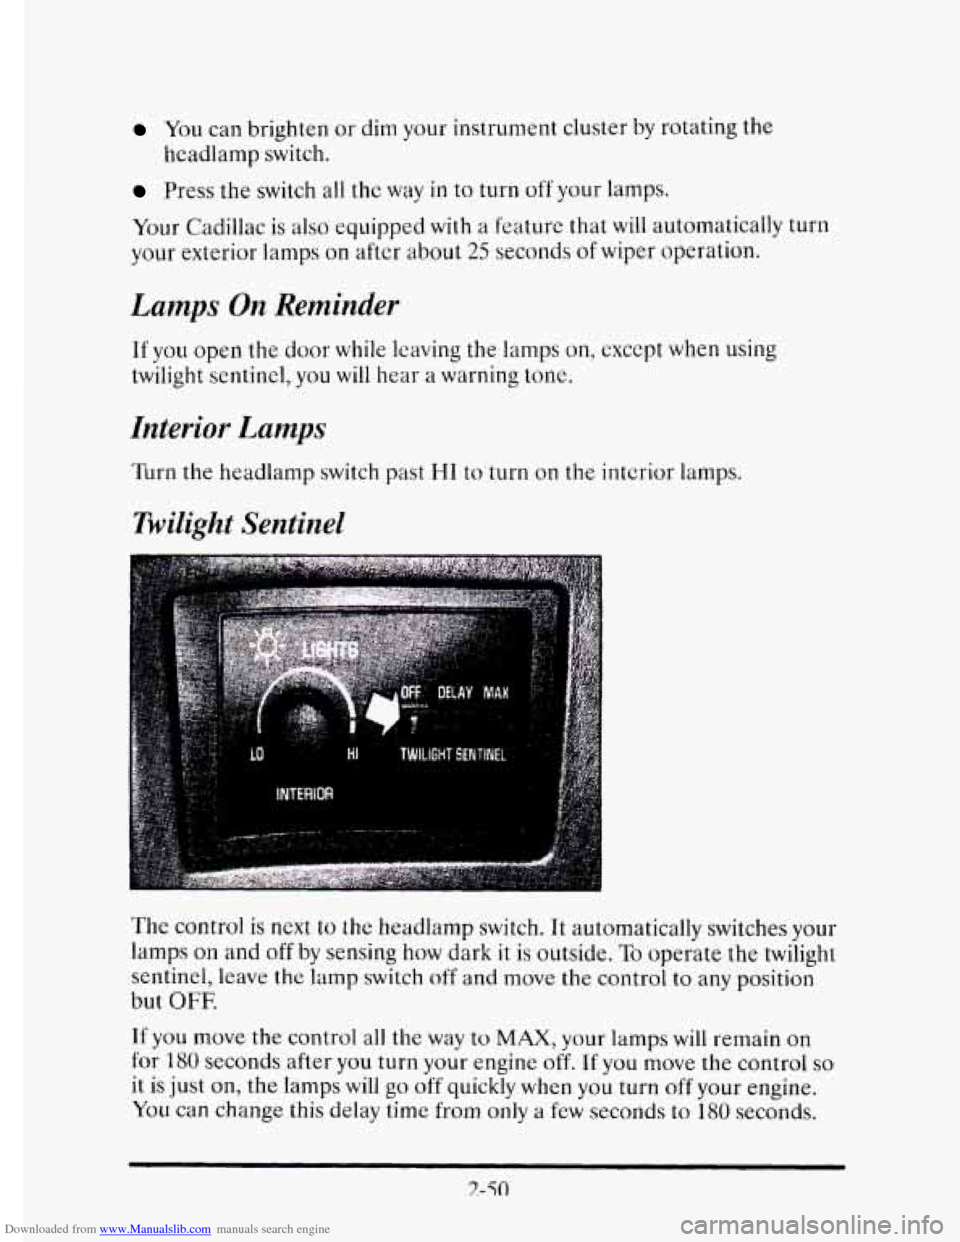
The control is next to the headlamp switch. It automatically switches your
lamps
on and off by sensing how dark it is outside. To operate the twilight
sentinel, leave
the lamp switch off and move the control to any position
but
OFF.
If you move the control all the way to MAX, your lamps will remain on
for
1130 seconds after you turn your engine off. If you move the control so
it is just on, the lamps will go off quickly when you turn off your engine.
You can change this delay time from only a few seconds to 180 seconds.
Page 122 of 395
Downloaded from www.Manualslib.com manuals search engine Light Sensor
............ :,,r,.?,;,**;,~,.I ........ " I
Fog Lamps (ETC)
... ... LO Hi TWILIGHT SENTINEL
INTERIOR
dl
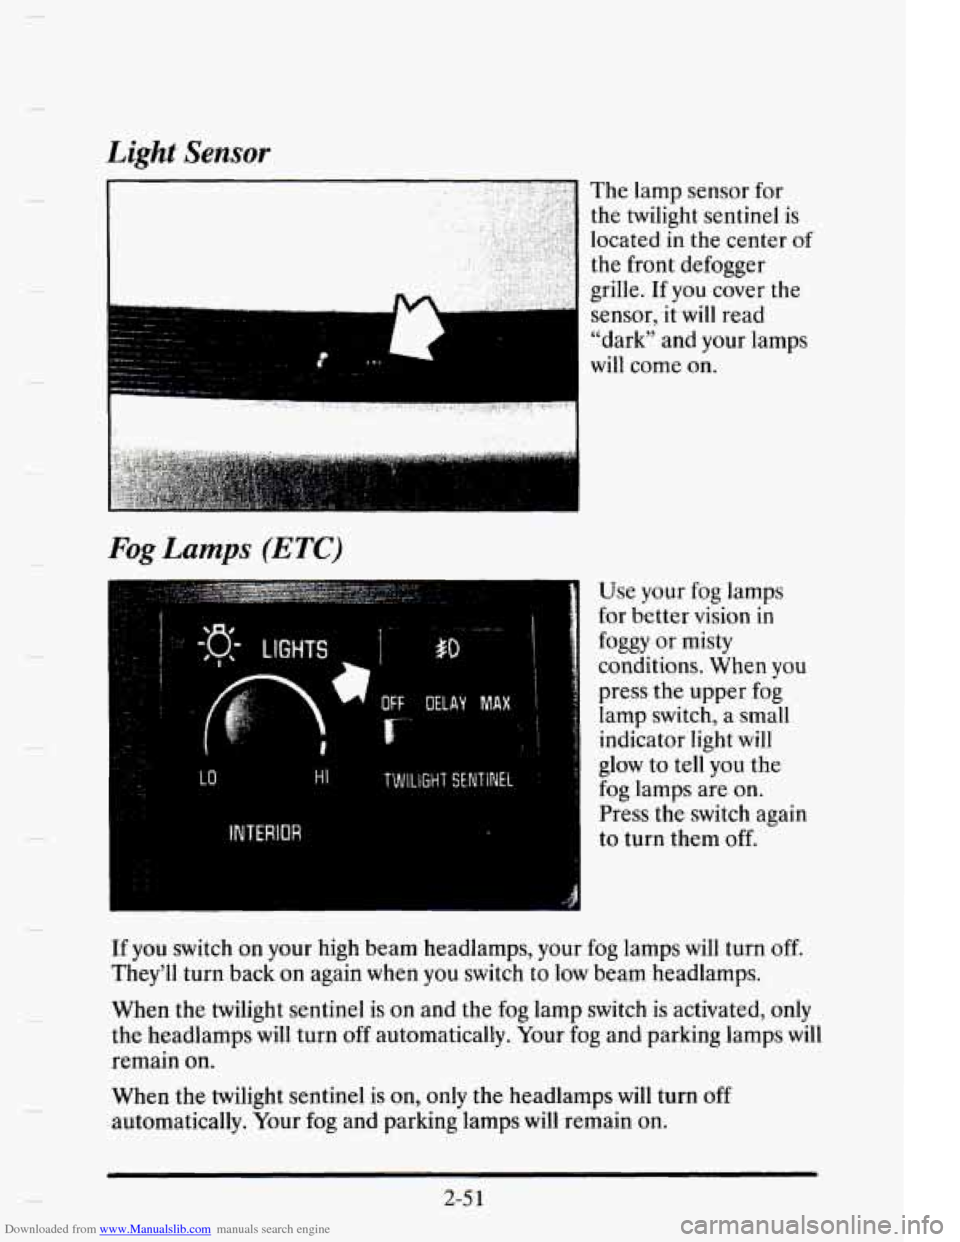
The lamp sensor for
the twilight sentinel is
located
in the center of
the front defogger
grille. If
you cover the
sensor,
it will read
"dark" and your lamps
will come on.
Use your fog lamps
for better vision
in
foggy or misty
conditions. When you
press the upper fog
lamp switch, a small
indicator light will
glow to tell
you the
fog lamps are on.
Press the switch again
to turn them
off.
If you switch on your high beam headlamps, your fog lamps will turn off.
They'll turn back on again when you switch to low beam headlamps.
When the twilight sentinel is
on and the fog lamp switch is activated, only
the headlamps will turn
off automatically. Your fog and parking lamps will
remain on.
When the twilight sentinel is on, only the headlamps will turn
off
automatically. Your fog and parking lamps will remain on.
2-5 1
Page 123 of 395
Downloaded from www.Manualslib.com manuals search engine Rear Fog Lamps (Export Only)
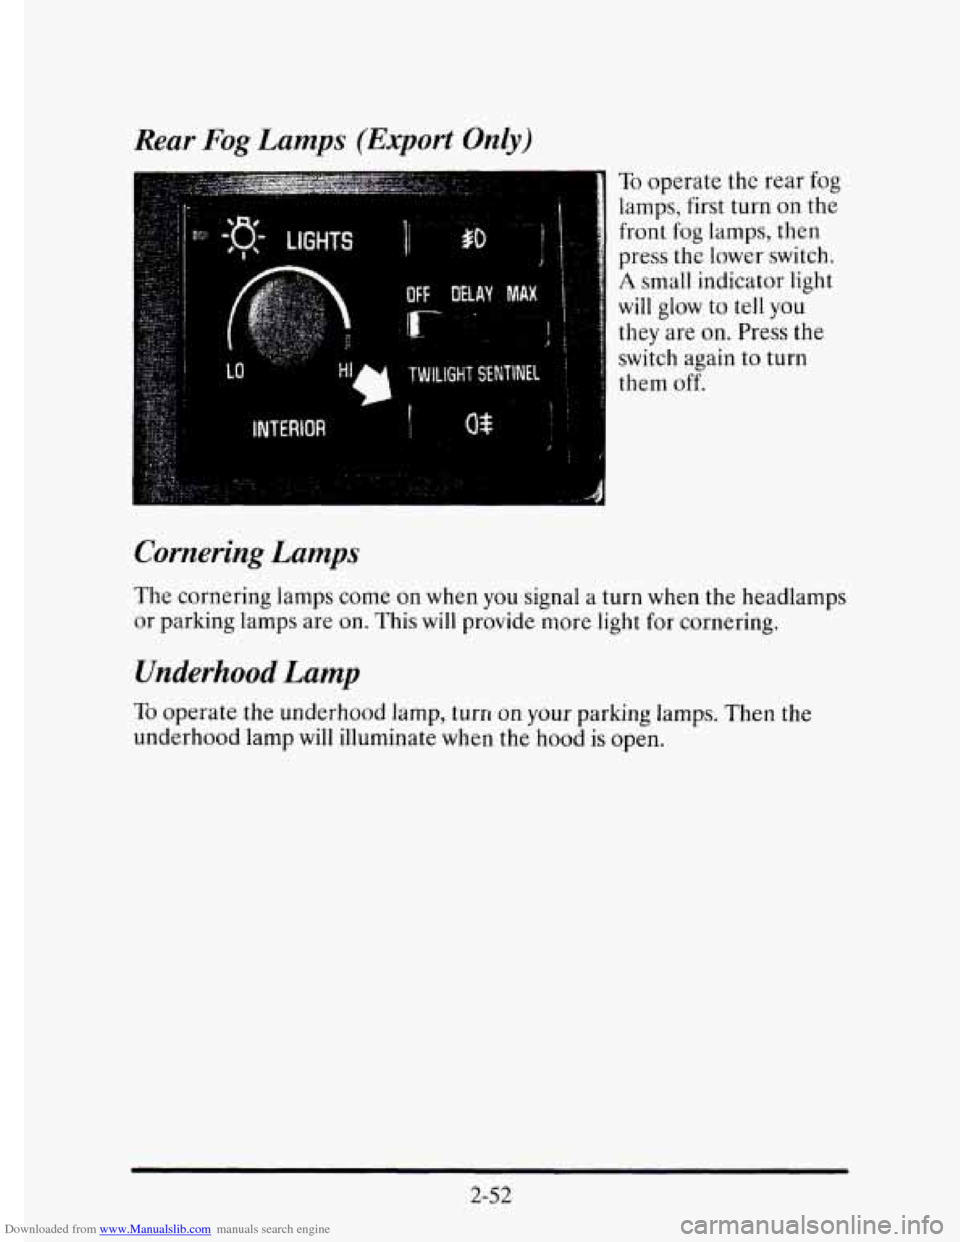
To operate the rear fog
lamps, first turn on the
front
fog lamps, then
press the lower switch.
A small indicator light
will glow to tell you
they are on. Press the
switch again to turn
them
off.
Cornering Lamps
The cornering lamps come on when you signal a turn when the headlamps
or parking lamps are on. This will provide more light for cornering.
Underhood Lamp
TO operate the underhood lamp, turn on your parking lamps. Then the
underhood lamp will illuminate when the hood
is open.
2-52
Page 124 of 395
Downloaded from www.Manualslib.com manuals search engine 3.
Daytime Running Lamps (Canada Only)
Daytime Running Lamps (DRL) can make it easier for others to see
the front of your vehicle during the day. DRL can be helpful
in many
different driving conditions, but they can be especially helpful
in the
short periods after dawn and before sunset.
A light sensor on top of the instrument panel makes the DRL work, so be
sure
it isn’t covered.
The DRL system
will make your low beam headlamps come on at
reduced brightness when:
0 the ignition is on,
0 the headlamp switch is off, and
0 the transaxle is not in PARK (P).
When it’s dark enough outside, your low beam headlamps will change to
full brightness. When it’s bright enough outside, the regular lamps will go
off and your low beam headlamps change to the reduced brightness of
DRL.
To idle your vehicle with the DRL off shift the transaxle into PARK (P).
The DRL will stay off until you shift out of PARK (P).
As with any vehicle, you should turn on the regular headlamp system
when you need it.
2-53
Page 125 of 395
Downloaded from www.Manualslib.com manuals search engine Reading Lamps
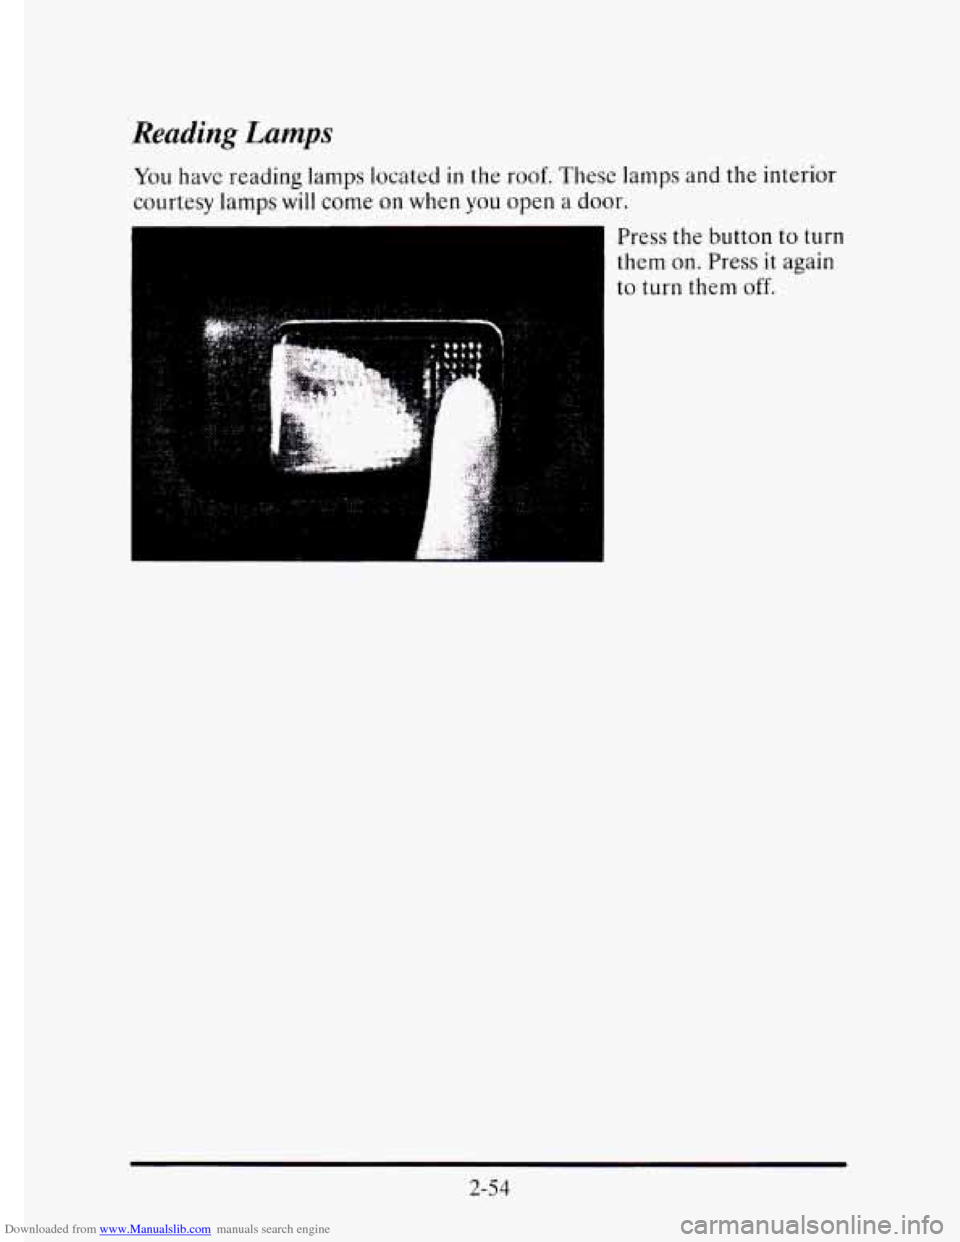
You have reading lamps located in the roof. These lamps and the interior
courtesy
lamps will come on when you open a door.
Press the button to turn
them on. Press it again
to turn them off.
2-54
Page 126 of 395
Downloaded from www.Manualslib.com manuals search engine
Page 127 of 395
Downloaded from www.Manualslib.com manuals search engine OnlOff Switch
Reverse Gear Day Mode
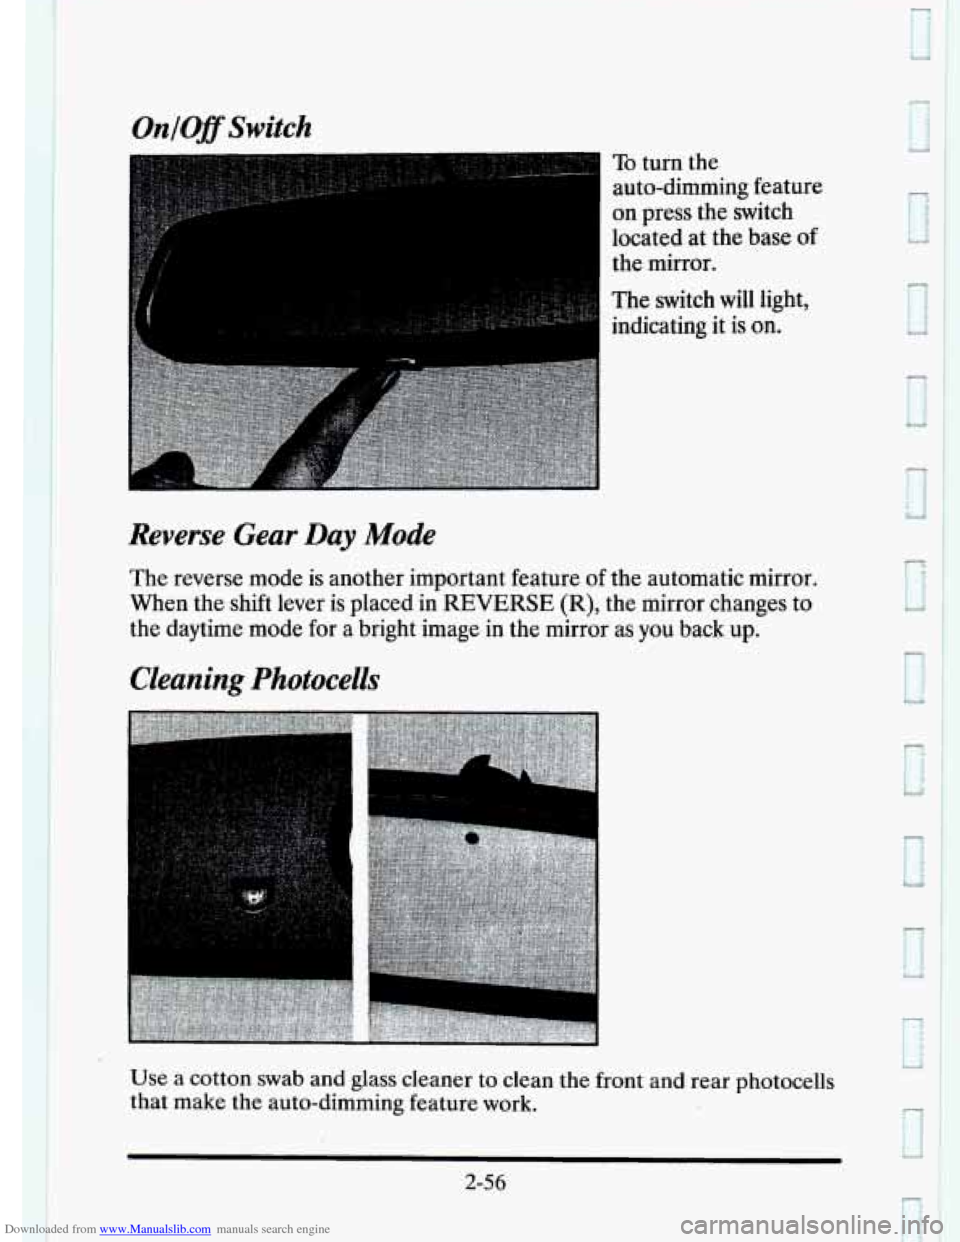
To turn the
auto-dimming feature
on press the switch
located at the base
of
the mirror.
The switch will light,
indicating
it is on.
The reverse mode
is another important feature of the automatic mirror.
When the shift lever is placed in
REVERSE (R), the mirror changes to
the daytime mode for
a bright image in the mirror as you back up.
Cleaning Photocells
Use a cotton swab and glass cleaner to clean the front and rear photocells
that make
the auto-dimming feature work.
2-56
Page 128 of 395
Downloaded from www.Manualslib.com manuals search engine c
Electrochromic DaylNight Rearview Mirror with
Compass (Option)
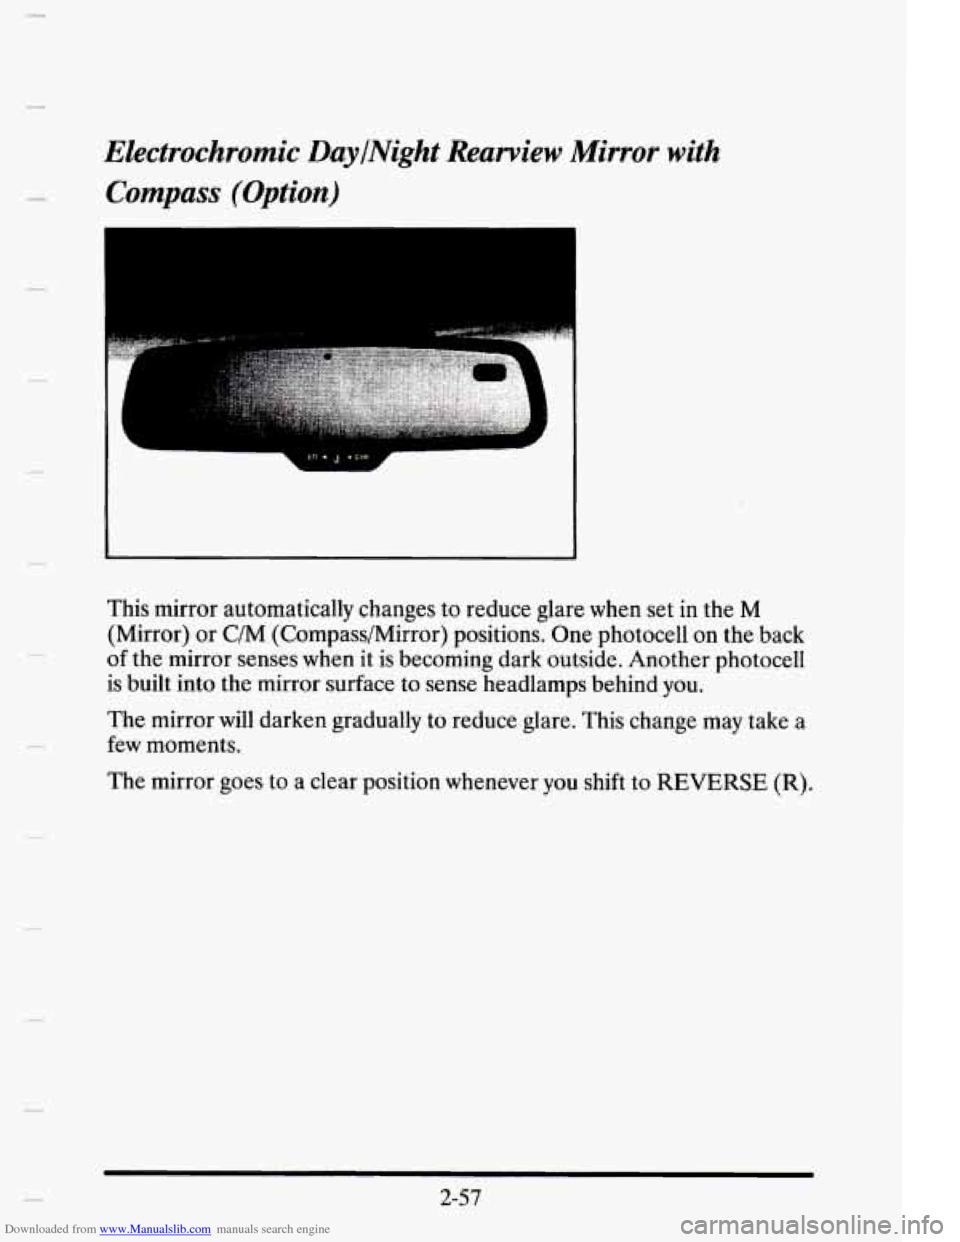
This mirror automatically changes to reduce glare when set in the M
(Mirror) or C/M (Compass/Mirror) positions. One photocell on the back
of the mirror senses when it is becoming dark outside. Another photocell
is built into the mirror surface to sense headlamps behind you.
The mirror will darken gradually to reduce glare. This change may take a
few moments.
The mirror goes to a clear position whenever you shift to REVERSE (R).
2-57
Page 129 of 395
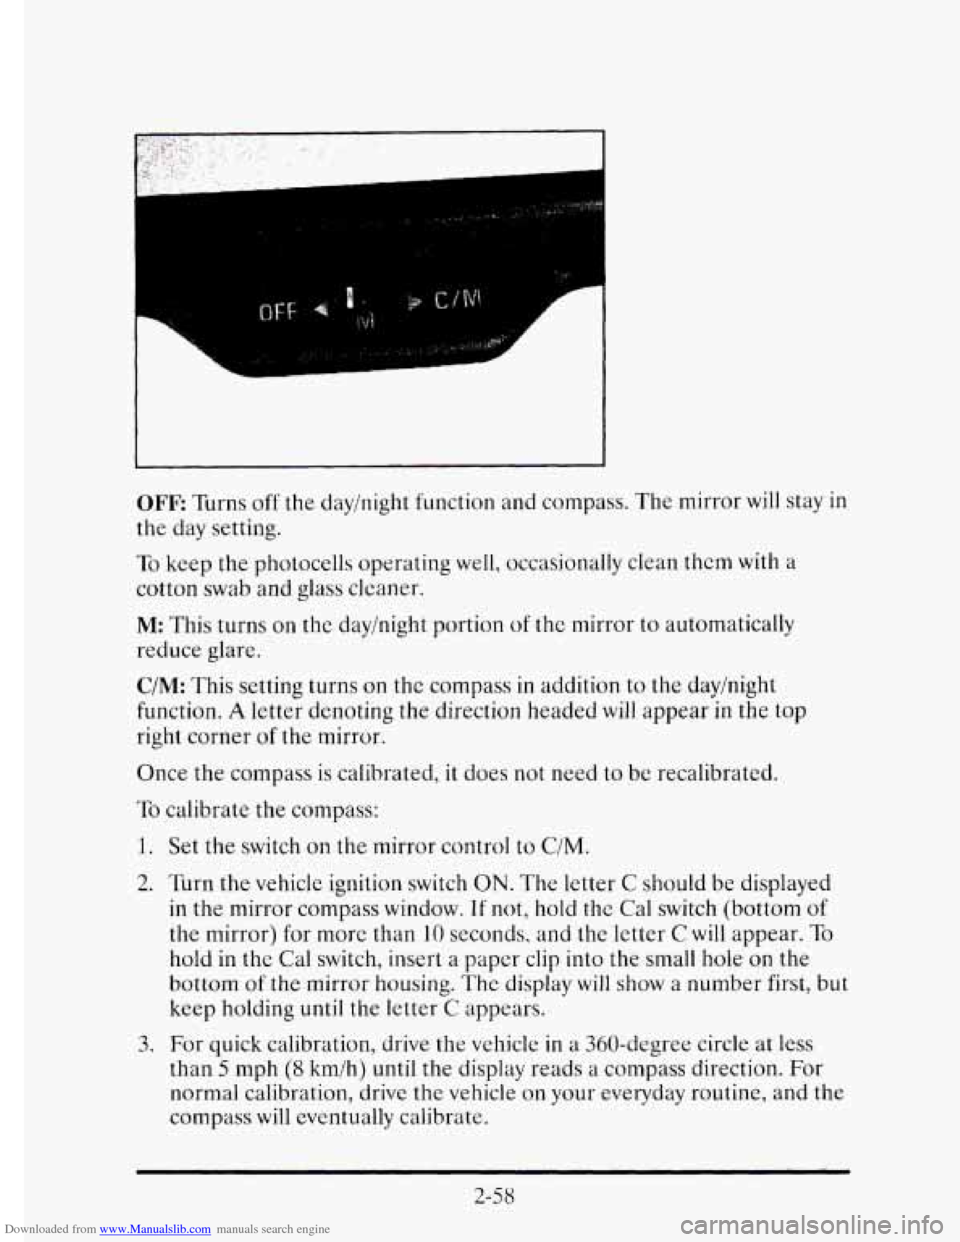
Downloaded from www.Manualslib.com manuals search engine OFF Turns off the day/night function and compass. The mirror will stay in
the day setting.
To keep the photocells operating well, occasionally clean them with a
cotton swab and
glass cleaner.
M: This turns on the day/night portion of the mirror to automatically
reduce glare.
C/M: This setting turns on thc compass in addition to the dayinight
function.
A letter denoting the direction headed will appear in the top
right corner of the mirror.
Once the compass is calibrated, it does not need
to be recalibrated.
To calibrate the compass:
1.
2.
3.
Set the switch on the mirror control to C/M.
Turn the vehicle ignition switch
ON. The letter C should be displayed
in the mirror compass window. If not, hold the Cal switch (bottom of
the mirror) for more than 10 seconds, and the letter C will appear. To
hold in the Cal switch, insert a paper clip into the small hole on the
bottom
of the mirror housing. The display will show a number first, but
keep holding until the letter C appears.
For quick calibration, drive the vehicle
in a 360-degree circle at less
than 5 mph (8 km/h) until the display reads a compass direction. For
normal calibration, drive the vehicle on your everyday routine, and the
compass will eventually calibrate.
2-58
Page 130 of 395
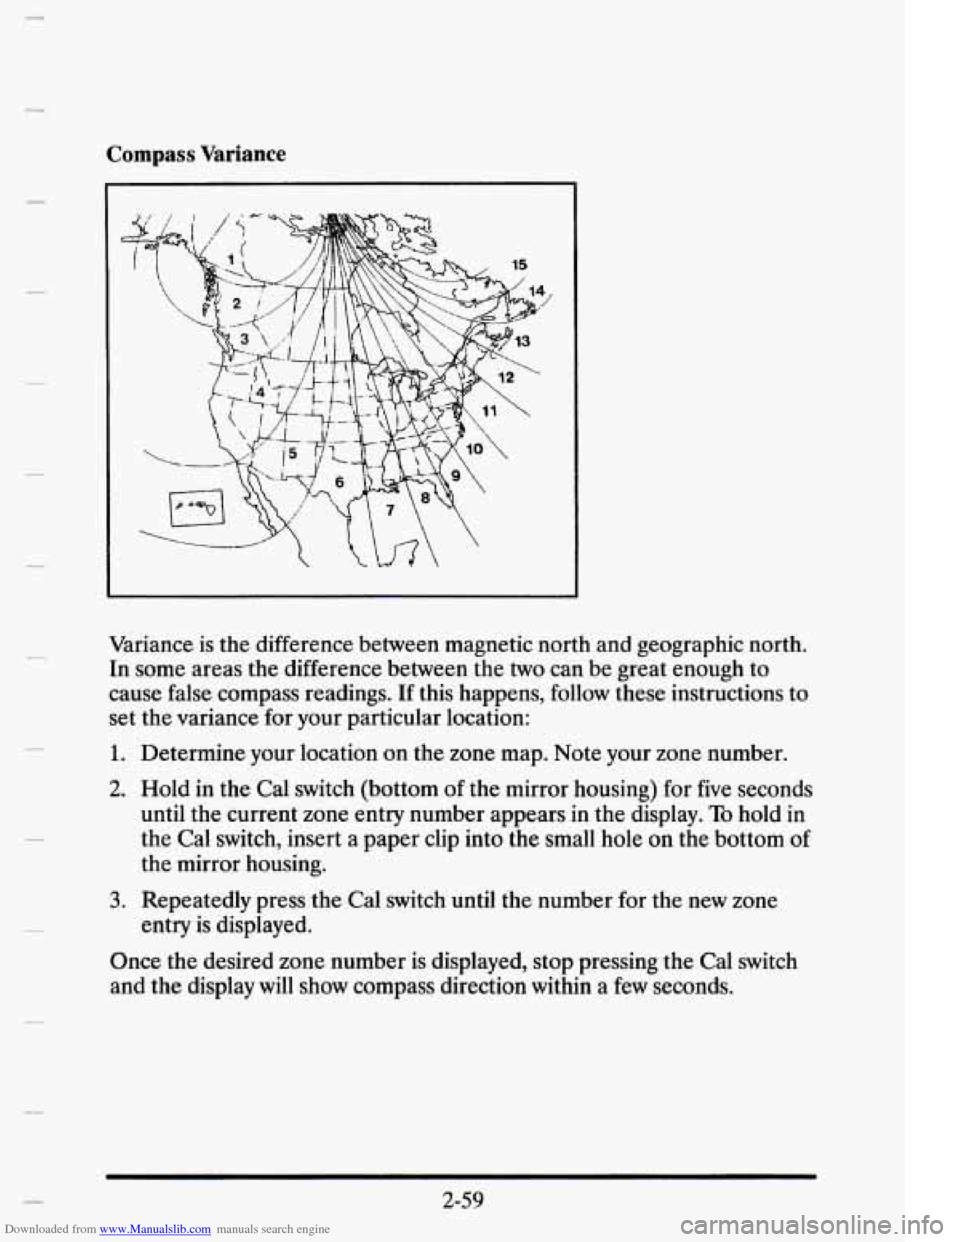
Downloaded from www.Manualslib.com manuals search engine Compass Variance
Variance is the difference between magnetic north and geographic north.
In some areas the difference between the two can be great enough to
cause false compass readings. If this happens, follow these instructions to
set the variance for your particular location:
1. Determine your location on the zone map. Note your zone number.
2. Hold in the Cal switch (bottom of the mirror housing) for five seconds
until the current zone entry number appears in the display.
To hold in
the Cal switch, insert a paper clip into the small hole on the bottom of
the mirror housing.
entry is displayed.
3. Repeatedly press the Cal switch until the number for the new zone
Once the desired zone number is displayed, stop pressing the Cal switch
and the display will show compass direction within
a few seconds.
c 2-59