display CADILLAC ELDORADO 1997 10.G Owners Manual
[x] Cancel search | Manufacturer: CADILLAC, Model Year: 1997, Model line: ELDORADO, Model: CADILLAC ELDORADO 1997 10.GPages: 361, PDF Size: 22.85 MB
Page 68 of 361
Downloaded from www.Manualslib.com manuals search engine out of PARK (P), use the manual or power lock button
to
lock the doors.
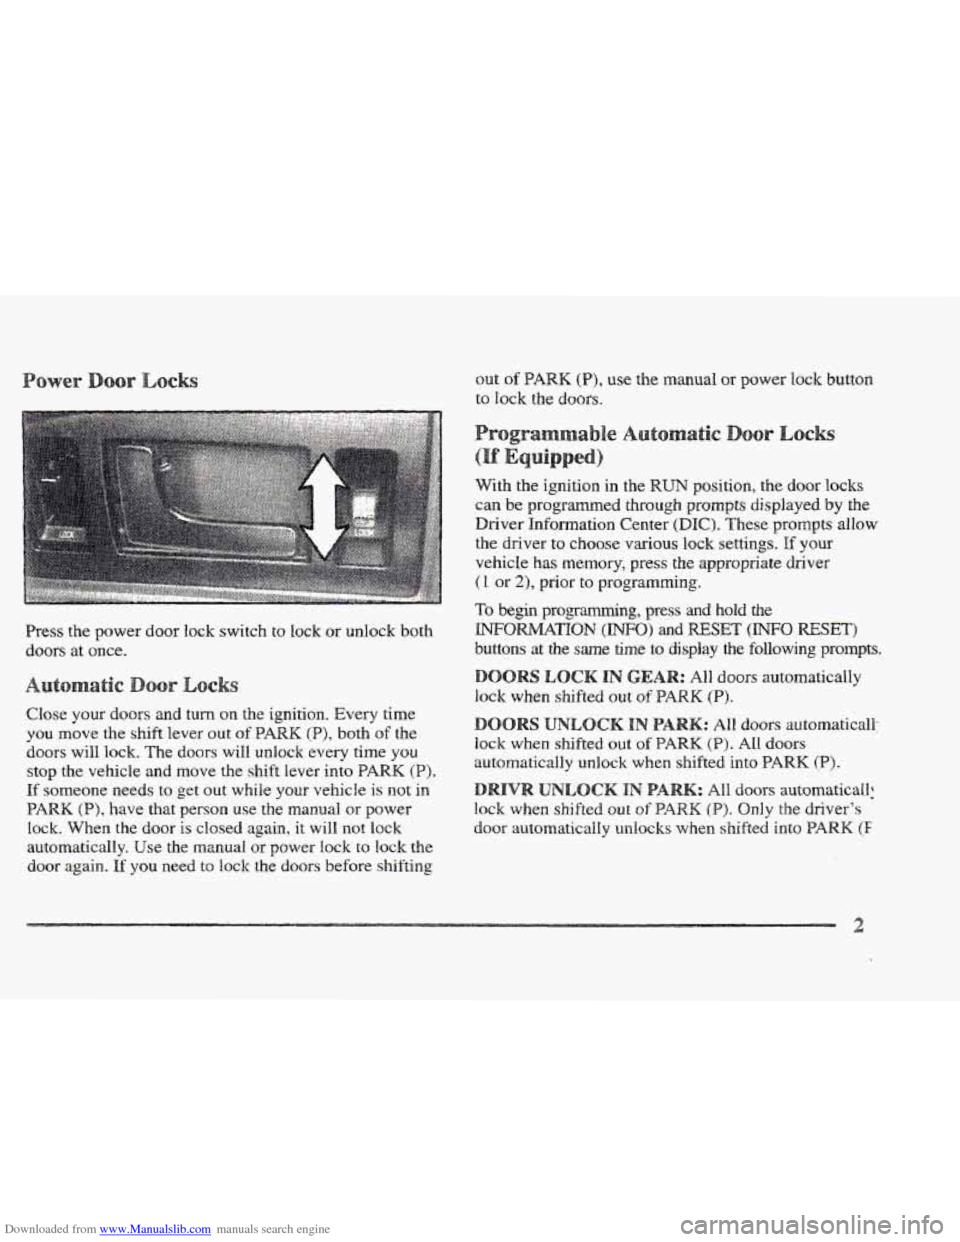
Press the power door lock switch. to lock or unlock both
doors at once.
Close your doors and turn on the ignition. Every time
you move the shift lever out of PARK (P), both of the
doors will lock. The doors will unlock every time you
stop the vehicle and move the shift lever into PARK (P).
If someone needs to get out while your vehicle is not in
PARK (P), have that person use the manual OF power
lock. When the door
is closed again, it will not lock
automatically. Use
the manual or power lock to lock the
door again.
If YOU need to 'lock the doors before shifting With the ignition
in the
RUN position, the door locks
can
be programed through prompts displayed by the
Driver Information Center (DE). These prompts allow
the driver to choose various lock settings. If your
vehicle
has memory, press the appropriate driver
(1 or 21, prior to programming.
To begin programming, press and hold the
buttons at the same time to display the following prompts.
WomnoN (INFO) and RESET (INFO RESET)
s LOCK IN GI3 ors automatically
lock when shifted out
sf
doors automaticall:
lock when shifted out of PARK (P). All doors
automatically unlock when shifted into PARK (P).
: A11 doors automaticall;
lock when shifted out of PARK (P). Only the driver's
door automatically unlscks when shifted into PARK (E
Page 69 of 361
Downloaded from www.Manualslib.com manuals search engine A “yes” or “no” response must be made after each
prompt is displayed
in order to continue on to the next
prompt or personalization feature. Press the TRIP
SET
(TRIP RESET) button to choose yes, press the RESET
(INFO RESET) button to choose no or press the
INFORMATION
(INFO) button to “skip” to the next
personalization feature.
FEATURE
ON appears when a yes response is made
and FEATURE
OFF appears with a no response.
If a no response is made after the DOQRS LOCK IN
GEAR prompt is displayed, FEATURE OFF will appear.
The automatic door locking system has been disabled
and
no other door lock messages will be displayed.
REMOTE
FLASH LIGHTS, which is the next available
personalization
feature to display, will appear next.
See “Remote Confirmation”
in the Index for
more information.
If a yes response is made after the DQORS LOCK IN
GEAR prompt is displayed, %;EA’ ON appears.
The automatic door locking system is enabled and allows
the DOORS UNLOCK IN PARK prompt to zppear.
Choosing this prompt advances you to REMOTE FLASH
LIGHTS whereas a no response will display the DRIVR
UJYLOCK IN PARK prompt. A yes or no response
here automatically brings up the
REMOTE FLASH
LIGHTS feature.
Leaving your key in any igmtion position
with either door
open will disable
the use of the power door lock switches.
The anti-lockout feature is disabled when the ignition is
on.
If you close the doors, you can lock them using the
RKE system. It is always recommended that you remove
your ignition
key when lockmg your vehicle.
Note that the anti-lockout feature can be overridden by
holding the power door
lock switch for three seconds
or longer.
If you are leaving the vehicle, open the door, set the
locks from the inside, get out and close
the door.
Page 72 of 361
Downloaded from www.Manualslib.com manuals search engine When REMOTE FLASH LIGHTS appears on the DIC
display, press the yes button to program the parking
lamps to blink once when the lock button on the
RKE
transmitter is pressed and to blink twice when the
unlock button
is pressed. If you don’t want the parking
lamps to blink when using the RKE transmitter, press
the no button.
FEATURE ON will display if REMOTE FLASH
LIGHTS was selected and FEATURE OFF will show if
you answer no.
For a list of the other personalization features available,
see “Memory and Personalization Features” later in
this section.
This personalization feature enables the driver to
program the exterior lamps to
turn on for 20 seconds
or
to remain off when using the RKE transmitter to
unlock your vehicle.
If exterior lighting is selected, the parking lamps,
taillamps, sidemarker lamps, license plate lamps,
low-beam headlamps, etc. will turn on for about
20 seconds or until the ignition key is turned to RUN.
Check the back of the RKE transmitter to verify that the
correct driver is selected before you start programming.
To begin programming, press the INFORMATION
(INFO) and RESET (INFO RESET) buttons at the same
time for about two seconds. Exterior fighting is the third
feature to display. Press the WOWMATION (INFO)
button to “skip” past the first two features -- DOOR
LOCKS IN GEAR and REMOTE FLASH LIGHTS.
When EXT LIGHTS AT UNLOCK appears, a “yes” or
“no” response
is required. Press the TRIP SET (TRIP
RESET) button to answer yes or press the RESET
(INFO RESET) button to indicate a no response.
FEATURE ON displays when a yes response is made
and
FEATURE OFF shows after a no response.
For a list of the other personalization features available,
see
“Memory and Personalization Features” later in
this section.
Your vehicle
may have memory personalization. If it
does, REMOTE RECALL MEMORY will be the fourth
personalization feature to display on the
DIC system.
Memory settings that
have been previously programmed
(HVAC settings, radio preset settings, exterior lighting
choices, remote confirmation choices and programmable
automatic
door 1oc.k choices) can be recalled by using
either the
RICE transmitter or by placing the key in your
vehicle’s ignition.
Page 73 of 361
Downloaded from www.Manualslib.com manuals search engine To begin programming, check the back of the RKE
transmitter to verify that the correct driver is selected.
Press the
INFORMATION (INFO) and RESET (INFO
RESET) buttons at the same time for about two seconds.
As mentioned, memory recall is the fourth feature to
appear. To “skip” past the first three personalization
features, press the
INFORMATION (INFO) button.
When
REMOTE RECALL MEMORY appears, the
driver is able to recall memory settings when
the unlock
button on the
RKE transmitter is pressed with the
ignition in
LOCK. Press the TRIP SET (TRIP RESET)
button to select or press the RESET (INFO RESET)
button to answer no and to continue on to the next
prompt.
(FEATURE ON displays when a yes response
is made and FEATURE OFF shows when a no response
is made.)
If a no response was made, the KEY IN RECALL
MEMORY prompt will show next. This choice recalls
memory settings when the key is placed
in your
vehicle’s ignition.
A yes or no response is required.
For a list
of the other personalization features available,
see “Memory and Personalization Features” later
in
this section. Each
RKE transmitter is coded
to prevent another
transmitter from unlocking your vehicle. If
a transmitter
is lost or stolen,
a replacement can be purchased through
your dealer. Once your dealer has coded the new
transmitter, the lost transmitter will
not unlock your
vehicle. Each vehicle can have only two transmitters
matched to it.
Under
normal use, the battery in your RKE transmitter
should Bast about four years.
You can tell the battery is weak if the transmitter won’t
work at the normal range in any location.
If you have to
get close
to your vehicle before the transmitter works,
it’s probably time to change the battery.
When replacing the battery, use care not to touch
any of the circuitry. Static from your body
transferred to these surfaces may damage
Page 81 of 361
Downloaded from www.Manualslib.com manuals search engine Your vehicle is equipped
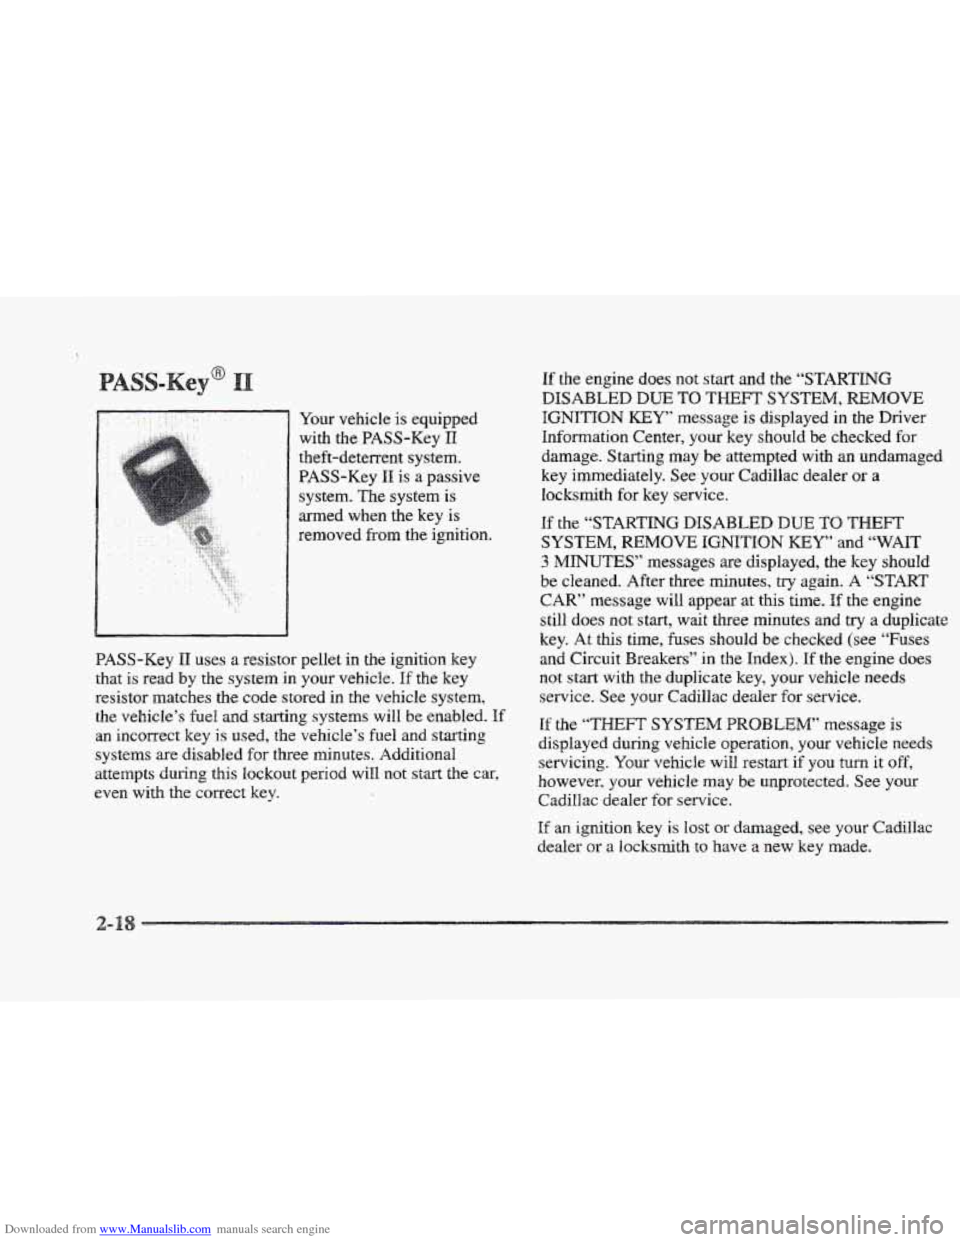
with
the BASS-Key I1
theft-deterrent system.
PASS-Key
I1 is a passive
system. The system is
med when the key
is
removed from the ignition.
BASS-Key
11 uses a resistor pellet in the ignition key
that is read by the system in your vehicle. If the key
resistor matches the code stored
in the vehicle system,
the vehicle’s
fuel and starting systems will be enabled. If
an incorrect key is used, the vehicle’s fuel and starting
systems are disabled for three minutes. Additional
attempts Curing this
lockout period will not start the car,
even with the correct key.
If the engine does not start and the “STARTING
DISABLED DUE TO THEFT SYSTEM, REMOVE
IGNITION KEY message is displayed in the Driver
Information Center,
your key should be checked for
damage. Starting may
be attempted with an undamaged
key immediately. See your Cadillac dealer
or a
locksmith for key service.
If the “STARTING DISABLED DUE TO THEFT
SYSTEM, REMOVE IGNITION KEY” and “WAIT
3 MINUTES” messages are displayed, the key should
be cleaned. After three minutes,
try again. A “START
CAR” message will appear at this time. If the engine
still does not start, wait three minutes and
try a duplicate
key. At this time,
fuses should be checked (see “Fuses
and Circuit Breakers” in
the Index). If the engine does
not start with the duplicate key, your vehicle needs
service. See your Cadillac dealer for service.
If the “THEFT SYSTEM PROBLEM” message is
displayed during vehicle operation, your vehicle needs
servicing. Your vehicle
will restart if you turn it off,
however, your vehicle
may be unprotected. See your
Cadillac dealer for service.
If an ignition key is lost or damaged, see your Cadillac
dealer
or a locksmith to have a new key made.
Page 98 of 361
Downloaded from www.Manualslib.com manuals search engine To signal a turn, move the lever all the way up or down.
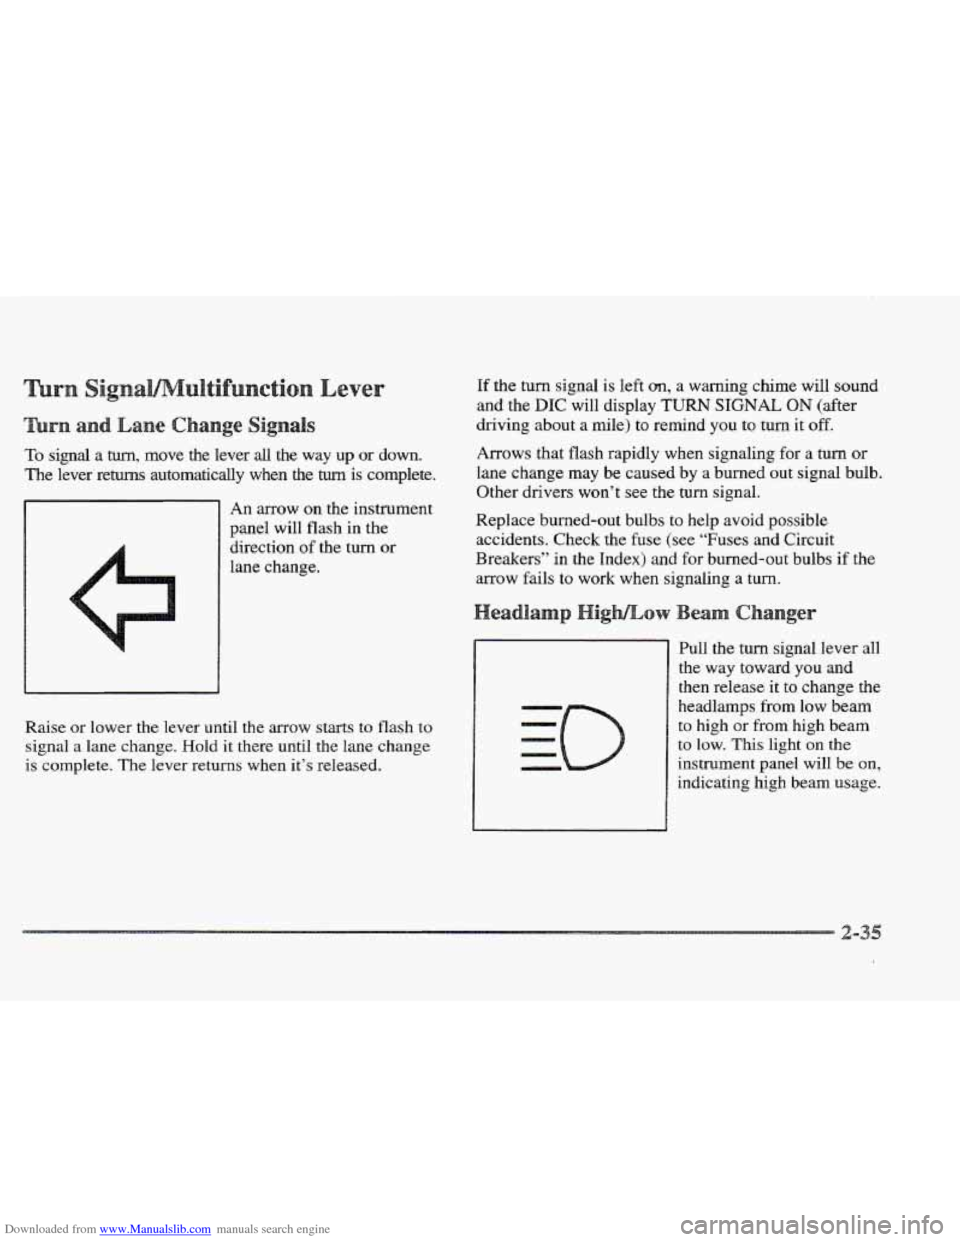
The lever returns automatically when the turn is complete.
An arrow on the instrument
panel will flash in the
direction of
the turn or
lane change.
Raise or lower the
lever until the arrow starts to flash to
signal a lane change. Hold
it there until the lane change
is complete. The lever returns when it’s released.
If the turn signal is left an, a warning chime will sound
and the
DIC will display TURN SIGNAL ON (after
driving about a mile) to remind you to turn it
off.
Arrows that flash rapidly when signaling for a turn or
lane change may be caused by a burned out signal bulb.
Other drivers won’t see the
turn signal.
Replace burned-out bulbs to help avoid possible
accidents. Check the fuse (see “Fuses and Circuit
Breakers”
in the Index) and for burned-out bulbs if the
arrow fails to work when signaling
a turn.
Pull the turn signal lever all
the way toward you and
then release it to change the
headlamps
from low beam
to high or from high beam
to low. This light on the
instrument panel will be on,
indicating high beam usage.
Page 101 of 361
Downloaded from www.Manualslib.com manuals search engine The Rainsense system can be activated by turning the
wiper stalk to one of the five sensitivity levels within the
AUTO DELAY
area. The AUTO DELAY position
closest to
OW is the lowest sensitivity setting. This
allows more water to collect on the windshield between
wipes. Rotating the stalk away from you to the other
AUTO DELAY settings increases the sensitivity of the
system and frequency
of wipes. A single wipe will occur
each time you
turn the wiper stalk to a higher sensitivity
level.
An initial wipe occurs when you turn the ignition
on as a reminder that Rainsense
is active. The
windshield wipers also remain in a “high
park” position,
even when
the ignition is turned off.
The Rainsense wipers operate in a delay mode as well as
a continuous low or high speed depending on the amount
of moisture and the sensitivity level. The MIST and
“wash” cycles operate as normal and are not affected
by the Rainsense hnction.
It is important to note that the Rainsense wiping feature
(AUTO DELAY) can be overridden at any time by
manually changing the wiper control to EO or
HI
speed.
Note that
if you ever need to replace the windshield,
make sure it
is Rainsense compatible.
~~ ~ ~~~ ~
In freezing weather, don’t use your washer until
the windshield
is warmed, Otherwise the washer
fluid
can form ice on the windshield, blocking
your vision,
Press and hold the PUSH paddle to wash the windshield.
Release the paddle when you have enough fluid.
The
wipers will clear the windshield and either stop or return
to your preset speed.
LOW WASHER
FLUID will be displayed on the DIC
when the washer fluid reaches a low level.
Driving without washer fluid can be dangerous.
A bad
mud splash can block your vision and you could hit
another vehicle or
go off the road. Check the washer
fluid level often.
-3
Page 103 of 361
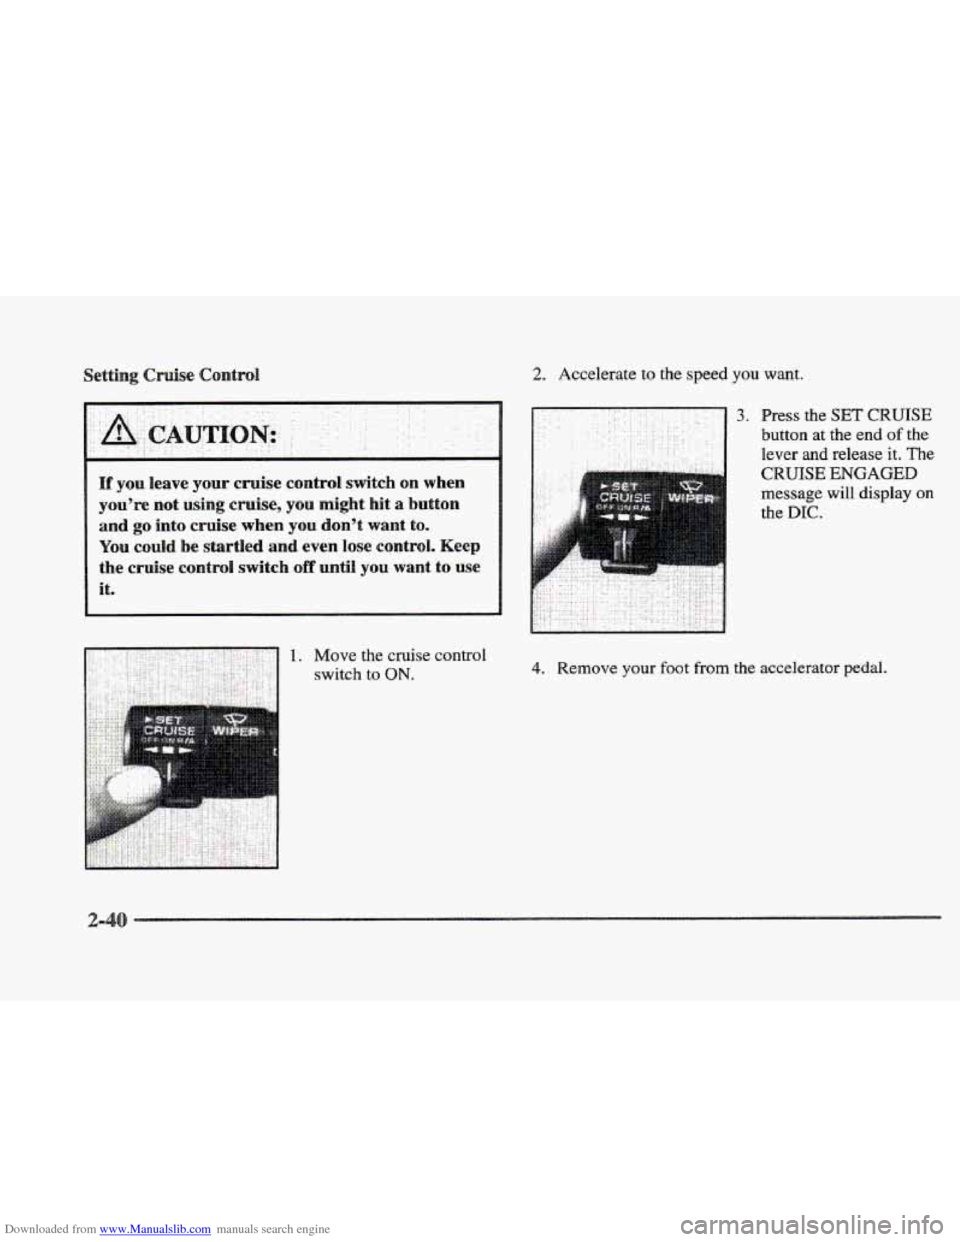
Downloaded from www.Manualslib.com manuals search engine 2. Accelerate to the speed you want.
l[f you leave your cruise contrd switch on when
you’re not using cruise, you might hit
a button
and go into cruise whew YOU don’t want to.
YQU cdd be startled and even lose control. Keep
the cruise
contrdi switch off until YOU want to use
it.
3. Fress the SET CRUISE
button at the end of the
lever and release it. The
CRUISE ENGAGED
message will display on
the DIC.
4. Remove your foot from the accelerator pedal.
Page 104 of 361
Downloaded from www.Manualslib.com manuals search engine Setting the cruise control at a desired speed and then
applying the brake will end the cruise function.
. .. .. .
. -. ..
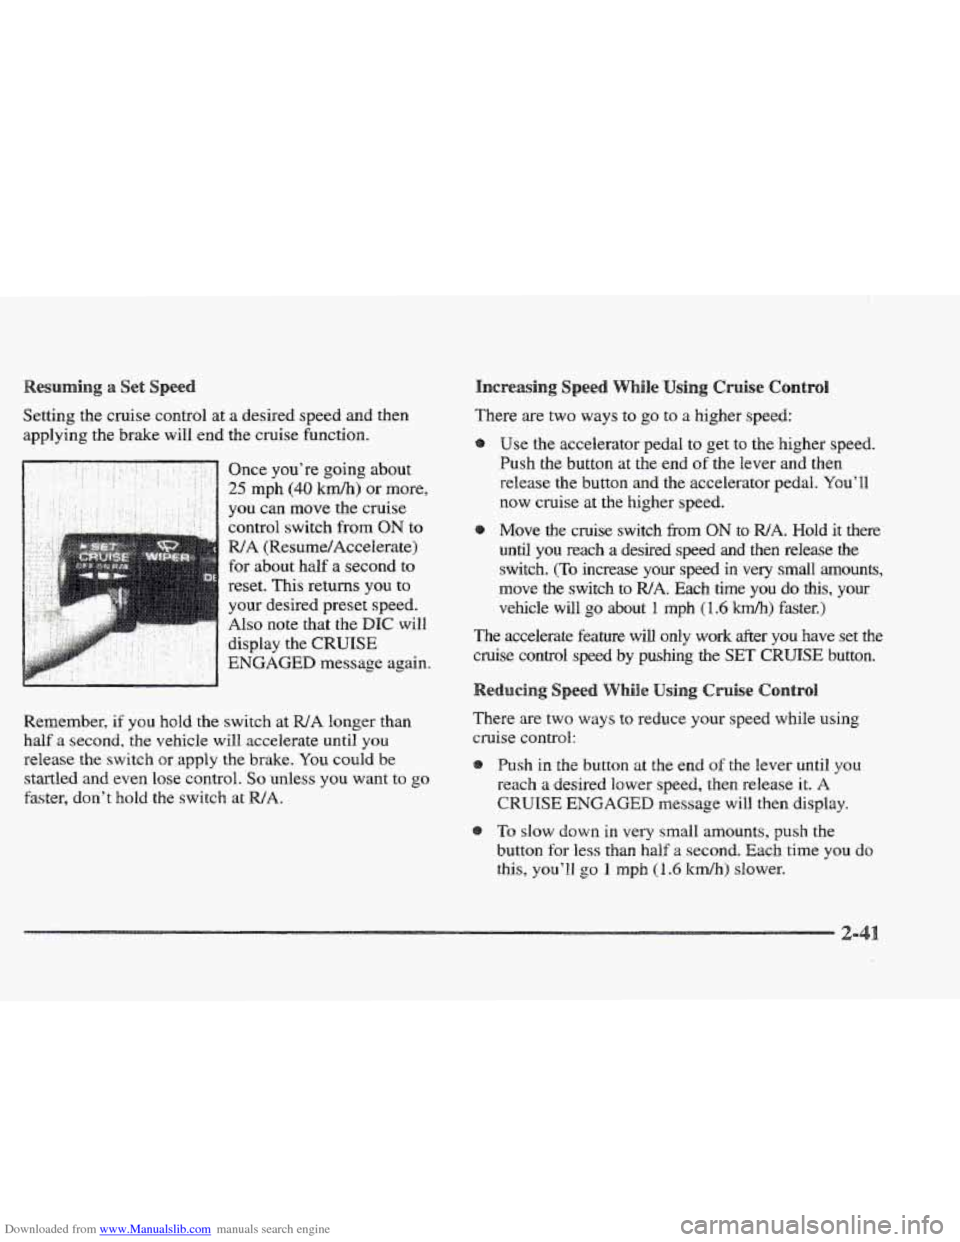
.. .. .. : - .: -' Once you're going about .. .. ' ' ' 25 mph (40 krn/h) or more,
Remember,
if you hold the switch at WA longer than
half
a second, the vehicle will accelerate until you
release the switch or apply the brake. You could be
startled and even lose control.
So unless you want to go
faster, don't hold the switch at WA.
There are two ways to go to a higher speed:
Use
the accelerator pedal to get to the higher speed.
Push the button at the end of the lever and then
release
the button and the accelerator pedal. You'll
now cruise at the higher speed.
Move the cruise switch
from ON to WA. Hold it there
until
you reach a desired speed and then release the
switch. (To increase your speed in very small amounts,
move the switch to
WA. Each time you do this, your
vehicle will
go about 1 mph (1.6 'km/lr) faster.)
The accelerate feature will only work after you have set the
cruise control speed
by pushing the SET CRUISE button.
There are two ways to reduce your speed while using
cruise control:
Push in the button at
the end of the lever until you
reach
a desired lower speed, then release it. A
CRUISE ENGAGED message will then display.
To slow down in very small amounts, push the
button
for less than half a second. Each time you do
this, you'21 go 1 rnph (I .6 ltdh) slower.
2-
Page 107 of 361
Downloaded from www.Manualslib.com manuals search engine When the twilight sentinel switch is on and it’s dark
enough outside, the high-beam headlamps (at reduced
intensity) will
turn off and normal low-beam headlamp
operation will occur.
When the twilight sentinel switch
is
on and it’s bright enough outside, the regular lamps
will go
off, and the high-beam headlamps at reduced
brightness will
take over for the DRL.
If it’s dark enough outside and the twilight sentinel
control
is off, a I!DMDLMS SUGGESTED message
will display on the
DTC. This message informs the driver
that turning on
the exterior lamps is recommended even
though the DIU are still illuminated (it’s become dark
enough outside to require the headlamps and/or other
exterior lamps). Turning
on the twilight sentinel, the
headlamp switch or
the fog lamp switch will remove the
HEADLAMPS SUGGESTED message.
To idle your vehicle with the DWL off, turn off the
twilight sentinel
switch and shift the transaxle into
PARK (P). Placing your vehicle in PARK (P) disables
the Dm. The DRL will stay off until you shift out of
PARK (P).
As with any vehicle, you should turn on the regular
headlamp
system when you need it.
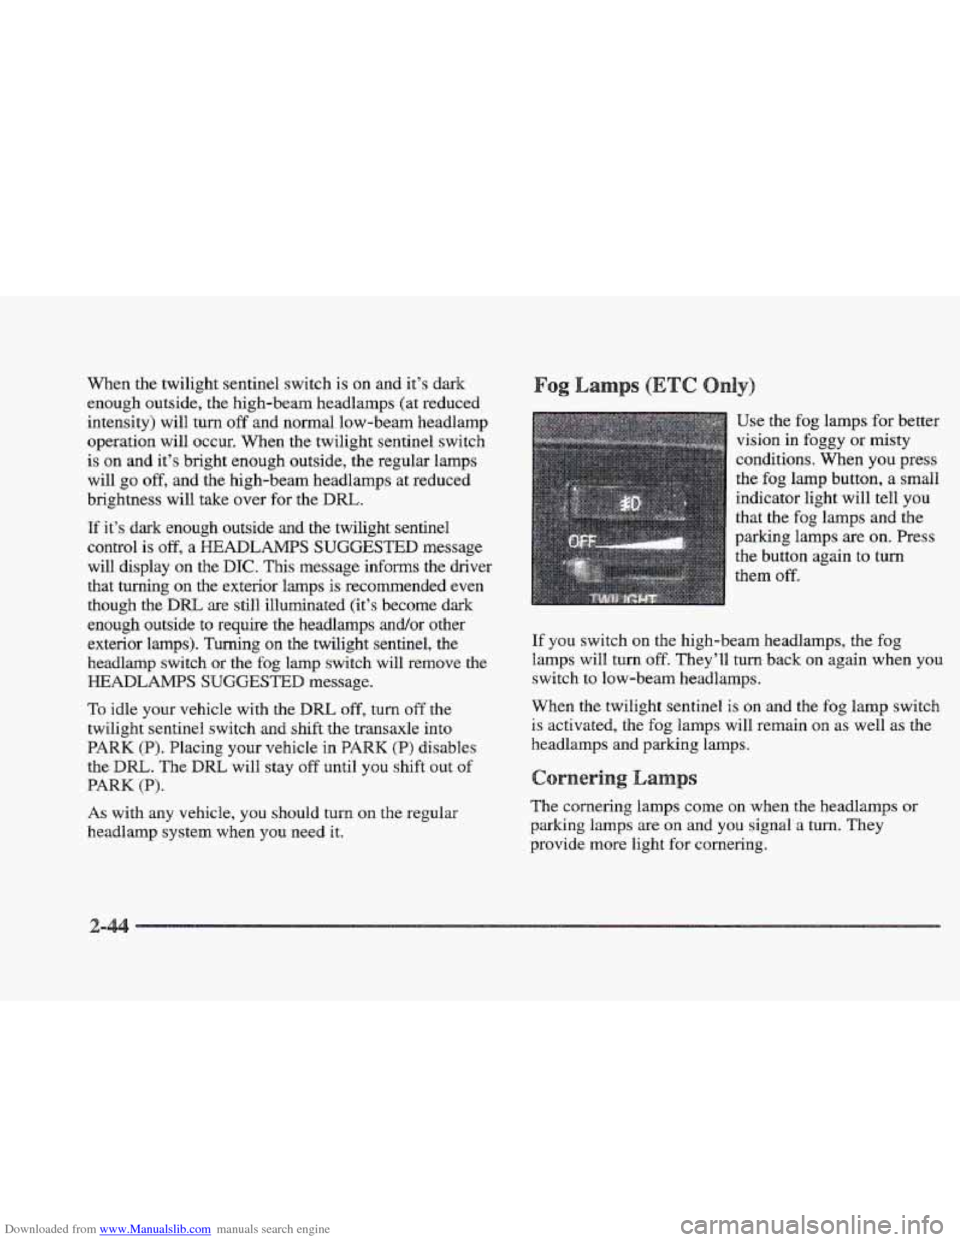
Use the fog lamps for better
vision
in foggy or misty
conditions. When you press
the fog lamp button, a small
indicator light will tell you
that
the fog lamps and the
parking lamps are on. Press
the button again to
turn
them off.
If you switch on the high-beam headlamps, the fog
lamps will turn off. They’ll
turn back on again when you
switch to low-beam headlamps.
?%%en
the twilight sentinel is on and the fog lamp switch
is activated, the fog lamps will remain on as well as the
headlamps and parking lamps.
s
The cornering lamps come on when the headlamps or
parking
lamps are on and you signal a turn. They
provide more light
for cornering.