display CADILLAC ESCALADE 2010 3.G Owners Manual
[x] Cancel search | Manufacturer: CADILLAC, Model Year: 2010, Model line: ESCALADE, Model: CADILLAC ESCALADE 2010 3.GPages: 616, PDF Size: 39.41 MB
Page 471 of 616

4. Allow the engine to idle (500–800 rpm) for at leastone minute. Slowly release the brake pedal.
5. Keep the engine running and press the Trip/Fuelbutton or trip odometer reset stem until TRANSTEMP (Transmission Temperature) displays on theDriver Information Center (DIC).
6. Using the TRANS TEMP reading, determine andperform the appropriate check procedure. If theTRANS TEMP reading is not within the requiredtemperature ranges, allow the vehicle to cool,or operate the vehicle until the appropriatetransmission fluid temperature is reached.
Cold Check Procedure
Use this procedure only as a reference to determine ifthe transmission has enough fluid to be operated safelyuntil a hot check procedure can be made. The hotcheck procedure is the most accurate method to checkthe fluid level. Perform the hot check procedure at the
first opportunity. Use this cold check procedure to checkfluid level when the transmission temperature isbetween 80°F and 90°F (27°C and 32°C).
1. Locate thetransmission dipstick atthe rear of the enginecompartment, on thepassenger side of thevehicle.
SeeEngine Compartment Overviewon page 7!16for more information.
2. Flip the handle up and then pull out the dipstickand wipe it with a clean rag or paper towel.
3. Install the dipstick by pushing it back in all the way,wait three seconds, and then pull it back out again.
4. Check both sides of the dipstick and read the lowerlevel. Repeat the check procedure to verify thereading.
7-25
Page 482 of 616
If No Steam Is Coming From The
Engine Compartment
The ENGINE OVERHEATED STOP ENGINE or theENGINE OVERHEATED IDLE ENGINE message, alongwith a low coolant condition, can indicate a seriousproblem.
If you get an engine overheat warning, but see or hearno steam, the problem may not be too serious.Sometimes the engine can get a little too hot when you:
.Climb a long hill on a hot day.
.Stop after high-speed driving.
.Idle for long periods in traffic.
.Tow a trailer. SeeTowing a Trailer on page 6!42.
If you get the ENGINE OVERHEATED STOP ENGINEor the ENGINE OVERHEATED IDLE ENGINE messagewith no sign of steam, try this for a minute or so:
If the overheat warning is displayed with no sign ofsteam:
1. Turn the air conditioning off.
2. Turn the heater on to the highest temperature andto the highest fan speed. Open the windows asnecessary.
3. In heavy traffic, let the engine idle in N (Neutral)while stopped. If it is safe to do so, pull off theroad, shift to P (Park) or N (Neutral) and let theengine idle.
If the temperature overheat gage is no longer in theoverheat zone or an overheat warning no longerdisplays, the vehicle can be driven. Continue to drivethe vehicle slow for about 10 minutes. Keep a safevehicle distance from the car in front of you. If thewarning does not come back on, continue to drivenormally.
If the warning continues, pull over, stop, and park thevehicle right away.
If there is no sign of steam, idle the engine forfive minutes while parked. If the warning is stilldisplayed, turn off the engine until it cools down. Also,see“Overheated Engine Protection Operating Mode”later in this section.
7-36
Page 483 of 616
Overheated Engine Protection
Operating Mode
If an overheated engine condition exists and theENGINE POWER IS REDUCED message is displayed,an overheat protection mode which alternates firinggroups of cylinders helps prevent engine damage. Inthis mode, you will notice a loss in power and engineperformance. This operating mode allows the vehicle tobe driven to a safe place in an emergency. Drivingextended miles (km) and/or towing a trailer in theoverheat protection mode should be avoided.
Notice:After driving in the overheated engineprotection operating mode, to avoid engine damage,allow the engine to cool before attempting anyrepair. The engine oil will be severely degraded.Repair the cause of coolant loss, change the oil andreset the oil life system. SeeEngine Oilonpage 7!17.
Engine Fan Noise
The vehicle has electric cooling fans. You might hearthe fans spinning at low speed during most everydaydriving. The fans can turn off if no cooling is required.Under heavy vehicle loading, trailer towing, and/or highoutside temperatures, or if you are operating the airconditioning system, the fans can change to high speedand you might hear an increase in fan noise. This isnormal and indicates that the cooling system isfunctioning properly. The fans change to low speedwhen additional cooling is no longer required.
7-37
Page 485 of 616
Windshield Washer Fluid
What to Use
When windshield washer fluid needs to be added, besure to read the manufacturer's instructions before use.Use a fluid that has sufficient protection against freezingin an area where the temperature may fall belowfreezing.
Adding Washer Fluid
The vehicle has a low washer fluid message in the DICthat comes on when the washer fluid is low. Themessage is displayed for 15 seconds at the start ofeach ignition cycle. When the WASHER FLUID LOWADD FLUID message displays, you will need to addwasher fluid to the windshield washer fluid reservoir.
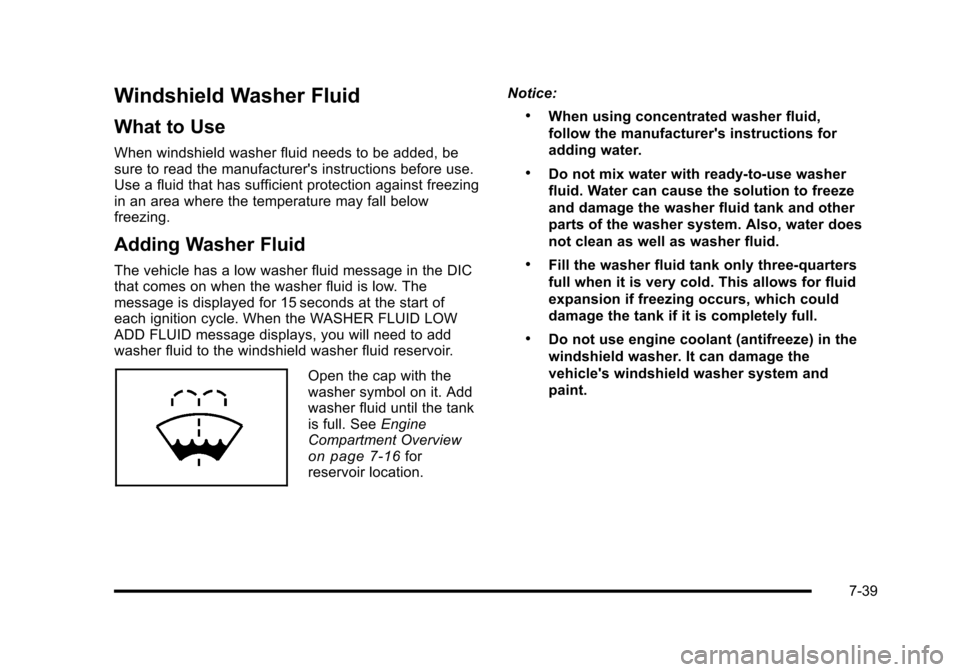
Open the cap with thewasher symbol on it. Addwasher fluid until the tankis full. SeeEngineCompartment Overviewon page 7!16forreservoir location.
Notice:
.When using concentrated washer fluid,
follow the manufacturer's instructions for
adding water.
.Do not mix water with ready-to-use washer
fluid. Water can cause the solution to freeze
and damage the washer fluid tank and other
parts of the washer system. Also, water does
not clean as well as washer fluid.
.Fill the washer fluid tank only three-quarters
full when it is very cold. This allows for fluid
expansion if freezing occurs, which could
damage the tank if it is completely full.
.Do not use engine coolant (antifreeze) in the
windshield washer. It can damage the
vehicle's windshield washer system and
paint.
7-39
Page 514 of 616
Federal Communications Commission
(FCC) and Industry and Science Canada
SeeRadio Frequency Statementon page 9!20forinformation regarding Part 15 of the FederalCommunications Commission (FCC) Rules andRSS-210/211 of Industry and Science Canada.
Tire Pressure Monitor Operation
If your vehicle is a Two!mode Hybrid, see theTwo!mode Hybrid manual for more information.
This vehicle may have a Tire Pressure Monitor System(TPMS). The TPMS is designed to warn the driver whena low tire pressure condition exists. TPMS sensors aremounted onto each tire and wheel assembly, excludingthe spare tire and wheel assembly. The TPMS sensorsmonitor the air pressure in the vehicle's tires andtransmit the tire pressure readings to a receiver locatedin the vehicle.
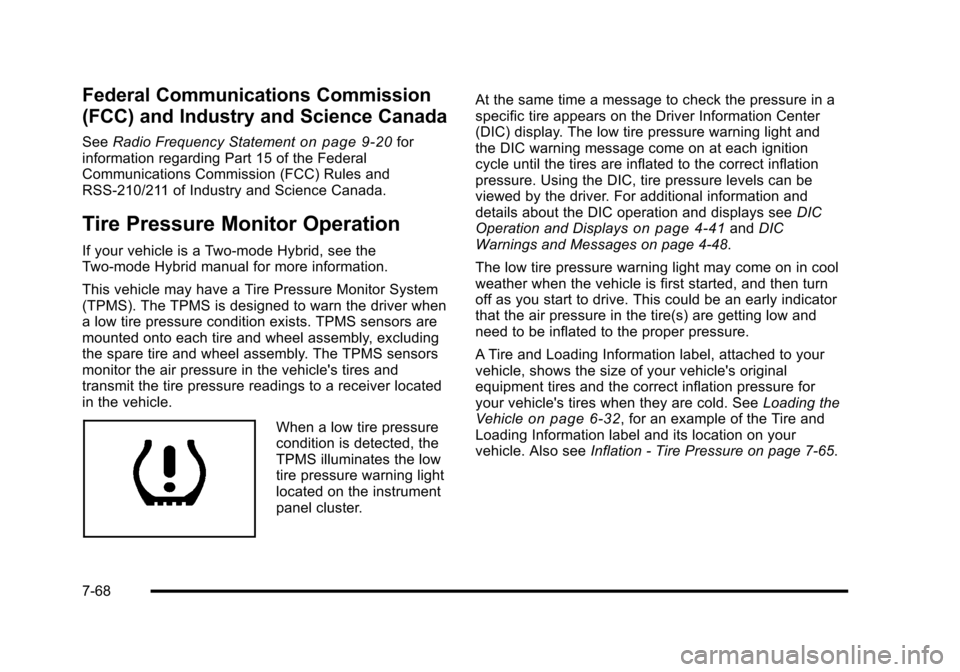
When a low tire pressurecondition is detected, theTPMS illuminates the lowtire pressure warning lightlocated on the instrumentpanel cluster.
At the same time a message to check the pressure in aspecific tire appears on the Driver Information Center(DIC) display. The low tire pressure warning light andthe DIC warning message come on at each ignitioncycle until the tires are inflated to the correct inflationpressure. Using the DIC, tire pressure levels can beviewed by the driver. For additional information anddetails about the DIC operation and displays seeDICOperation and Displayson page 4!41andDICWarnings and Messages on page 4!48.
The low tire pressure warning light may come on in coolweather when the vehicle is first started, and then turnoff as you start to drive. This could be an early indicatorthat the air pressure in the tire(s) are getting low andneed to be inflated to the proper pressure.
A Tire and Loading Information label, attached to yourvehicle, shows the size of your vehicle's originalequipment tires and the correct inflation pressure foryour vehicle's tires when they are cold. SeeLoading theVehicleon page 6!32, for an example of the Tire andLoading Information label and its location on yourvehicle. Also seeInflation - Tire Pressure on page 7!65.
7-68
Page 515 of 616
Your vehicle's TPMS can warn you about a low tirepressure condition but it does not replace normal tiremaintenance. SeeTire Inspection and Rotationonpage 7!71andTires on page 7!58.
Notice:Liquid tire sealants could damage the TirePressure Monitor System (TPMS) sensors. Sensordamage caused by using a tire sealant is notcovered by your warranty. Do not use liquid tiresealants.
TPMS Malfunction Light and Message
The TPMS will not function properly if one or more ofthe TPMS sensors are missing or inoperable. When thesystem detects a malfunction, the low tire warning lightflashes for about one minute and then stays on for theremainder of the ignition cycle. A DIC warning messageis also displayed. The low tire warning light and DICwarning message come on at each ignition cycle untilthe problem is corrected. Some of the conditions thatcan cause the malfunction light and DIC message tocome on are:
.One of the road tires has been replaced with thespare tire. The spare tire does not have a TPMSsensor. The TPMS malfunction light and DICmessage should go off once you re!install theroad tire containing the TPMS sensor.
.The TPMS sensor matching process was startedbut not completed or not completed successfullyafter rotating the vehicle's tires. The DIC messageand TPMS malfunction light should go off once theTPMS sensor matching process is performedsuccessfully. See“TPMS Sensor MatchingProcess”later in this section.
.One or more TPMS sensors are missing ordamaged. The DIC message and the TPMSmalfunction light should go off when the TPMSsensors are installed and the sensor matchingprocess is performed successfully. See yourdealer/retailer for service.
.Replacement tires or wheels do not match yourvehicle's original equipment tires or wheels. Tiresand wheels other than those recommended foryour vehicle could prevent the TPMS fromfunctioning properly. SeeBuying New Tiresonpage 7!73.
.Operating electronic devices or being near facilitiesusing radio wave frequencies similar to the TPMScould cause the TPMS sensors to malfunction.
If the TPMS is not functioning it cannot detect or signala low tire condition. See your dealer/retailer for serviceif the TPMS malfunction light and DIC message comeson and stays on.
7-69
Page 516 of 616

TPMS Sensor Matching Process
Each TPMS sensor has a unique identification code.Any time you rotate your vehicle's tires or replace oneor more of the TPMS sensors, the identification codeswill need to be matched to the new tire/wheel position.The sensors are matched to the tire/wheel positionsin the following order: driver side front tire, passengerside front tire, passenger side rear tire, and driverside rear tire using a TPMS diagnostic tool. See yourdealer/retailer for service.
The TPMS sensors can also be matched to each tire/wheel position by increasing or decreasing the tire's airpressure. If increasing the tire's air pressure, do notexceed the maximum inflation pressure indicated on thetire's sidewall.
To decrease air-pressure out of a tire you can use thepointed end of the valve cap, a pencil-style air pressuregage, or a key.
You have two minutes to match the first tire/wheelposition, and five minutes overall to match all four tire/wheel positions. If it takes longer than two minutes, tomatch the first tire and wheel, or more than five minutesto match all four tire and wheel positions the matchingprocess stops and you need to start over.
The TPMS sensor matching process is outlined below:
1. Set the parking brake.
2. Turn the ignition switch to ON/RUN with theengine off.
3. PressQandKon the Remote Keyless Entry
(RKE) transmitter at the same time forapproximately five seconds. The horn sounds twiceto signal the receiver is in relearn mode and TIRELEARNING ACTIVE message displays on the DICscreen.
4. Start with the driver side front tire.
7-70
Page 517 of 616
5. Remove the valve cap from the valve cap stem.Activate the TPMS sensor by increasing ordecreasing the tire's air pressure for five seconds,or until a horn chirp sounds. The horn chirp, whichmay take up to 30 seconds to sound, confirms thatthe sensor identification code has been matched tothis tire and wheel position.
6. Proceed to the passenger side front tire, andrepeat the procedure in Step 5.
7. Proceed to the passenger side rear tire, and repeatthe procedure in Step 5.
8. Proceed to the driver side rear tire, and repeat theprocedure in Step 5. The horn sounds two times toindicate the sensor identification code has beenmatched to the driver side rear tire, and the TPMSsensor matching process is no longer active. TheTIRE LEARNING ACTIVE message on the DICdisplay screen goes off.
9. Turn the ignition switch to LOCK/OFF.
10. Set all four tires to the recommended air pressurelevel as indicated on the Tire and LoadingInformation label.
11. Put the valve caps back on the valve stems.
Tire Inspection and Rotation
We recommend that you regularly inspect your
vehicle's tires, including the spare tire, for signs of
wear or damage. SeeWhen It Is Time for New
Tireson page 7!73for more information.
Tires should be rotated every 5,000 to 8,000 miles
(8 000 to 13 000 km). SeeScheduled Maintenance
on page 8!3.
The purpose of a regular tire rotation is to achieve
a uniform wear for all tires on the vehicle. This will
ensure that your vehicle continues to perform
most like it did when the tires were new.
7-71
Page 565 of 616

At your General Motors dealer/retailer, you can becertain that you will receive the highest level of serviceavailable. Your dealer/retailer has specially trainedservice technicians, uses genuine GM replacementparts, as well as, up to date tools and equipment toensure fast and accurate diagnostics.
The proper replacement parts, fluids, and lubricants touse are listed inRecommended Fluids and Lubricantson page 8!10andMaintenance Replacement Partsonpage 8!12. We recommend the use of genuine partsfrom your dealer/retailer.
Rotation of New Tires
To maintain ride, handling, and performance of thevehicle, it is important that the first rotation service fornew tires be performed when they have 8 000 to13 000 km (5,000 to 8,000 miles). SeeTire Inspectionand Rotation on page 7!71.
Scheduled Maintenance
When the Change Engine Oil Soon
Message Displays
Change engine oil and filter. SeeEngine Oilonpage 7!17.An Emission Control Service.
When the Change Engine Oil Soon message displays,service is required for the vehicle as soon as possible,within the next 1 000 km/600 miles. If driving under thebest conditions, the engine oil life system might notindicate the need for vehicle service for more than ayear. The engine oil and filter must be changed at leastonce a year and the oil life system must be reset. Yourdealer/retailer has trained service technicians who willperform this work and reset the system. If the engine oillife system is reset accidentally, service the vehiclewithin 5 000 km/3,000 miles since the last service. Resetthe oil life system whenever the oil is changed. SeeEngine Oil Life System on page 7!20.
When the Change Engine Oil Soon message displays,certain services, checks, and inspections are required.
8-3
Page 603 of 616

Driver Information Center (DIC) . . . . . . . . . . . . . . . . . . . . 4-41
DIC Operation and Displays . . . . . . . . . . . . . . . . . . . . . . 4-41
DIC Vehicle Customization . . . . . . . . . . . . . . . . . . . . . . . 4-57
DIC Warnings and Messages . . . . . . . . . . . . . . . . . . . . . 4-48
Driving
At Night . . . . . . . . . . . . . . . . . . . . . . . . . . . . . . . . . . . . . . . . . . . 6-24
Before a Long Trip . . . . . . . . . . . . . . . . . . . . . . . . . . . . . . . . 6-26
Defensive . . . . . . . . . . . . . . . . . . . . . . . . . . . . . . . . . . . . . . . . . . 6-2
Drunk . . . . . . . . . . . . . . . . . . . . . . . . . . . . . . . . . . . . . . . . . . . . . . 6-2
Highway Hypnosis . . . . . . . . . . . . . . . . . . . . . . . . . . . . . . . . 6-26
Hill and Mountain Roads . . . . . . . . . . . . . . . . . . . . . . . . . . 6-27
In Rain and on Wet Roads . . . . . . . . . . . . . . . . . . . . . . . . 6-25
Loss of Control . . . . . . . . . . . . . . . . . . . . . . . . . . . . . . . . . . . 6-12
Off-Road . . . . . . . . . . . . . . . . . . . . . . . . . . . . . . . . . . . . . . . . . 6-13
Off-Road Recovery . . . . . . . . . . . . . . . . . . . . . . . . . . . . . . . 6-11
Recovery Hooks . . . . . . . . . . . . . . . . . . . . . . . . . . . . . . . . . . 6-31
Rocking Your Vehicle to Get it Out . . . . . . . . . . . . . . . . 6-30
Winter . . . . . . . . . . . . . . . . . . . . . . . . . . . . . . . . . . . . . . . . . . . . 6-28
Driving for Better Fuel Economy . . . . . . . . . . . . . . . . . . . 1-23
Dual Automatic Climate Control System . . . . . . . . . . . 4-20
DVD
Rear Seat Entertainment System . . . . . . . . . . . 4-77, 4-86
E
E85 Fuel . . . . . . . . . . . . . . . . . . . . . . . . . . . . . . . . . . . . . . . . . . . . .7-9
EDR . . . . . . . . . . . . . . . . . . . . . . . . . . . . . . . . . . . . . . . . . . . . . . . 9-18
Electrical Equipment, Add-On . . . . . . . . . . . . . . . . . . . . 7-108
Electrical System
Center Instrument Panel Fuse Block . . . . . . . . . . . . . 7-110
Fuses and Circuit Breakers . . . . . . . . . . . . . . . . . . . . . .7-108
Instrument Panel Fuse Block . . . . . . . . . . . . . . . . . . . .7-109
Power Windows and Other Power Options . . . . . .7-108
Underhood Fuse Block . . . . . . . . . . . . . . . . . . . . . . . . . . 7-111
Windshield Wiper Fuses . . . . . . . . . . . . . . . . . . . . . . . . .7-108
Electronic Immobilizer
PASS-Key®III+ . . . . . . . . . . . . . . . . . . . . . . . . . . . . . . . . . . . 3-24
Electronic Immobilizer Operation
PASS-Key®III+ . . . . . . . . . . . . . . . . . . . . . . . . . . . . . . . . . . . 3-24
Engine
Air Cleaner/Filter . . . . . . . . . . . . . . . . . . . . . . . . . . . . . . . . . 7-22
Check and Service Engine Soon Lamp . . . . . . . . . . . 4-36
Compartment Overview . . . . . . . . . . . . . . . . . . . . . . . . . . . 7-16
Coolant . . . . . . . . . . . . . . . . . . . . . . . . . . . . . . . . . . . . . . . . . . . 7-29
Coolant Heater . . . . . . . . . . . . . . . . . . . . . . . . . . . . . . . . . . . 3-31
Coolant Temperature Gage . . . . . . . . . . . . . . . . . . . . . . . 4-35
i - 5