CD player CADILLAC ESCALADE ESV 2007 2.G User Guide
[x] Cancel search | Manufacturer: CADILLAC, Model Year: 2007, Model line: ESCALADE ESV, Model: CADILLAC ESCALADE ESV 2007 2.GPages: 574, PDF Size: 2.89 MB
Page 295 of 574
The disc is dirty, scratched, wet, or
upside down.
The air is very humid. If so, wait about an
hour and try again.
The region code on your DVD may not be
correct for your region.
The format of the disc may not be compatible.
See “MP3 Format” earlier in this section.
There may have been a problem while burning
the disc.
The label may be caught in the DVD player.
If the disc is not playing correctly, for any
other reason, try a known good disc.
If any error occurs repeatedly or if an error cannot
be corrected, contact your dealer. If the radio
displays an error message, write it down
and provide it to your dealer when reporting the
problem.
Playing a DVD Video
F1 (Play/Pause):Press this pushbutton to turn on
the video screen, if your vehicle has this feature,
and begin playing the DVD. Press this pushbutton
to pause the DVD if it is playing. Press Play (F1) to
restart the DVD if it is paused.
F2 (Stop):Press this pushbutton once to stop the
DVD and retain your current position. Press it
again from the stopped state to return to the
beginning of the disc.
F3 (Reverse):Press and hold this pushbutton, if
the DVD is playing, to enter fast reverse mode.
Holding the pushbutton will play in reverse
at four times the normal speed. After holding it for
more than four seconds it will play in reverse at
32 times the normal speed. Release the
pushbutton to return to normal play mode.
F4 (Forward):If the DVD player is playing, press
and hold this pushbutton to enter fast forward
mode. Holding the pushbutton will play at
four times the normal speed. After holding it for
more than four seconds it will play at 32 times the
normal speed. Release the pushbutton to return
to normal play mode.
295
Page 297 of 574
F3 (Reverse):Press and hold this pushbutton, if
the DVD player is playing, to enter fast reverse
mode. Holding the pushbutton will play in reverse
at four times the normal speed. After holding it
for more than four seconds it will play in reverse at
32 times the normal speed. Release the
pushbutton to return to normal play mode.
F4 (Forward):Press and hold this pushbutton, if
the DVD player is playing, to enter fast forward
mode. Holding the pushbutton will play at
four times the normal speed. After holding it for
more than four seconds it will play in reverse
at 32 times the normal speed. Release the
pushbutton to return to normal play mode.
F5 MODE:Press this pushbutton to select from
NORMAL, and RPT TRCK.
Normal:Sets the system for normal play of
the DVD.
RPT TRCK (Repeat Track):Repeats the
track over again. RPT TRCK will appear on the
display. Press the MODE pushbutton again
to turn off repeat play and advance to the
next mode.F6 DISP (Display):Press this pushbutton to
display the time of the track. Press this pushbutton
again to display DVD PLAY MODE.
©or¨(Seek):Press the left single arrow
button to go to the start of the current track. Press
it again to go to the previous track, or press the
right single arrow button to go to the next
track. Press and hold these buttons to change
tracks at a rate of one per second.
TUNE/SEL knob:Turn to the left one notch to go
to the start of the current track. Turn it again to
go to the previous track, or turn to the right
one notch to go to the next track.
If your vehicle has rear seat entertainment,
you can view the menu and playlist from your
DVD audio disc on the video screen. Turn on
the video screen with the power button on
the remote control to view and navigate the menu
and playlists. SeeRear Seat Entertainment
System on page 303for more information.
297
Page 303 of 574
Radio Display Message Condition Action Required
No Info No Text/Informational
message availableNo text or informational messages are available at this time
on this channel. The system is working properly.
XM Lock Theft lock active The XM™ receiver in your vehicle may have previously been
in another vehicle. For security purposes, XM™ receivers
cannot be swapped between vehicles. If this message is
received after having your vehicle serviced, check with your
GM dealer.
Radio ID Radio ID label (channel 0) If tuned to channel 0, this message will alternate with the
XM™ Radio 8 digit radio ID label. This label is needed to
activate the service.
Unknown Radio ID not known
(should only occur with
hardware failure)If this message is received when tuned to channel 0, there
may be a receiver fault. Consult with your dealer.
Check XM Hardware failure If this message does not clear within a short period of time,
the receiver may have a fault. Consult with your dealer.
Navigation/Radio System
Your vehicle may have a navigation radio system.
The navigation system has built-in features
intended to minimize driver distraction. Technology
alone, no matter how advanced, can never
replace your own judgment. See the Navigation
System manual for some tips to help you
reduce distractions while driving.
Rear Seat Entertainment System
Your vehicle may have a DVD Rear Seat
Entertainment (RSE) system. The RSE system
works with the vehicle’s audio system. The
DVD player is part of the front radio. The RSE
system includes a radio with a DVD player, a video
display screen, audio/video jacks, two wireless
headphones, and a remote control. SeeRadio with
CD and DVD on page 273for more information
on the vehicle’s audio/DVD system.
303
Page 307 of 574
The A/V jacks are color coded to match typical
home entertainment system equipment. The yellow
jack is for the video input. The white jack is for
the left audio input. The red jack is for the
right audio input.
Power for auxiliary devices is not supplied by the
radio system.
To use the auxiliary inputs of the RSE system,
connect an external auxiliary device to the
color-coded A/V jacks and turn both the auxiliary
device and the video screen power on. If the
video screen is in the DVD player mode, pressing
the AUX button on the remote control will
switch the video screen from the DVD player
mode to the auxiliary device. The radio will play
the audio of the connected auxiliary device
by sourcing to auxiliary. SeeRadio with CD and
DVD on page 273for more information.How to Change the RSE Video Screen
Settings
The screen display mode (normal, full, and zoom),
screen brightness, and setup menu language
can be changed from the on screen setup menu.
To change any feature, perform the following:
1. Press the display menu button on the remote
control.
2. Use the remote control menu navigation
arrows and the enter button to use the
setup menu.
3. Press the display menu button again to
remove the setup menu from the screen.
Audio Output
Audio from the DVD player or auxiliary inputs may
be heard through the following possible sources:
Wireless Headphones
Vehicle Speakers
Vehicle wired headphone jacks on the rear
seat audio system, if your vehicle has this
feature.
307
Page 308 of 574
The RSE system will always transmit the audio
signal to the wireless headphones, if there is audio
available. See “Headphones” earlier in this
section for more information.
The DVD player is capable of outputting audio to
the wired headphone jacks on the RSA system,
if your vehicle has this feature. The DVD
player may be selected as an audio source on the
RSA system. SeeRear Seat Audio (RSA) on
page 314for more information.
When a device is connected to the radio’s auxiliary
input jack, if your vehicle has this feature, or A/V
jacks, the rear seat passengers will be able to hear
audio from the auxiliary device through the wireless
or wired headphones. The front seat passengers
will be able to listen to playback from this device
through the vehicle speakers by selecting AUX as
the source on the radio.Video Screen
The video screen is located in the RSE overhead
console.
To use the video screen, do the following:
1. Push the release button located on the RSE
overhead console.
2. Rotate the screen to the desired position.
When the video screen is not in use, push it up
into its locked position.
If a DVD is playing and the screen is raised to its
locked position, the screen will remain on, this
is normal, and the DVD will continue to play
through the previous audio source. Use the remote
control power button or eject the disc to turn off
the screen.
The RSE overhead console contains the IR
transmitters for the wireless headphones and the
IR receivers for the remote control. They are
located at the rear of the console.
Notice:Avoid directly touching the video
screen, as damage may occur. See “Cleaning
the Video Screen” later in this section for
more information.
308
Page 311 of 574
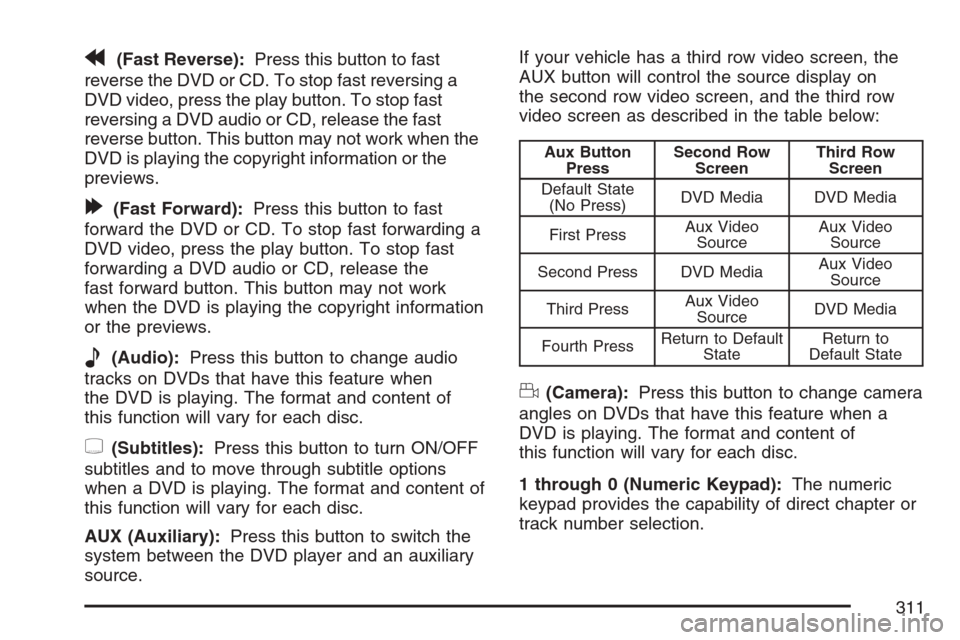
r(Fast Reverse):Press this button to fast
reverse the DVD or CD. To stop fast reversing a
DVD video, press the play button. To stop fast
reversing a DVD audio or CD, release the fast
reverse button. This button may not work when the
DVD is playing the copyright information or the
previews.
[(Fast Forward):Press this button to fast
forward the DVD or CD. To stop fast forwarding a
DVD video, press the play button. To stop fast
forwarding a DVD audio or CD, release the
fast forward button. This button may not work
when the DVD is playing the copyright information
or the previews.
e(Audio):Press this button to change audio
tracks on DVDs that have this feature when
the DVD is playing. The format and content of
this function will vary for each disc.
{(Subtitles):Press this button to turn ON/OFF
subtitles and to move through subtitle options
when a DVD is playing. The format and content of
this function will vary for each disc.
AUX (Auxiliary):Press this button to switch the
system between the DVD player and an auxiliary
source.If your vehicle has a third row video screen, the
AUX button will control the source display on
the second row video screen, and the third row
video screen as described in the table below:
Aux Button
PressSecond Row
ScreenThird Row
Screen
Default State
(No Press)DVD Media DVD Media
First PressAux Video
SourceAux Video
Source
Second Press DVD MediaAux Video
Source
Third PressAux Video
SourceDVD Media
Fourth PressReturn to Default
StateReturn to
Default State
d(Camera):Press this button to change camera
angles on DVDs that have this feature when a
DVD is playing. The format and content of
this function will vary for each disc.
1 through 0 (Numeric Keypad):The numeric
keypad provides the capability of direct chapter or
track number selection.
311
Page 312 of 574
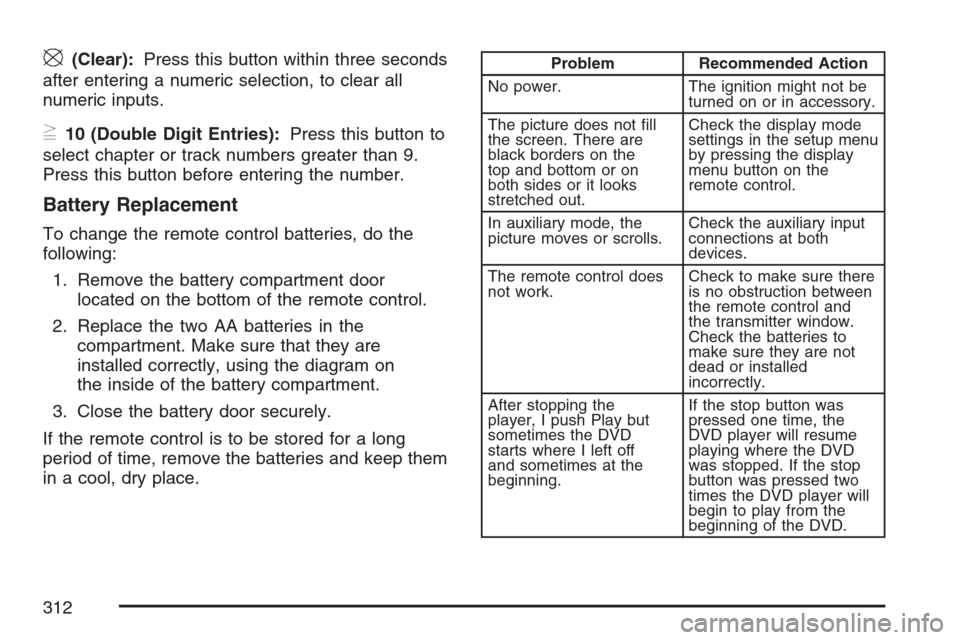
\(Clear):Press this button within three seconds
after entering a numeric selection, to clear all
numeric inputs.
}10 (Double Digit Entries):Press this button to
select chapter or track numbers greater than 9.
Press this button before entering the number.
Battery Replacement
To change the remote control batteries, do the
following:
1. Remove the battery compartment door
located on the bottom of the remote control.
2. Replace the two AA batteries in the
compartment. Make sure that they are
installed correctly, using the diagram on
the inside of the battery compartment.
3. Close the battery door securely.
If the remote control is to be stored for a long
period of time, remove the batteries and keep them
in a cool, dry place.
Problem Recommended Action
No power. The ignition might not be
turned on or in accessory.
The picture does not �ll
the screen. There are
black borders on the
top and bottom or on
both sides or it looks
stretched out.Check the display mode
settings in the setup menu
by pressing the display
menu button on the
remote control.
In auxiliary mode, the
picture moves or scrolls.Check the auxiliary input
connections at both
devices.
The remote control does
not work.Check to make sure there
is no obstruction between
the remote control and
the transmitter window.
Check the batteries to
make sure they are not
dead or installed
incorrectly.
After stopping the
player, I push Play but
sometimes the DVD
starts where I left off
and sometimes at the
beginning.If the stop button was
pressed one time, the
DVD player will resume
playing where the DVD
was stopped. If the stop
button was pressed two
times the DVD player will
begin to play from the
beginning of the DVD.
312
Page 313 of 574
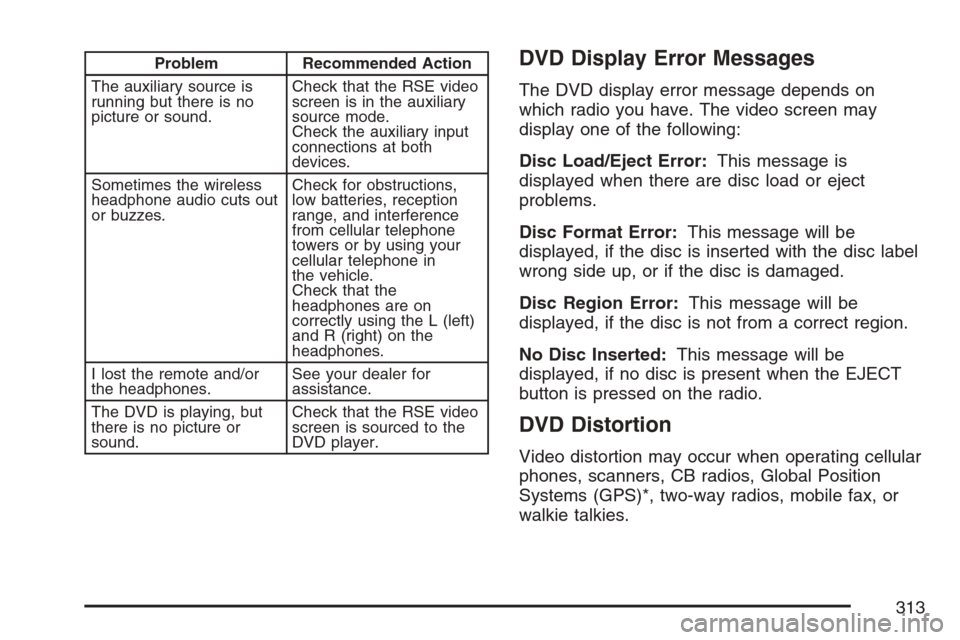
Problem Recommended Action
The auxiliary source is
running but there is no
picture or sound.Check that the RSE video
screen is in the auxiliary
source mode.
Check the auxiliary input
connections at both
devices.
Sometimes the wireless
headphone audio cuts out
or buzzes.Check for obstructions,
low batteries, reception
range, and interference
from cellular telephone
towers or by using your
cellular telephone in
the vehicle.
Check that the
headphones are on
correctly using the L (left)
and R (right) on the
headphones.
I lost the remote and/or
the headphones.See your dealer for
assistance.
The DVD is playing, but
there is no picture or
sound.Check that the RSE video
screen is sourced to the
DVD player.DVD Display Error Messages
The DVD display error message depends on
which radio you have. The video screen may
display one of the following:
Disc Load/Eject Error:This message is
displayed when there are disc load or eject
problems.
Disc Format Error:This message will be
displayed, if the disc is inserted with the disc label
wrong side up, or if the disc is damaged.
Disc Region Error:This message will be
displayed, if the disc is not from a correct region.
No Disc Inserted:This message will be
displayed, if no disc is present when the EJECT
button is pressed on the radio.
DVD Distortion
Video distortion may occur when operating cellular
phones, scanners, CB radios, Global Position
Systems (GPS)*, two-way radios, mobile fax, or
walkie talkies.
313
Page 314 of 574
It may be necessary to turn off the DVD player
when operating one of these devices in or near the
vehicle.
*Excludes the OnStar
®System.
Cleaning the RSE Overhead Console
When cleaning the RSE overhead console surface,
use only a clean cloth dampened with clean
water.
Cleaning the Video Screen
When cleaning the video screen, use only a clean
cloth dampened with clean water. Use care
when directly touching or cleaning the screen, as
damage may result.
Rear Seat Audio (RSA)
This feature allows rear seat passengers to listen
to and control any of the music sources: radio,
CDs, DVDs, or other auxiliary sources. The
rear seat passengers can control the same music
sources the front seat passengers are listening
to (dual control) or a different source. For example,
rear seat passengers can listen to and control a
CD through the headphones, while the driver
listens to the radio through the speakers. The rear
seat passengers have control of the volume for
each set of headphones.
You can operate the RSA functions even when
the main radio is off.
Audio can be heard through wired headphones
(not included) plugged into the jacks on the RSA.
If your vehicle has this feature, audio can also
be heard on Channel 2 of the wireless
headphones.
The audio system allows the rear speakers to
continue playing even when the RSA audio
is active through the headphones.
314
Page 319 of 574
Care of Your CDs and DVDs
Handle CDs carefully. Store them in their original
cases or other protective cases and away from
direct sunlight and dust. The CD player scans the
bottom surface of the disc. If the surface of a
CD is damaged, such as cracked, broken,
or scratched, the CD will not play properly or not
at all. If the surface of a CD is soiled, take a
soft, lint free cloth or dampen a clean, soft cloth in
a mild, neutral detergent solution mixed with
water, and clean it. Make sure the wiping process
starts from the center to the edge.
Do not touch the bottom side of a CD while
handling it; this could damage the surface. Pick up
CDs by grasping the outer edges or the edge of
the hole and the outer edge.
Care of the CD and DVD Player
The use of CD lens cleaners for CDs is not
advised, due to the risk of contaminating the lens
of the CD optics with lubricants internal to the
CD mechanism.
Rear Side Window Antenna
Your AM-FM antenna is located in the passenger
rear side window. Be sure that the inside
surfaces of the rear side window is not scratched
and that the lines on the glass are not damaged.
If the inside surfaces are damaged, they could
interfere with radio reception.
Notice:Using a razor blade or sharp object
to clear the inside of the rear side windows
may affect radio reception or damage the
antenna. Repairs would not be covered by your
warranty. Do not clear the inside of the rear
side windows with sharp objects.
Notice:Do not apply aftermarket glass tinting
with metallic �lm. The metallic �lm in some
tinting materials will interfere with or distort
the incoming radio reception. Any damage
caused to your antenna due to metallic tinting
materials will not be covered by your
warranty.
Because this antenna is built into your rear side
window, there is a reduced risk of damage caused
by car washes and vandals.
319