tow CADILLAC ESCALADE ESV 2008 Owner's Guide
[x] Cancel search | Manufacturer: CADILLAC, Model Year: 2008, Model line: ESCALADE ESV, Model: CADILLAC ESCALADE ESV 2008Pages: 500, PDF Size: 6.65 MB
Page 173 of 500
Headlamp High/Low-Beam Changer 53 (Headlamp High/Low Beam Changer): To
change the headlamps from low to high beam, push the
lever toward the instrument panel. To return to
low-beam headlamps, pull the multifunction lever toward
you. Then release it.
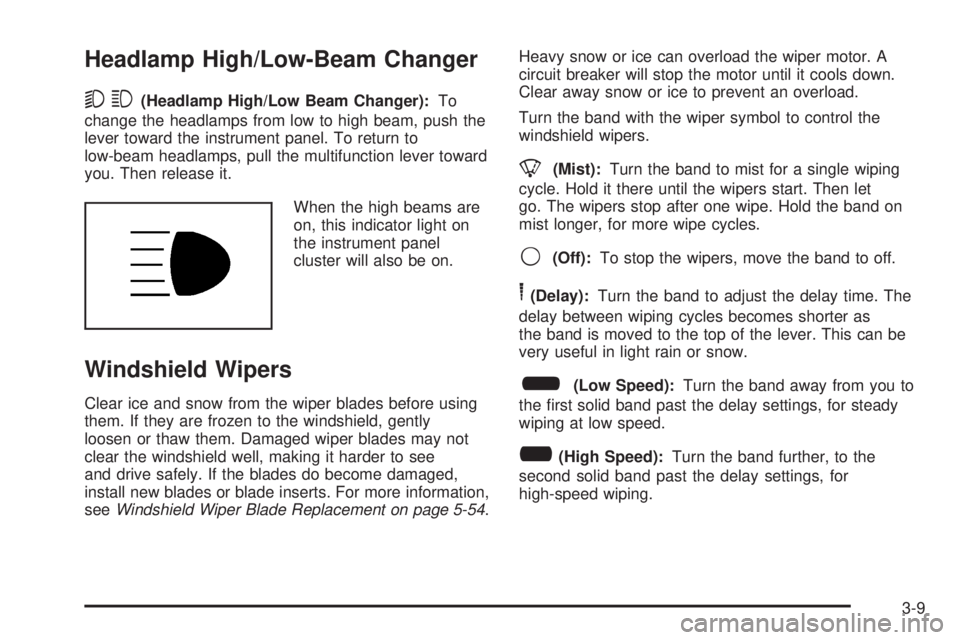
When the high beams are
on, this indicator light on
the instrument panel
cluster will also be on.
Windshield Wipers Clear ice and snow from the wiper blades before using
them. If they are frozen to the windshield, gently
loosen or thaw them. Damaged wiper blades may not
clear the windshield well, making it harder to see
and drive safely. If the blades do become damaged,
install new blades or blade inserts. For more information,
see Windshield Wiper Blade Replacement on page 5-54 . Heavy snow or ice can overload the wiper motor. A
circuit breaker will stop the motor until it cools down.
Clear away snow or ice to prevent an overload.
Turn the band with the wiper symbol to control the
windshield wipers.
8 (Mist): Turn the band to mist for a single wiping
cycle. Hold it there until the wipers start. Then let
go. The wipers stop after one wipe. Hold the band on
mist longer, for more wipe cycles.
9 (Off): To stop the wipers, move the band to off.
6 (Delay): Turn the band to adjust the delay time. The
delay between wiping cycles becomes shorter as
the band is moved to the top of the lever. This can be
very useful in light rain or snow.
6 (Low Speed): Turn the band away from you to
the �rst solid band past the delay settings, for steady
wiping at low speed.
? (High Speed): Turn the band further, to the
second solid band past the delay settings, for
high-speed wiping.
3-9
Page 192 of 500
Manual Operation You may manually adjust the air delivery mode or fan
speed.
y9 z (Fan): The switch with the fan symbol allows
you to manually adjust the fan speed. Press the up
arrow to increase fan speed and the down arrow
to decrease fan speed.
Pressing this button when the system is off will turn the
system on.
Pressing either arrow while using automatic operation
will place the fan in manual operation. The fan
setting will display and the AUTO light will turn off. The
air delivery will remain in automatic operation.
N (Mode): Press this button to manually change the
direction of the air�ow in your vehicle. Repeatedly press
the button until the desired mode appears on the
display.
When the system is turned off, the display will go blank
after displaying the current status of the system. H (Vent): This setting will deliver air to the instrument
panel outlets.
) (Bi-Level): This mode allows for split air to the
instrument panel outlets and to the �oor outlets. The �ow
can be divided between vent and �oor outlets
depending upon where the knob is placed between the
settings. A little air is directed towards the windshield
and side window vents. Cooler air is directed to
the upper vents and warmer air to the �oor vents.
6 (Floor): This mode directs most of the air to the
�oor outlets, with some of the air directed to the
windshield, side window outlets, and second row �oor
outlets. In this mode, the system will automatically select
Outside Air.
- (Defog): See “Defogging and Defrosting” later in
this section.
3-28
Page 204 of 500
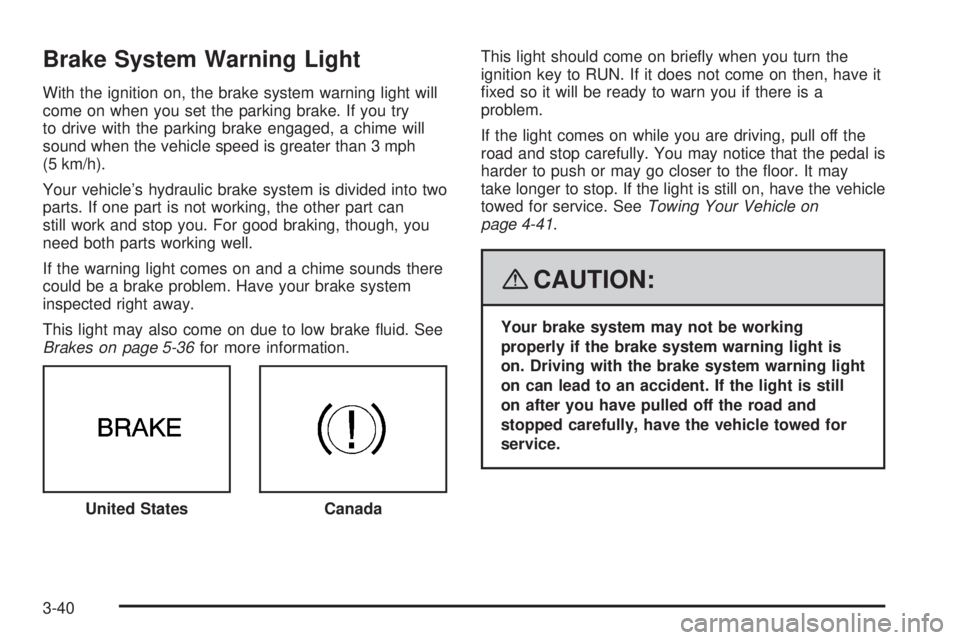
Brake System Warning Light With the ignition on, the brake system warning light will
come on when you set the parking brake. If you try
to drive with the parking brake engaged, a chime will
sound when the vehicle speed is greater than 3 mph
(5 km/h).
Your vehicle’s hydraulic brake system is divided into two
parts. If one part is not working, the other part can
still work and stop you. For good braking, though, you
need both parts working well.
If the warning light comes on and a chime sounds there
could be a brake problem. Have your brake system
inspected right away.
This light may also come on due to low brake �uid. See
Brakes on page 5-36 for more information. This light should come on brie�y when you turn the
ignition key to RUN. If it does not come on then, have it
�xed so it will be ready to warn you if there is a
problem.
If the light comes on while you are driving, pull off the
road and stop carefully. You may notice that the pedal is
harder to push or may go closer to the �oor. It may
take longer to stop. If the light is still on, have the vehicle
towed for service. See Towing Your Vehicle on
page 4-41 .
{ CAUTION: Your brake system may not be working
properly if the brake system warning light is
on. Driving with the brake system warning light
on can lead to an accident. If the light is still
on after you have pulled off the road and
stopped carefully, have the vehicle towed for
service.
United States
Canada
3-40
Page 206 of 500
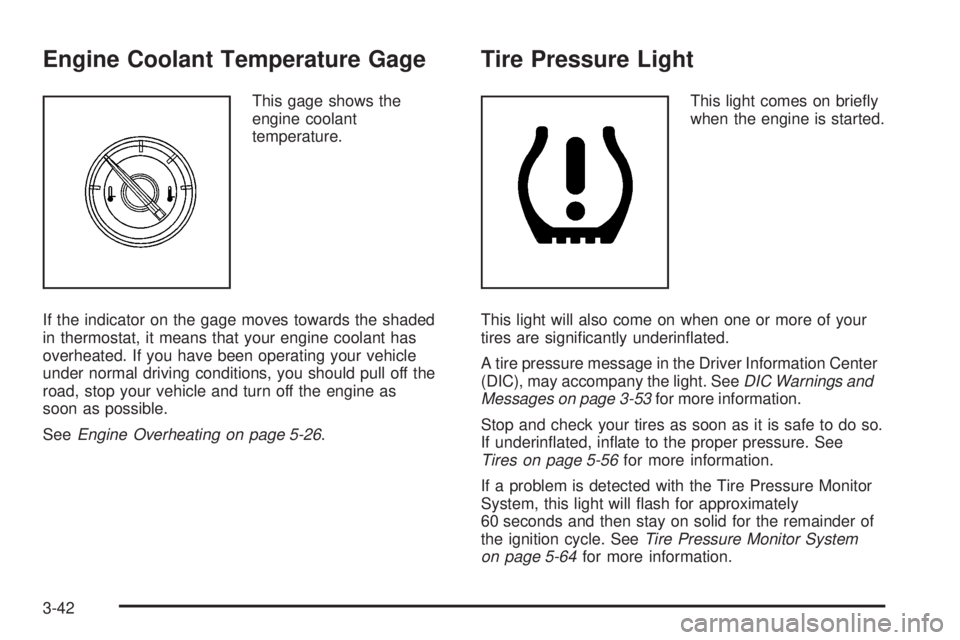
Engine Coolant Temperature Gage This gage shows the
engine coolant
temperature.
If the indicator on the gage moves towards the shaded
in thermostat, it means that your engine coolant has
overheated. If you have been operating your vehicle
under normal driving conditions, you should pull off the
road, stop your vehicle and turn off the engine as
soon as possible.
See Engine Overheating on page 5-26 . Tire Pressure Light This light comes on brie�y
when the engine is started.
This light will also come on when one or more of your
tires are signi�cantly underin�ated.
A tire pressure message in the Driver Information Center
(DIC), may accompany the light. See DIC Warnings and
Messages on page 3-53 for more information.
Stop and check your tires as soon as it is safe to do so.
If underin�ated, in�ate to the proper pressure. See
Tires on page 5-56 for more information.
If a problem is detected with the Tire Pressure Monitor
System, this light will �ash for approximately
60 seconds and then stay on solid for the remainder of
the ignition cycle. See Tire Pressure Monitor System
on page 5-64 for more information.
3-42
Page 208 of 500
If the Light is Flashing The following can prevent more serious damage to your
vehicle:
Reduce vehicle speed.
Avoid hard accelerations.
Avoid steep uphill grades.
If you are towing a trailer, reduce the amount of
cargo being hauled as soon as it is possible.
If the light stops �ashing and remains on steady, see “If
the Light Is On Steady” following.
If the light continues to �ash, when it is safe to do so,
stop the vehicle. Find a safe place to park the vehicle.
Turn the ignition off, wait at least 10 seconds, and restart
the engine. If the light remains on steady, see “If the
Light Is On Steady” following. If the light is still �ashing,
follow the previous steps and see your dealer/retailer
for service as soon as possible. If the Light Is On Steady You might be able to correct the emission system
malfunction by considering the following:
Did you recently put fuel into your vehicle?
If so, reinstall the fuel cap, making sure to fully install
the cap. See Filling the Tank on page 5-7 . The
diagnostic system can determine if the fuel cap has
been left off or improperly installed. A loose or missing
fuel cap allows fuel to evaporate into the atmosphere.
A few driving trips with the cap properly installed should
turn the light off.
Did you just drive through a deep puddle of water?
If so, your vehicle’s electrical system might be wet. The
condition is usually corrected when the electrical system
dries out. A few driving trips should turn the light off.
3-44
Page 211 of 500
Lights On Reminder This light comes on
whenever the parking
lamps are on.
See Exterior Lamps on page 3-16 for more information.
Cruise Control Light This light comes on
whenever you set the
cruise control.
The light goes out when the cruise control is turned off.
See Cruise Control on page 3-13 for more information. Highbeam On Light This light comes on when
the high-beam headlamps
are in use.
See Headlamp High/Low-Beam Changer on page 3-9
for more information.
Tow/Haul Mode Light This light comes on when
the Tow/Haul mode has
been activated.
For more information, see Tow/Haul Mode on page 2-34 .
3-47
Page 267 of 500
Problem Recommended Action
No power. The ignition might not be
turned ON/RUN or in
ACC/ACCESSORY.
The picture does not �ll the
screen. There are black
borders on the top and
bottom or on both sides or
it looks stretched out. Check the display mode
settings in the setup menu
by pressing the display
menu button on the remote
control.
In auxiliary mode, the
picture moves or scrolls. Check the auxiliary input
connections at both
devices.
The remote control does
not work. Check to make sure there
is no obstruction between
the remote control and the
transmitter window.
Check the batteries to
make sure they are not
dead or installed
incorrectly.
After stopping the player,
I push Play but sometimes
the DVD starts where I left
off and sometimes at the
beginning. If the stop button was
pressed one time, the DVD
player resumes playing
where the DVD was
stopped. If the stop button
was pressed two times the
DVD player begins to play
from the beginning of the
DVD. Problem Recommended Action
The auxiliary source is
running but there is no
picture or sound. Check that the RSE video
screen is in the auxiliary
source mode.
Check the auxiliary input
connections at both
devices.
Sometimes the wireless
headphone audio cuts out
or buzzes. Check for obstructions,
low batteries, reception
range, and interference
from cellular telephone
towers or by using your
cellular telephone in the
vehicle.
Check that the
headphones are on
correctly using the L (left)
and R (right) on the
headphones.
I lost the remote and/or
the headphones. See your dealer/retailer
for assistance.
The DVD is playing, but
there is no picture or
sound. Check that the RSE video
screen is sourced to the
DVD player.
3-103
Page 275 of 500
Your Driving, the Road, and Your Vehicle ......... .4-2
Defensive Driving .......................................... .4-2
Drunk Driving ................................................ .4-2
Control of a Vehicle ....................................... .4-3
Braking ........................................................ .4-3
Antilock Brake System (ABS) .......................... .4-4
Braking in Emergencies .................................. .4-5
Locking Differential ........................................ .4-5
Road Sensing Suspension .............................. .4-6
StabiliTrak ®
System ....................................... .4-6
All-Wheel Drive (AWD) System ........................ .4-8
Steering ....................................................... .4-9
Off-Road Recovery ...................................... .4-11
Passing ...................................................... .4-11
Loss of Control ............................................ .4-11
Off-Road Driving .......................................... .4-12
Driving at Night ........................................... .4-26 Driving in Rain and on Wet Roads ................. .4-27
Before Leaving on a Long Trip ...................... .4-28
Highway Hypnosis ....................................... .4-28
Hill and Mountain Roads ............................... .4-29
Winter Driving ............................................. .4-30
If Your Vehicle is Stuck in Sand, Mud, Ice,
or Snow .................................................. .4-33
Rocking Your Vehicle to Get It Out ................ .4-34
Recovery Hooks .......................................... .4-34
Loading Your Vehicle ................................... .4-35
Towing ......................................................... .4-41
Towing Your Vehicle .................................... .4-41
Recreational Vehicle Towing .......................... .4-42
Autoride ®
.................................................... .4-43
Towing a Trailer .......................................... .4-44
Trailer Recommendations .............................. .4-57Section 4 Driving Your Vehicle
4-1
Page 280 of 500
Road Sensing Suspension The Road Sensing Suspension (RSS) feature provides
superior vehicle ride and handling under a variety of
passenger and loading conditions.
The system is fully automatic and uses a computer
controller to continuously monitor vehicle speed, wheel
to body position, lift/dive and steering position of the
vehicle. The controller then sends signals to each shock
absorber to independently adjust the damping level to
provide the optimum vehicle ride.
RSS also interacts with the tow/haul mode that, when
engaged, will provide additional control of the shock
absorbers. This additional control results in better ride
and handling characteristics when the vehicle is
loaded or towing a trailer. See “Tow/Haul Mode” under
Towing a Trailer on page 4-44 .
StabiliTrak ®
SystemYour vehicle may have the StabiliTrak ®
system which
combines antilock brake, traction and stability control
systems and helps the driver maintain directional control
of the vehicle in most driving conditions. When you �rst start your vehicle and begin to drive
away, the system performs several diagnostic checks to
ensure there are no problems. You may hear or feel
the system working. This is normal and does not mean
there is a problem with your vehicle. The system
should initialize before the vehicle reaches 20 mph
(32 km/h). In some cases, it may take approximately
two miles of driving before the system initializes.
If the system fails to turn on or activate, the StabiliTrak ®
light along with one of the following messages will be
displayed on the Driver Information Center (DIC):
TRACTION CONTROL OFF, SERVICE TRACTION
CONTROL, STABILITRAK OFF, SERVICE
STABILITRAK. If these DIC messages appear, make
sure the StabiliTrak ®
system has not been turned
off using the StabiliTrak ®
on/off button. Then turn the
steering wheel clockwise from the nine o’clock position
to the three o’clock position. If this clears the
message(s), your vehicle does not need servicing. If this
does not clear the message(s), then turn the vehicle
off, wait 15 seconds, and then turn it back on again to
reset the system. If any of these messages still appear
on the Driver Information Center (DIC), your vehicle
should be taken in for service. For more information on
the DIC messages, see Driver Information Center (DIC)
on page 3-48 .
4-6
Page 308 of 500
Rocking Your Vehicle to Get It Out First, turn the steering wheel left and right to clear
the area around the front wheels. For vehicles with
StabiliTrak ®
, turn the traction control part of the system
off. See StabiliTrak ®
System on page 4-6 . Then shift
back and forth between REVERSE (R) and a forward
gear, spinning the wheels as little as possible. To
prevent transmission wear, wait until the wheels stop
spinning before shifting gears. Release the accelerator
pedal while you shift, and press lightly on the
accelerator pedal when the transmission is in gear. By
slowly spinning the wheels in the forward and reverse
directions, you will cause a rocking motion that
could free your vehicle. If that does not get your vehicle
out after a few tries, it might need to be towed out.
Or, you can use recovery hooks, if your vehicle
has them. If your vehicle does need to be towed out,
see Towing Your Vehicle on page 4-41 . Recovery Hooks
{ CAUTION: These hooks, when used, are under a lot of
force. Always pull the vehicle straight out.
Never pull on the hooks at a sideways angle.
The hooks could break off and you or others
could be injured from the chain or cable
snapping back.
4-34