center CADILLAC FLEETWOOD 1996 2.G Owners Manual
[x] Cancel search | Manufacturer: CADILLAC, Model Year: 1996, Model line: FLEETWOOD, Model: CADILLAC FLEETWOOD 1996 2.GPages: 306, PDF Size: 15.72 MB
Page 17 of 306
Downloaded from www.Manualslib.com manuals search engine The rear TILT control makes the rear portion of the
1 seat cushion move up or down.
Moving the center control to the right or left makes
the whole
seat cushion move up or down.
Moving the center control backward or forward
makes the whole seat move rearward or forward.
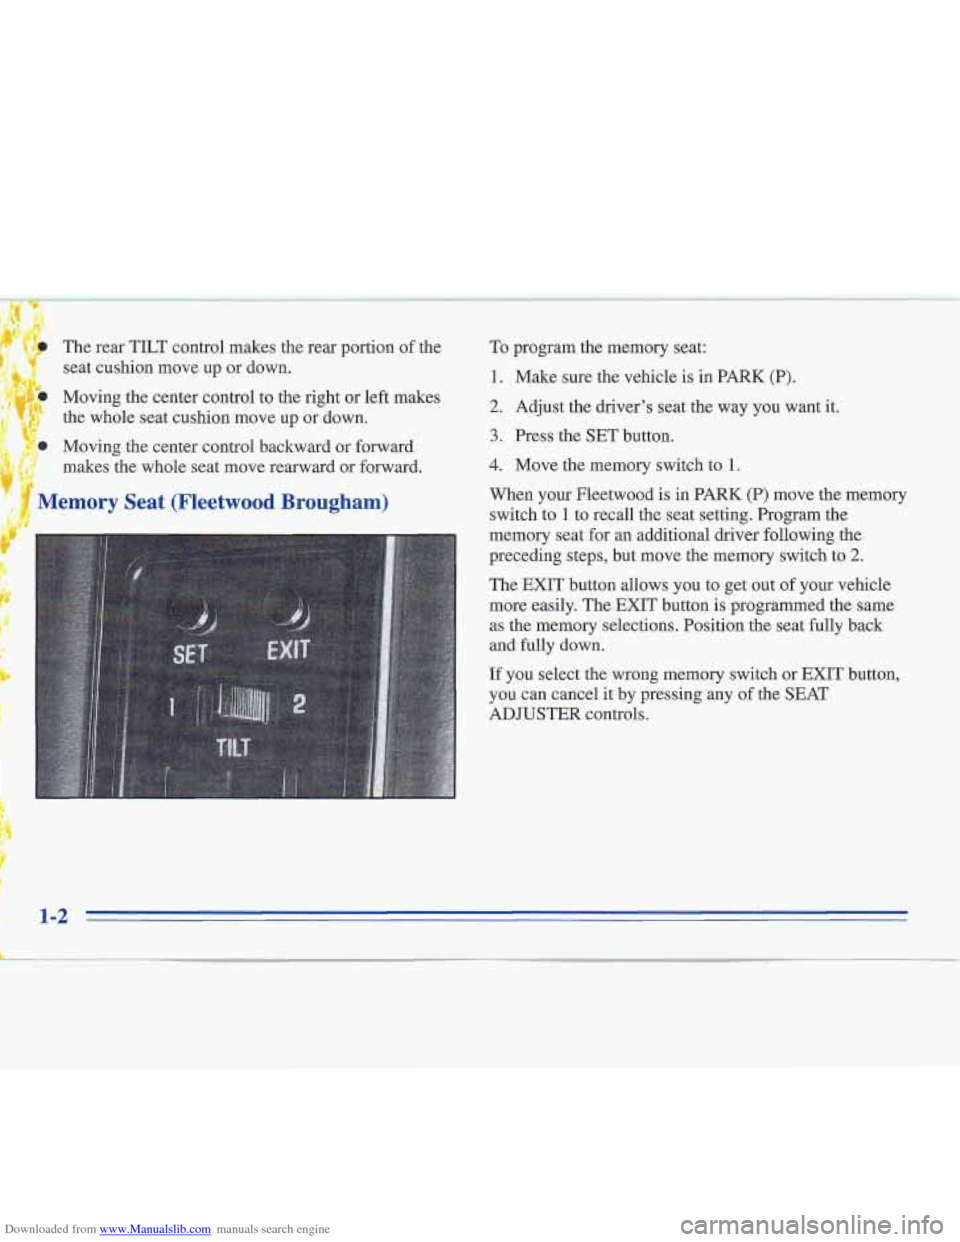
Memory Seat (Fleetwood Brougham)
p
To program the memory seat:
I. Make sure the vehicle is in PARK (P).
2. Adjust the drrver’s seat the way you want it.
3. Press the SET button.
4. Move the memory switch to 1.
When your Fleetwood is in PARK (P) move the memory
switch
to 1 to recall the seat setting. Program the
memory seat for an additional driver following the
preceding steps, but move the memory switch to
2.
The EXIT button allows you to get out of your vehicle
more easily. The EXIT button
is programmed the same
as the memory selections. Position the seat fully back
and fully down.
If you select the wrong memory switch or EXIT button,
you can cancel
it by pressing any of the SEAT
ADJUSTER controls.
Page 39 of 306
Downloaded from www.Manualslib.com manuals search engine The best way to protect the fetus is to protect the
mother, When
a safety belt is worn properly, it’s more
likely that the fetus won’t be hurt in a crash. For
pregnant women, as for anyone, the key to making
safety belts effective
is wearing them properly.
Right Front Passenger Position
The right front passenger’s safety belt works the same
way as the driver’s safety belt. See “Driver Position,”
earlier
in this section.
When the lap portion
of the belt is pulled out all the
way, it will lock. If it does, let it go back
all the way and
start again.
Be sure to use the correct buckle when buckling your
lap-shoulder belt.
If you find that the latch plate will not
go fully into the buckle, see
if you are using the buckle
for the center passenger position.
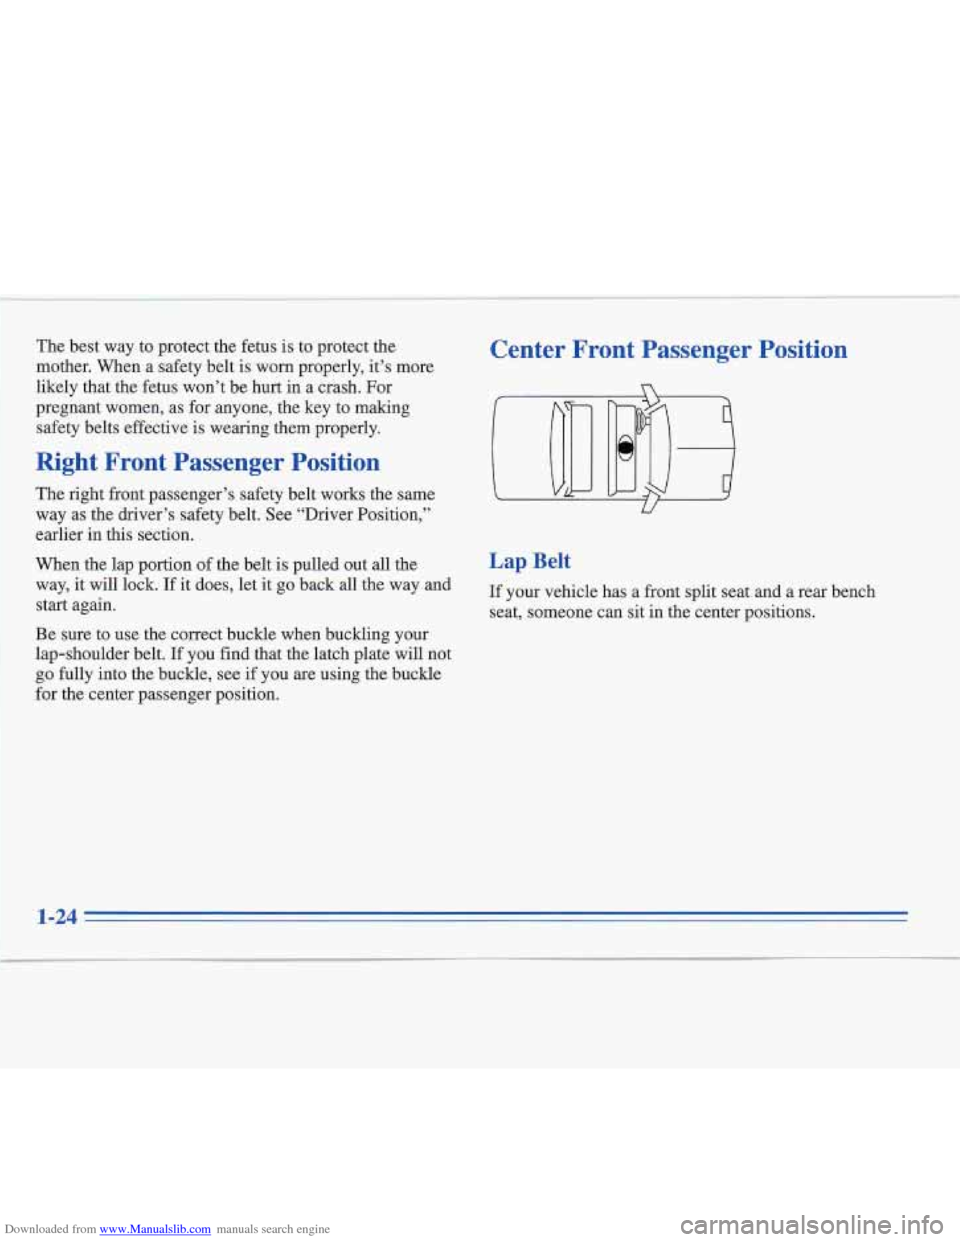
Center Front Passenger Position
u
Lap Belt
If your vehicle has a front split seat and a rear bench
seat, someone can sit in the center positions.
1-24
A
Page 40 of 306
Downloaded from www.Manualslib.com manuals search engine L
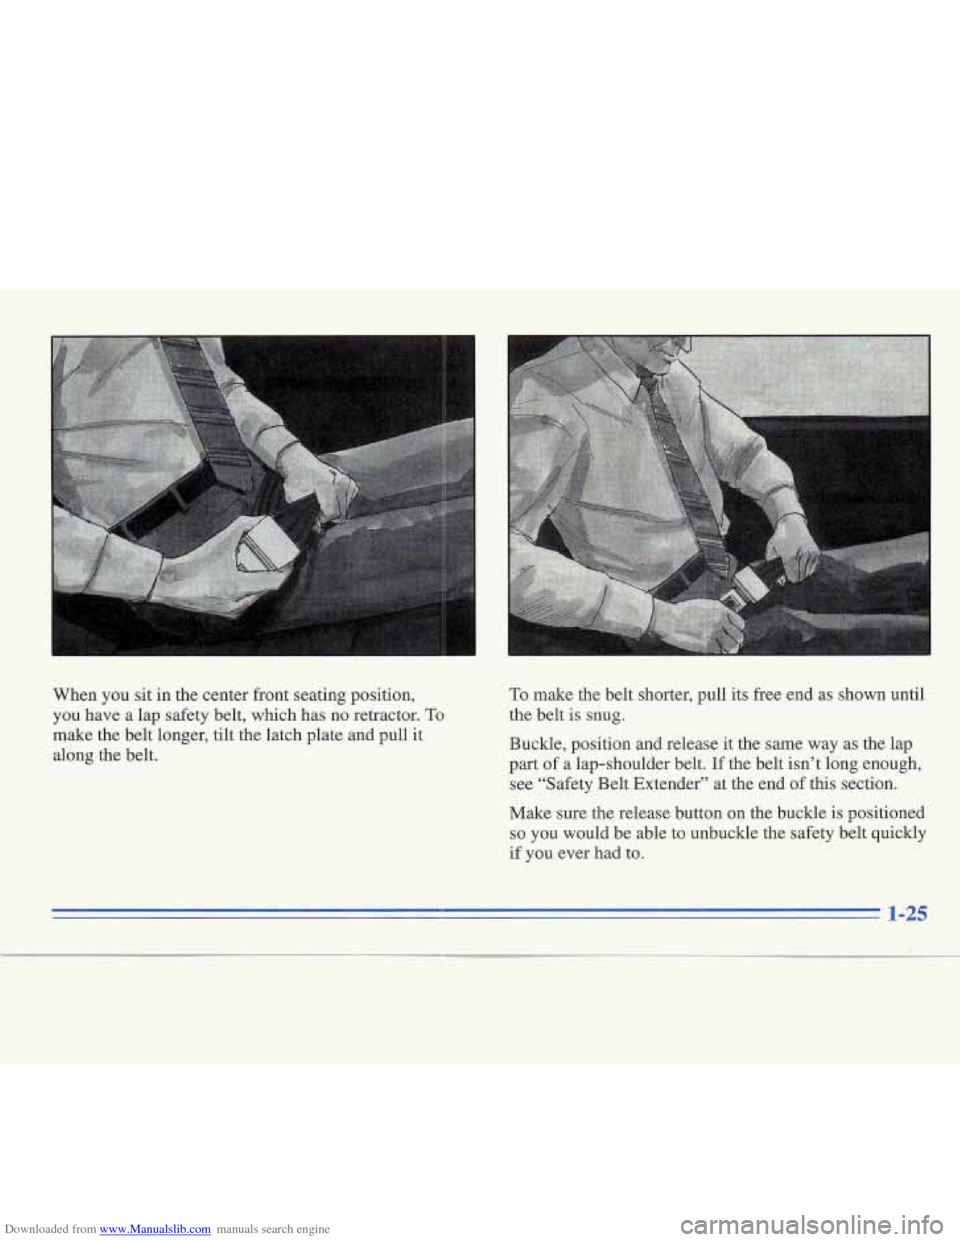
When you sit in the center front seating position,
you have a lap safety belt, which has no retractor.
To
make the belt longer, tilt the latch plate and pull it
along the belt.
I
To make the belt shorter, pull its free end as shown until
the belt
is snug.
Buckle, position and release it the same way as the lap
part
of a lap-shoulder belt. If the belt isn’t long enough,
see “Safety Belt Extender” at
the end of this section.
Make sure the release button on the buckle is positioned
so you would be able to unbuckle the safety belt quickly
if you ever had to.
1-25
Page 44 of 306
Downloaded from www.Manualslib.com manuals search engine Center Rear Passenger Position
Lap Belt
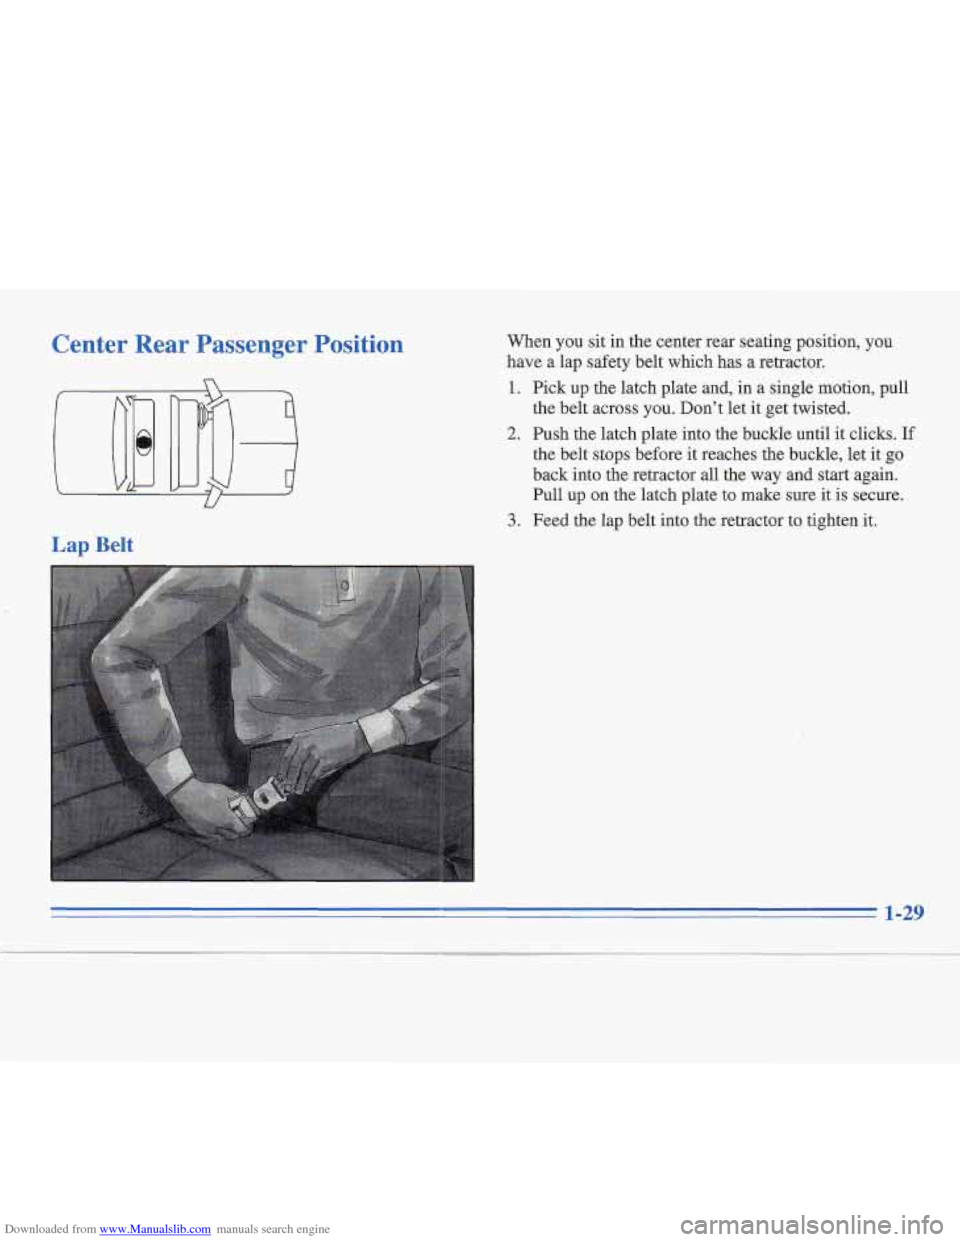
When you sit in the center rear seating position, you
have a lap safety belt which has a retractor.
1. Pick up the latch plate and, in a single motion, pull
the belt across you. Don’t let it get twisted.
2. Push the latch plate into the buckle until it clicks. If
the belt stops before it reaches the buckle, let it go
back into the retractor
all the way and start again.
Pull up on the latch plate to make sure it is secure.
3. Feed the lap belt into the retractor to tighten it.
1-29
Page 51 of 306
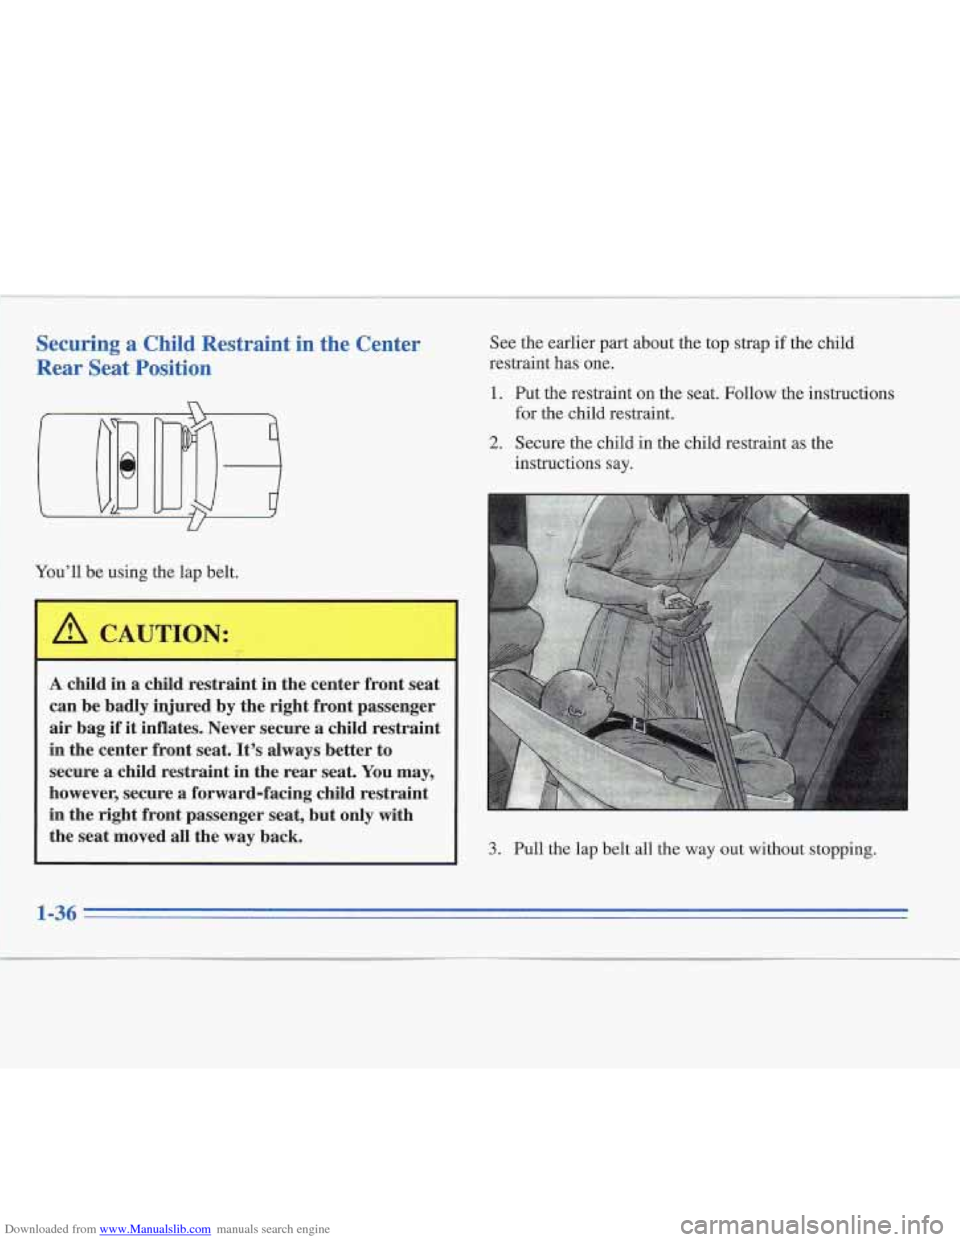
Downloaded from www.Manualslib.com manuals search engine Securing a Chilq Restraint in the Center
Rear Seat Position
You'll be using the lap belt.
A CAUTION:
I-
A child in a child restraint in the center front seat
can be badly injured by the right front passenger
air bag if it inflates. Never secure a child restraint
in the center front seat. It's always
better to
secure a
child restraint in the rear seat. You may,
however, secure a forward-facing child restraint
in the right front passenger seat, but
only with
the seat moved all the way back.
See the earlier part about the top strap if the child
restraint has one.
1. Put the restraint on the seat. Follow the instructions
for the child restraint.
2. Secure the child in the child restraint as the
instructions say.
3. Pull the lap belt all the way out without stopping.
1-36
c
Page 57 of 306
Downloaded from www.Manualslib.com manuals search engine I
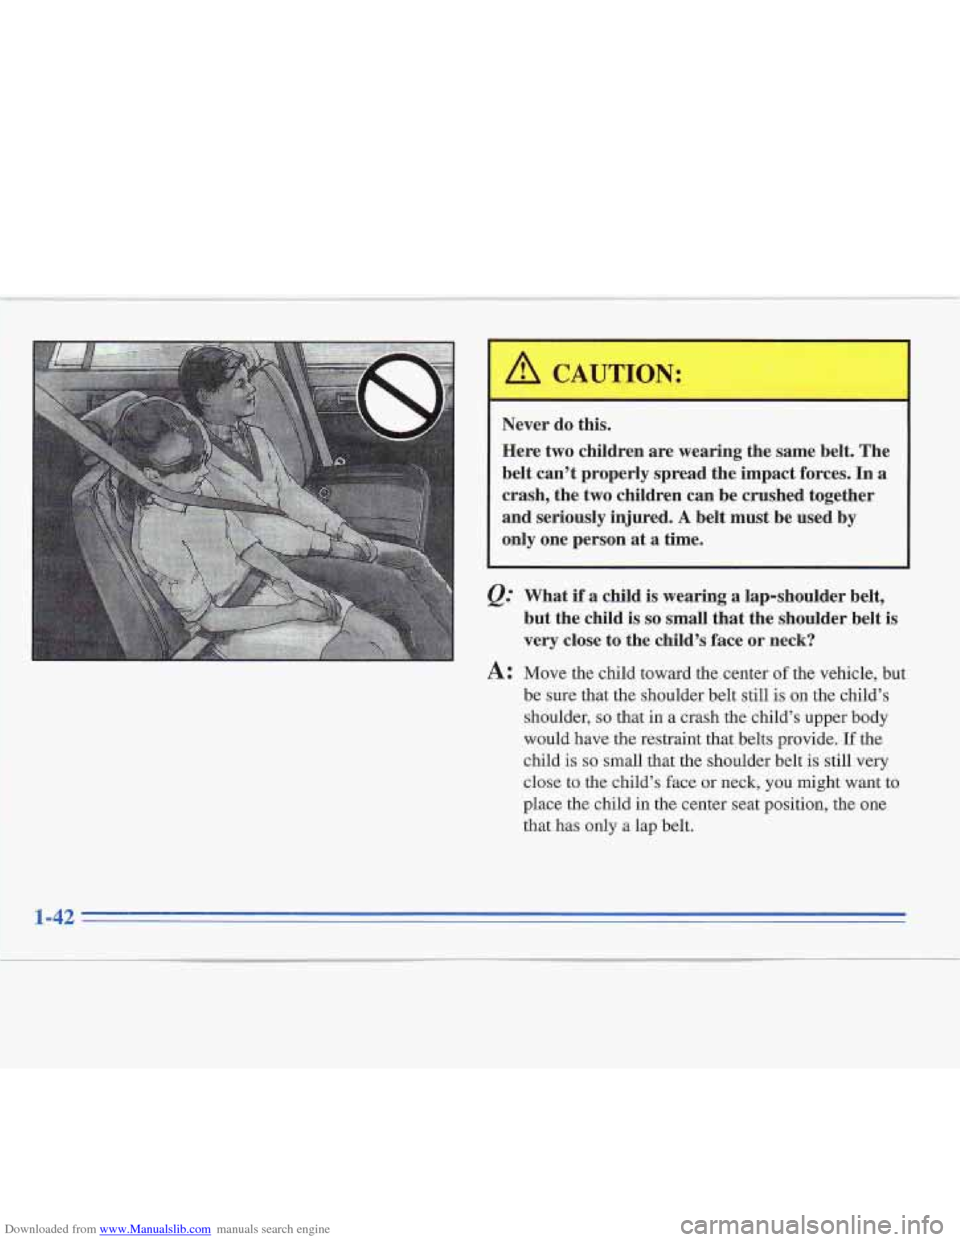
Never do this.
Here two children are wearing the same belt. The
belt can’t properly spread the impact forces.
In a
crash, the two children can be crushed together
and seriously injured.
A belt must be used by
only one person
at a time.
Q: What if a child is wearing a lap-shoulder belt,
but the child is
so small that the shoulder belt is
very close to the child’s face or n-eck?
A: Move the child toward the center of the vehicle, but
be sure that the shoulder belt still is on the child’s
shoulder,
so that in a crash the child’s upper body
would have the restraint that belts provide.
If the
child is
so small that the shoulder belt is still very
close
to the child’s face or neck, you might want to
place the child in the center seat position, the one
that has only
a lap belt.
1-42
Page 105 of 306
Downloaded from www.Manualslib.com manuals search engine Ashtrays and Cigarette Lighter
To remove the rront center ashtray for cleaning, lift it
out by pulling on the snuffer. If it won’t come out, reach
under the drawer and push up on the ashtray bowl and
remove it
.
The rear ashtrays are located on the door armrests. To
remove the ashtrays for cleaning, lift the cover and pull
up on the snuffer.
To reinstall, push down firmly.
NOTICE:
Don’t put papers or other flammable things into
your
ashtrays. Hot cigarettes or other smoking
materials could ignite them, causing damage.
Lighters are near the ashtrays. To use a lighter, push it in
all the way. When it’s ready, it will pop back out by itself.
NOTICE:
If you hold a cigarette lighter in with your hand
while it
is heating, it won’t be able to back away
from the heating element when
it’s ready. That
can make
it overheat, damaging the lighter and
the heating element.
2-46
Page 110 of 306
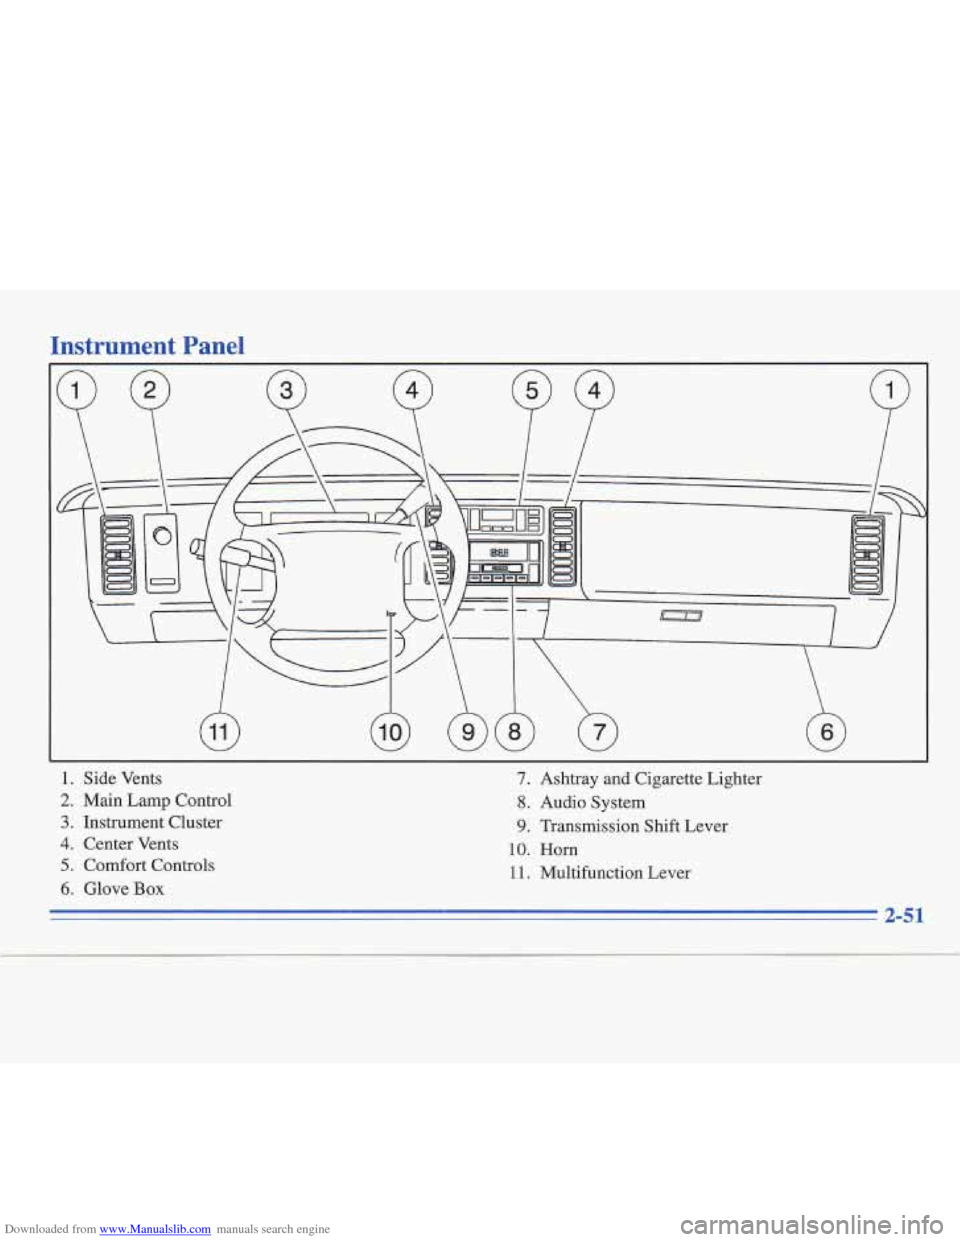
Downloaded from www.Manualslib.com manuals search engine Instrument Panel
1. Side Vents
2. Main Lamp Control
3. Instrument Cluster
4. Center Vents
5. Comfort Controls
6. Glove Box
7. Ashtray and Cigarette Lighter
8. Audio System
9. Transmission Shift Lever
10. Horn
11. Multifanction Lever
2-51
Page 120 of 306
Downloaded from www.Manualslib.com manuals search engine NOTICE:
If you keep driving your vehicre with this light
on, after a while, your emission controls may not
work as well, your fuel economy may not be as
good and your engine may not run as smoothly.
This could lead to costly repairs that may not be
covered by your warranty.
This light should come on, as a check to show you it is
working, when the ignition is on and the engine is not
running.
If the light doesn’t come on, have it repaired.
This light will also come on during a malfunction in one
of two ways:
Light Flashing -- A misfire condition has been
detected. A misfire increases vehicle emissions and
may damage the emission control system on your
vehicle. Dealer or qualified service center diagnosis and service is required.
Light On Steady -- An emission control system
malfunction has been detected on your vehicle.
Dealer or qualified service center diagnosis and
service may
be required. The following
may prevent more serious damage to
your vehicle:
0 Reduce vehicle speed.
0 Avoid hard accelerations.
0 Avoid steep uphill grades.
0 If towing a trailer, reduce the amount of cargo being
hauled as soon as it is possible.
If the light stops flashing and remains on steady, see “If
the Light Is On Steady” following.
If the light continues to flash, when it is safe to do so,
stop the vehicle. Put your vehicle in PARK (P). Turn the
key
off, wait at least 10 seconds and restart the engine.
If the light remains on steady, see
“If the Light Is On
Steady” following.
If the light is still flashing follow the
previous steps, and drive the vehicle to your dealer or
qualified service center for service.
Page 121 of 306
Downloaded from www.Manualslib.com manuals search engine If the Light Is On Steady
You may be able to correct the emission system
malfunction by considering the following:
Did you just put fuel into your vehicle?
If
so, reinstall the fuel cap, making sure to fully install
the cap. The diagnostic system can determine if the fuel
cap has been left off or improperly installed. This will
allow fuel to evaporate into the atmosphere.
A few
driving trips should turn the light
off.
Did you just drive through a deep puddle of water?
If
so, your electrical system may be wet. The condition
will usually be corrected when the electrical system
dries out. A few driving trips should turn the light
off.
Are you low on fuel?
As your engine starts to run out of fuel, your engine may
not run as efficiently as designed since small amounts of
air are sucked into the fuel line causing
a misfire. The
system can detect this. Adding fuel should correct this
condition. Make sure to install the fuel cap properly.
It
will take a few driving trips to turn the light off. Have
you recently changed brands of fuel?
If
so, be sure to fuel your vehicle with quality fuel (see
“Fuel”
in the Index). Poor fuel quality will cause your
engine not to run as efficiently as designed. You may
notice this as stalling after start-up, stalling when you
put
the vehicle into gear, misfiring, hesitation on
acceleration or stumbling on acceleration. (These
conditions may go away once the engine is warmed up.)
This will be detected by the system and cause the light
to turn on.
If you experience this condition, change the fuel brand
you use. It will require at least one full tank of the
proper fuel to turn the light
off.
If none of the above steps have made the light turn off,
have your dealer or qualified service center check the
vehicle. Your dealer has the proper test equipment
and
diagnostic tools to fix any mechanical or electrical
problems that may have developed.
2-62
I t