lock CADILLAC SEVILLE 1994 4.G Owner's Guide
[x] Cancel search | Manufacturer: CADILLAC, Model Year: 1994, Model line: SEVILLE, Model: CADILLAC SEVILLE 1994 4.GPages: 399, PDF Size: 21.33 MB
Page 108 of 399
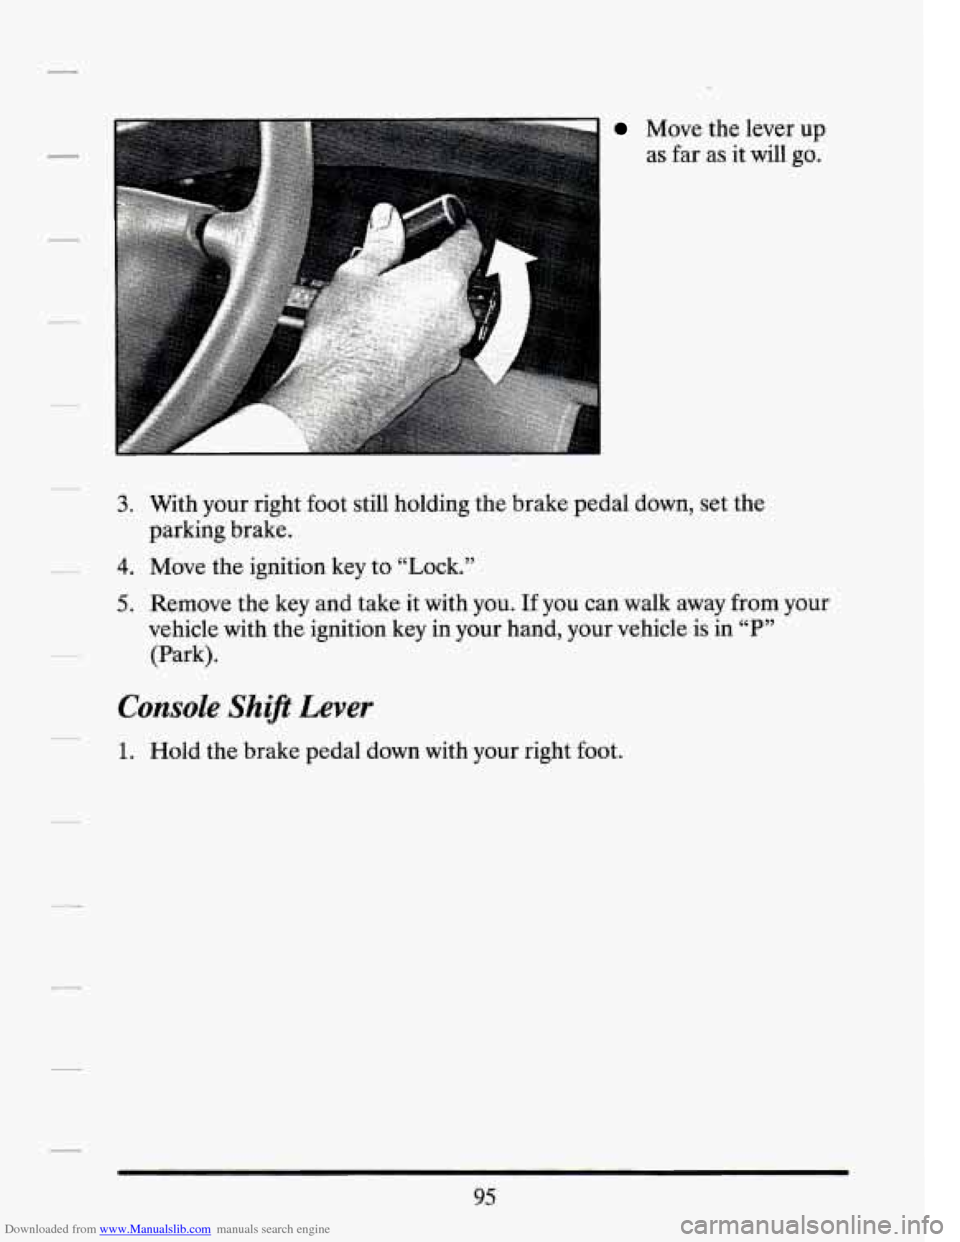
Downloaded from www.Manualslib.com manuals search engine Move the lever up
as far as it will go.
3. With your right foot still holding the brake pedal down, set the
4. Move the ignition key to “Lock.”
5. Remove the key and take it with you. If you can walk away from your
parking brake.
vehicle with
the ignition key in your hand, your vehicle is in
‘‘P”
(Park).
Console Shift Lever
1. Hold the brake pedal down with your right foot.
95
Page 109 of 399
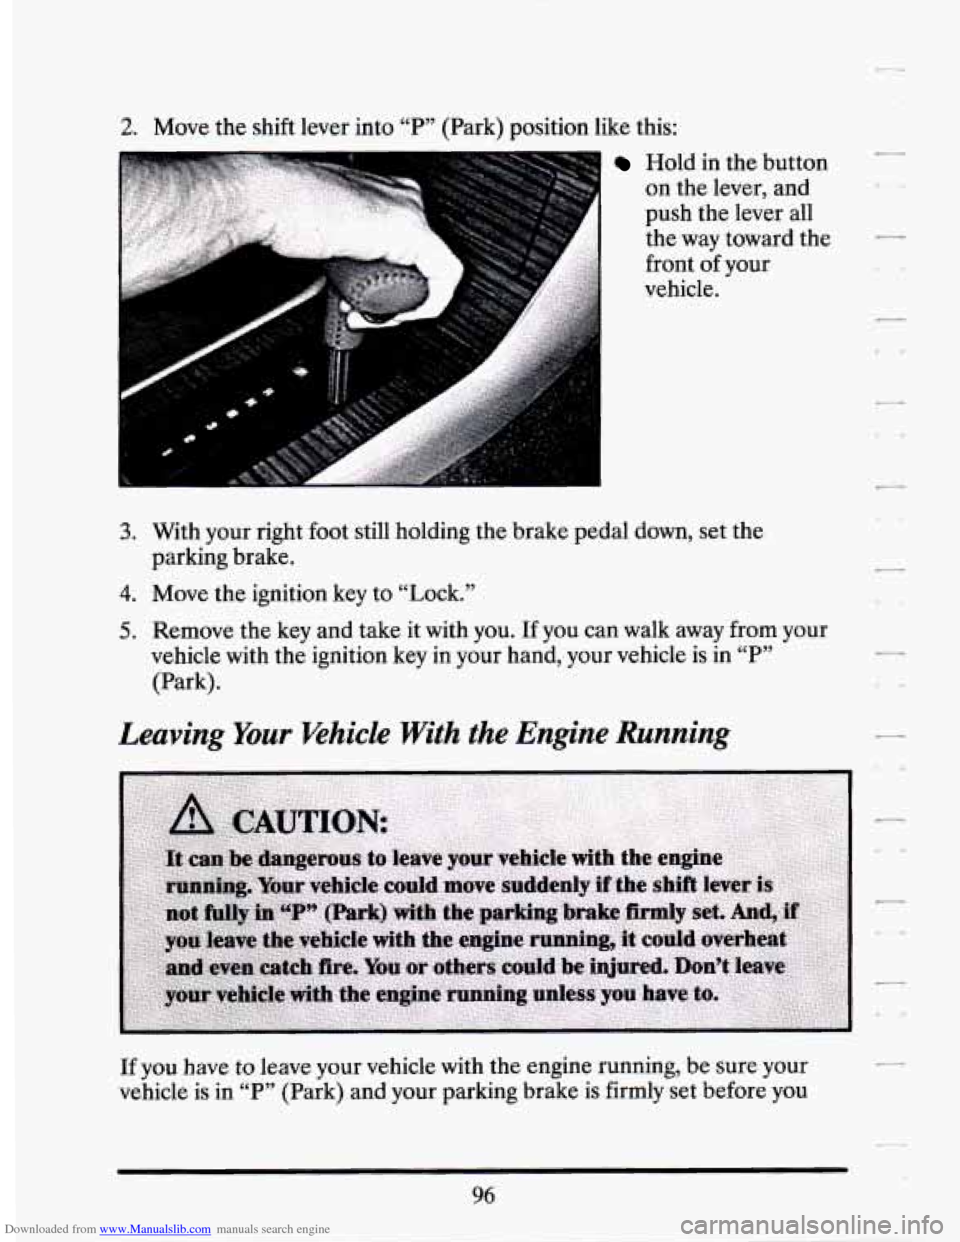
Downloaded from www.Manualslib.com manuals search engine 2. Move the shift lever into “P’, (Park) position like this:
1 Hold in the button
on the lever, and
push the lever all
the way toward the
front of your
vehicle.
3. With your right foot still holding the brake pedal down, set the
4. Move the ignition key to “Lock.”
5. Remove the key and take it with you. If you can walk away from your
parking brake.
vehicle with the ignition key in your hand, your vehicle is in
“P”
(Park).
Leaving Your Whicle With the Engine Running
If you have to leave your vehicle with the engine running, be sure your
vehicle is in
“P” (Park) and your parking brake is firmly set before you
96
Page 110 of 399
Downloaded from www.Manualslib.com manuals search engine leave it. After you’ve moved the shift lever into the “P” (Park) position,
hold the regular brake pedal down. Then, see
if you can move the shift
lever away from “P” (Park) without first pulling it toward you (or, if you
have the console shift lever, without first pushing the button).
If you can,
it means that the shift lever wasn’t fully locked into “P7’ (Park).
SHIFTING OUT OF “P” (PARK)
Your Cadillac has a brake-transaxle shift interlock. You have to fully
apply your regular brake before you can shift from “P” (Park) when the
ignition is in the “Run” position. See “Automatic Transaxle” in the Index.
If you cannot shift out
of “P’7 (Park), ease pressure on the shift lever --
push the shift lever all the way into “P” (Park) and also release the shift
lever button on floor shift models
as you maintain brake application.
Then move the shift lever into the gear you want. (Press the shift lever
button before moving the shift lever.) If you ever hold the brake pedal
down but still can’t shift out of “P” (Park),
try this:
1. Turn the key to “Off.” Open and close the driver’s door to turn off the
2. Apply and hold the brake until the end of Step 4.
3. Shift to “N” (Neutral).
Retained
Accessory Power feature.
4. Start the vehicle and then shift to the drive gear you want.
5. Have the vehicle fixed as soon as you can.
Torque Lock (Automatic Transaxle)
If you are parking on a hill and you don’t shift your transaxle into “P”
(Park) properly, the weight
of the vehicle may put too much force on the
parking pawl in the transaxle. You may find it difficult to pull the shift
lever out
of “P” (Park). This is called “torque lock.” To prevent torque
lock, always
be sure to shift into “P” (Park) properly before you leave the
driver’s seat. To find out how, see “Shifting Into ‘P’ (Park)” in the Index.
If “torque lock” does occur, you may need to have another vehicle push
yours a little uphill to take some
of the pressure from the transaxle, so
you can pull the shift lever out of “P” (Park).
97
Page 115 of 399
Downloaded from www.Manualslib.com manuals search engine TILT WWEEL
You can also raise it to the highest level to give your legs more room
when you exit and enter the vehicle.
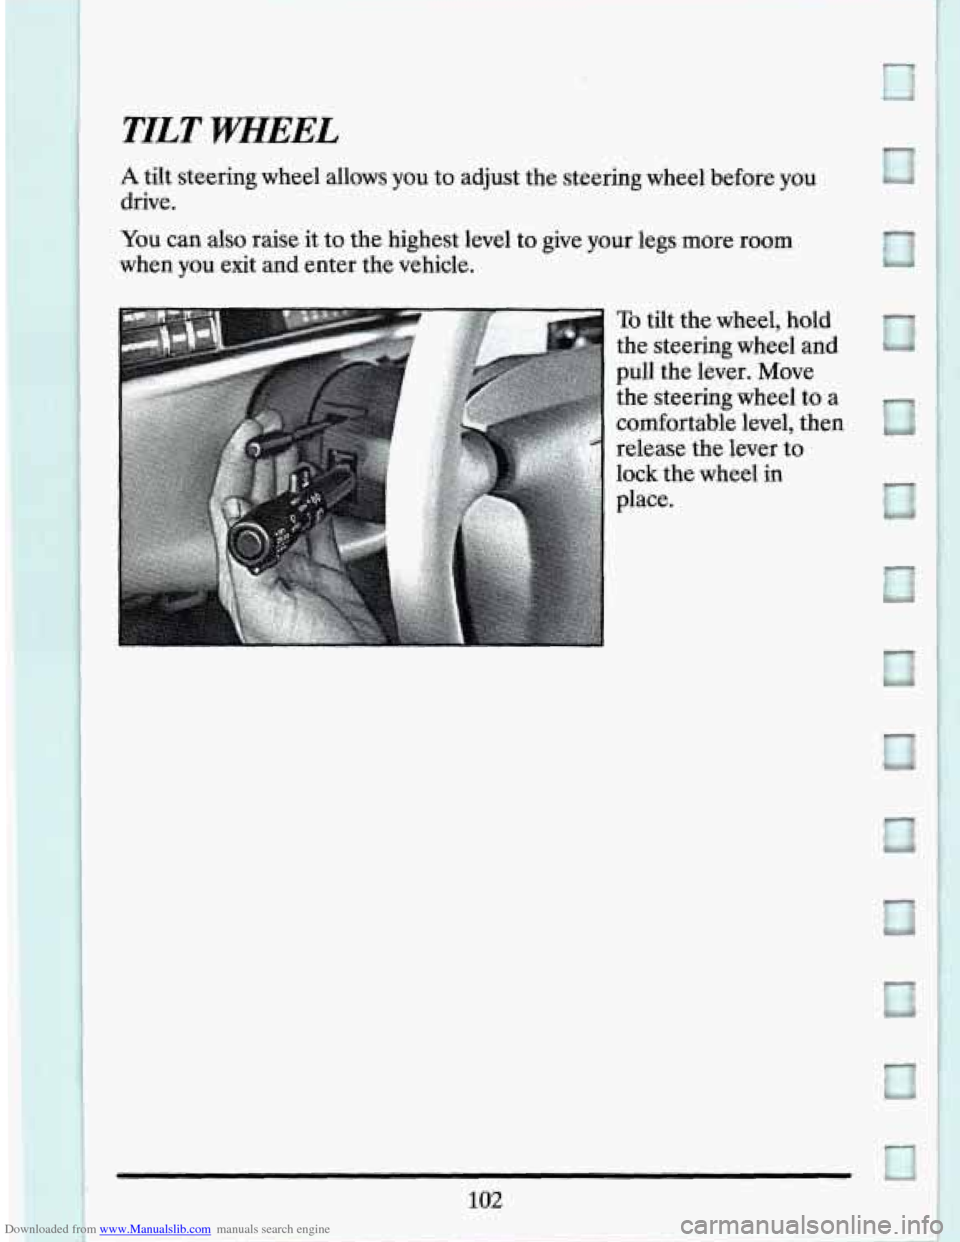
To tilt the wheel, hold
the steering wheel and
pull the lever. Move
the steering wheel
to a
comfortable level, then
release the lever to
lock the
wheel in
place.
102
Page 121 of 399
Downloaded from www.Manualslib.com manuals search engine Heavy snow or ice can overload your wiper motor. A circuit breaker will
stop the motor until it cools. Clear away snow or ice to prevent an
overload.
Windshield Washer
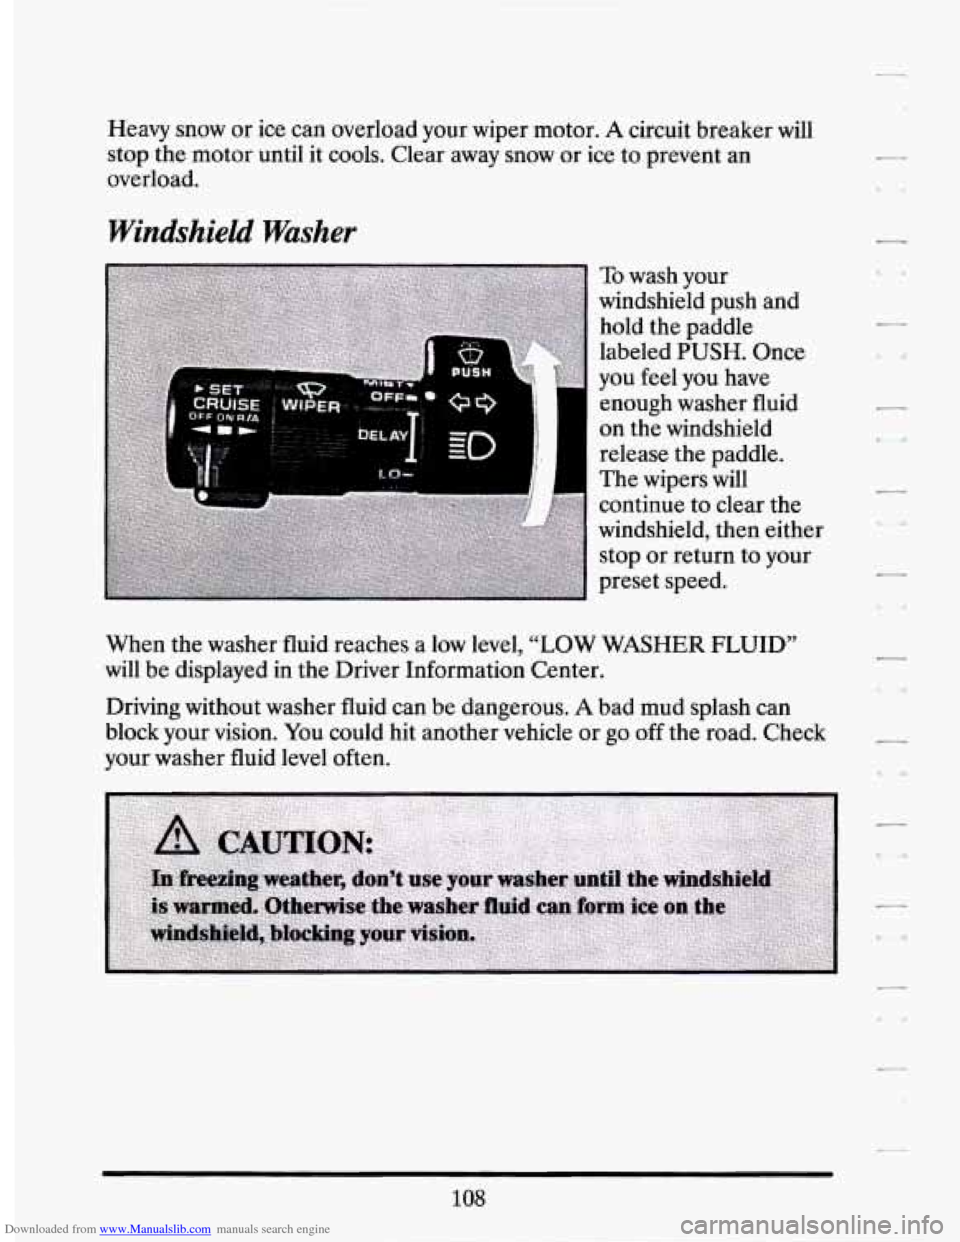
I
To wash your
windshield push and
hold the paddle
labeled
PUSH. Once
you feel you have
enough washer fluid
on the windshield
release the paddle.
The wipers will
continue to clear the
windshield, then either
stop or return to your
preset speed.
When the washer fluid reaches a low level,
“LOW WASHER FLUID”
will be displayed in the Driver Information Center.
Driving without washer fluid can be dangerous.
A bad mud splash can
block your vision.
You could hit another vehicle or go off the road. Check
your washer fluid level often.
108
Page 136 of 399
Downloaded from www.Manualslib.com manuals search engine Power Remote Control Mirrors
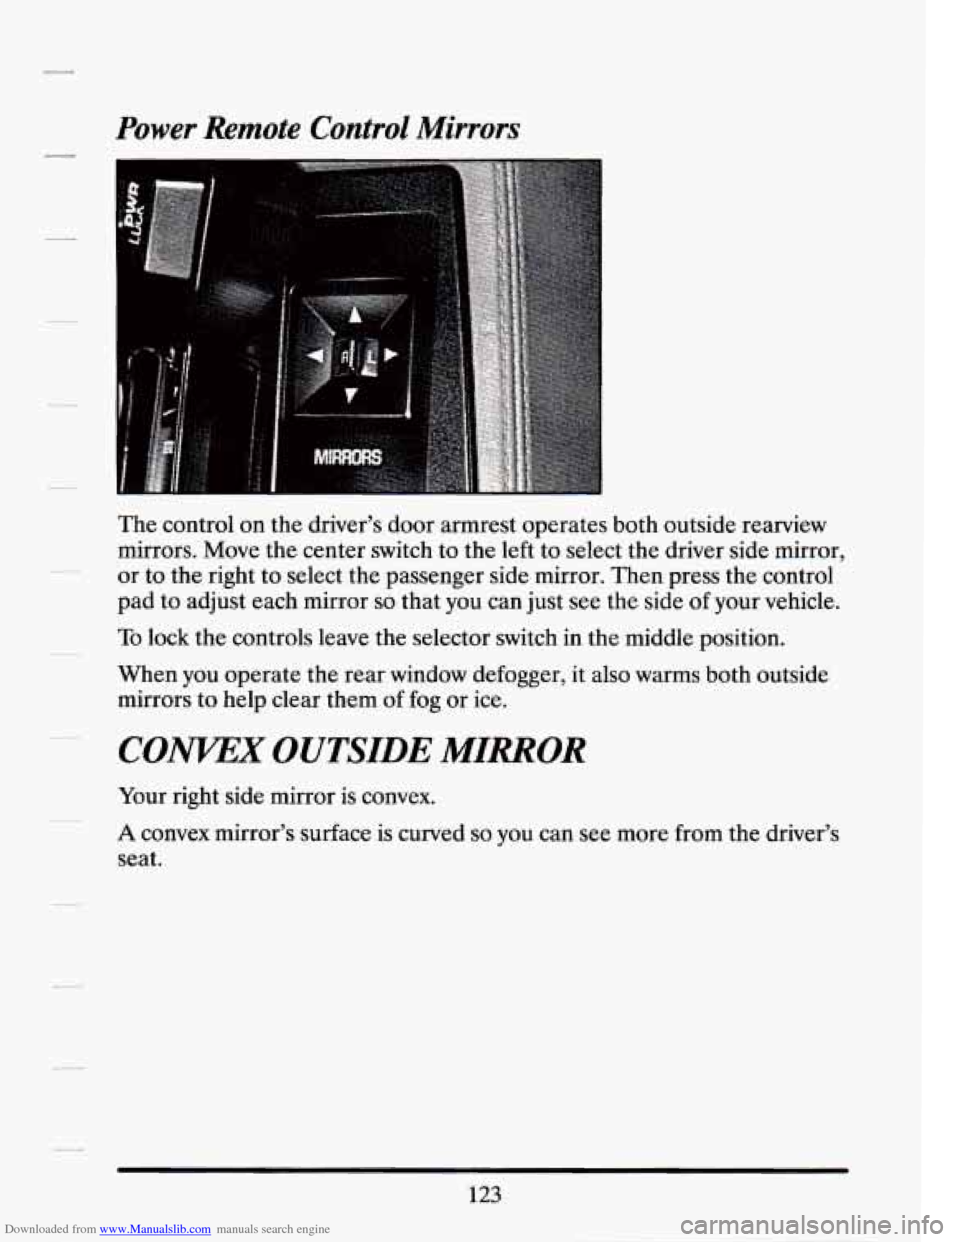
The control on the driver’s door armrest operates both outside rearview
mirrors. Move the center switch to the left to select the driver side mirror,
or to the right to select the passenger side mirror. Then press the control
pad to adjust each mirror
so that you can just see the side of your vehicle.
To lock the controls leave the selector switch in the middle position.
When you operate the rear window defogger, it also warms both outside
mirrors to help clear them
of fog or ice.
CONKEX OUTSIDE MIRROR
Your right side mirror is convex.
A convex mirror’s surface is curved so you can see more from the driver’s
seat.
123
Page 148 of 399
Downloaded from www.Manualslib.com manuals search engine Anti-Lock Brake System Warning Light
II
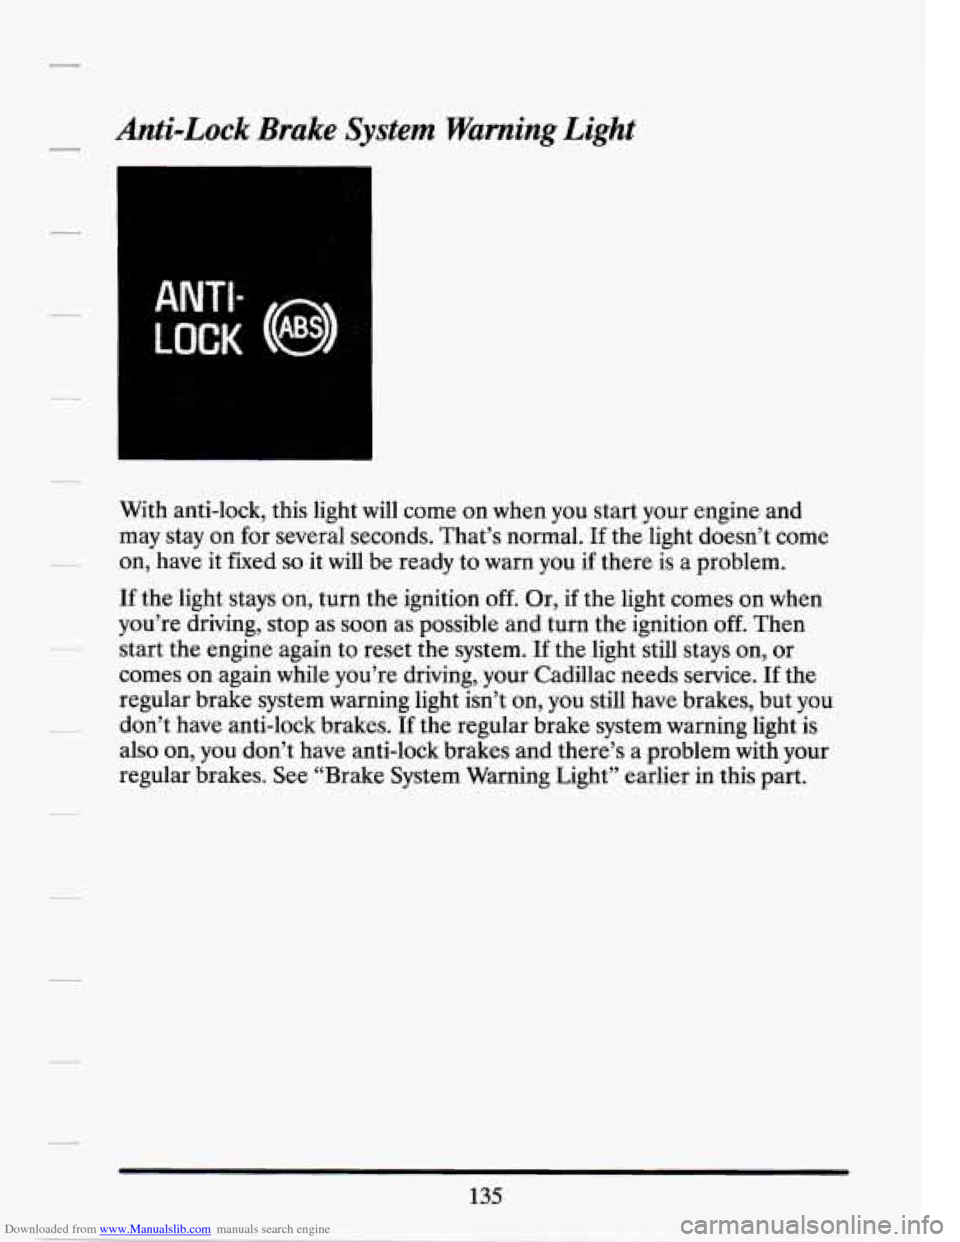
With anti-lock, this light will come on when you start your engine and
may stay on for several seconds. That’s normal.
If the light doesn’t come
on, have it fixed
so it will be ready to warn you if there is a problem.
If the light stays on, turn the ignition off. Or, if the light comes on when
you’re driving, stop as soon
as possible and turn the ignition off. Then
start the engine again to reset the system. If the light still stays on, or
comes on again while you’re driving, your Cadillac needs service. If the
regular brake system warning light isn’t on, you still have brakes, but you
don’t have anti-lock brakes. If the regular brake system warning light is
also on, you don’t have anti-lock brakes and there’s a problem with your
regular brakes. See “Brake System Warning Light” earlier in this part.
135
Page 156 of 399
Downloaded from www.Manualslib.com manuals search engine Driver Information Center Control Buttons
INFORMATION Button
Pressing this button successively will display the ENGINE RPM (Digital
Cluster only), ENGINE COOLANT TEMP, BATTERY VOLTAGE,
AVG MPH, MPG AVG, FUEL USED, OIL LIFE LE=, and TIMER.
RESET Button
Pressing this button will reset the AVG MPH, MPG AVG, FUEL USED,
OIL LIFE LEFT, and TIMER when each function
is displayed.
TIMER Button
The TIMER feature is like a stop watch, in that you can clock the time it
takes to get from one point to another.
To operate, press either the TIMER button or successively press the
INFORMATION button until “TIMER
0O:OO:OO” is displayed on the
Driver Information Center. Each of the fields for the HOURS,
MINUTES, and SECONDS are
two numeric digits.
Once the “TIMER
0O:OO:OO:” is displayed, press the TIMER button to
start the timing feature. Press the TIMER button again to stop it.
To reset
it, press and hold the RESET button until the display reads “TIMER
0O:OO:OO:”. Press the INFORMATION button to exit from the TIMER
function.
AVG MPH (Average Speed) Reset
Press successively the INFORMATION button to display the “AVG
MPH”, then press and hold
the RESET button until “0.0 AVG MPH’ is
displayed.
MPG AVG (Average Fuel Economy) Reset
Press successively the INFORMATION button to display the “MPG
AVG”, then press and hold the
RESET button until “0.0 AVG MPG” is
displayed.
Fuel Used Reset
Press successively the INFORMATION button to display the “FUEL
USED” on the Driver Information Center, then press and hold the
RESET button until “FUEL
USED 0.0” is displayed.
143
Page 173 of 399
Downloaded from www.Manualslib.com manuals search engine Heated Windshield (Option)
Front De-Ice
Here’s how to use your heated windshield in cold weather to remove ice
or frost quickly:
1. If any snow is piled up on the windshield, brush it away.
2. Start your Cadillac and leave it in P (“Park”).
‘. .
n.
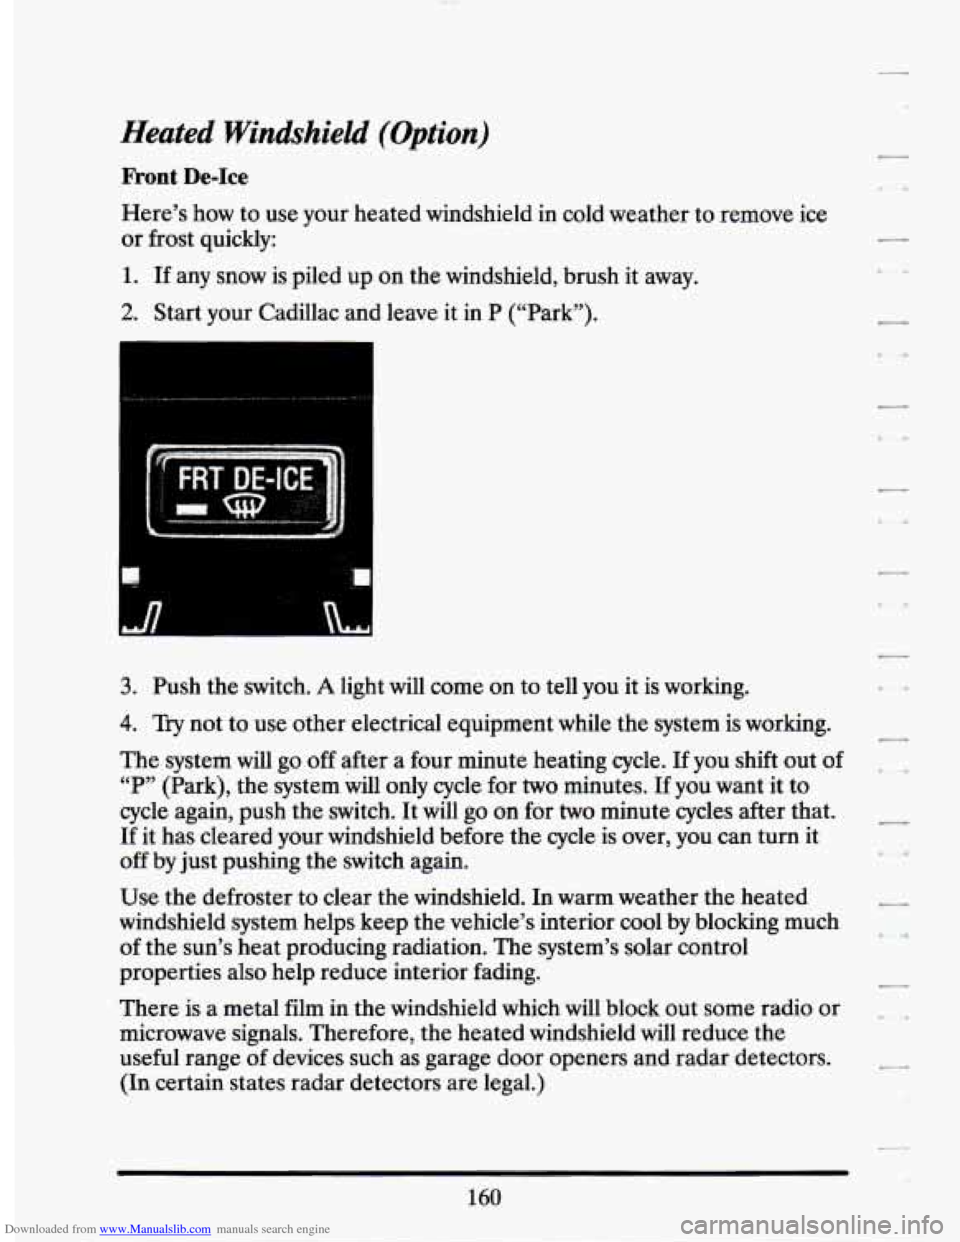
3. Push the switch. A light will come on to tell you it is working.
4. Try not to use other electrical equipment while the system is working.
The system will go
off after a four minute heating cycle. If you shift out of
“P” (Park), the system
will only cycle for two minutes. If you want it to
cycle again, push the switch. It will go on for
two minute cycles after that.
If it has cleared your windshield before the cycle is over, you can turn it
off by just pushing the switch again.
Use the defroster to clear the windshield.
In warm weather the heated
windshield system helps keep the vehicle’s interior cool by blocking much
of the sun’s heat producing radiation. The system’s solar control
properties also help reduce interior fading.
There is a metal film in the windshield which will block out some radio or
microwave signals. Therefore, the heated windshield will reduce the
useful range
of devices such as garage door openers and radar detectors.
(In certain states radar detectors are legal.)
160
Page 183 of 399
Downloaded from www.Manualslib.com manuals search engine Comp (Compression)
Pressing COMP makes soft and loud passages more nearly equal in
volume. For example, playing classical or
jazz music with very quiet and
very loud passages in the same tune. The COMP display will light as long
as COMP is on.
Turn the ignition on. Then:
To Set the Hour:
Press SET, and within 5 seconds,
0 Press and hold SEEK. When the clock gets to the correct hour, let go.
To Set the Minutes:
Press SET, and within 5 seconds,
Press and hold SCAN. When the clock gets to the correct minute, let
Your clock is set.
go.
Care of Your Cassette Tape Player
A tape
player that is not cleaned regularly can cause reduced sound
quality, ruined cassettes, or a damaged mechanism. Cassette tapes should
be stored in their cases away from contaminants, direct sunlight, and
extreme heat.
If they aren’t, they may not operate properly or cause
failure of the tape player.
Your tape player should be cleaned regularly each month or after every
15 hours of use. If you notice a reduction in sound quality, try a known
good cassette
to see if the tape or the tape player is at fault. If this other
cassette has no improvement in sound quality, clean the tape player.
Clean your tape player with a wiping-action, non-abrasive cleaning
cassette, and follow the directions provided with it.
Cassettes are subject to wear and the sound quality may degrade over
time. Always make sure that the cassette tape is in good condition before
you have your tape player serviced.
170