reset CADILLAC SEVILLE 2003 5.G Owners Manual
[x] Cancel search | Manufacturer: CADILLAC, Model Year: 2003, Model line: SEVILLE, Model: CADILLAC SEVILLE 2003 5.GPages: 408, PDF Size: 2.72 MB
Page 77 of 408
Programming the Power Windows
If the battery on your vehicle has been recharged,
disconnected or is not working, you will need to
reprogram each front power window for the express-up
feature to work. Before reprogramming, you will need
to replace or recharge your vehicle's battery.
To program each front window, follow these steps:
1. With the ignition in ACC or ON, or when RAP is
active, close all doors.
2. Press and hold the down arrow on the power
window switch until the window has fully opened.
3. Press the up arrow on the power window switch
until the window is fully closed.
4. Continue holding the switch up for approximately
two seconds after the window is completely
closed.
The window is now programmed. Repeat the process
for the other front window.
Anti-Pinch Feature
If a hand, an arm or another object is above the middle
of the window and is in the path of the window when
the express-up feature is active, the window will stop at
the obstruction and express-open to a preset factory
position.
{CAUTION:
Pressing and holding the power window
control will turn off the anti-pinch feature. If
this happens, a power window won't stop if
something gets in the way. You or others
could be injured, and your window could be
damaged. Be careful not to press and hold the
power window control.
2-17
Page 85 of 408

Retained Accessory Power (RAP)
The following accessories on your vehicle may be used
for up to 10 minutes after the ignition key is turned
from ON to OFF:
·Cellular Phone (If Equipped)
·Radio
·Power Windows
·Audio Steering Wheel Controls
·Sunroof (Option)
Power to these accessories stops after 10 minutes or if
a door is opened. If you want power for another
10 minutes, close all the doors and turn the ignition key
to ON and then back to OFF. If the cellular phone is
being used while retained accessory power is active, the
timer is suspended to avoid interruption of the call.
The timer resets to 10 minutes at the end of the call.
Starting Your Engine
Move your shift lever to PARK (P) or NEUTRAL (N).
Your engine won't start in any other position ± that's a
safety feature. To restart when you're already moving,
use NEUTRAL (N) only.
Notice:Do not try to shift to PARK (P) if your
vehicle is moving. If you do, you could damage the
transaxle. Shift to PARK (P) only when your
vehicle is stopped.
1. With your foot off the accelerator pedal, turn your
ignition key to START. When the engine starts, let
go of the key. The idle speed will go down as
your engine gets warm.
Notice:Holding your key in START for longer than
15 seconds at a time will cause your battery to
be drained much sooner. And the excessive heat
can damage your starter motor. Wait about
15 seconds between each try to help avoid draining
your battery or damaging your starter.
2-25
Page 108 of 408

Reprogramming a Single HomeLinkž
Button
To program a device to HomeLinkžusing a HomeLinkž
button previously trained, follow these steps:
1. Press and hold the desired HomeLink
žbutton. Do
not release the button.
2. The indicator light will begin to ¯ash after
20 seconds. While still holding the HomeLink
ž
button, proceed with Step 2 under ªProgramming
HomeLinkž.º
Resetting Defaults
To reset HomeLinkžto default settings do the following:
1. Hold down the two outside buttons for about
20 seconds until the indicator light begins to ¯ash.
2. Continue to hold both buttons until the HomeLink
ž
indicator light turns off.
3. Release both buttons.
For questions or comments, contact HomeLink
žat
1-800-355-3515, or on the internet at
www.homelink.com.
Storage Areas
Glove Box
The glove box is located in front of the passenger's seat
on the instrument panel. To lock the glove box door,
insert the master key into the lock cylinder and
turn it clockwise. Turn the key counterclockwise to
unlock the door.
Cellular Telephone
Your vehicle may have been prewired for dealer
installation of a portable cellular telephone system. The
system has steering wheel telephone controls and
information output through the Driver Information
Center (DIC). Voice activation with remote record and
hands-free operation are standard features. For
more information, contact your dealer. A user's guide is
provided with the telephone.
2-48
Page 126 of 408
Setting Cruise Control
{CAUTION:
If you leave your cruise control on when you
are not using cruise, you might hit a button
and go into cruise when you do not want to.
You could be startled and even lose control.
Keep the cruise control switch off until you
want to use cruise control.
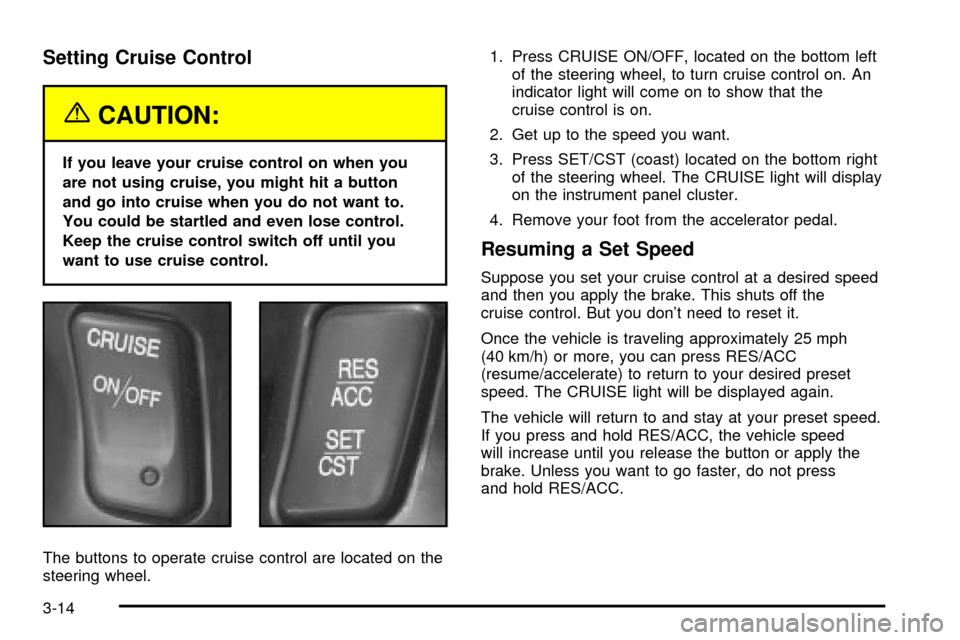
The buttons to operate cruise control are located on the
steering wheel.1. Press CRUISE ON/OFF, located on the bottom left
of the steering wheel, to turn cruise control on. An
indicator light will come on to show that the
cruise control is on.
2. Get up to the speed you want.
3. Press SET/CST (coast) located on the bottom right
of the steering wheel. The CRUISE light will display
on the instrument panel cluster.
4. Remove your foot from the accelerator pedal.
Resuming a Set Speed
Suppose you set your cruise control at a desired speed
and then you apply the brake. This shuts off the
cruise control. But you don't need to reset it.
Once the vehicle is traveling approximately 25 mph
(40 km/h) or more, you can press RES/ACC
(resume/accelerate) to return to your desired preset
speed. The CRUISE light will be displayed again.
The vehicle will return to and stay at your preset speed.
If you press and hold RES/ACC, the vehicle speed
will increase until you release the button or apply the
brake. Unless you want to go faster, do not press
and hold RES/ACC.
3-14
Page 151 of 408
Speedometer and Odometer
The speedometer lets you see your speed in both
miles per hour (mph) and kilometers per hour (km/h).
The odometer shows how far your vehicle has
been driven, in either miles (used in the United States)
or kilometers (used in Canada).
You may wonder what happens if a vehicle has to have
a new odometer installed. The new one may read
the correct mileage. This is because your vehicle's
computer has stored the mileage in memory.
Trip Odometers
The trip odometer can record the number of miles or
kilometers traveled for up to two trips.
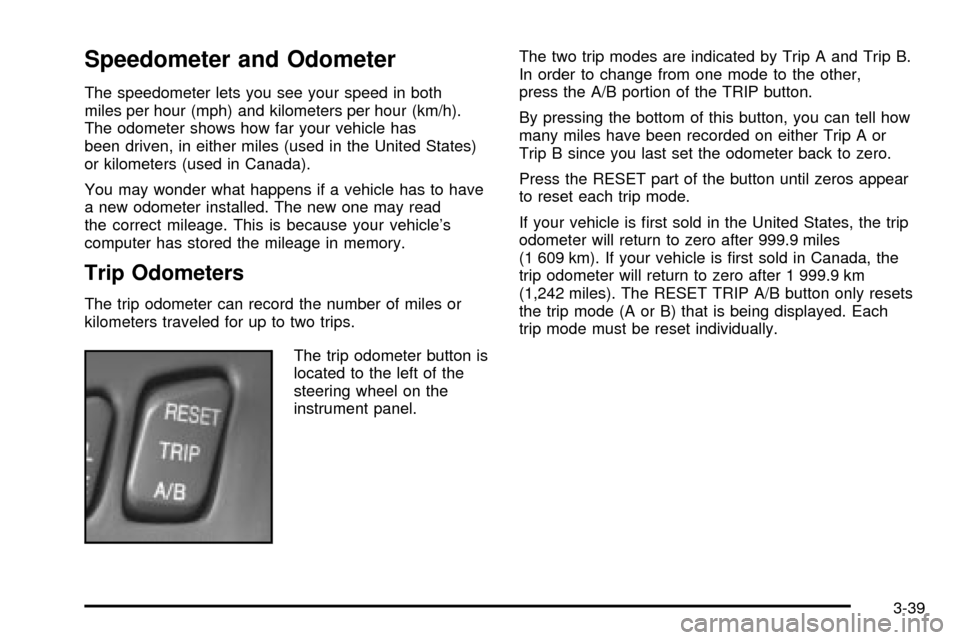
The trip odometer button is
located to the left of the
steering wheel on the
instrument panel.The two trip modes are indicated by Trip A and Trip B.
In order to change from one mode to the other,
press the A/B portion of the TRIP button.
By pressing the bottom of this button, you can tell how
many miles have been recorded on either Trip A or
Trip B since you last set the odometer back to zero.
Press the RESET part of the button until zeros appear
to reset each trip mode.
If your vehicle is ®rst sold in the United States, the trip
odometer will return to zero after 999.9 miles
(1 609 km). If your vehicle is ®rst sold in Canada, the
trip odometer will return to zero after 1 999.9 km
(1,242 miles). The RESET TRIP A/B button only resets
the trip mode (A or B) that is being displayed. Each
trip mode must be reset individually.
3-39
Page 152 of 408
Display Mode
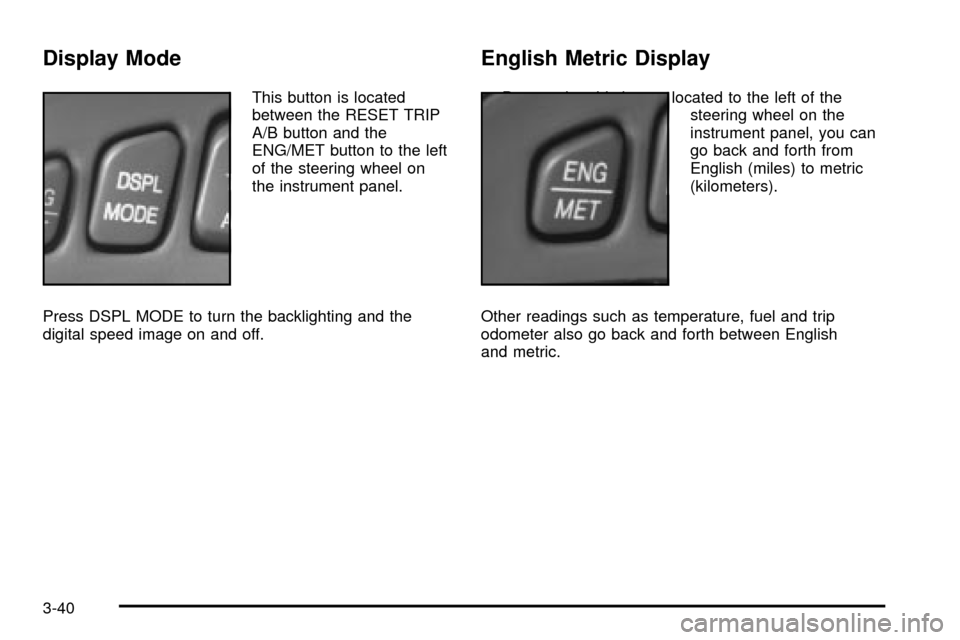
This button is located
between the RESET TRIP
A/B button and the
ENG/MET button to the left
of the steering wheel on
the instrument panel.
Press DSPL MODE to turn the backlighting and the
digital speed image on and off.
English Metric Display
By pressing this button located to the left of the
steering wheel on the
instrument panel, you can
go back and forth from
English (miles) to metric
(kilometers).
Other readings such as temperature, fuel and trip
odometer also go back and forth between English
and metric.
3-40
Page 156 of 408
When the ignition is on, the brake system warning light
will also come on when you set your parking brake.
The light will stay on if your parking brake doesn't fully
release. If it stays on after your parking brake is
fully released, it means you have a brake problem.
{CAUTION:
Your brake system may not be working
properly if the brake system warning light is on.
Driving with the brake system warning light on
can lead to an accident. If the light is still on
after you have pulled off the road and stopped
carefully, have the vehicle towed for service.
If the light comes on while you are driving, pull off the
road and stop carefully. You may notice that the pedal is
harder to push. Or, the pedal may go closer to the
¯oor. It may take longer to stop. If the light is still on,
have the vehicle towed for service. See
Towing
Your Vehicle on page 4-31.
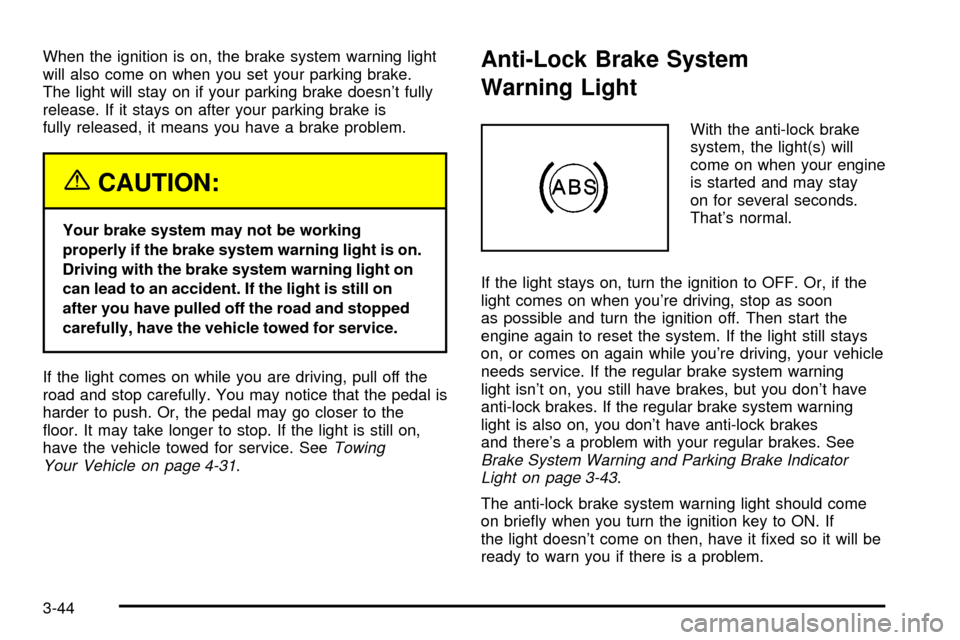
Anti-Lock Brake System
Warning Light
With the anti-lock brake
system, the light(s) will
come on when your engine
is started and may stay
on for several seconds.
That's normal.
If the light stays on, turn the ignition to OFF. Or, if the
light comes on when you're driving, stop as soon
as possible and turn the ignition off. Then start the
engine again to reset the system. If the light still stays
on, or comes on again while you're driving, your vehicle
needs service. If the regular brake system warning
light isn't on, you still have brakes, but you don't have
anti-lock brakes. If the regular brake system warning
light is also on, you don't have anti-lock brakes
and there's a problem with your regular brakes. See
Brake System Warning and Parking Brake Indicator
Light on page 3-43.
The anti-lock brake system warning light should come
on brie¯y when you turn the ignition key to ON. If
the light doesn't come on then, have it ®xed so it will be
ready to warn you if there is a problem.
3-44
Page 165 of 408
Driver Information Center (DIC)
This display gives you the status of many of your
vehicle's systems. The DIC is also used to display driver
personalization features and warning/status messages.
All messages will appear in the DIC display, located
at the bottom of the instrument panel cluster.
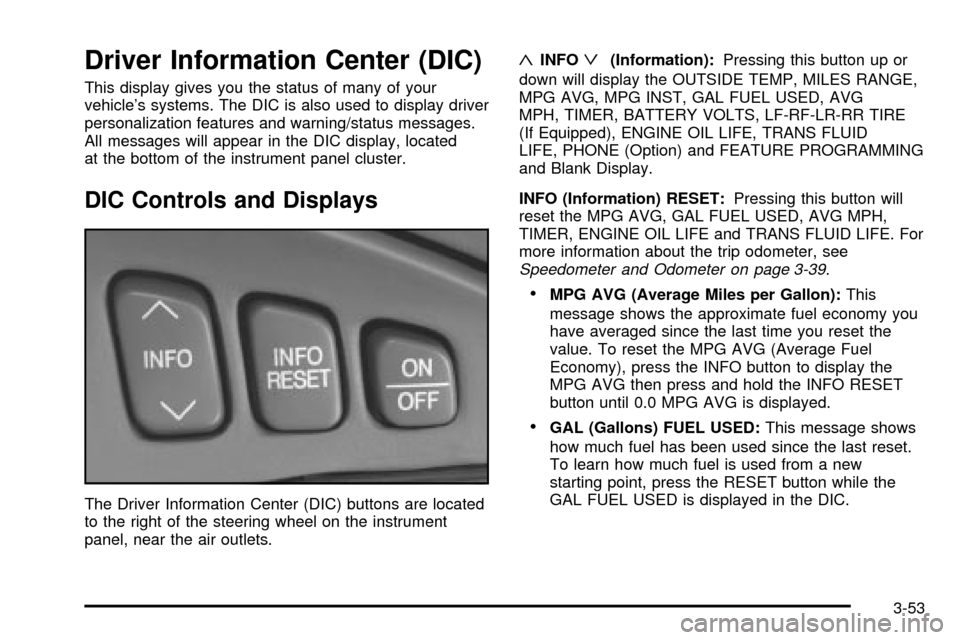
DIC Controls and Displays
The Driver Information Center (DIC) buttons are located
to the right of the steering wheel on the instrument
panel, near the air outlets.
«INFOª(Information):Pressing this button up or
down will display the OUTSIDE TEMP, MILES RANGE,
MPG AVG, MPG INST, GAL FUEL USED, AVG
MPH, TIMER, BATTERY VOLTS, LF-RF-LR-RR TIRE
(If Equipped), ENGINE OIL LIFE, TRANS FLUID
LIFE, PHONE (Option) and FEATURE PROGRAMMING
and Blank Display.
INFO (Information) RESET:Pressing this button will
reset the MPG AVG, GAL FUEL USED, AVG MPH,
TIMER, ENGINE OIL LIFE and TRANS FLUID LIFE. For
more information about the trip odometer, see
Speedometer and Odometer on page 3-39.
·MPG AVG (Average Miles per Gallon):This
message shows the approximate fuel economy you
have averaged since the last time you reset the
value. To reset the MPG AVG (Average Fuel
Economy), press the INFO button to display the
MPG AVG then press and hold the INFO RESET
button until 0.0 MPG AVG is displayed.
·GAL (Gallons) FUEL USED:This message shows
how much fuel has been used since the last reset.
To learn how much fuel is used from a new
starting point, press the RESET button while the
GAL FUEL USED is displayed in the DIC.
3-53
Page 166 of 408

·AVG MPH (Average Miles per Hour):This
message shows the average speed you have
traveled at since the last time you reset the value.
To reset the value, press the INFO button to
display AVG MPH then press and hold the INFO
RESET button until 0.0 AVG MPH is displayed.
·TIMER:This feature is like a stopwatch, in that you
can clock the time it takes to get from one point to
another.
To operate, press the INFO button to display
TIMER. Each of the ®elds for the hours, minutes
and seconds are two numeric digits.
Once TIMER 00:00:00 is displayed, press the
ON/OFF button to start the timing feature. Press
the ON/OFF button again to stop it. If you will
be starting and stopping your vehicle, during a trip
for instance, the TIMER feature will automatically
start timing where it left off when you last stopped.
To reset it, press and hold the INFO RESET
button until the display reads TIMER 00:00:00.
Press the INFO button to exit from the TIMER
display.
·ENGINE OIL LIFE:Press the INFO button to
display ENGINE OIL LIFE, then press and hold the
INFO RESET button until 100% ENGINE OIL
LIFE is displayed. (This only needs to be reset after
you have had the oil changed.)
·TRANSMISSION FLUID LIFE MONITOR:Under
normal conditions, the rate of deterioration of the
transmission ¯uid is slow. See
Part A: Scheduled
Maintenance Services on page 6-4for proper
¯uid and change intervals. To reset the transmission
¯uid life, press the INFO button to display TRANS
FLUID LIFE, then press and hold the INFO
RESET button until 100% TRANS FLUID LIFE is
displayed. (This only needs to be reset after
you have had the ¯uid changed.)
ON/OFF:Pressing this button turns the Personalization
Features on and off. (FEATURE PROGRAMMING
must be displayed on the DIC to begin actual
programming.) This button also starts and stops
the timer.
3-54
Page 167 of 408

OUTSIDE TEMP (Temperature):This message shows
the outside temperature. After this display has been
on the DIC for about ®ve seconds, the words OUTSIDE
TEMP will disappear so that only the temperature
remains.
MILES RANGE:This message shows about how many
miles you can drive without re®lling your fuel tank.
Once the range drops below 40 miles (64 km) remaining,
the display will show LOW.
MPG INST (Instantaneous Miles per Gallon):This
message shows the instantaneous fuel economy which
varies with your driving conditions, such as acceleration,
braking and the grade of the road being traveled.
The INFO RESET button does not function in this mode.
BATTERY VOLTS:This message shows the current
battery voltage. If the voltage is normal the display
will show BATTERY VOLTS OK. If the voltage drops
below 10.5 volts, the display will show BATTERY
VOLTS LOW. If the voltage is above 16 volts, the
display will show BATTERY VOLTS HIGH. If the display
shows the high or low message, you will need to
have your battery checked. See
DIC Warnings and
Messages on page 3-56for more information.LF-RF-LR-RR TIRE (If Equipped):On vehicles
equipped with the tire pressure monitor, this message
shows the tire pressure for each tire (left front, right
front, left rear and right rear). Pressing the INFO button
will scroll through the tire pressure for each of the
four tires, such as the following:
·34 PSI LF TIRE OK or
·234 kPa LF TIRE OK
If a tire pressure is below 25 PSI (172 kPa) or above
38 PSI (265 kPa), the message will appear as shown
above except it will show TIRE LOW or TIRE HIGH as
appropriate. If desired, the tire pressure information
can be programmed not to appear when using the INFO
button to scroll through the DIC displays. See
DIC
Vehicle Personalization on page 3-64.
If a low or high tire pressure is detected by the system
while driving, a CHECK TIRE PRESSURE message
will appear in the display. If this occurs, press the INFO
button to scroll to the tire(s) with a low or high
pressure condition. See
DIC Warnings and Messages
on page 3-56for more information.
ENG/MET (English/Metric):Press this button to
display information in the English (miles) or metric
(kilometers) system.
3-55