alarm CADILLAC SEVILLE 2004 5.G Owners Manual
[x] Cancel search | Manufacturer: CADILLAC, Model Year: 2004, Model line: SEVILLE, Model: CADILLAC SEVILLE 2004 5.GPages: 410, PDF Size: 2.64 MB
Page 67 of 410
Doors and Locks
Door Locks
{CAUTION:
Unlocked doors can be dangerous.
•Passengers — especially children — can
easily open the doors and fall out of a
moving vehicle. When a door is locked, the
handle will not open it. You increase the
chance of being thrown out of the vehicle
in a crash if the doors are not locked. So,
wear safety belts properly and lock the
doors whenever you drive.
CAUTION: (Continued)
CAUTION: (Continued)
•
Young children who get into unlocked
vehicles may be unable to get out. A child
can be overcome by extreme heat and can
suffer permanent injuries or even death
from heat stroke. Always lock your vehicle
whenever you leave it.
•Outsiders can easily enter through an
unlocked door when you slow down or
stop your vehicle. Locking your doors can
help prevent this from happening.
There are several ways to lock and unlock your vehicle.
Because your vehicle has the theft-deterrent system,
you must unlock the doors with the key or remote
keyless entry transmitter to avoid setting off the alarm.
From the outside, use either the key or the remote
keyless entry transmitter.
2-9
Page 78 of 410
Theft-Deterrent Systems
Vehicle theft is a big business, especially in some cities.
Although your vehicle has a number of theft-deterrent
features, we know that nothing we put on it can make it
impossible to steal.
The SECURITY light is
located on the instrument
panel cluster.
If the ignition is off and any door is open, the SECURITY
light will flash, reminding you to arm the system.
To arm the system, do the following:
1. Open the door.
2. Lock the door using the power door lock switch with
the door open or the remote keyless entry
transmitter. The SECURITY light should come on
and stay on.
3. Close all the doors. The SECURITY light should go
off within approximately 30 seconds.If a door or a trunk is opened without a key or a remote
keyless entry transmitter, the horn will sound and the
lamps will flash for about 30 seconds.
Remember, the theft-deterrent system will not arm if you
lock the doors with a key or use the manual door
lock. It activates only if you use a power door lock with
the door open or the remote keyless entry transmitter.
To avoid activating the alarm by accident do the
following:
•The vehicle should be locked with the door key or
the manual door lock after the doors are closed if
you do not want to arm the theft-deterrent system.
•Always unlock a door with a key or use the remote
keyless entry transmitter. Pressing the unlock
button on the remote keyless entry transmitter
disables the theft-deterrent system. Unlocking a
door any other way will activate the alarm when a
door or the trunk is opened.
If you activate the alarm by accident, unlock the driver’s
door with your key. You can also turn off the alarm
by using the unlock button on the remote keyless entry
transmitter, or by starting the car with a valid key.
Changes or modifications made to this system by other
than an authorized service facility could void
authorization to use the theft system.
2-20
Page 79 of 410
Testing the Alarm
1. From inside the vehicle, roll down the window, then
get out of the vehicle, keeping the door open.
2. From outside of the vehicle, with the door open, lock
the vehicle using the power door lock or the remote
keyless entry transmitter and close the door. Wait 30
seconds until the SECURITY lamp goes off.
3. Reach in and unlock the door using the manual
lock and open the door. The horn will sound and
the hazard lights will flash.
You can turn off the alarm by unlocking the driver’s door
with your key, using the unlock button on the remote
keyless entry transmitter or by starting the car with
a valid key.
If the alarm does not sound when it should, check to
see if the horn works. The horn fuse may be blown. To
replace the fuse, seeFuses and Circuit Breakers on
page 5-97. If the fuse does not need to be replaced, you
may need to have your vehicle serviced.
To reduce the possibility of theft, always arm the
theft-deterrent system when leaving your vehicle.
Valet Lockout Switch
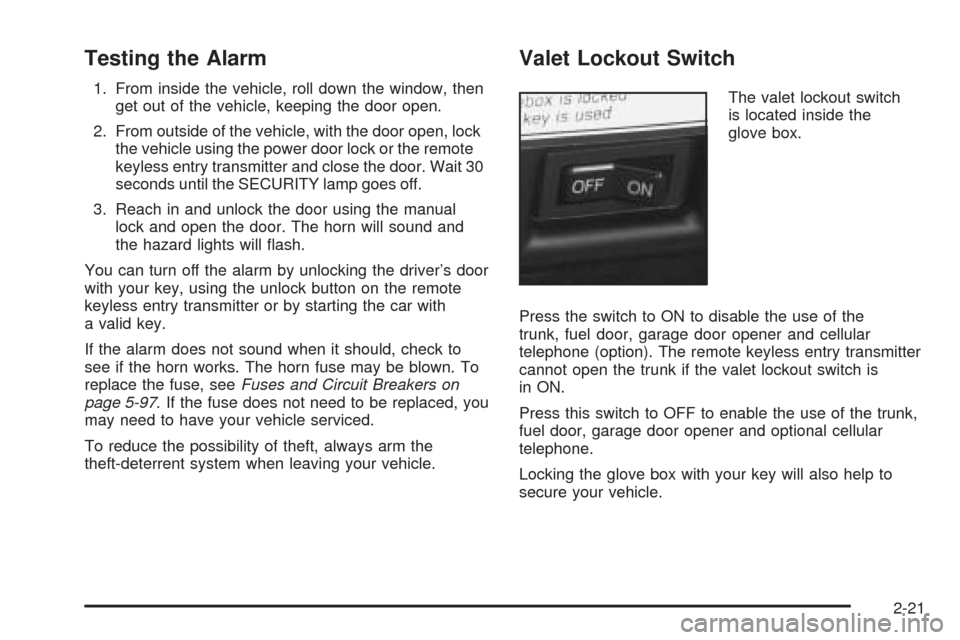
The valet lockout switch
is located inside the
glove box.
Press the switch to ON to disable the use of the
trunk, fuel door, garage door opener and cellular
telephone (option). The remote keyless entry transmitter
cannot open the trunk if the valet lockout switch is
in ON.
Press this switch to OFF to enable the use of the trunk,
fuel door, garage door opener and optional cellular
telephone.
Locking the glove box with your key will also help to
secure your vehicle.
2-21
Page 149 of 410
Warning Lights, Gages and
Indicators
Warning Lights, Gages, and
Indicators
This part describes the warning lights and gages that may
be on your vehicle. The pictures will help you locate them.
Warning lights and gages can signal that something is
wrong before it becomes serious enough to cause
an expensive repair or replacement. Paying attention to
your warning lights and gages could also save you
or others from injury.
Warning lights come on when there may be or is a
problem with one of your vehicle’s functions. As you will
see in the details on the next few pages, some
warning lights come on briefly when you start the
engine just to let you know they are working. If you are
familiar with this section, you should not be alarmed
when this happens.Gages can indicate when there may be or is a problem
with one of your vehicle’s functions. Often gages
and warning lights work together to let you know when
there is a problem with your vehicle.
When one of the warning lights comes on and stays on
when you are driving, or when one of the gages
shows there may be a problem, check the section that
tells you what to do about it. Follow this manual’s
advice. Waiting to do repairs can be costly – and even
dangerous. So please get to know your warning
lights and gages. They are a big help.
Your vehicle also has a Driver Information Center (DIC)
that works along with the warning lights and gages.
SeeDriver Information Center (DIC) on page 3-52for
more information.
3-37
Page 408 of 410
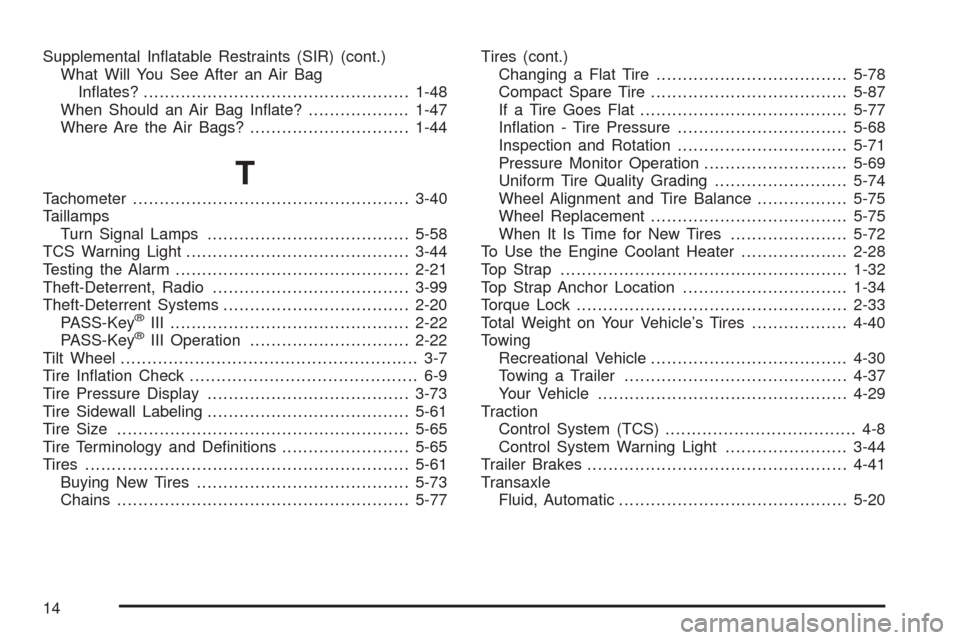
Supplemental Inflatable Restraints (SIR) (cont.)
What Will You See After an Air Bag
Inflates?..................................................1-48
When Should an Air Bag Inflate?...................1-47
Where Are the Air Bags?..............................1-44
T
Tachometer....................................................3-40
Taillamps
Turn Signal Lamps......................................5-58
TCS Warning Light..........................................3-44
Testing the Alarm............................................2-21
Theft-Deterrent, Radio.....................................3-99
Theft-Deterrent Systems...................................2-20
PASS-Key
®III .............................................2-22
PASS-Key®III Operation..............................2-22
Tilt Wheel........................................................ 3-7
Tire Inflation Check........................................... 6-9
Tire Pressure Display......................................3-73
Tire Sidewall Labeling......................................5-61
Tire Size.......................................................5-65
Tire Terminology and Definitions........................5-65
Tires.............................................................5-61
Buying New Tires........................................5-73
Chains.......................................................5-77Tires (cont.)
Changing a Flat Tire....................................5-78
Compact Spare Tire.....................................5-87
If a Tire Goes Flat.......................................5-77
Inflation - Tire Pressure................................5-68
Inspection and Rotation................................5-71
Pressure Monitor Operation...........................5-69
Uniform Tire Quality Grading.........................5-74
Wheel Alignment and Tire Balance.................5-75
Wheel Replacement.....................................5-75
When It Is Time for New Tires......................5-72
To Use the Engine Coolant Heater....................2-28
Top Strap......................................................1-32
Top Strap Anchor Location...............................1-34
Torque Lock...................................................2-33
Total Weight on Your Vehicle’s Tires..................4-40
Towing
Recreational Vehicle.....................................4-30
Towing a Trailer..........................................4-37
Your Vehicle...............................................4-29
Traction
Control System (TCS).................................... 4-8
Control System Warning Light.......................3-44
Trailer Brakes.................................................4-41
Transaxle
Fluid, Automatic...........................................5-20
14