radiator cap CADILLAC SEVILLE 2004 5.G Owners Manual
[x] Cancel search | Manufacturer: CADILLAC, Model Year: 2004, Model line: SEVILLE, Model: CADILLAC SEVILLE 2004 5.GPages: 410, PDF Size: 2.64 MB
Page 282 of 410
Then, without shutting off the engine, follow these steps:
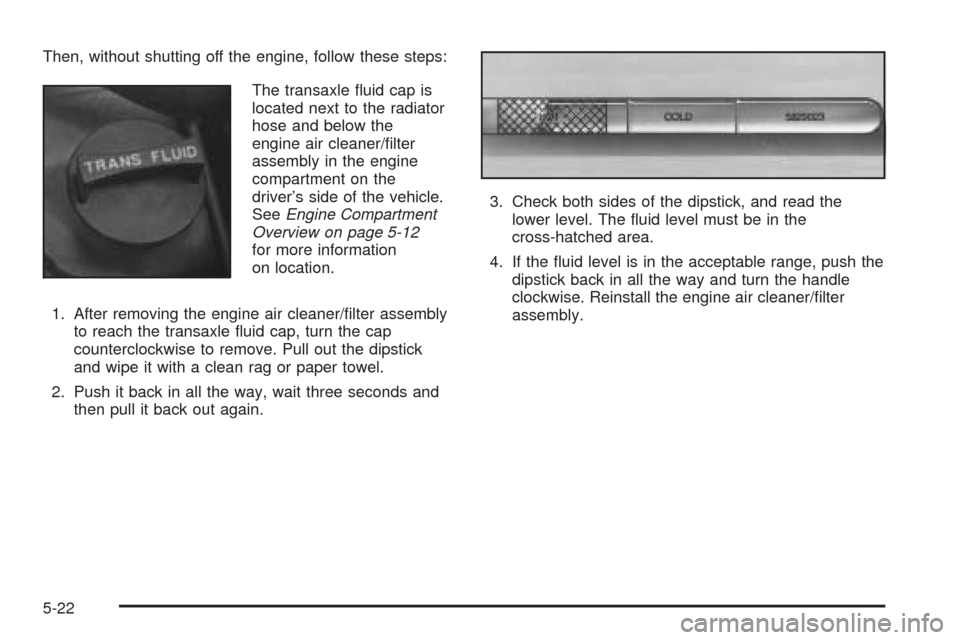
The transaxle fluid cap is
located next to the radiator
hose and below the
engine air cleaner/filter
assembly in the engine
compartment on the
driver’s side of the vehicle.
SeeEngine Compartment
Overview on page 5-12
for more information
on location.
1. After removing the engine air cleaner/filter assembly
to reach the transaxle fluid cap, turn the cap
counterclockwise to remove. Pull out the dipstick
and wipe it with a clean rag or paper towel.
2. Push it back in all the way, wait three seconds and
then pull it back out again.3. Check both sides of the dipstick, and read the
lower level. The fluid level must be in the
cross-hatched area.
4. If the fluid level is in the acceptable range, push the
dipstick back in all the way and turn the handle
clockwise. Reinstall the engine air cleaner/filter
assembly.
5-22
Page 285 of 410
Checking Coolant
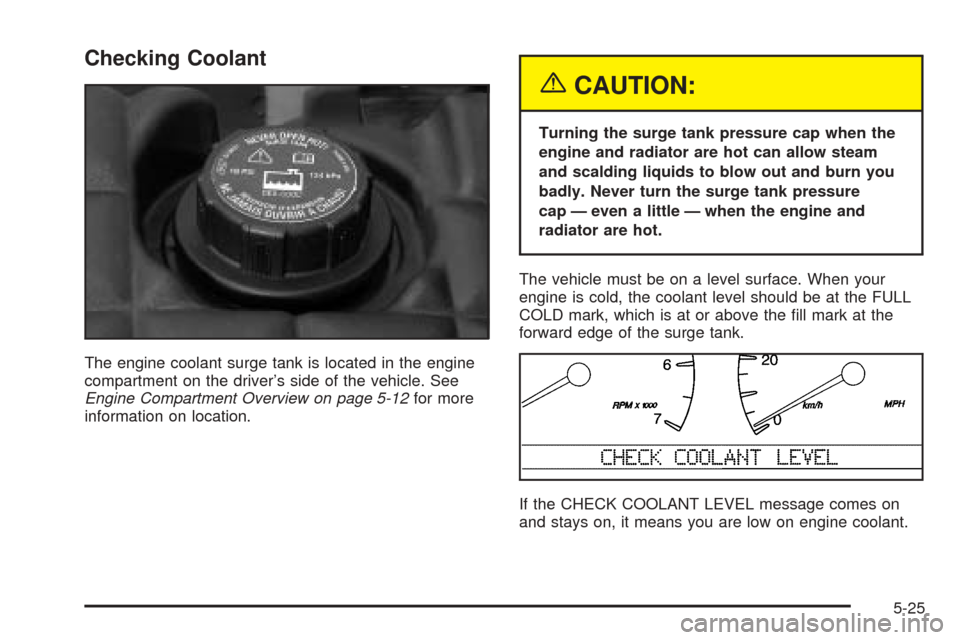
The engine coolant surge tank is located in the engine
compartment on the driver’s side of the vehicle. See
Engine Compartment Overview on page 5-12for more
information on location.
{CAUTION:
Turning the surge tank pressure cap when the
engine and radiator are hot can allow steam
and scalding liquids to blow out and burn you
badly. Never turn the surge tank pressure
cap — even a little — when the engine and
radiator are hot.
The vehicle must be on a level surface. When your
engine is cold, the coolant level should be at the FULL
COLD mark, which is at or above the fill mark at the
forward edge of the surge tank.
If the CHECK COOLANT LEVEL message comes on
and stays on, it means you are low on engine coolant.
5-25
Page 290 of 410
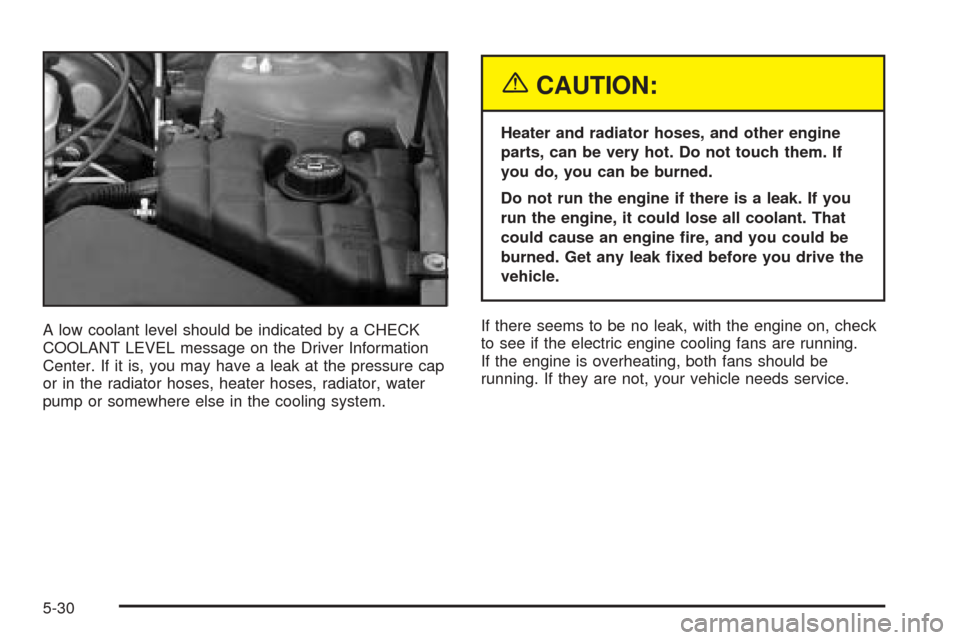
A low coolant level should be indicated by a CHECK
COOLANT LEVEL message on the Driver Information
Center. If it is, you may have a leak at the pressure cap
or in the radiator hoses, heater hoses, radiator, water
pump or somewhere else in the cooling system.
{CAUTION:
Heater and radiator hoses, and other engine
parts, can be very hot. Do not touch them. If
you do, you can be burned.
Do not run the engine if there is a leak. If you
run the engine, it could lose all coolant. That
could cause an engine fire, and you could be
burned. Get any leak fixed before you drive the
vehicle.
If there seems to be no leak, with the engine on, check
to see if the electric engine cooling fans are running.
If the engine is overheating, both fans should be
running. If they are not, your vehicle needs service.
5-30
Page 291 of 410
Notice:Engine damage from running your engine
without coolant is not covered by your warranty. See
“Overheated Engine Protection Operating Mode”
in the Index for information on driving to a safe
place in an emergency.
Notice:Using coolant other than DEX-COOL
®may
cause premature engine, heater core or radiator
corrosion. In addition, the engine coolant may
require changing sooner, at 30,000 miles (50 000 km)
or 24 months, whichever occurs first. Any repairs
would not be covered by your warranty. Always use
DEX-COOL
®(silicate-free) coolant in your vehicle.
How to Add Coolant to the Coolant
Surge Tank
If you have not found a problem yet, check to see if
coolant is visible in the surge tank. If coolant is visible
but the coolant level is not at or above the fill mark at the
forward edge of the surge tank, add a 50/50 mixture
ofclean, drinkable waterand DEX-COOL
®coolant at the
coolant surge tank, but be sure the cooling system,
including the coolant surge tank pressure cap, is cool
before you do it. SeeEngine Coolant on page 5-23
for more information.
5-31
Page 294 of 410
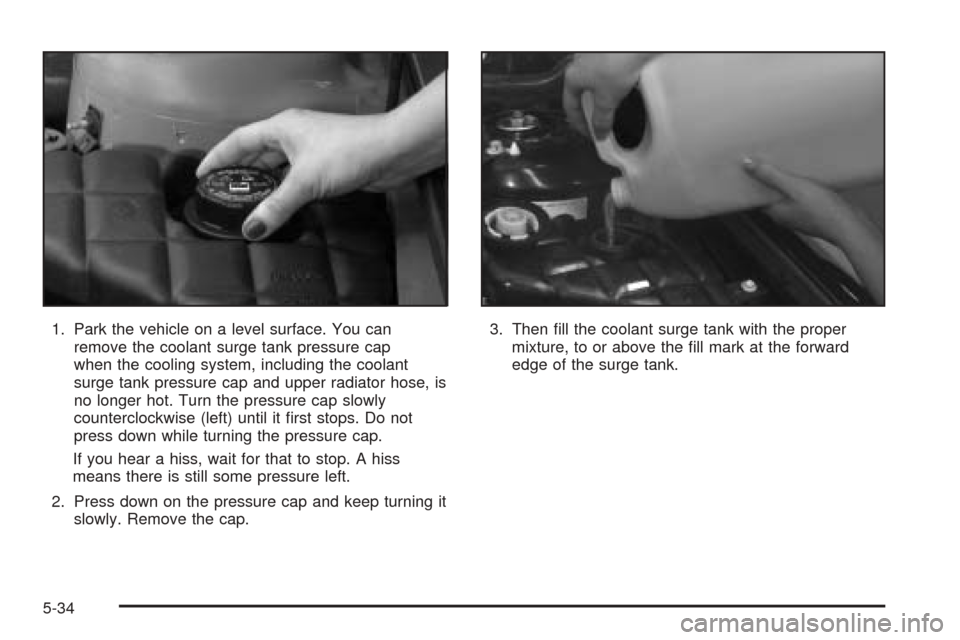
1. Park the vehicle on a level surface. You can
remove the coolant surge tank pressure cap
when the cooling system, including the coolant
surge tank pressure cap and upper radiator hose, is
no longer hot. Turn the pressure cap slowly
counterclockwise (left) until it first stops. Do not
press down while turning the pressure cap.
If you hear a hiss, wait for that to stop. A hiss
means there is still some pressure left.
2. Press down on the pressure cap and keep turning it
slowly. Remove the cap.3. Then fill the coolant surge tank with the proper
mixture, to or above the fill mark at the forward
edge of the surge tank.
5-34
Page 295 of 410
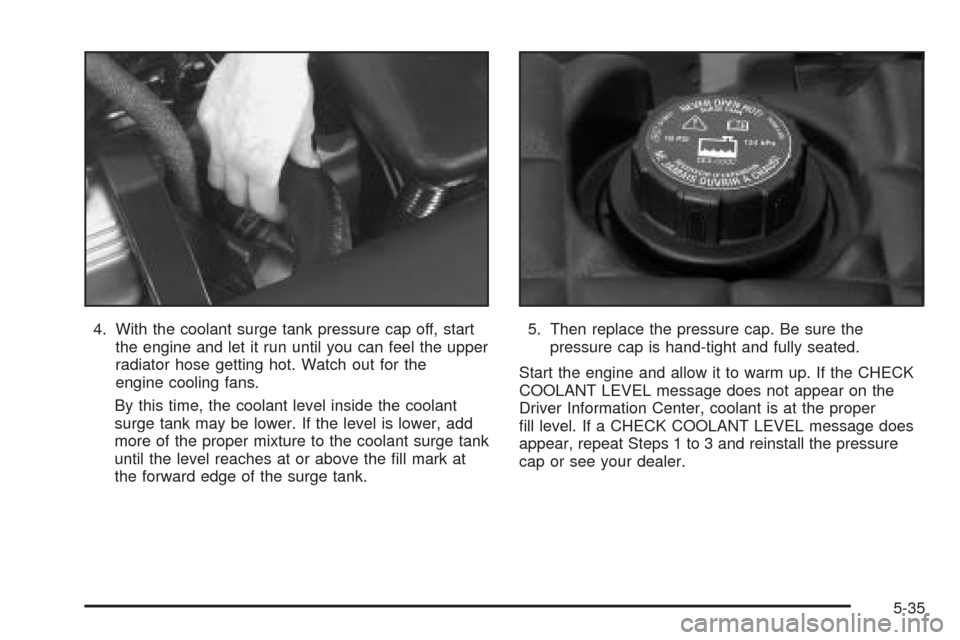
4. With the coolant surge tank pressure cap off, start
the engine and let it run until you can feel the upper
radiator hose getting hot. Watch out for the
engine cooling fans.
By this time, the coolant level inside the coolant
surge tank may be lower. If the level is lower, add
more of the proper mixture to the coolant surge tank
until the level reaches at or above the fill mark at
the forward edge of the surge tank.5. Then replace the pressure cap. Be sure the
pressure cap is hand-tight and fully seated.
Start the engine and allow it to warm up. If the CHECK
COOLANT LEVEL message does not appear on the
Driver Information Center, coolant is at the proper
fill level. If a CHECK COOLANT LEVEL message does
appear, repeat Steps 1 to 3 and reinstall the pressure
cap or see your dealer.
5-35
Page 371 of 410
Maintenance Footnotes
†The U.S. Environmental Protection Agency or the
California Air Resources Board has determined that the
failure to perform this maintenance item will not nullify
the emission warranty or limit recall liability prior to
the completion of the vehicle’s useful life. We, however,
urge that all recommended maintenance services be
performed at the indicated intervals and the
maintenance be recorded.
(a)Visually inspect brake lines and hoses for proper
hook-up, binding, leaks, cracks, cha�ng, etc. Inspect
disc brake pads for wear and rotors for surface
condition. Inspect other brake parts, including calipers,
parking brake, etc.
(b)Visually inspect front and rear suspension and
steering system for damaged, loose or missing parts or
signs of wear. Inspect power steering lines and
hoses for proper hook-up, binding, leaks, cracks,
cha�ng, etc.
(c)Visually inspect hoses and have them replaced if they
are cracked, swollen or deteriorated. Inspect all pipes,
�ttings and clamps; replace with genuine GM parts as
needed. To help ensure proper operation, a pressure test
of the cooling system and pressure cap and cleaning the
outside of the radiator and air conditioning condenser is
recommended at least once a year.(d)Visually inspect wiper blades for wear or cracking.
Replace blade inserts that appear worn or damaged
or that streak or miss areas of the windshield.
(e)Make sure the safety belt reminder light and all your
belts, buckles, latch plates, retractors and anchorages
are working properly. Look for any other loose or
damaged safety belt system parts. If you see anything
that might keep a safety belt system from doing its
job, have it repaired. Have any torn or frayed safety belts
replaced. Also look for any opened or broken air bag
coverings, and have them repaired or replaced. (The air
bag system does not need regular maintenance.)
(f)Lubricate all key lock cylinders. Lubricate all hinges
and latches, including those for the hood, rear
compartment, glove box door and console door. More
frequent lubrication may be required when exposed to a
corrosive environment. Applying silicone grease on
weatherstrips with a clean cloth will make them
last longer, seal better and not stick or squeak.
(g)If you drive regularly under dusty conditions, the
�lter may require replacement more often.
6-7
Page 372 of 410
(h)If you do not use your vehicle under the following
conditions, the �uid and �lter do not require chage until
the CHANGE TRANS FLUID message appears on
the Driver Information Center. Change automatic
transaxle �uid and �lter if the vehicle is mainly driven
under one or more of these conditions:
-In heavy city traffic where the outside temperature
regularly reaches 90°F (32°C) or higher.
-In hilly or mountainous terrain.
-When doing frequent trailer towing.
-Uses such as limousine service.
-Uses such as high performance operation.
(i)Drain, �ush and re�ll cooling system. See Engine
Coolant on page 5-23for what to use. Inspect hoses.
Clean radiator, condenser, pressure cap and filler neck.
Pressure test the cooling system and pressure cap.
(j)Check throttle system for interference or binding and
for damaged or missing parts. Replace parts as
needed. Replace any components that have high effort
or excessive wear. Do not lubricate accelerator or
cruise control cables.
(k)A �uid loss in any vehicle system could indicate a
problem. Have the system inspected and repaired
and the �uid level checked. Add �uid if needed.
(l)Inspect throttle body bore and valve plates for
deposits. Open the throttle valve and inspect all
surfaces. Clean as required.Owner Checks and Services
These owner checks and services should be performed
at the intervals specified to help ensure the safety,
dependability and emission control performance of your
vehicle. Your GM Goodwrench dealer can assist you
with these checks and services.
Be sure any necessary repairs are completed at once.
Whenever any fluids or lubricants are added to your
vehicle, make sure they are the proper ones, as shown
inRecommended Fluids and Lubricants on page 6-12.
At Each Fuel Fill
It is important to perform these underhood checks at
each fuel �ll.
Engine Oil Level Check
Check the engine oil level and add the proper oil if
necessary. SeeEngine Oil on page 5-13for further
details.
Notice:It is important to check your oil regularly
and keep it at the proper level. Failure to keep your
engine oil at the proper level can cause damage
to your engine not covered by your warranty.
6-8