brake sensor CADILLAC STS 2011 1.G Owners Manual
[x] Cancel search | Manufacturer: CADILLAC, Model Year: 2011, Model line: STS, Model: CADILLAC STS 2011 1.GPages: 528, PDF Size: 4.96 MB
Page 149 of 528

Black plate (43,1)Cadillac STS Owner Manual - 2011
When the System Does Not Seem to
Work Properly
If the URPA system will not activate due to a temporary
condition a red light will be shown on the rear URPA
display when the shift lever is moved into R (Reverse).
This occurs under the following conditions:
.The ultrasonic sensors are not clean. Keep the
vehicle's rear bumper free of mud, dirt, snow, ice
and slush. For cleaning instructions, seeWashing
Your Vehicle on page 6‑109.
.A trailer was attached to the vehicle, or a bicycle or
an object was hanging out of the trunk during the
last drive cycle, the red light may illuminate in the
rear display. Once the attached object is removed,
URPA will return to normal operation.
.The vehicle's bumper is damaged. Take the vehicle
to your dealer to repair the system.
.Other conditions may affect system performance,
such as vibrations from a jackhammer or the
compression of air brakes on a very large truck.
If the system is still disabled, after driving forward at
least 15 mph (25 km/h), take the vehicle to your dealer.
3-43
Page 220 of 528

Black plate (34,1)Cadillac STS Owner Manual - 2011
Twilight Sentinel®
Twilight Sentinel®can turn the lamps on and off for you.
A light sensor on top of the instrument panel makes the
Twilight Sentinel work, so be sure it is not covered.With Twilight Sentinel the following will happen:
.When it is dark enough outside, the front turn
signal lamps (DRL) will go off, and the headlamps
and parking lamps will come on. The other lamps
that come on with headlamps will also come on.
.When it is bright enough outside, the headlamps
will go off, and the front turn signal lamps (DRL)
will come on, as long as the exterior lamp switch is
in the off position.
If the vehicle is started in a dark garage, the automatic
headlamp system comes on immediately. Once the
vehicle leaves the garage, it will take about one minute
for the automatic headlamp system to change to DRL if
it is light outside. During that delay, the instrument panel
cluster might not be as bright as usual. Make sure the
instrument panel brightness control is in full bright
position. See Instrument Panel Brightness
on
page 4‑35for more information.
You can idle the vehicle with the lamps off, even when it
is dark outside. First set the parking brake while the
ignition is in OFF/ACCESSORY. Then start the vehicle.
The lamps will stay off until the parking brake is
released.
4-34
Page 271 of 528

Black plate (85,1)Cadillac STS Owner Manual - 2011
PRESS START AND BRAKE TO START
ENGINE
This message displays when you need to press down
on the brake pedal while pressing the start button on
the electronic keyless ignition when trying to start your
vehicle. SeeStarting the Engine
on page 3‑27for more
information.
RADAR CRUISE NOT READY
This message displays when the Adaptive Cruise
Control system is not activating due to a temporary
condition. Your vehicle does not require service. This
message also displays when either of the following
conditions occur:
.The driver turns off the head-up display (HUD)
while the Adaptive Cruise Control is engaged.
.The driver attempts to engage the Adaptive Cruise
Control while the HUD is off.
If this message appears when attempting to activate the
system, continue driving for several minutes and then
try activating the system again.
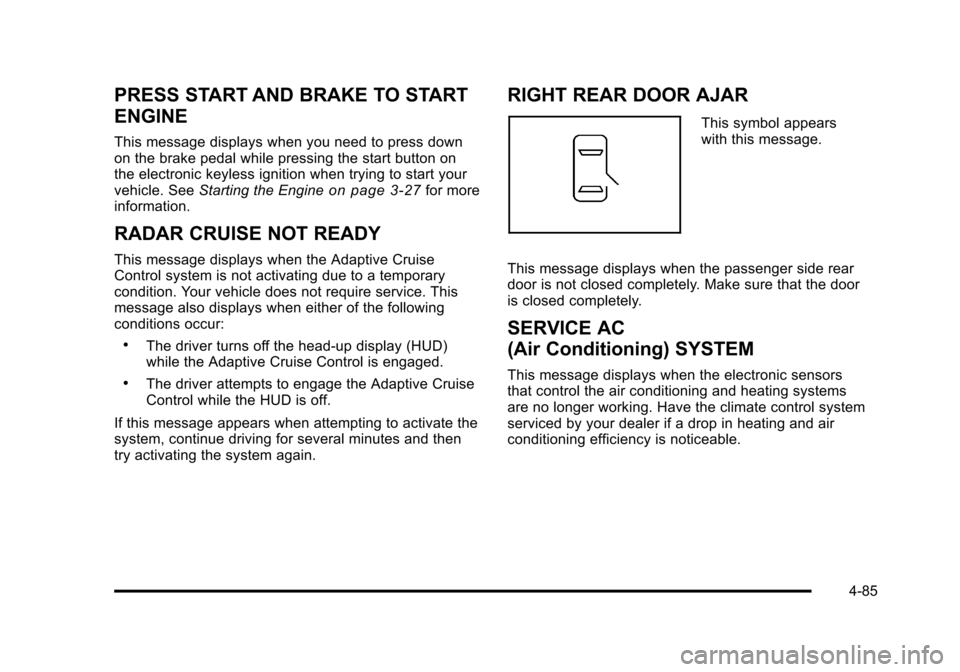
RIGHT REAR DOOR AJAR
This symbol appears
with this message.
This message displays when the passenger side rear
door is not closed completely. Make sure that the door
is closed completely.
SERVICE AC
(Air Conditioning) SYSTEM
This message displays when the electronic sensors
that control the air conditioning and heating systems
are no longer working. Have the climate control system
serviced by your dealer if a drop in heating and air
conditioning efficiency is noticeable.
4-85
Page 414 of 528

Black plate (64,1)Cadillac STS Owner Manual - 2011
TPMS Sensor Matching Process
Each TPMS sensor has a unique identification code.
Any time you replace one or more of the TPMS sensors
or rotate your vehicle's tires, the identification codes will
need to be matched to the new tire/wheel position. The
sensors are matched to the tire/wheel positions in the
following order: driver side front tire, passenger side
front tire, passenger side rear tire, and driver side rear
tire using a TPMS diagnostic tool. See your dealer for
service.
The TPMS sensors may also be matched to each tire/
wheel position by increasing or decreasing the tire's air
pressure. When increasing the tire's pressure, do not
exceed the maximum inflation pressure indicated on the
tire's sidewall. If using this method to match TPMS
sensors, the complete procedure outlined below must
be performed within 15 minutes of the vehicle being
stationary.
To decrease air-pressure out of a tire you can use the
pointed end of the valve cap, a pencil-style air pressure
gauge, or a key.
You will have one minute to match the first tire/wheel
position, and five minutes overall, to match all four
tire/wheel positions. If it takes longer than one minute to
match the first tire and wheel, or more than five minutes
to match all four tire/wheel positions, the matching
process stops and you will need to start over.The TPM matching process is outlined below:
1. Set the parking brake.
2. Press the push-button ignition switch to Acc.
3. Using the keyless access transmitter, lock and unlock the vehicle's doors.
4. Press the lock and unlock buttons, at the same time, on the keyless access transmitter. The horn
sounds twice, indicating that the TPMS is ready,
and the sensor matching process can begin.
5. Start with the driver side front tire.
6. Remove the valve cap from the valve stem. Activate the TPMS sensor by increasing or
decreasing the tire's air pressure for five seconds,
or until a horn chirp sounds. The horn chirp, which
may take up to 30 seconds to sound, confirms that
the sensor identification code has been matched to
this tire position.
7. Proceed to the passenger side front tire, and repeat the procedure in Step 6.
8. Proceed to the passenger side rear tire, and repeat the procedure in Step 6.
9. Proceed to the driver side rear tire, and repeat the procedure in Step 6.
6-64
Page 423 of 528

Black plate (73,1)Cadillac STS Owner Manual - 2011
If you need to replace any of your wheels, wheel bolts,
wheel nuts, or Tire Pressure Monitor System (TPMS)
sensors, replace them only with new GM original
equipment parts. This way, you will be sure to have the
right wheel, wheel bolts, wheel nuts, and TPMS sensors
for your vehicle.
{WARNING:
Using the wrong replacement wheels, wheel bolts,
or wheel nuts on your vehicle can be dangerous.
It could affect the braking and handling of your
vehicle, make your tires lose air and make you
lose control. You could have a collision in which
you or others could be injured. Always use the
correct wheel, wheel bolts, and wheel nuts for
replacement.Notice:
The wrong wheel can also cause problems
with bearing life, brake cooling, speedometer or
odometer calibration, headlamp aim, bumper height,
vehicle ground clearance, and tire or tire chain
clearance to the body and chassis.
See Changing a Flat Tire
on page 6‑94for more
information.
Used Replacement Wheels
{WARNING:
Putting a used wheel on the vehicle is dangerous.
You cannot know how it has been used or how far
it has been driven. It could fail suddenly and
cause a crash. If you have to replace a wheel, use
a new GM original equipment wheel.
6-73
Page 469 of 528

Black plate (119,1)Cadillac STS Owner Manual - 2011
Fuses MiniUsage
V/CHKInstrument Panel Module-Voltage
Check
WPR Wipe/Wash Module Assembly
WPR SW/VICS Rain Sensor, Wiper Switch
Relays Usage
A/C CMPRSR
CLTCH Air Conditioning Compressor Clutch
ACCY Accessory, Rain Sensor, Headlamp
Washer Relay Coil, Windshield
Wiper/Washer Module
BRK
VAC PUMP Brake Vacuum Pump
FAN S/P Cooling Fan Series/Parallel
FOG LAMP Fog Lamps FRT BLWR Front Blower Motor
FUEL COOL Fuel Cooling Pump
HI BEAM High Beam Headlamp
HI FAN SPD Cooling Fan High Speed HORN Horn
Relays Usage
LO FAN SPD Cooling Fan Low Speed
LOW BEAM
W/O HID/HID Low Beam Headlamp, High Intensity
Discharge (HID)
PRK LAMP Parking Lamps, Instrument Panel
Dimming, Rear License Plate Lamps
PWR/TRN Engine Controls
RUN CRNK Heated Washer Nozzle, Air Quality,
Antilock Brake System, Climate
Control Panel, TCM, ECM, Instrument
Panel Cluster
SPARE Spare
SPARE Spare
SPARE Spare
STRTR Starter
WPR HI Windshield Wiper High Speed
Circuit
Breakers Usage
HDLP WASH
Headlamp Washer Motor
(Circuit Breaker)
6-119