CHEVROLET ASTRO 1998 2.G Owners Manual
Manufacturer: CHEVROLET, Model Year: 1998, Model line: ASTRO, Model: CHEVROLET ASTRO 1998 2.GPages: 414, PDF Size: 21.46 MB
Page 121 of 414
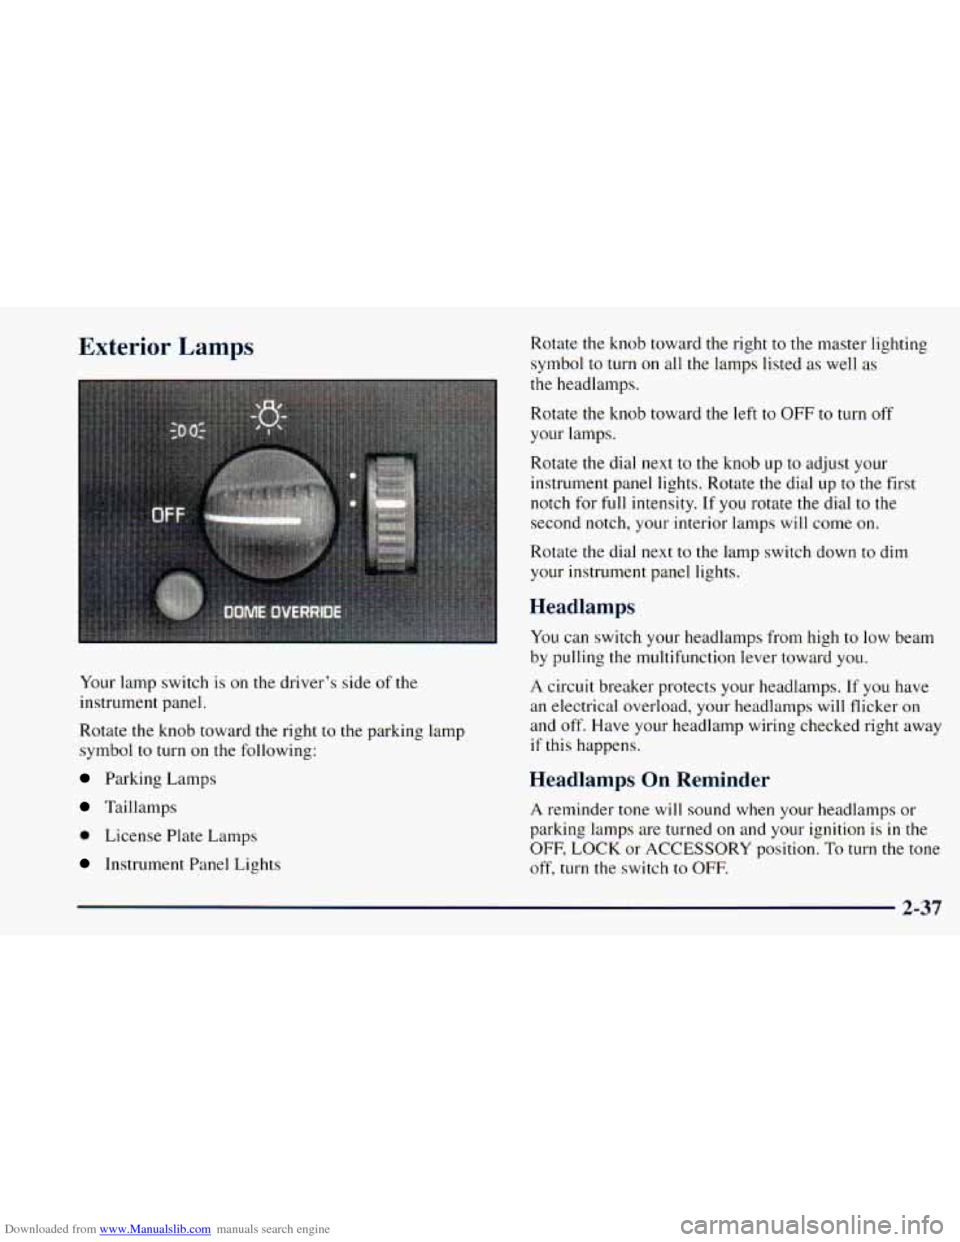
Downloaded from www.Manualslib.com manuals search engine Exterior Lamps
Your lamp switch is on the driver’s side of the
instrument panel.
Rotate the knob toward the right to
the parking lamp
symbol
to turn on the following:
Parking Lamps
Taillamps
0 License Plate Lamps
Instrument Panel Lights Rotate
the knob toward the right to the master lighting
symbol to turn on all
the lamps listed as well as
the headlamps.
Rotate the knob toward the left to
OFF to turn off
your lamps.
Rotate the dial next
to the knob up to adjust your
instrument panel lights. Rotate the dial up to
the first
notch for
full intensity. If you rotate the dial to the
second notch,
your interior lamps will come on.
Rotate
the dial next to the lamp switch down to dim
your instrument panel lights.
Headlamps
You can switch your headlamps from high to low beam
by pulling
the multifunction lever toward you.
A circuit breaker protects your headlamps. If you have
an electrical overload, your headlamps
will flicker on
and off. Have your headlamp wiring checked right away
if this happens.
Headlamps On Reminder
A reminder tone will sound when your headlamps or
parking lamps are turned
on and your ignition is in the
OFF, LOCK or ACCESSORY position. To turn the tone
off, turn
the switch to OFF.
2-37
Page 122 of 414
Downloaded from www.Manualslib.com manuals search engine Daytime Running Lamps
Daytime Running Lamps (DRL) can make it easier for
others to
see the front of your vehicle during the day.
DRL can be helpful in many different driving
conditions, but they can be especially helpful in the
short periods after dawn and before sunset.
The DRL system will make your headlamps come on at
a reduced brightness when:
0 the ignition is on,
0 the headlamp switch is off and
0 the parking brake is released.
When the DRL
are on, only your headlamp
-
s will be on.
The taillamps, sidemarker and other lamps won’t be on.
Your instrument panel won’t be lit up either.
When it begins to get dark, your DRL indicator light is
a
reminder to turn your headlamp switch on. The other
lamps that come on with your headlamps will also
come on.
When you turn the headlamp switch
off, the regular
lamps will go off, and your headlamps will change to
the reduced brightness of DRL. To
idle your vehicle with the DRL off, set the parking
brake. The DRL will stay off until you release the
parking brake.
As with any vehicle, you should turn on the regular
headlamp system when you need it.
Interior Lamps
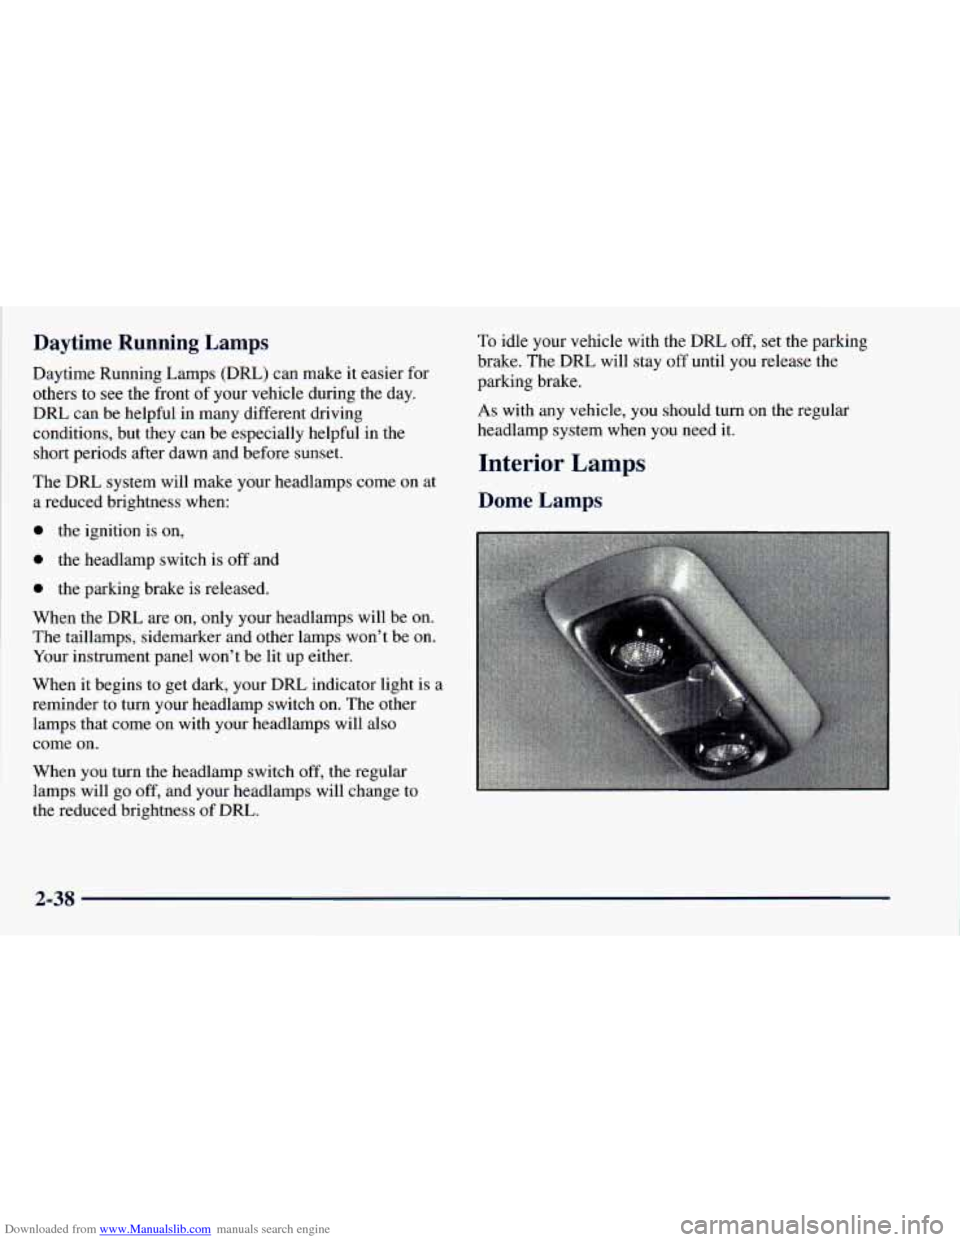
Dome Lamps
2-38
Page 123 of 414
Downloaded from www.Manualslib.com manuals search engine The dome lamps will come on when you open any of the
doors. They will remain on for
20 seconds after the last
door closes. When the ignition switch is turned on, the
dome lamps will go off.
You can also turn on the dome
lamps by turning the dimmer dial up
to the second click.
If the
DOME OVERRIDE button is pushed in, the dome
lamps will not come on.
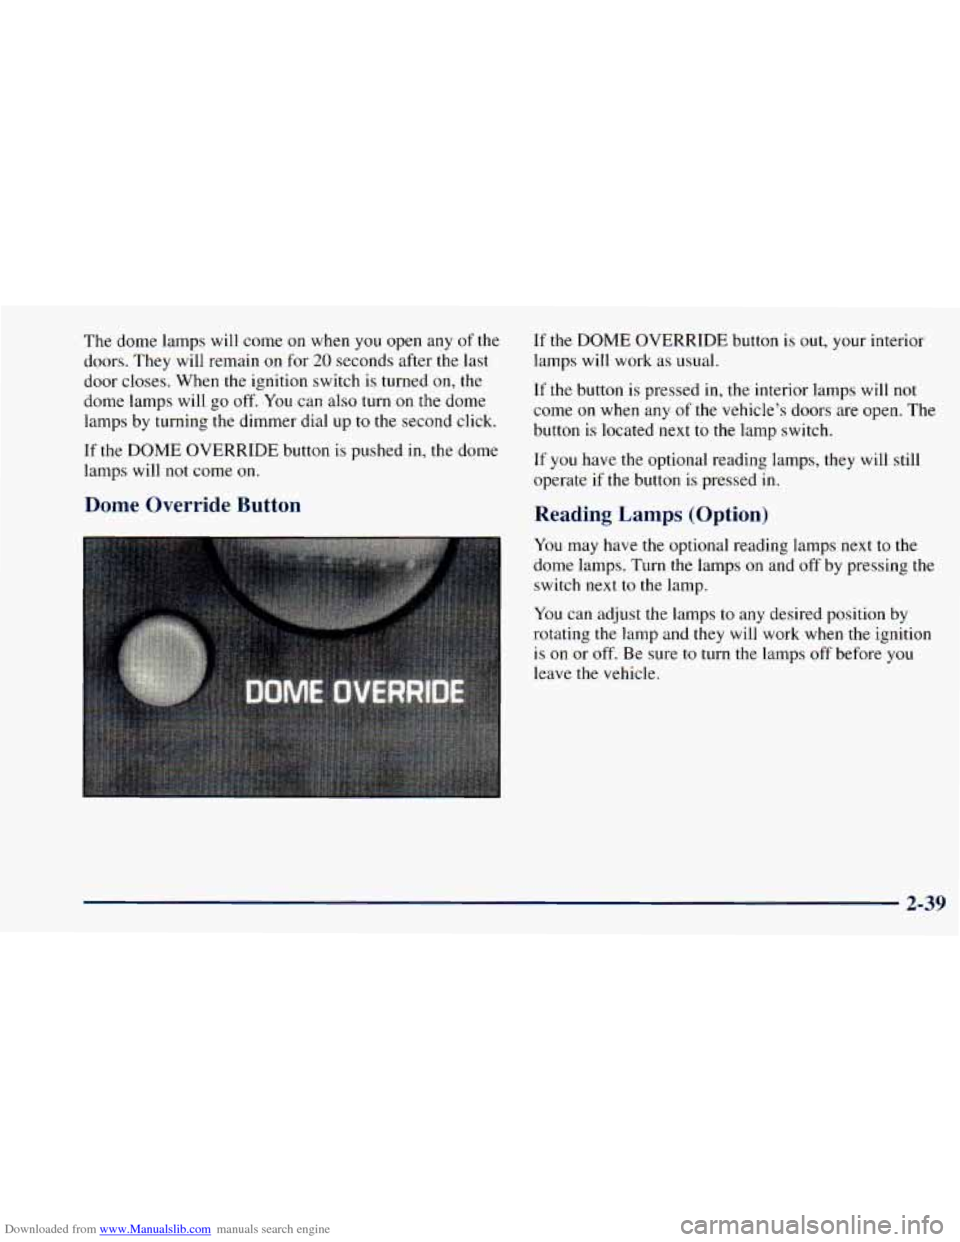
Dome Override Button
If the DOME OVERRIDE button is out, your interior
lamps will work as usual.
If the button
1s pressed in, the interior lamps will not
come
on when any of the vehicle’s doors are open. The
button is located next to the lamp switch.
If you have the optional reading lamps, they will still
operate if the button is pressed in.
Reading Lamps (Option)
You may have the optional reading lamps next to the
dome lamps. Turn the lamps on and off by pressing
the
switch next to the lamp.
You can adjust the lamps to any desired position by
rotating
the lamp and they will work when the ignition
is on or off. Be sure to turn the lamps off before you
leave the vehicle.
Page 124 of 414
Downloaded from www.Manualslib.com manuals search engine I Mirrors
I Inside Daymight Rearview Mirror
You can adjust the mirror for day or night driving. Press
the tab forward (away from you) for day driving. Pull
the tab back (toward you) for night driving.
1 Outside Mirrors
j of your vehicle. Adjust your outside mirrors
so you can just see the side
Some mirrors are manually adjustable. The optional
electric mirrors come with a remote control adjustment
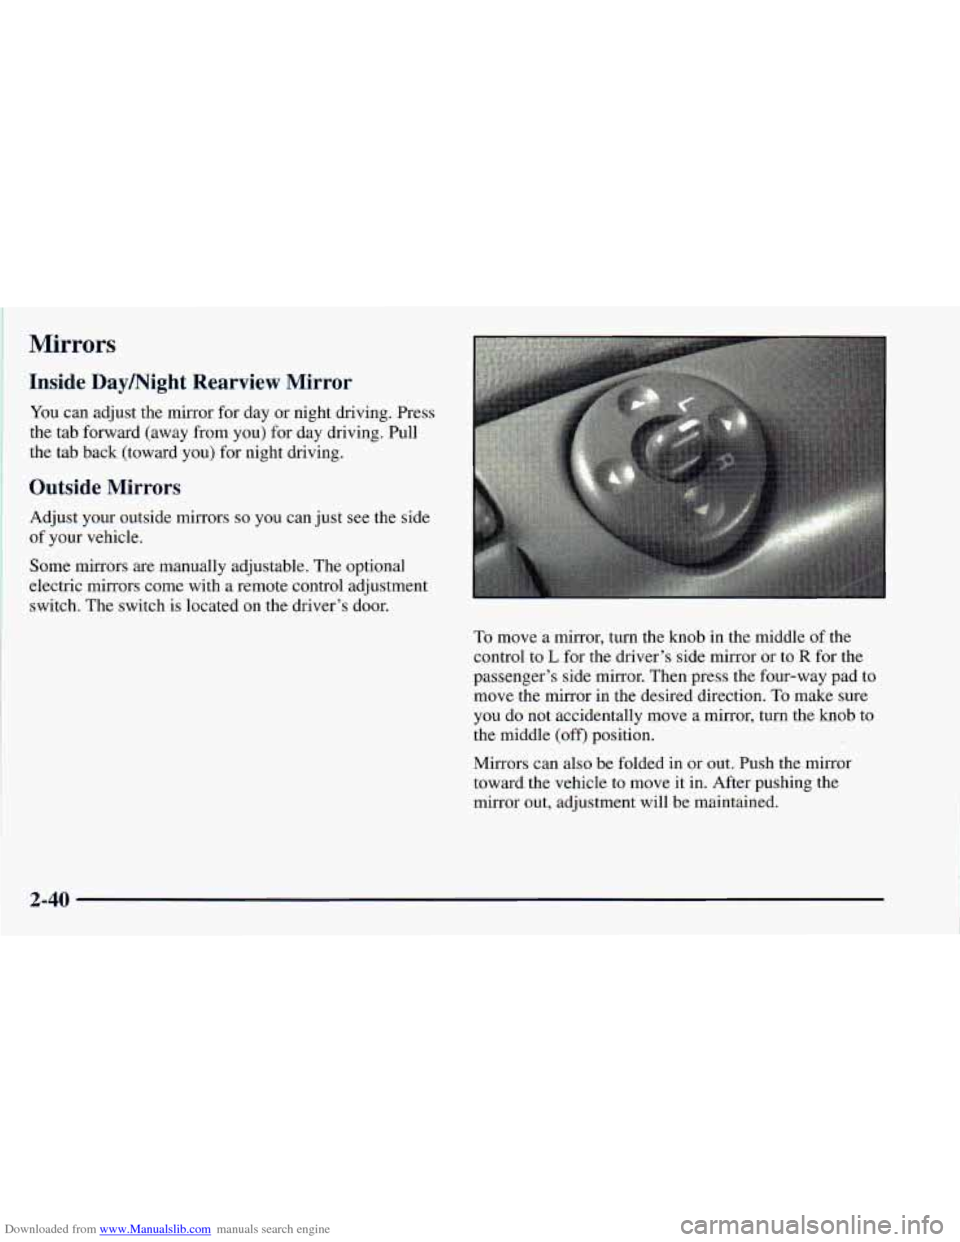
switch. The switch is located on the driver’s door.
To move a mirror, turn the knob in the middle of the
control to
L for the driver’s side mirror or to R for the
passenger’s side mirror. Then press the four-way pad to
move the mirror in the desired direction.
To make sure
you do not accidentally move a mirror, turn the knob to
the middle (off) position.
Mirrors can also be folded in or out. Push the mirror
toward the vehicle to move
it in. After pushing the
mirror out, adjustment will be maintained.
2-40
Page 125 of 414
Downloaded from www.Manualslib.com manuals search engine Convex Outside Mirror
Your passenger’s side mirror is convex. A convex
mirror’s surface is curved
so you can see more from the
driver’s seat.
jz
CAUTION:
-
A convex mirror can make things (like other
vehicles) look farther away than they really are.
If you cut too sharply into the right lane, you
could hit a vehicle on your right. Check your
inside mirror or glance over your shoulder before
changing lanes.
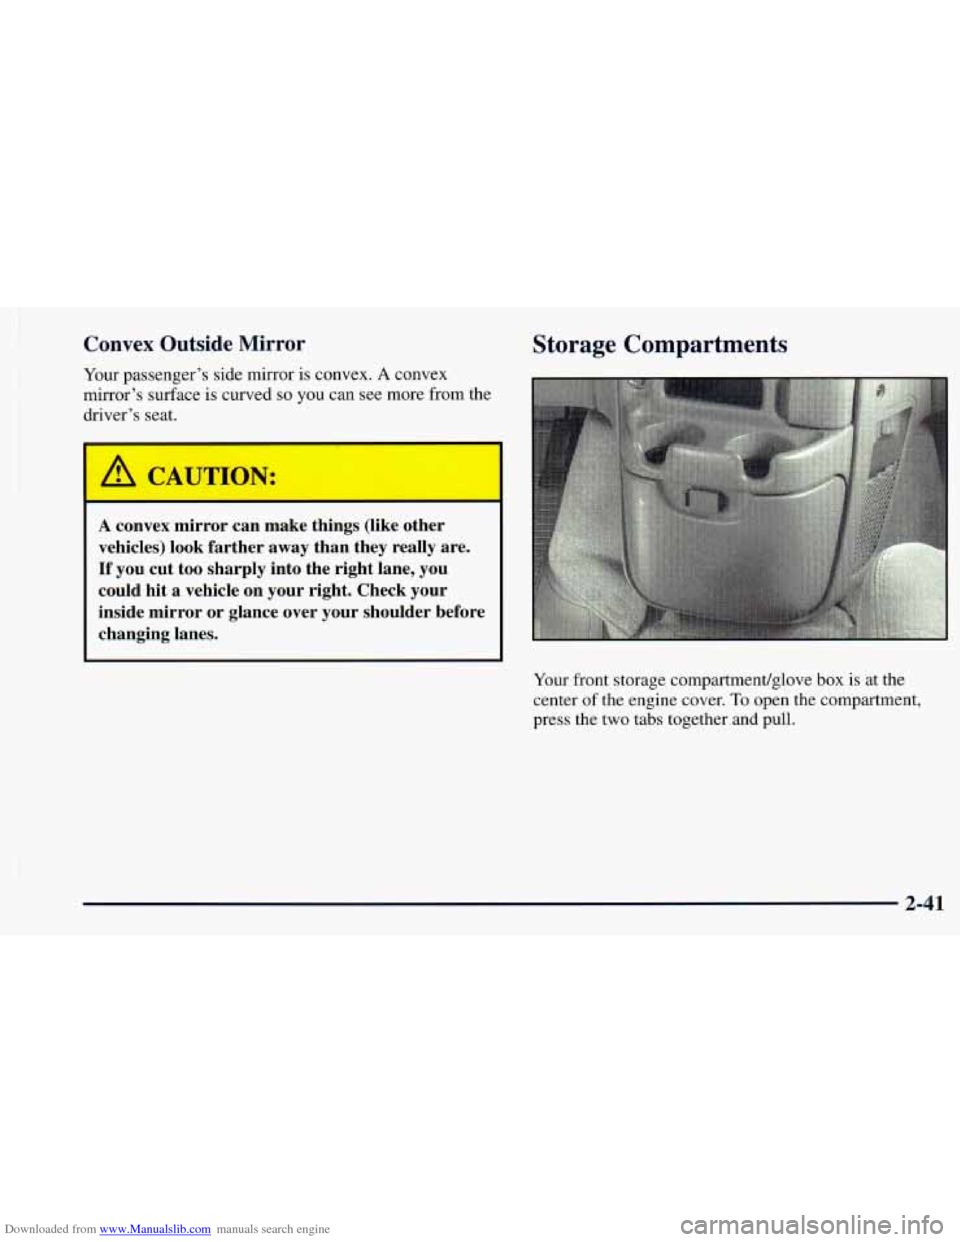
Storage Compartments
Your front storage compartmentjglove box is at the
center
of the engine cover. To open the compartment.
press the two tabs together and pull.
2-41
Page 126 of 414
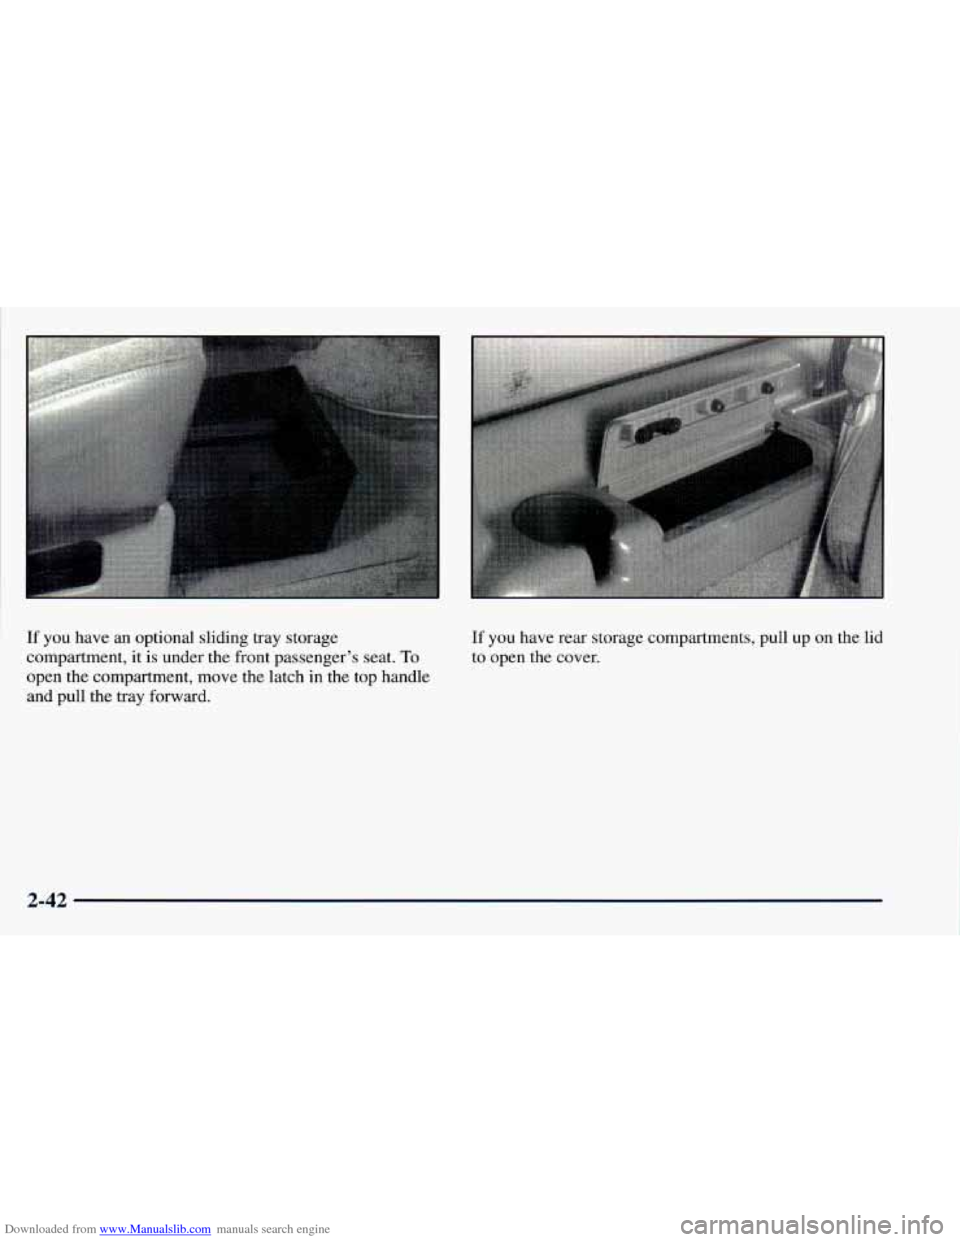
Downloaded from www.Manualslib.com manuals search engine If you have an optional sliding tray storage
compartment, it is under the front passenger’s seat.
To
open the compartment, move the latch in the top handle
and pull the tray forward.
If you have rear storage compartments, pull up on the lid
to open the cover.
2-42
Page 127 of 414
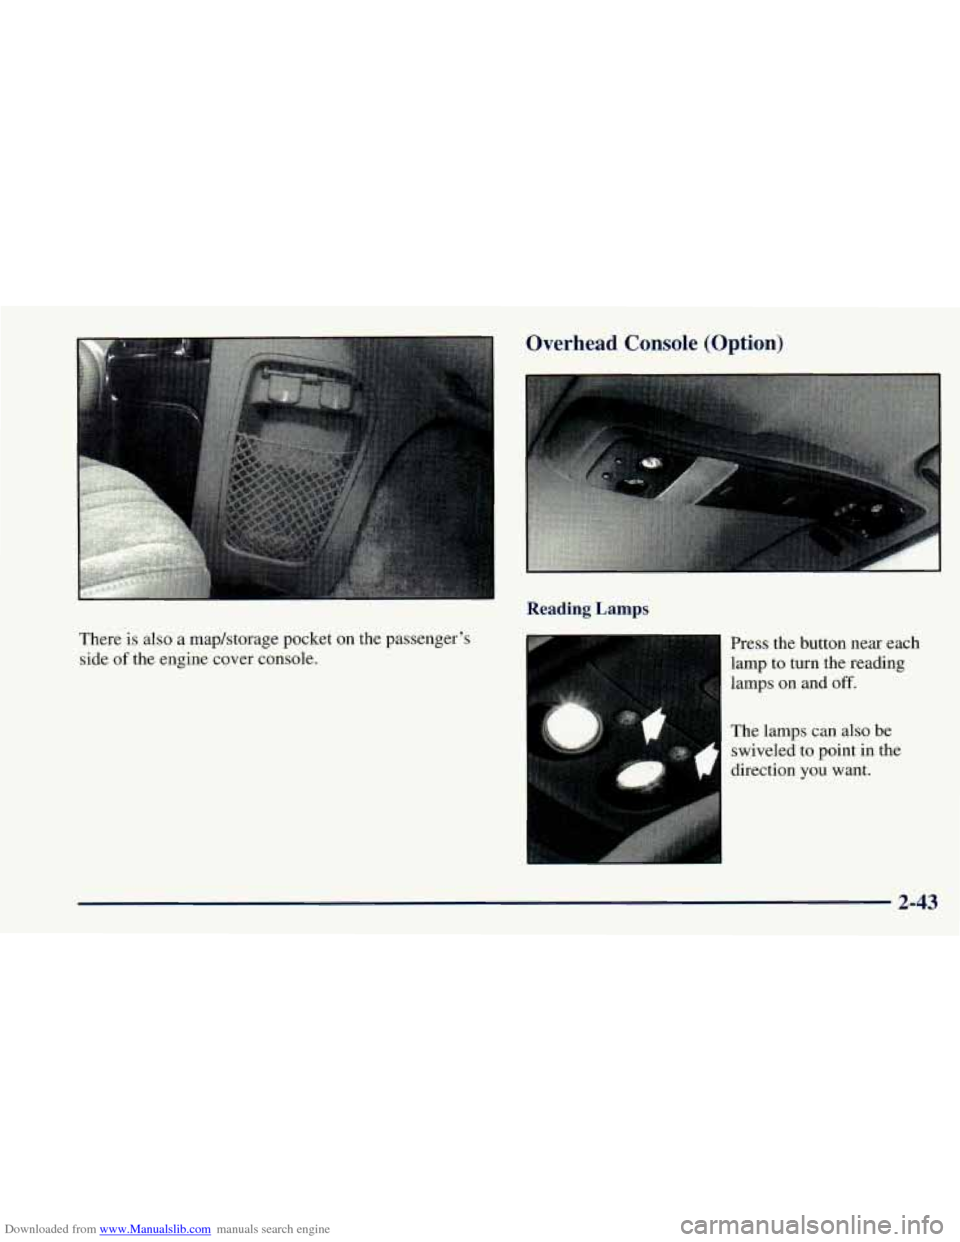
Downloaded from www.Manualslib.com manuals search engine Overhead Console (Option)
There is also a maphtorage pocket on the passenger’s
side
of the engine cover console.
The lamps can also be swiveled to point in the
direction you want.
Reading Lamps
Press the button near each
lamp to turn the reading
lamps on and
off.
2-43
Page 128 of 414
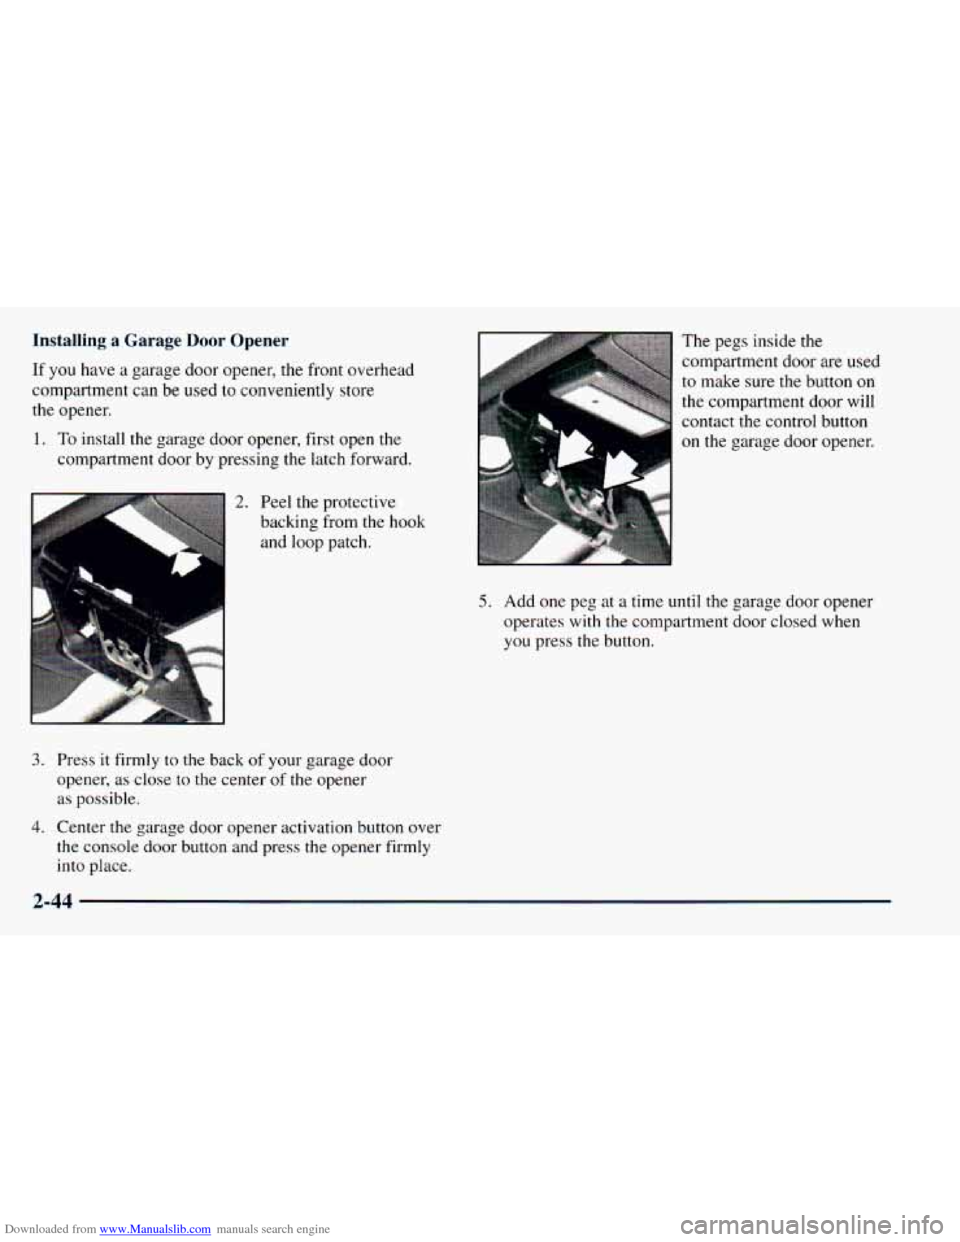
Downloaded from www.Manualslib.com manuals search engine Installing a Garage Door Opener
If you have a garage door opener, the front overhead
compartment can be used
to conveniently store
the opener.
1. To install the garage door opener, first open the
compartment door by pressing the latch forward.
2. Peel the protective
backing from the hook
and loop patch.
3. Press it firmly to the back of your garage door
opener,
as close to the center of the opener
as possible.
4. Center the garage door opener activation button over
the console door button and press the opener firmly
into place. The
pegs inside the
compartment door
are used
to make sure the button
on
the compartment door will
contact the control button
on the garage door opener.
5. Add one peg at a time until the garage door opener
operates
with the compartment door closed when
you press
the button.
2-44
Page 129 of 414
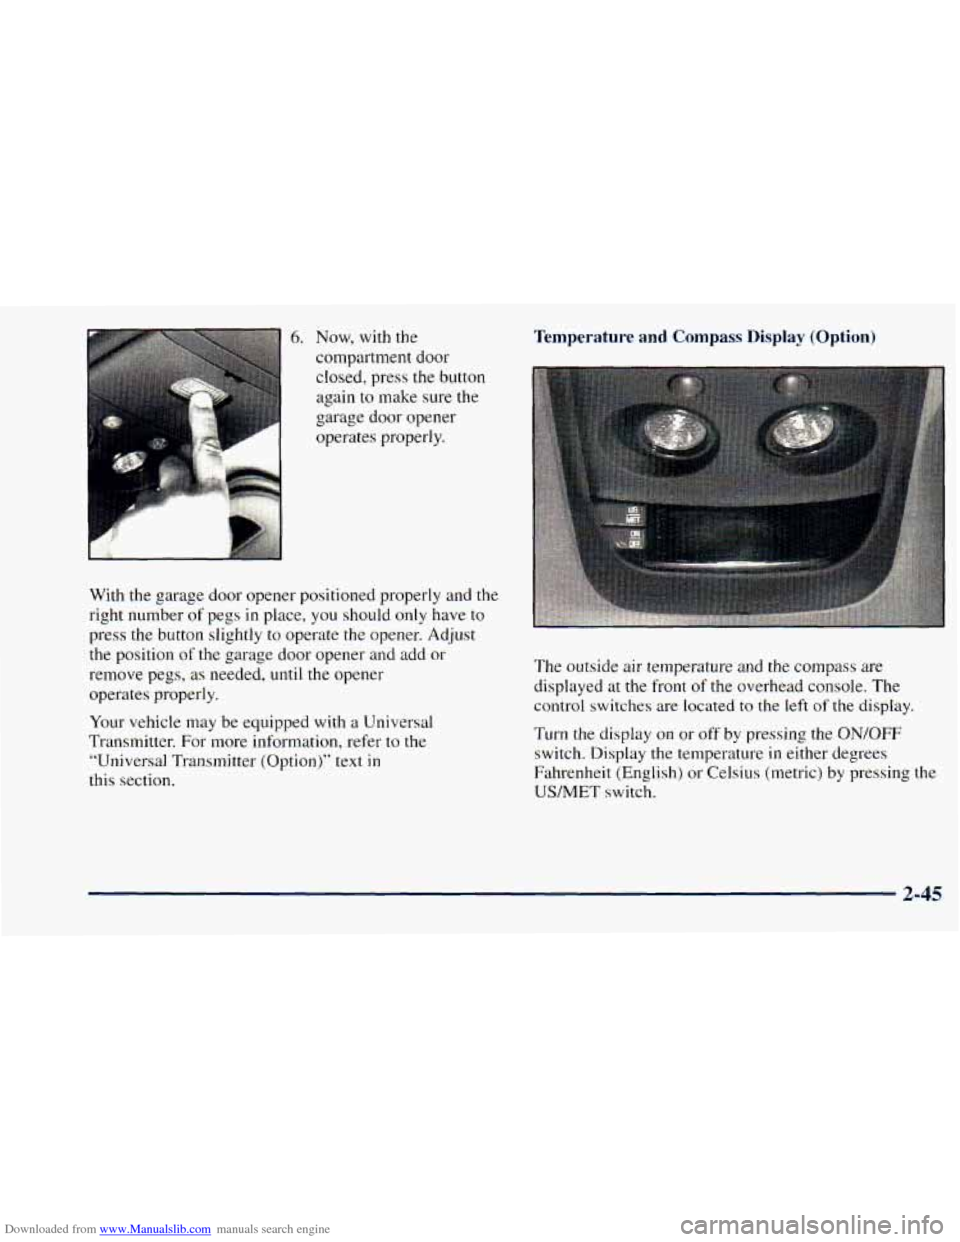
Downloaded from www.Manualslib.com manuals search engine 6. Now, with the
compartment door
closed, press
the button
again to make sure the
garage door opener
operates properly.
With the garage door opener positioned properly and the
right number
of pegs in place, you should only have to
press
the button slightly to operate the opener. Adjust
the position
of the garage door opener and add or
remove pegs,
as needed, until the opener
operates properly.
Your vehicle may be equipped with a Universal
Transmitter. For more information, refer
to the
“Universal Transmitter (Option)”
text in
this section.
Temperature and Compass Display (Option)
The outside air temperature and the compass are
displayed
at the front of the overhead console. The
control switches are located to the
left of the display.
Turn the display on or off
by pressing the ON/OFF
switch. Display the temperature in either degrees
Fahrenheit (English) or Celsius (metric) by pressing the
US/MET switch.
2-45
Page 130 of 414
Downloaded from www.Manualslib.com manuals search engine Before you turn on the ignition and move the vehicle,
the temperature indicated will be the last outside
temperature recorded with the ignition on.
If the outside temperature
is 37°F (3°C) or lower when
you turn on the ignition, ICE will appear on the display.
This
is a warning to the driver that road conditions may
be icy, and that appropriate precautions should be taken.
The compass is self-calibrating,
so it does not need to be
manually set. However, when your vehicle
is new, the
compass may function erratically. If it does, CAL
(Calibration) will appear on the display. To correct the
problem, drive slowly in a complete
360" circle three
times, and
the compass will function normally.
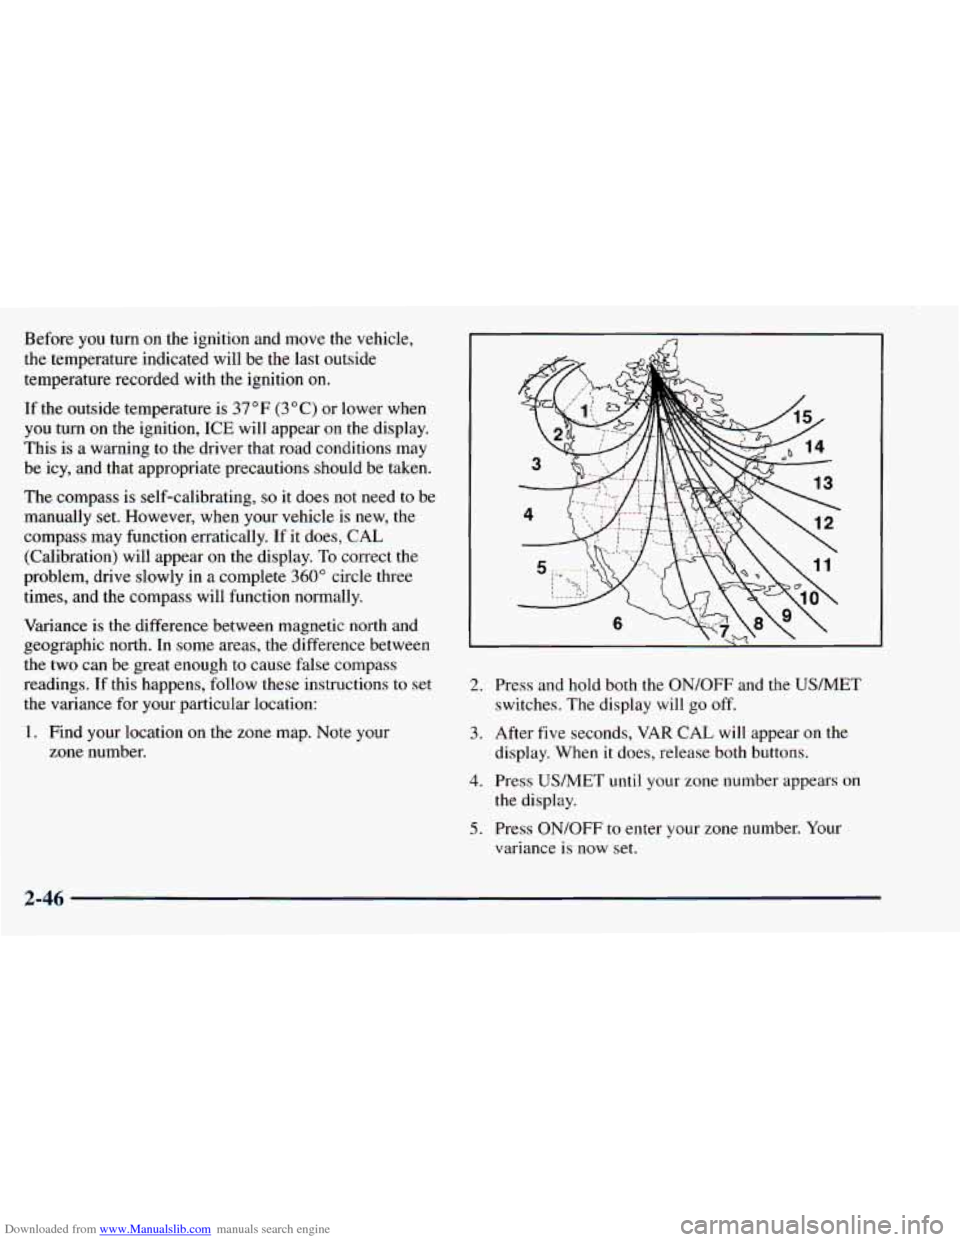
Variance is the difference between magnetic north and
geographic north. In some areas, the difference between
the two can be great enough to cause false compass
readings. If this happens, follow these instructions
to set
the variance for your particular location:
1. Find your location on the zone map. Note your
zone number.
2. Press and hold both the ON/OFF and the USMET
switches. The display will go off.
display. When it does, release both buttons.
3. After
five seconds,
VAR CAL will appear on the
4. Press US/MET until your zone number appears on
5. Press ON/OFF to enter your zone number. Your
the display.
variance is now set.
2-46