CHEVROLET ASTRO 2003 User Guide
Manufacturer: CHEVROLET, Model Year: 2003, Model line: ASTRO, Model: CHEVROLET ASTRO 2003Pages: 386, PDF Size: 17.31 MB
Page 11 of 386
Reclining Seatbacks
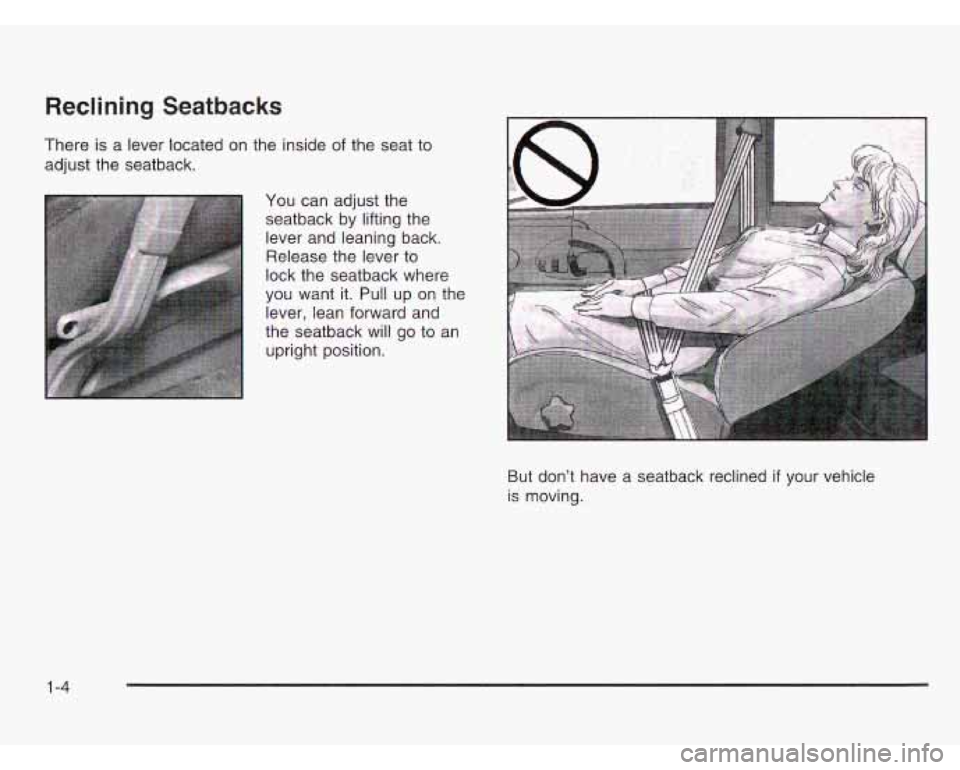
There is a lever located on the inside of the seat to
adjust the seatback.
You can adjust the seatback by lifting the lever and leaning back. Release the lever to
lock the seatback where
you want it. Pull up on the
lever, lean forward and
the seatback will
go to an
upright position.
But don’t have a seatback reclined
if your vehicle
is moving.
1 -4
Page 12 of 386
Head Restraints
Sitting in a reclined position when your vehicle
is in motion can be dangerous. Even if you
buckle up, your safety belts can't do their job
when you're reclined like
this.
The shoulder belt can't do its job because it
won't be against your body. Instead, it will be
in front of you.
In a crash you could go into it,
receiving neck or other injuries.
The lap belt can't
do its job either. In a crash
the belt could go up over your abdomen.
The belt forces would be there, not at your
pelvic bones. This could cause serious internal
injuries.
For proper protection when the vehicle
is in
motion, have the seatback upright. Then sit
well back in the seat and wear your safety
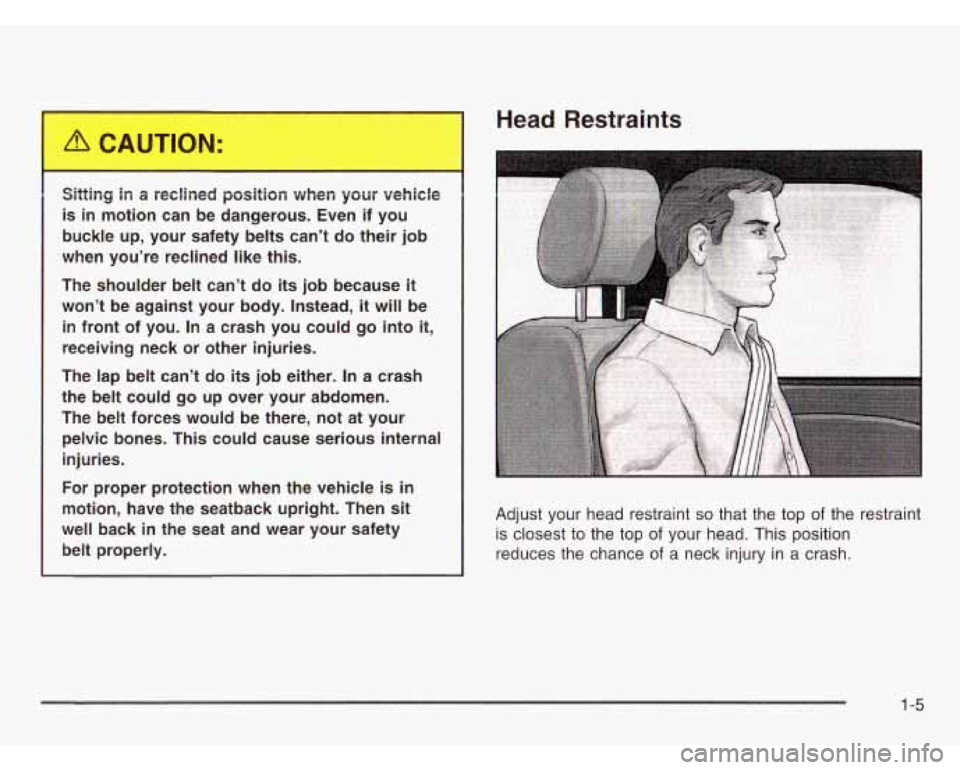
belt properly. Adjust
your head restraint
so that the top of the restraint
is closest to the top
of your head. This position
reduces the chance
of a neck injury in a crash.
1-5
Page 13 of 386
Seatback Latches
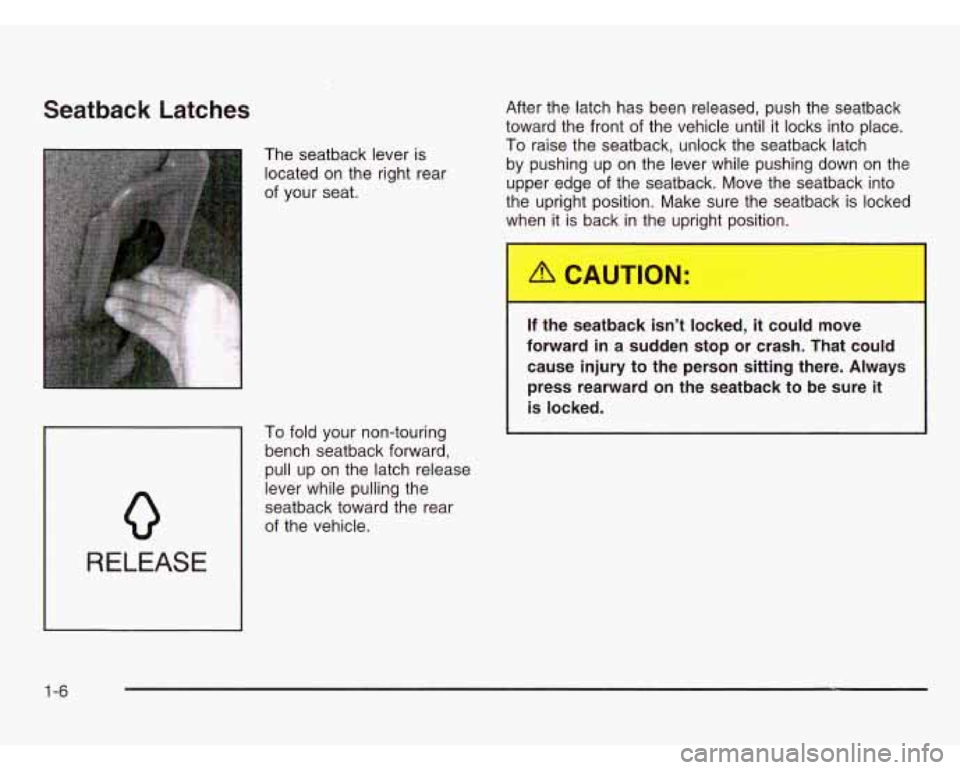
The seatback lever is
located on the right rear
of your seat.
0
To fold your non-touring
bench seatback forward,
pull up on the latch release
lever while pulling the
seatback toward the rear
RELEASE
of the vehicle. After the
latch has been released, push the seatback
toward the front of the vehicle until it locks into place.
To raise the seatback, unlock the seatback latch
by pushing up on the lever while pushing down on the
upper edge
of the seatback. Move the seatback into
the upright position. Make sure the seatback is locked
whe
t is back in the upright position.
If the seatback isn’t locked, it could move
forward in a sudden stop or crash. That could
cause injury to the person sitting there. Always
press rearward on the seatback to be sure it
is locked.
1-6
Page 14 of 386
Rear Seats
Rear Seat Operation
Removing the Rear Seats
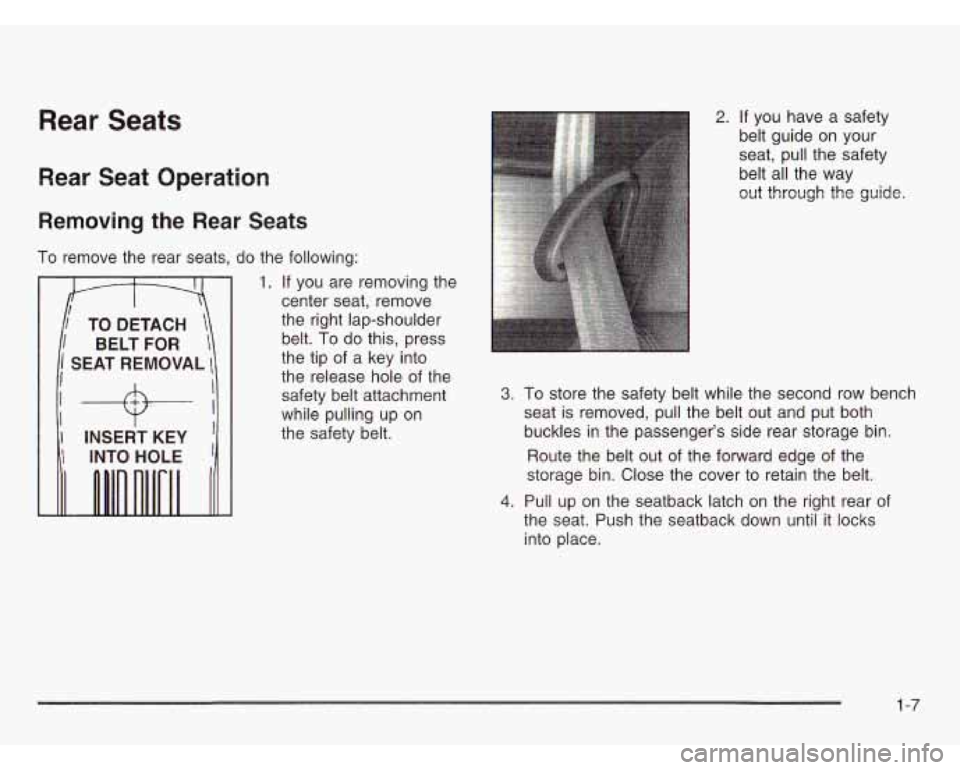
To remove the rear seats, do the following:
1. If you are removing the
center seat, remove
the right lap-shoulder
belt.
To do this, press
the release hole of the
safety belt attachment
while pulling up on
SEAT REMOVAL the tip of a key into
I INSERT KEY the safety belt. 2.
If you have a safety
belt guide on your
seat, pull the safety
belt all the way
out through the guide.
3. To store the safety belt while the second row bench
seat is removed, pull the belt out and put both
buckles in the passenger’s side rear storage bin.
Route the belt out of the forward edge of the
storage bin. Close the cover to retain the belt.
4. Pull up on the seatback latch on the right rear of
the seat. Push the seatback down until it locks
into place.
1 -7
Page 15 of 386
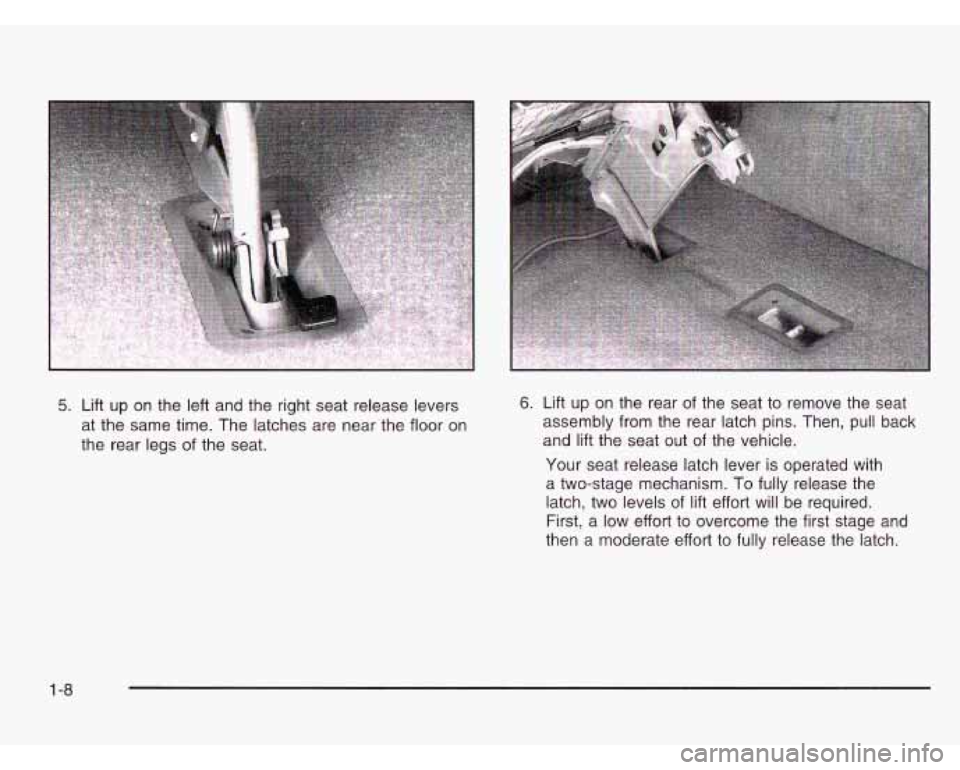
5. Lift up on the left and the right seat release levers
at the same time. The latches are near the floor on
the rear legs
of the seat.
6. Lift up on the rear of the seat to remove the seat
assembly from the rear latch pins. Then, pull back
and
lift the seat out of the vehicle.
Your seat release latch lever is operated with
a two-stage mechanism.
To fully release the
latch, two levels of
lift effort will be required.
First, a low effort to overcome the first stage and
then
a moderate effort to fully release the latch.
1 -8
Page 16 of 386
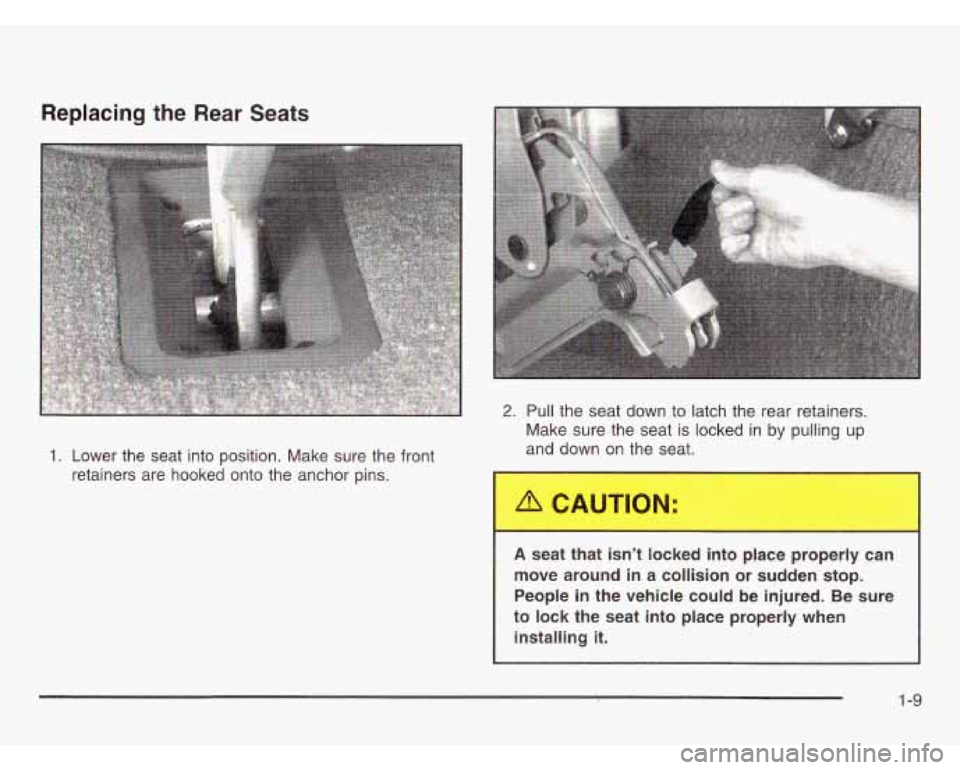
Replacing the Rear Seats
1. Lower the seat into position. Make sure the front
retainers are hooked onto the anchor pins.
2. Pull the seat down to latch the rear retainers.
Make sure the seat
is locked in by pulling up
and down on the seat.
A seat that isn’t locked into place properly can
move around in a collision or sudden stop.
People in the vehicle could be injured. Be sure
to lock the seat into place properly when
installing it.
1-9
Page 17 of 386
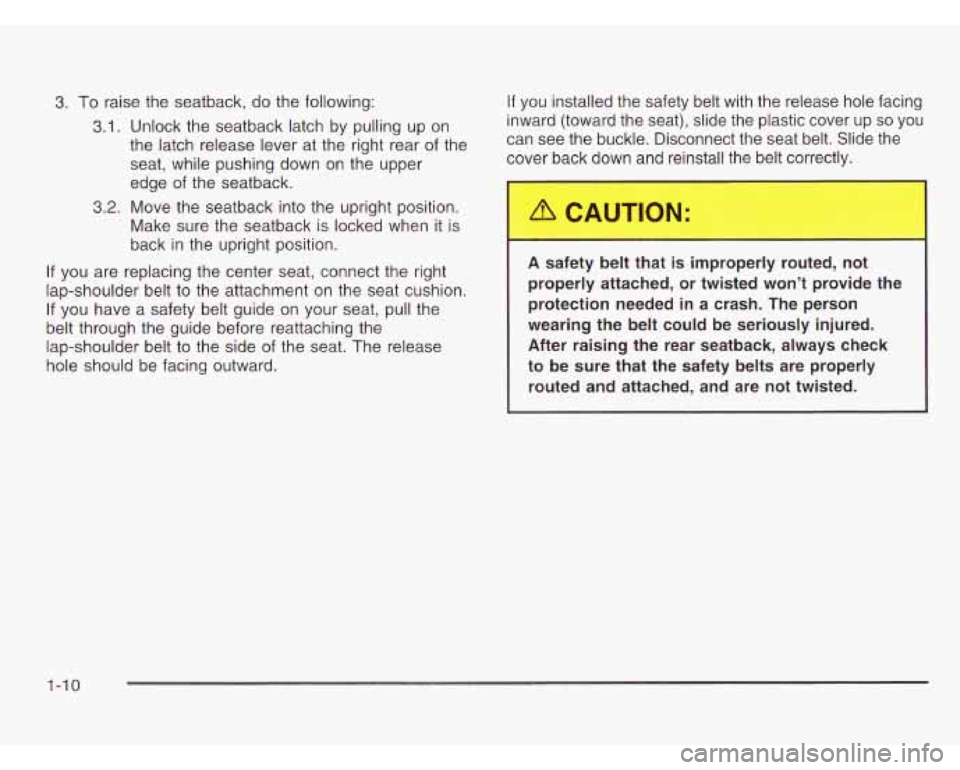
3. To raise the seatback, do the following:
3.1. Unlock the seatback latch by pulling up on
the latch release lever at the right rear
of the
seat, while pushing down on the upper
edge of the seatback.
3.2. Move the seatback into the upright position.
Make sure the seatback is locked when it is
back in the upright position.
If you are replacing the center seat, connect the right
lap-shoulder belt to the attachment on the seat cushion.
If you have a safety belt guide
on your seat, pull the
belt through the guide before reattaching the
lap-shoulder belt to the side
of the seat. The release
hole should be facing outward.
If you installed the safety belt with the release hole facing
inward (toward the seat), slide the plastic cover up
so you
can see the buckle. Disconnect the seat belt. Slide the
cover back down and reinstall the belt correctly.
A safety
--It that __ impropc routed, not
properly attached, or twisted won’t provide the
protection needed in a crash. The person
wearing the belt could be seriously injured. After raising the rear seatback, always check
to be sure that the safety belts are properly routed and attached, and are not twisted.
1-10
Page 18 of 386
Bench Seat
Each bench seat can carry up to three passengers.
They can also be removed to increase storage space.
Only the rear bench seat can be adjusted forward
or rearward using the lever at the front of the seat.
Move the seat adjustment
lever located at the front
of the seat toward the
passenger’s side to
unlock it. Slide the seat
to where you want it.
Then release the lever
and try to move the seat
with your body, to make
sure the seat is locked
into place. The optional
bench seats come with moveable armrests,
individual reclining seatbacks, adjustable headrests
and a fold-down center armrest console.
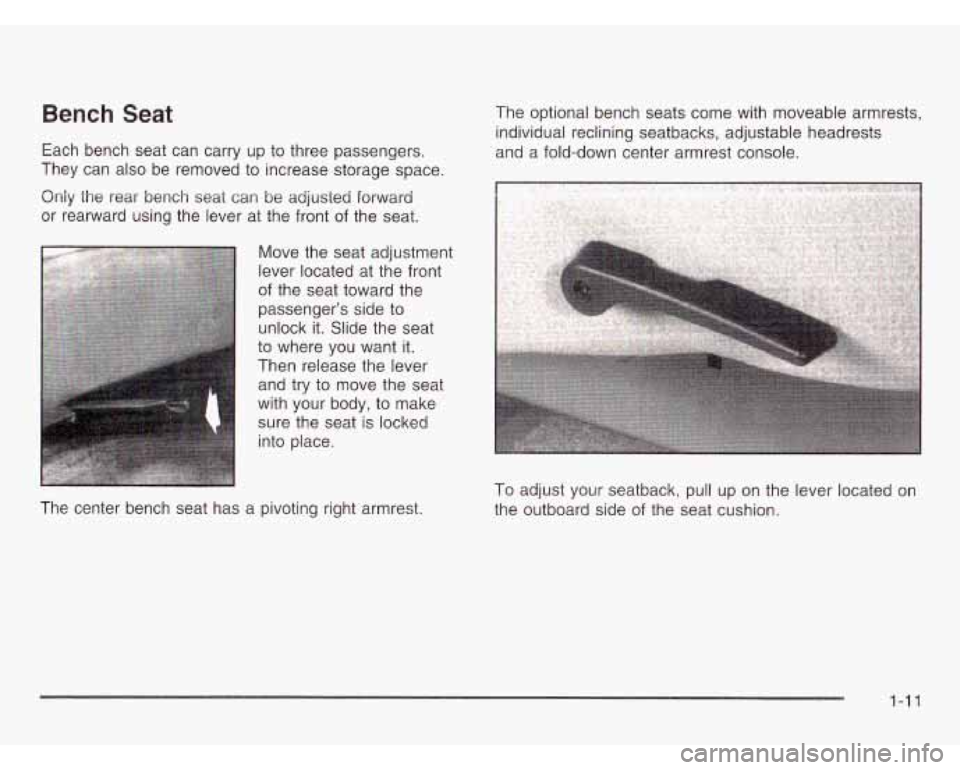
The center bench seat has a pivoting right armrest. To
adjust your seatback, pull up on the lever located on
the outboard side of the seat cushion.
1-1 1
Page 19 of 386
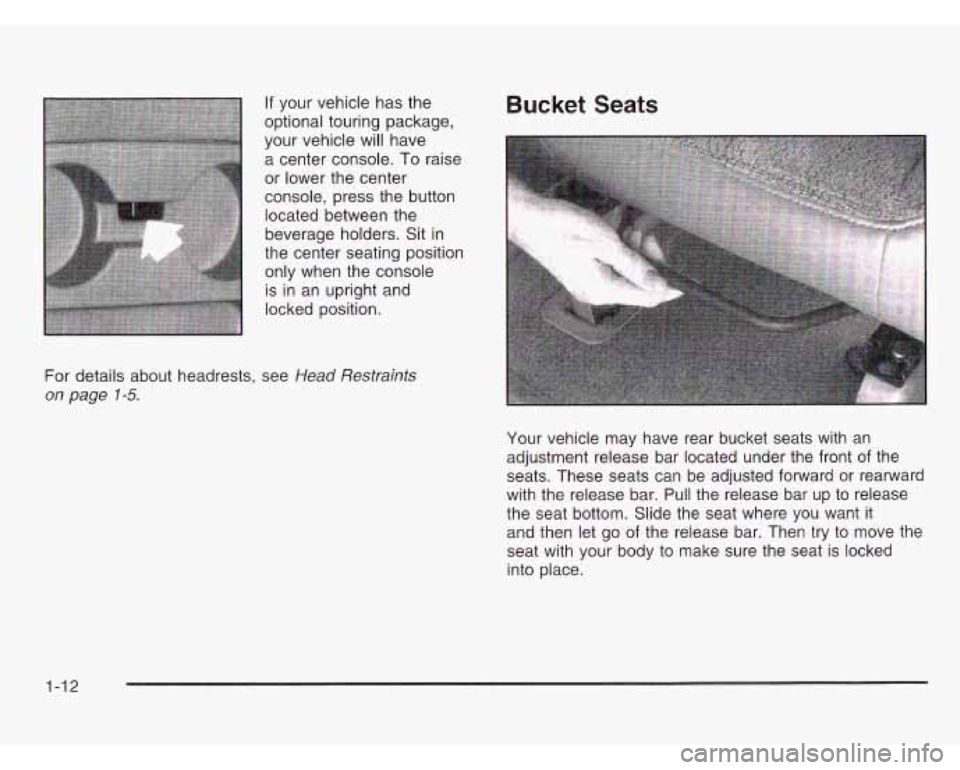
If your vehicle has the
optional touring package,
your vehicle will have
a center console.
To raise
or lower the center
console, press the button
located between the
beverage holders. Sit in
the center seating position only when the console
is in an upright and
locked position.
For details about headrests, see
Head Restraints
on page 1-5.
Bucket Seats
Your vehicle may have rear bucket seats with an
adjustment release bar located under the front
of the
seats. These seats can be adjusted forward or rearward
with the release bar. Pull the release bar up to release
the seat bottom. Slide the seat where you want it
and then let go of the release bar. Then try to move the
seat with your body to make sure the seat is locked
into place.
1-12
Page 20 of 386
Safety Belts
Safety Belts: They Are for Everyone
This part of the manual tells you how to use safety
belts properly. It also tells you some things you should
r-+ do with safety belts.
Don’t let anyone ride where he or she can’t
wear a safety
belt properly. If you are in a
crash and you’re not wearing a safety belt,
your injuries can be much worse. You can
hit
things inside the vehicle or be ejected from it.
You can be seriously injured or killed. In the
same crash, you might not be, if you are
buckled up. Always fasten your safety belt,
and check that your passengers’ belts are
fastened properly too.
it is extremely dangerous to ride in a CN~G
area, inside or outside of a vehicle. In a
collision, people riding in these areas are more likely to be seriously injured or killed.
Do not
allow people to ride
in any area of your vehicle
that
is not equipped with seats and safety
belts. Be sure everyone
in your vehicle is in
a seat and using a safety belt properly.
Your vehicle has a light
that comes
on as a
reminder to buckle up.
See
Safety Belt Reminder
Light on page 3-26.
1-13