CHEVROLET ASTRO PASSENGER 1994 1.G Owners Manual
Manufacturer: CHEVROLET, Model Year: 1994, Model line: ASTRO PASSENGER, Model: CHEVROLET ASTRO PASSENGER 1994 1.GPages: 340, PDF Size: 16.86 MB
Page 211 of 340
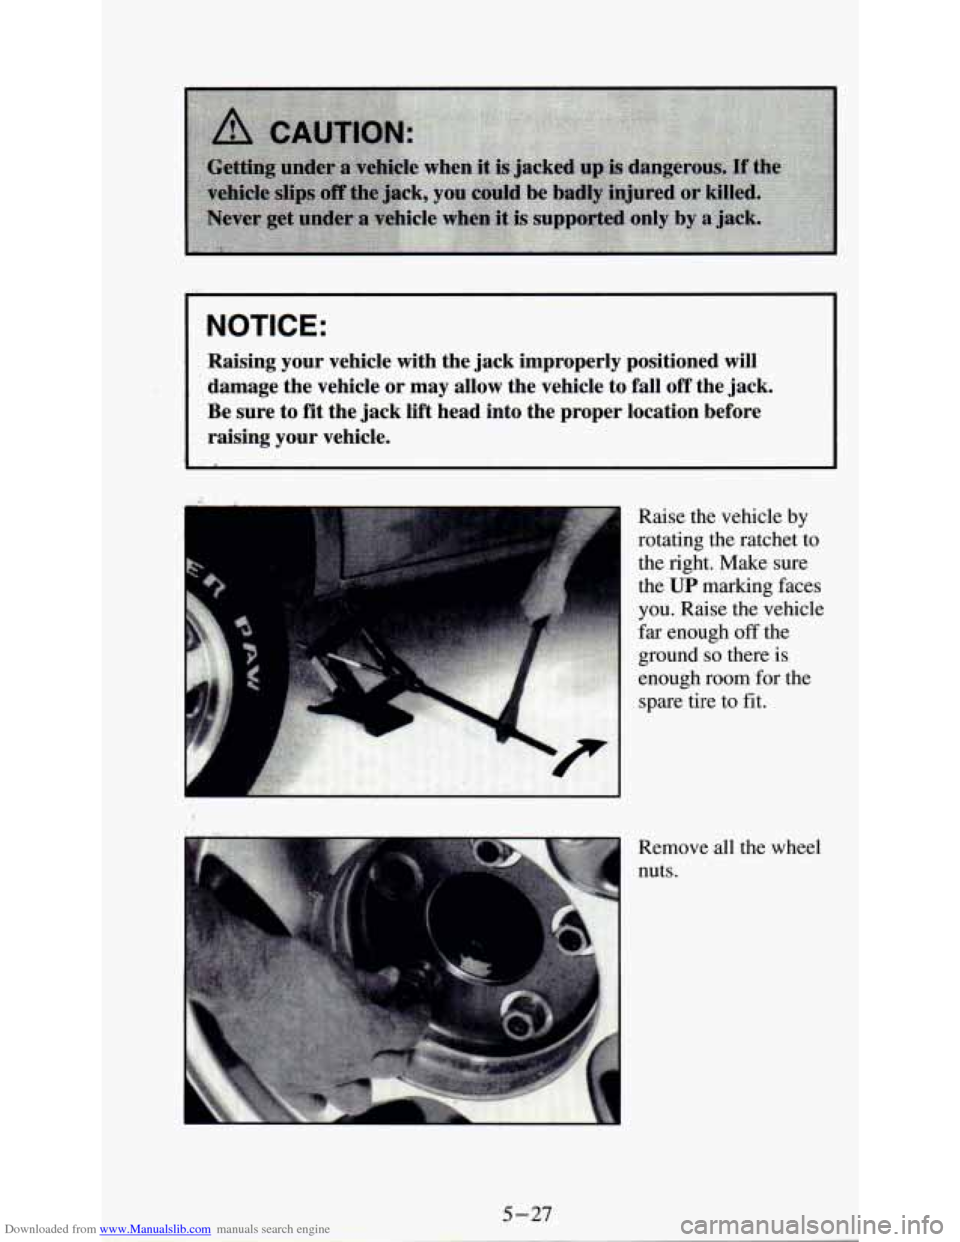
Downloaded from www.Manualslib.com manuals search engine Raising your vehicle with the jack improperly positioned will
damage the vehicle or may allow the vehicle to fall
off the jack.
Be sure to
fit the jack lift head into the proper location before
raising your vehicle.
Raise the vehicle by
rotating the ratchet to
the right. Make sure
the
UP marking faces
you. Raise the vehicle
far enough
off the
ground
so there is
enough room for the
spare tire to
fit.
Remove all the wheel
nuts.
Page 212 of 340
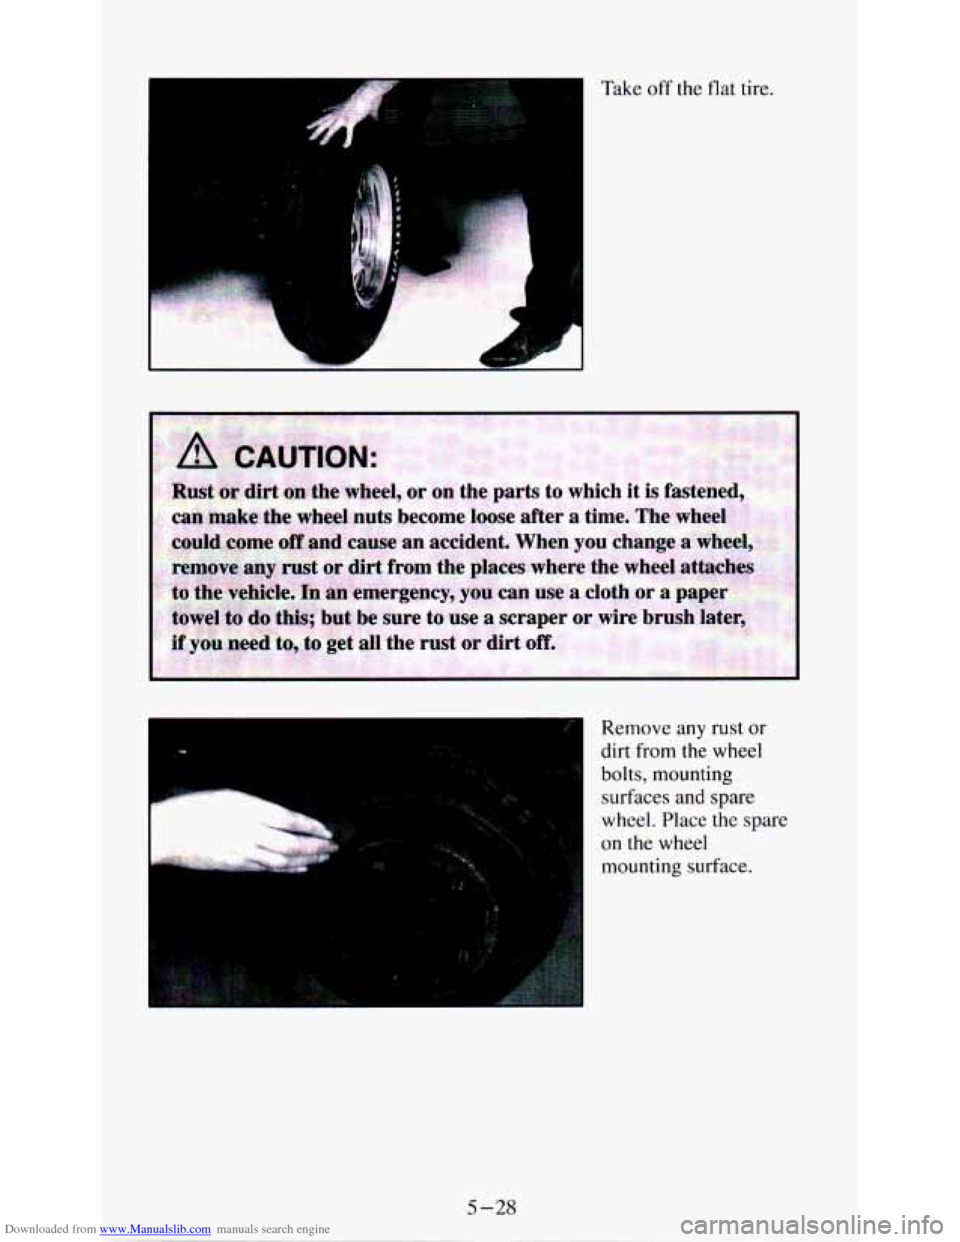
Downloaded from www.Manualslib.com manuals search engine Take off the flat tire.
Remove any rust or
dirt from the wheel
bolts,
mounting
surfaces and spare
wheel. Place
the spare
on the wheel
mounting surface.
5-28
Page 213 of 340
Downloaded from www.Manualslib.com manuals search engine k.
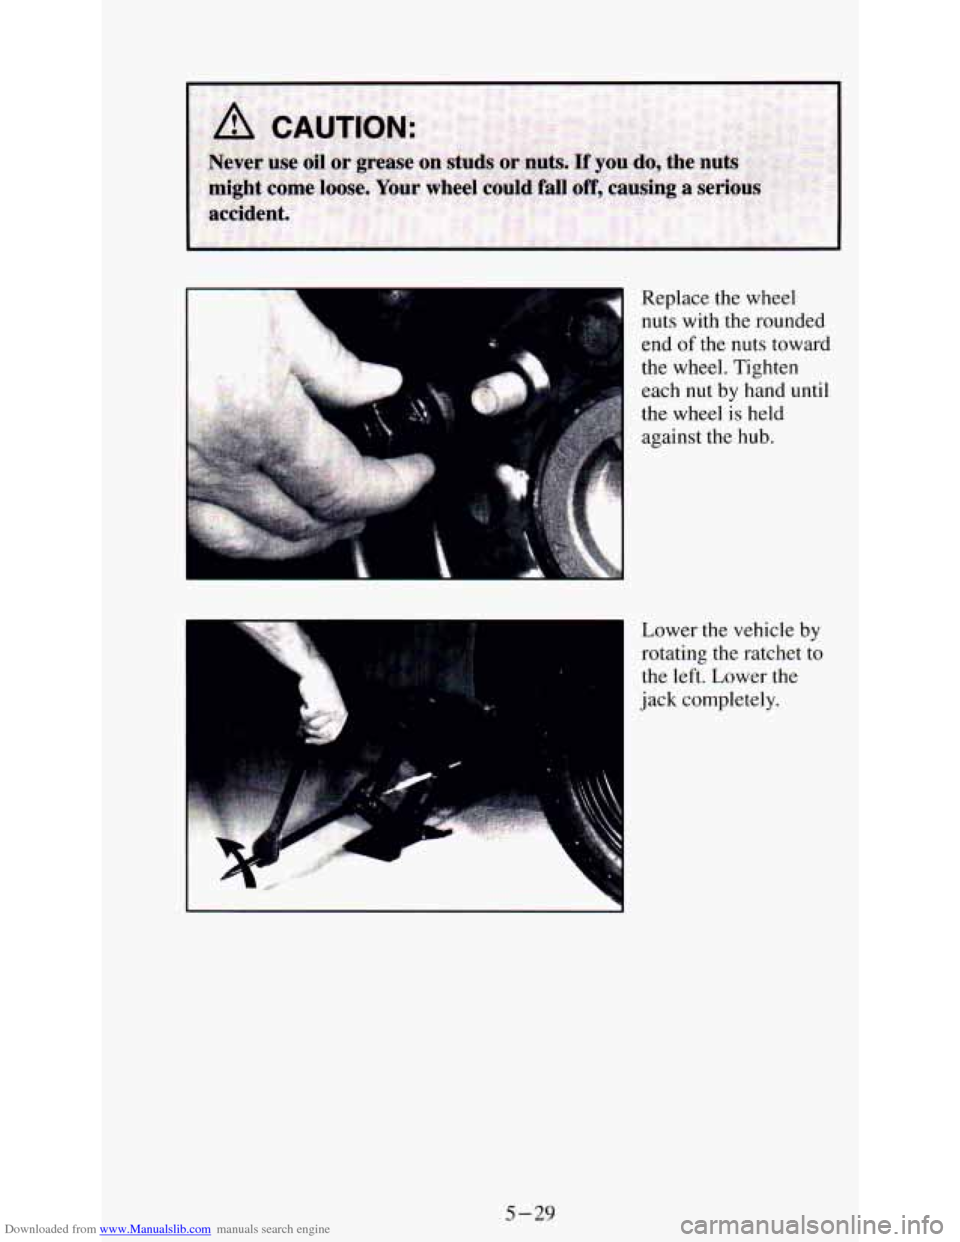
Replace the wheel
nuts with the rounded
end
of the nuts toward
the wheel. Tighten
each nut by hand until
the wheel
is held
against the hub.
Lower the vehicle by
rotating the ratchet to
the left. Lower the
jack completely.
5-29
Page 214 of 340
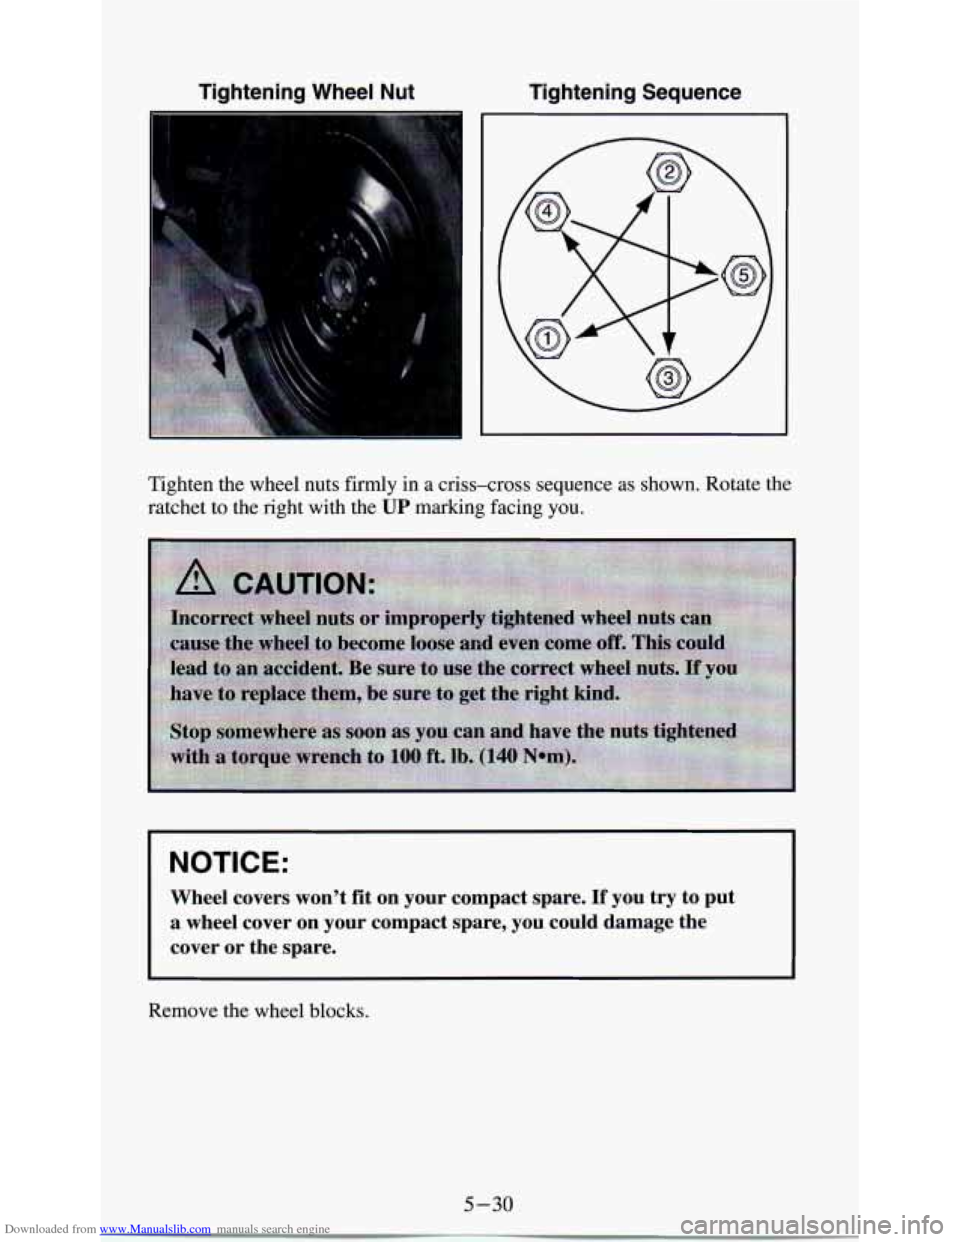
Downloaded from www.Manualslib.com manuals search engine Tightening Wheel Nut Tightening Sequence
Tighten the wheel nuts firmly in a criss-cross sequence as shown. Rotate the
ratchet to the right with the
UP marking facing you.
NOTICE:
Wheel covers won't fit on your compact spare. If you try to put
a wheel cover on your compact spare, you could damage the
cover or the spare.
Remove the wheel blocks.
5-30
Page 215 of 340
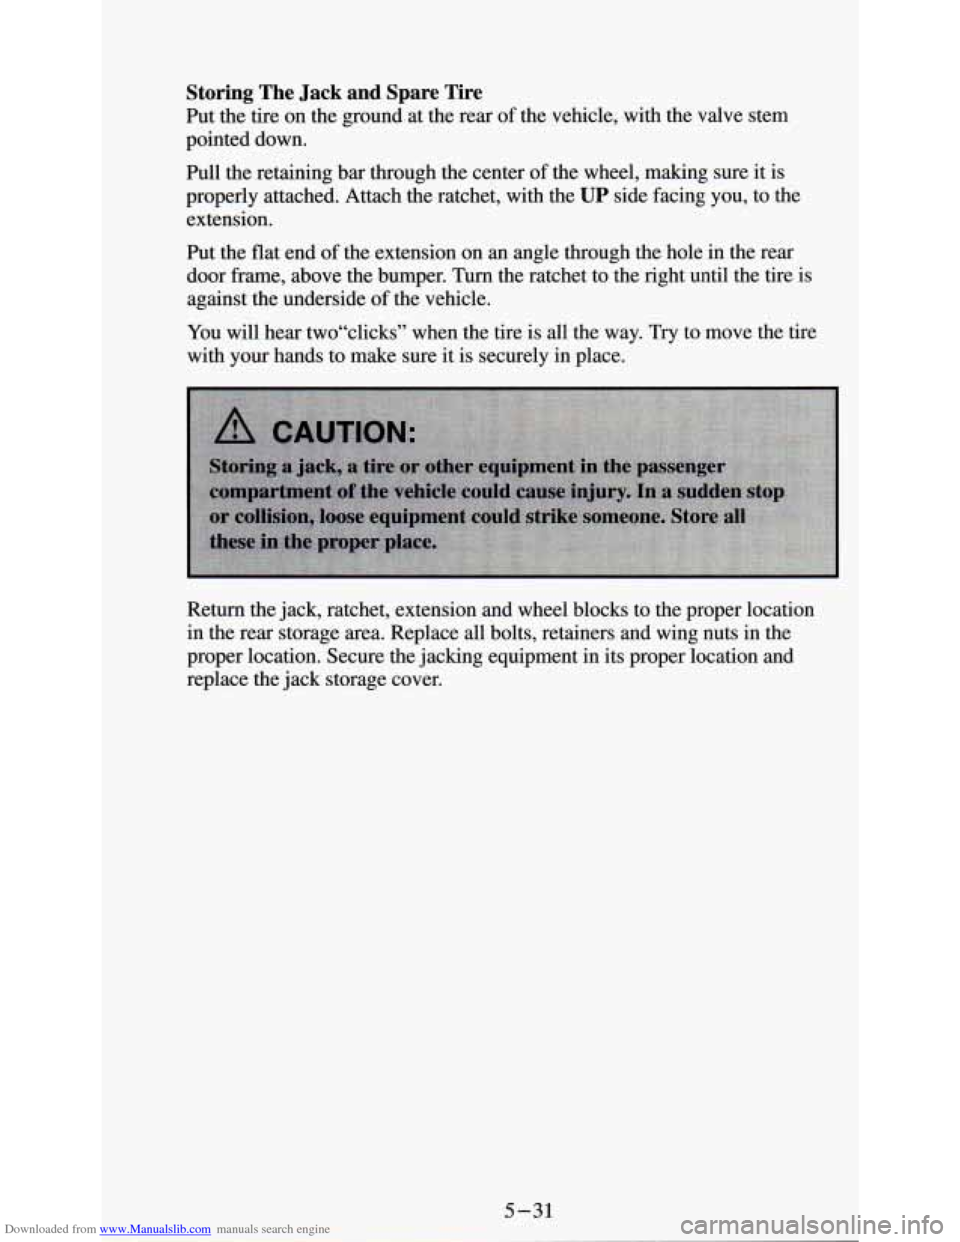
Downloaded from www.Manualslib.com manuals search engine Storing The Jack and Spare Tire
Put the tire on the ground at the rear of the vehicle, with the valve stem
pointed down.
Pull the retaining bar through the center of the wheel, making sure it is
properly attached. Attach the ratchet, with the
UP side facing you, to the
extension.
Put the flat end
of the extension on an angle through the hole in the rear
door frame, above the bumper. Turn the ratchet to the right until the tire is
against the underside
of the vehicle.
You will hear two"c1icks" when the tire is all the way.
Try to move the tire
with your hands to make sure it is securely in place.
Return the jack, ratchet, extension and wheel blocks to the proper location
in the rear storage area. Replace all bolts, retainers and wing nuts in the
proper location. Secure the jacking equipment in its proper location and
replace the jack storage cover.
Page 216 of 340
Downloaded from www.Manualslib.com manuals search engine Compact Spare Tire
Although the compact spare was fully inflated when your vehicle was new,
it can lose air after a time. Check the inflation pressure regularly. It should
be
60 psi (420 Wa). After installing the compact spare on your vehicle, you
should stop as soon as possible and make sure your spare tire is correctly
inflated. The compact spare is made to perform well at posted speed limits
for distances up to
3,000 miles (5 000 km). The compact spare is made to go
up to 3,000 miles (5 000 km), so you can finish your trip and have your
full-size tire repaired or replaced where you want. Of course, it’s best to
replace your spare with a full-size tire
as soon as you can. Your spare will
last longer and be in good shape
in case you need it again.
I NOTICE:
Don’t take your compact spare through an automatic car wash
with guide rails. The compact spare can get caught on the rails.
That can damage the tire and wheel, and maybe other parts
of
your vehicle.
Don’t use your compact spare on some other vehicle. And don’t mix your compact spare or wheel with other wheels or tires. They
won’t fit. Keep your spare and its wheel together.
NOTICE:
Tire chains won’t fit your compact spare. Using them will
damage your vehicle and destroy the chains too. Don’t use tire
chains on your compact spare.
5-32
Page 217 of 340
Downloaded from www.Manualslib.com manuals search engine If You’re Stuck: In Sand, Mud, Ice or Snow
What you don’t want to do when your vehicle is stuck is to spin your
wheels. The method known as “rocking” can help you get out when you’re
stuck, but you must use caution.
.. .. .. ., ..., . ....
1 NOTICE: I
Spinning your wheels can destroy parts of your vehicle as well as
the tires. If
you spin the wheels too fast while shifting your
transmission back and forth, you can destroy your transmission.
I
Rocking your vehicle to get it out:
First, turn your steering wheel left and right. That will clear the area around
your front wheels. Then shift back and forth between
“R’ (Reverse) and a
forward gear, spinning the wheels as little as possible. Release the
accelerator pedal while you shift, and press lightly on the accelerator pedal
when the transmission is in gear. If that doesn’t get you out after a few tries,
you may need to be towed out. If you do need to be towed out, see “Towing
Your Vehicle’’ in the Index.
5-33
Page 218 of 340

Downloaded from www.Manualslib.com manuals search engine Notes
Page 219 of 340
Downloaded from www.Manualslib.com manuals search engine Service & Appearance Care
...
Section
Here you will find information about the care of your vehicle . This part
begins with service and fuel information. and then it shows how to check
important fluid and lubricant levels
. There is also technical information
about your vehicle. and a section devoted to its appearance care
.
Service ................................................... 6-2
Fuel
..................................................... 6-3
Checking Things Under the Hood
.............................. 6-7
Hood Release
........................................... 6-7
Engineoil
.............................................. 6-9
Enginecover
.......................................... 6-15
Air Cleaner
............................................ 6-19
Automatic Transmission Fluid ............................. 6-20
RearAxle
............................................. 6-24
All-WheelDrive
........................................ 6-24
Transfercase
.......................................... 6-24
FrontAxle
............................................. 6-25
Engine Coolant
....................................... 6-26
Windshield Washer Fluid
................................. 6-31
Brake Master Cylinder
................................... 6-32
Replacing Brake System Parts
.................... ........ 6-35
Battery
.................................................. 6-35
Vehiclestorage
......................................... 6-35
FluidLeakCheck
.......................................... 6-36
Bulb Replacement
......................................... 6-36
Other Maintenance Items
.................................... 6-41
Tires
.................................................... 6-47
Appearancecare
.......................................... 6-54
Vehicle Identification Number
................................ 6-63
Service Parts Identification Label
..................... .... 6-65
Capacities and Specification Charts
................ . . 6-68
Fuses and Circuit Breakers ........... 6-72
Power Steering Fluid .................................. 6-30
Loading Your Vehicle
.... .............................. 6-44
6-1
Page 220 of 340
Downloaded from www.Manualslib.com manuals search engine Service
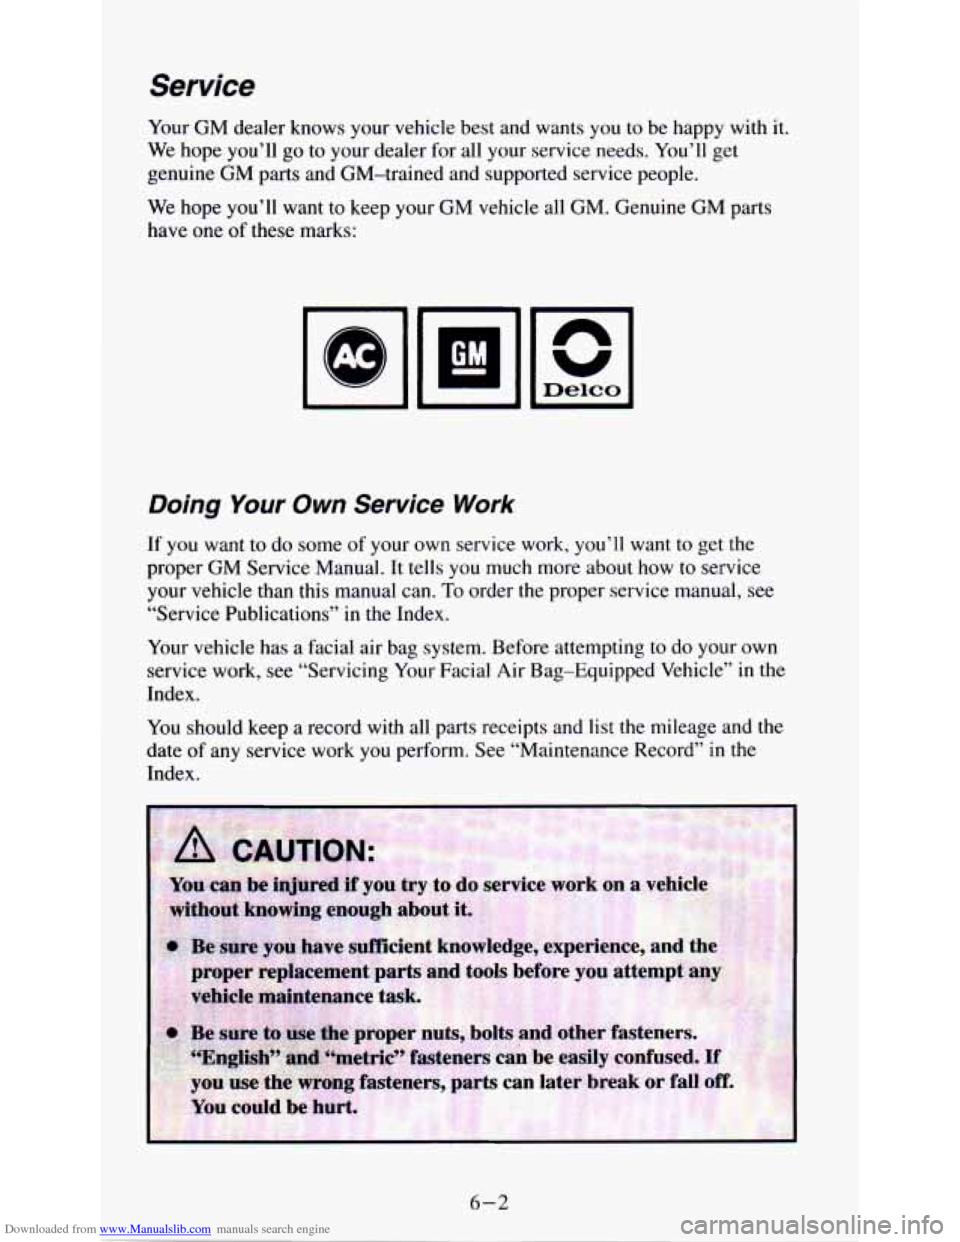
Your GM dealer knows your vehicle best and wants you to be happy with it.
We hope you’ll go to your dealer for all your service needs. You’ll get
genuine
GM parts and GM-trained and supported service people.
We hope you’ll want
to keep your GM vehicle all GM. Genuine GM parts
have one
of these marks:
Doing Your Own Service Work
If you want to do some of your own service work, you’ll want to get the
proper
GM Service Manual. It tells you much more about how to service
your vehicle than
this manual can. To order the proper service manual, see
“Service Publications’’ in
the Index.
Your vehicle has a facial air bag system. Before attempting to do your own
service work, see “Servicing Your Facial Air Bag-Equipped Vehicle” in
the
Index.
You should keep a record with all parts receipts and list the mileage and the
date of any service work you perform. See “Maintenance Record’’
in the
Index.
..
AUTION: .. ‘.I1
“You can be injured if you try ta
without knowing enough about it.
@ Be sure you have sufficient knowleuge, experieme, and the
proper replacement parts and t--1s before you attempt any vehicle maintenance task. ervice
work on 1 eh
6-2