wiring CHEVROLET BLAZER 1993 Owners Manual
[x] Cancel search | Manufacturer: CHEVROLET, Model Year: 1993, Model line: BLAZER, Model: CHEVROLET BLAZER 1993Pages: 386, PDF Size: 20.7 MB
Page 65 of 386
Features & Controls
Locking Rear Axle ........................................................................\
....................... 2-22
Parking Brake
........................................................................\
.............................. 2-23
Parking Over Things That Burn
........................................................................\
. 2-27
Engine Exhaust
........................................................................\
........................... 2-28
Running Your Engine While You’re Parked
...................................................... 2-29
Four-wheel Drive
........................................................................\
........................ 2-30
Transfer Case
........................................................................\
.......................... 2-30
Front Axle Locking Feature
........................................................................\
.... 2-32
Windows
........................................................................\
....................................... 2-33
Horn
........................................................................\
.............................................. 2-35
Tilt Wheel
........................................................................\
..................................... 2-35
Multifunction Lever
........................................................................\
...................... 2-36
Turn Signal and Lane Change Indicator
....................................................... 2-37
Headlight High-Low Beam
........................................................................\
...... 2-38
Windshield Wipers
........................................................................\
................... 2-39
Windshield Washer
........................................................................\
.................. 2-40
Cruise Control
........................................................................\
.......................... 2-41
Headlights and Vehicle Lighting
........................................................................\
. 2-46
Mirrors
........................................................................\
.......................................... 2-51
Sun Visors ........................................................................\
................................... 2-53
Rear Window Wiper and Washer
...................................................................... 2-54
Cigarette LightedAshtrays
........................................................................\
........... 2-55
Storage Compartments ........................................................................\
............... 2-55
Warning Lights, Gages and Indicators
.......................................................... 2-68
Instrument Cluster
........................................................................\
....................... 2-62
Gages
........................................................................\
....................................... 2-76
Luggage Carrier
........................................................................\
........................... 2-80
Trailer Wiring Harness
........................................................................\
................ 2-82
2-2
Page 110 of 386

Push the right side of the switch with the 0 symbol on it to turn off your
lights.
Turn the dial at the right of the headlight switch
to adjust interior lights.
Turning the dial all the way up turns on the interior lights.
You can switch your headlights from low beam
to high by pulling the
multifunction lever toward you.
To return the headlights to low beam, pull the
lever again.
A circuit breaker protects your headlights from electrical overload\
. If you have
an electrical overload, your headlights will flicker on and
off. If this ever
happens, have your headlight wiring checked right away.
Headlights-On Reminder
A buzzer will sound when your headlights are turned on and your ignition is
in
Off, LOCK or Acc.
Daytime Running Lights (DRL) Indicator Light (Canada Only)
K2318
If your vehicle was first sold, when new, in Canada, you will have this light
on the instrument panel.
It goes on whenever the Daytime Running Lights are
on.
Daytime Running Lights (Canada Only)
The Canadian Federal Government has decided that “Daytime Run\
ning
Lights”
(DRL) are a useful feature, in that DRL can make your vehicle more
visible
to pedestrians and other drivers during daylight hours. DRL are
required
on new vehicles sold in Canada.
2-47
Page 145 of 386
Features & Controls
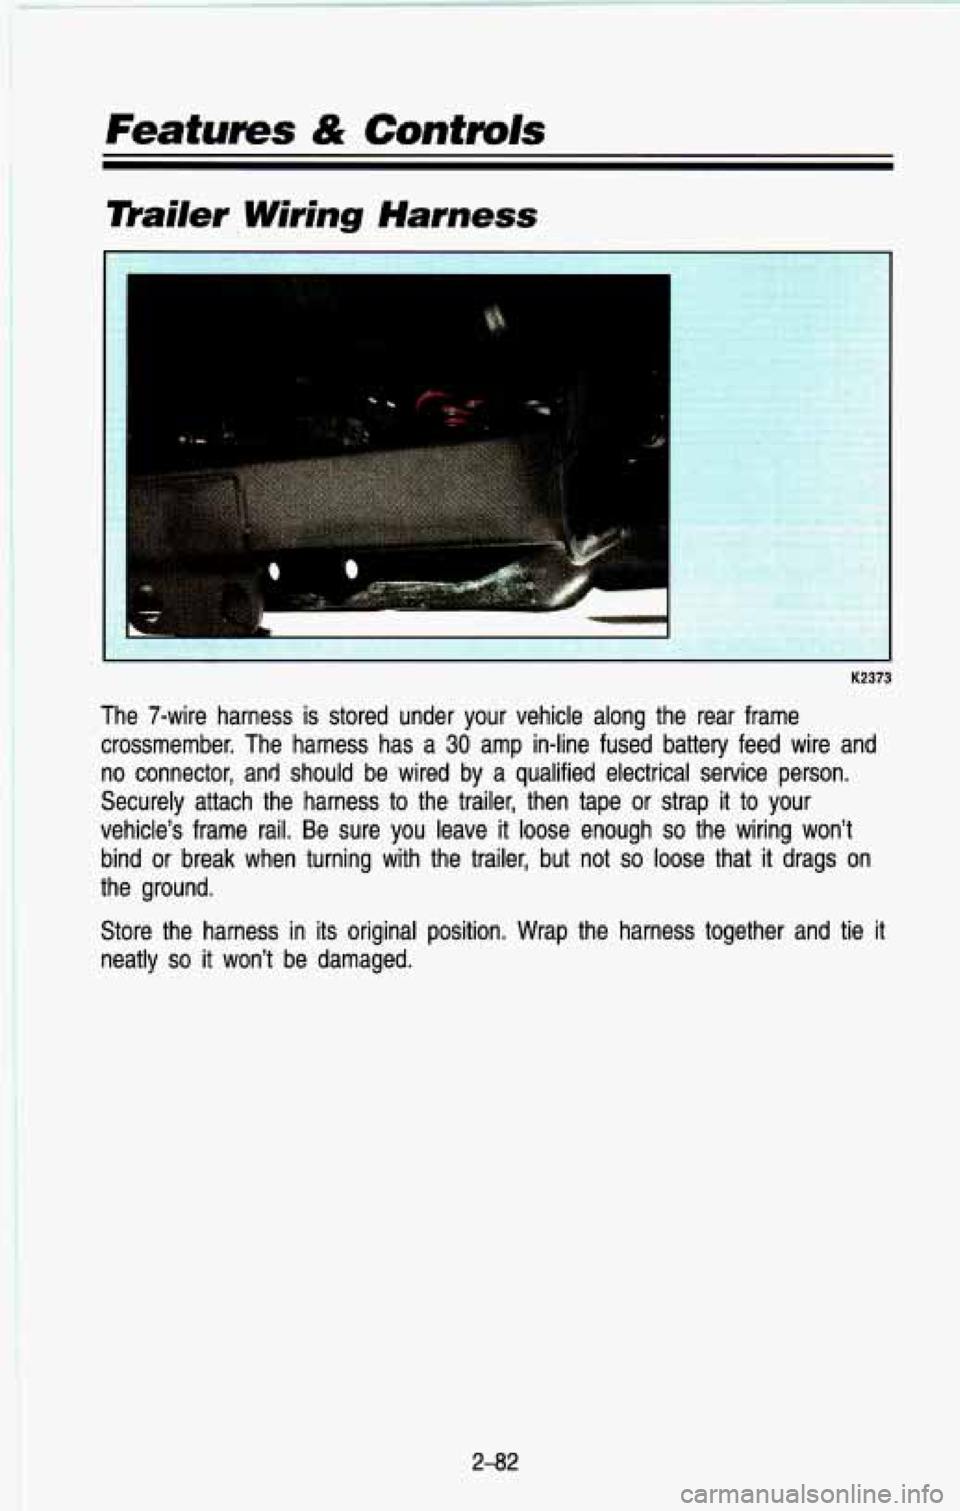
mailer. Wiring Harness
K2373
The 7-wire harness is stored under your vehicle along the rear\
frame
crossmember. The harness has a
30 amp in-line fused battery feed wire and
no connector, and should be wired by a qualified electrical se\
rvice person.
Securely attach the harness to the trailer, then tape or strap\
it
to your
vehicle’s frame rail. Be sure you leave it
loose enough so the wiring won’t
bind or break when turning with the trailer, but not
so loose that it drags on
the ground.
Store the harness in its original position. Wrap the harness t\
ogether and tie it neatly
so it won’t be damaged.
2-82
Page 229 of 386
Your Driving and the Road
Turn Signals When Towing a Trailer
When you tow a trailer, your vehicle has to have a different turn signal
flasher and extra wiring. The green arrows on your instrument \
panel will flash
whenever you signal a turn
or lane change. Properly hooked up, the trailer
lights will also flash, telling other drivers you’re about
to turn, change lanes,
or stop.
When towing a trailer, the green arrows on your instrument pan\
el will flash for
turns even
if the bulbs on the trailer are burned out. Thus, you may think \
drivers behind you are seeing your signal when they are not.
It’s important to
check occasionally to be sure the trailer bulbs are still working.
Driving on Grades
Reduce speed and shift to a lower gear before you start down a long or
steep downgrade. If you don’t shift down, you might have to use your brakes
so much that they would get hot and no longer work well.
On
a long uphill grade, shift down and reduce your speed to 45 mph (70
kmlh) or less to reduce the possibility of engine and transmission overheating.
If you have an automatic transmission, you should use D (or, as you need to,
a lower gear) when towing a trailer. Operating your vehicle in D when towing
a trailer will minimize heat buildup and extend the
life of your transmission.
Or,
if you have a manual transmission with fifth gear and you are to\
wing a
trailer, it’s better not
to use fifth gear, just drive in fourth gear (or, as you
need to, a lower gear).
Parking on Hilk
You really should not park your rig on a hill. If something goes wrong, your
rig could start
to move. People can be injured and both your vehicle and the
trailer can be damaged.
But
if you ever have to park your rig on a hill, here’s how to do it:
1. Apply your regular brakes, but don’t shift into P (Park) yet, or into gear
for a manual transmission.
2. Have someone place chocks under the trailer wheels.
3, When the wheel chocks are in place, release the regular brakes\
until the
4. Reapply the regular brakes. Then apply your parking brake, and \
then
chocks absorb the load.
shift
to P (Park), or R (Reverse) for a manual transmission.
5. If you have a four-wheel-drive vehicle, be sure the transfer case \
is in
a
drive gear-not in
N (Neutral).
4-62
Page 231 of 386
Yiiur Driving and the Road
mailer Wiring Harness
Power Winches
See “Trailer Wiring Harness” in the Index.
If you wish to use a power winch on your vehicle, only use it when your
vehicle
is stationary or anchored.
transmission may be damaged.
Use the regular brakes, set the parking brake or block the wh\
eels to keep
your vehicle from rolling.
4-64
Page 308 of 386
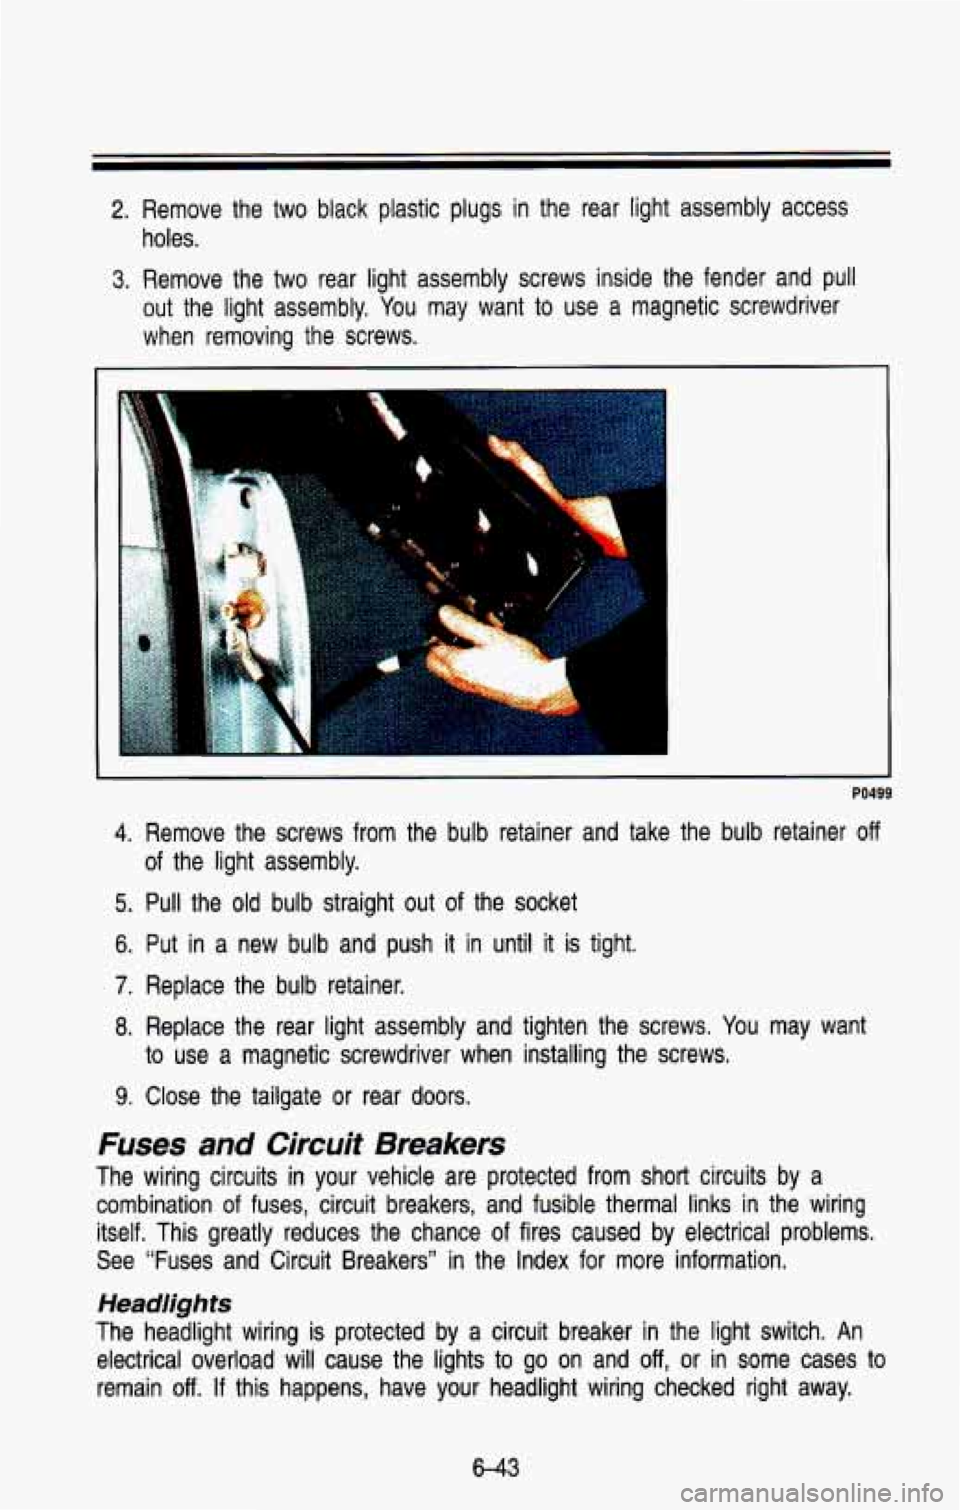
2. Remove the two black plastic plugs in the rear light assembly access
holes.
3. Remove the two rear light assembly screws inside the fender an\
d pull
out the light assembly.
You may want to use a magnetic screwdriver
when removing the screws.
I
PO499
4. Remove the screws from the bulb retainer and take the bulb retainer off
of the light assembly.
5. Pull the old bulb straight out of the socket
6. Put in a new bulb and push it in until it is tight.
7. Replace the bulb retainer.
8. Replace the rear light assembly and tighten the screws. You may want
9. Close the tailgate or rear doors.
Fuses and Circuit Breakers
The wiring circuits in your vehicle are protected from short circuits by a
combination
of fuses, circuit breakers, and fusible thermal links in the wirin\
g
itself. This greatly reduces the chance
of fires caused by electrical problems.
See “Fuses and Circuit Breakers” in the Index for more information.
to use a magnetic screwdriver when installing the screws.
Headlights
The headlight wiring is protected by a circuit breaker
in the light switch. An
electrical overload will cause the lights
to go on and off, or in some cases to
remain
off. If this happens, have your headlight wiring checked right away.
6-43
Page 309 of 386
Service & Appearance Care
Windshield Wipers
The windshield wiper motor is protected by a circuit breaker and a fuse. If
the motor overheats due to heavy snow, etc., the wiper will stop until the
motor cools.
If the overload is caused by some electrical problem and not
snow, etc., be sure to get
it fixed,
Power Windows and Other Power Options
Circuit breakers in the fuse panel protect the power windows and other power
accessories. When the current load
is too heavy, the circuit breaker opens
and
closes, protecting the circuit until the problem is fixed or goes away.
Trailer Wiring Harness
The optional seven-wire trailer wiring harness is protected by an in-line fuse
in the battery feed wire. This fuse is near the junction
block. See “Trailer
Wiring Harness” in the Index for more information.
Fuse Block
m
, .. .
i
-+ lW -
-=
. . . . . . . . .
..
K2644
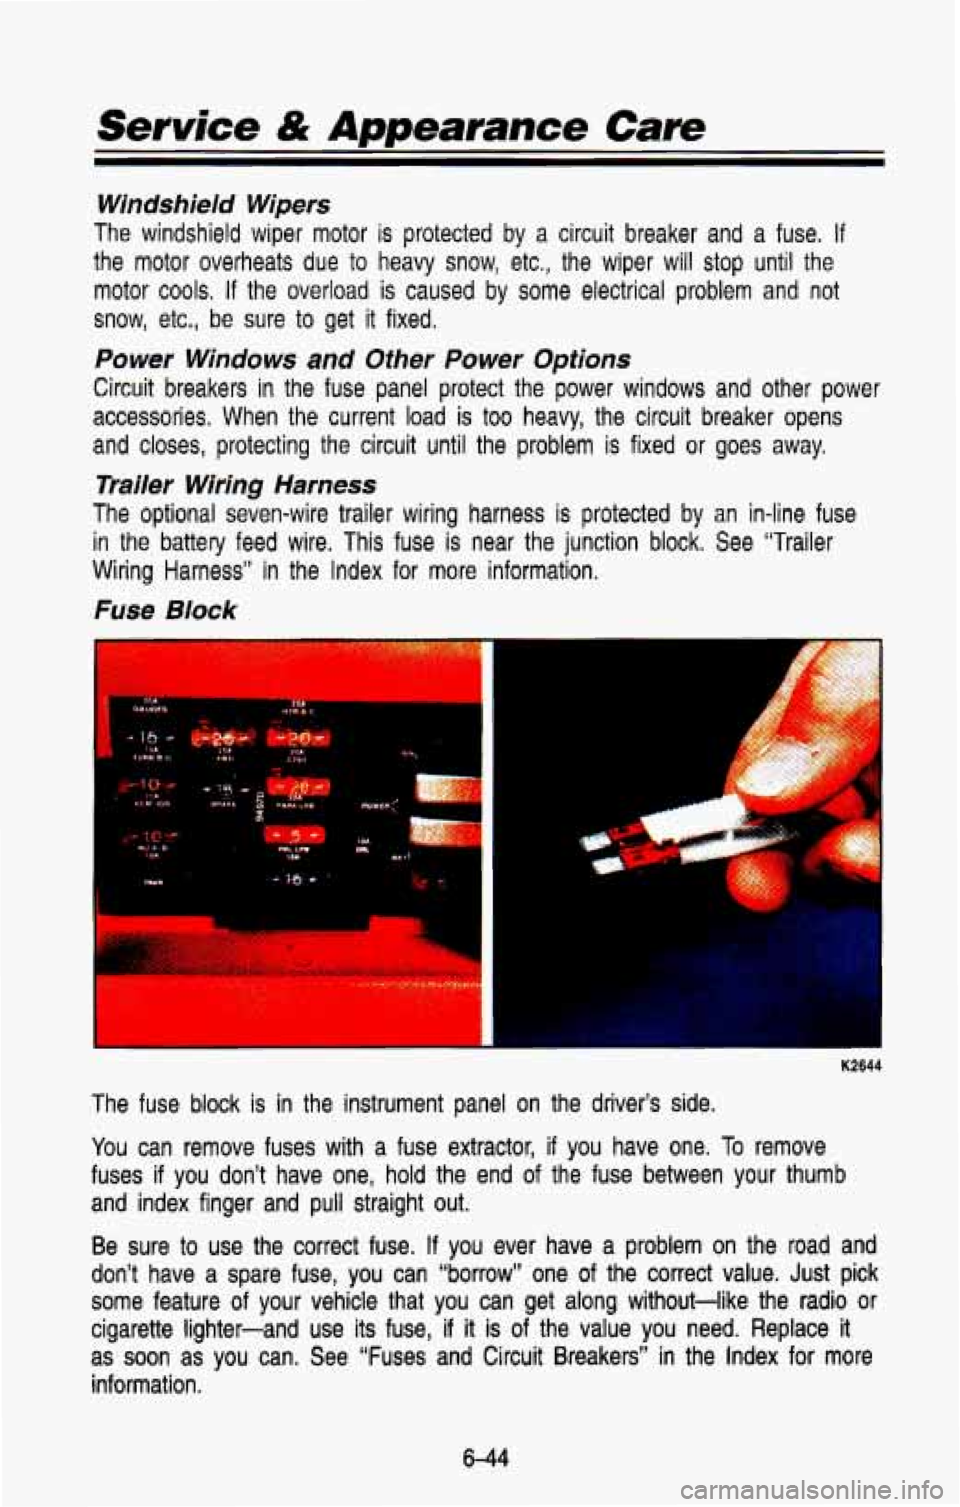
The fuse block is in
the instrument panel on the driver’s side.
You can remove fuses with a fuse extractor, if you have one. To remove
fuses
if you don’t have one, hold the end of the fuse between your thumb
and index finger and pull straight out.
Be sure to use the correct fuse.
If you ever have a problem on the road and
don’t have a spare fuse, you can “borrow” one of the correct value. Just pick
some feature of your vehicle that you can get along without-like the radio \
or
cigarette lighter-and use
its fuse, if it is of the value you need. Replace it
as
soon as you can. See “Fuses and Circuit Breakers” in the Index for more
information.
644
Page 310 of 386
Exhaust System
To help prevent damage to your exhaust system, do not continue to drive
your vehicle
if you notice:
Engine misfiring
Loss of performance
Other unusual operating conditions
Have your engine and exhaust system serviced regularly.
Three- Way Catalytic Converter
Your vehicle’s three-way catalytic converter is designed to reduce the
pollutants in your vehicle’s exhaust. Use only unleaded fuel in your vehic\
le. If
you use leaded fuel, you could damage your three-way catalytic \
converter,
and other engine components.
Computer Command Control System
This system has an oxygen (OS) sensor that helps keep your engine’s
air-fuel mixture at a proper level. Use only unleaded fuel in your vehicle.
If
you use leaded fuel, you could damage your oxygen (OS) sensor and
three-way catalytic converter.
The Malfunction Indicator Lamp
(SERVICE ENGINE SOON) on your
instrument panel lets you know when your emission control syste\
m needs
service. The light will come on briefly when you start your e\
ngine to let you know that the system
is working. If it does not come on when you start your
engine, or
if it comes on and stays on while you’re driving your system may \
need service. Your vehicle should still be driveable, but you should have your
system serviced right away.
Secondary Air Injection (AIR) System
You may have this system. It lets you know if your engine control module,
wiring harness or solenoid need service.
If the Malfunction Indicator Lamp
(Service Englne Soon) comes on, you need service.
645
Page 378 of 386
Skidding ..................................... 4-23
Stuck
in Deep Snow .... 4-56, 5-31
Through Water
............... 2-1 5, 4-34
Uphill
.......................................... 4-28
Winter
........................................ 4-53
With a Trailer
............................ 4-60
Drunken Driving
........................... 4-1 0
E
Electrical System ......................... 6-37
Add-on Equipment
................... 6-67
Engine
Adding Coolant
... 5-1 1, 5-13, 6-27
Air Cleaner
................................ 6-1 6
Block Heater
.......... 2-16, 3-5, 6-16
Computer Command Control
System
..................................... 6-45
Coolant
............................ 6-25, 6-68
Coolant Temperature Gage
...... 2-77
Cooling System
......................... 5-10
Crankcase .................................. 6-69
Exhaust
..................................... 2-28
Fan Noise
.................................. 5-1 6
Identification
................... 6-65, 6-68
Leaving Vehicle While Running
....................... 2-26
Oil (See
“Oil”)
Overheating ................................. 5-8
Running While Parked
............. 2-29
Starting
...................................... 2-1 4
Equipment, Add-on
...................... 6-48
Exhaust System
........................... 6-45
F
Fan Noise ...................................... 5-1 6
Filter Replacement Chart
............ 6-69
Finish
Care
............................................ 6-61
Damage
..................................... 6-62
Automatic Transmission
........... 6-17
Brake
.......................................... 6-32
Fluid Capacities
.................................. 6-68
Coolant
....................................... 5-11
Front Axle ................................. 6-24
Hydraulic
Clutch ....................... 6-21
Leak Check
............................... 6-35
Manual Transmission
............... 6-20
Power Steering
......................... 6-29
Radiator
..................................... 5-13
Rear Axle
.................................. 6-24
Recommended Fluids
.............. 7-25
Transfer Case
............................ 6-23
Windshield Washer
........ 2-40, 6-31
Four-wheel Drive
............... 2-30, 6-23
Transfer Case
................. 2-30, 6-23
Front Axle
..................................... 6-24
Fuel
.................................................. 6-4
Filling Your Tank
......................... 6-6
Foreign Countries
....................... 6-6
Gage
.......................................... 2-76
Gasolines
for Cleaner Air ......... 6-5
Tank Capacity
........................... 6-69
Fuses and Circuit Breakers
.......... 6-43
Fuse Block
................................ 6-44
Headlights
................................. 6-43
Power Windows and
Other Power Options
........... 6-44
Trailer Wiring Harness
............. 6-44
Windshield Wipers
................... 6-44
G
Gages .................................. 2-66, 2-76
Coolant Temperature Gage
..... 2-77
Fuel Gage
.................................. 2-76
Odometer
................................... 2-66
Oil Pressure Gage
.................... 2-78
Speedometer
............................. 2-66
Tachometer
................................ 2-67
Trip Odometer
........................... 2-67
Voltmeter
................. ................. 2-79
Glove Box
..................................... 2-56
9-3
Page 381 of 386
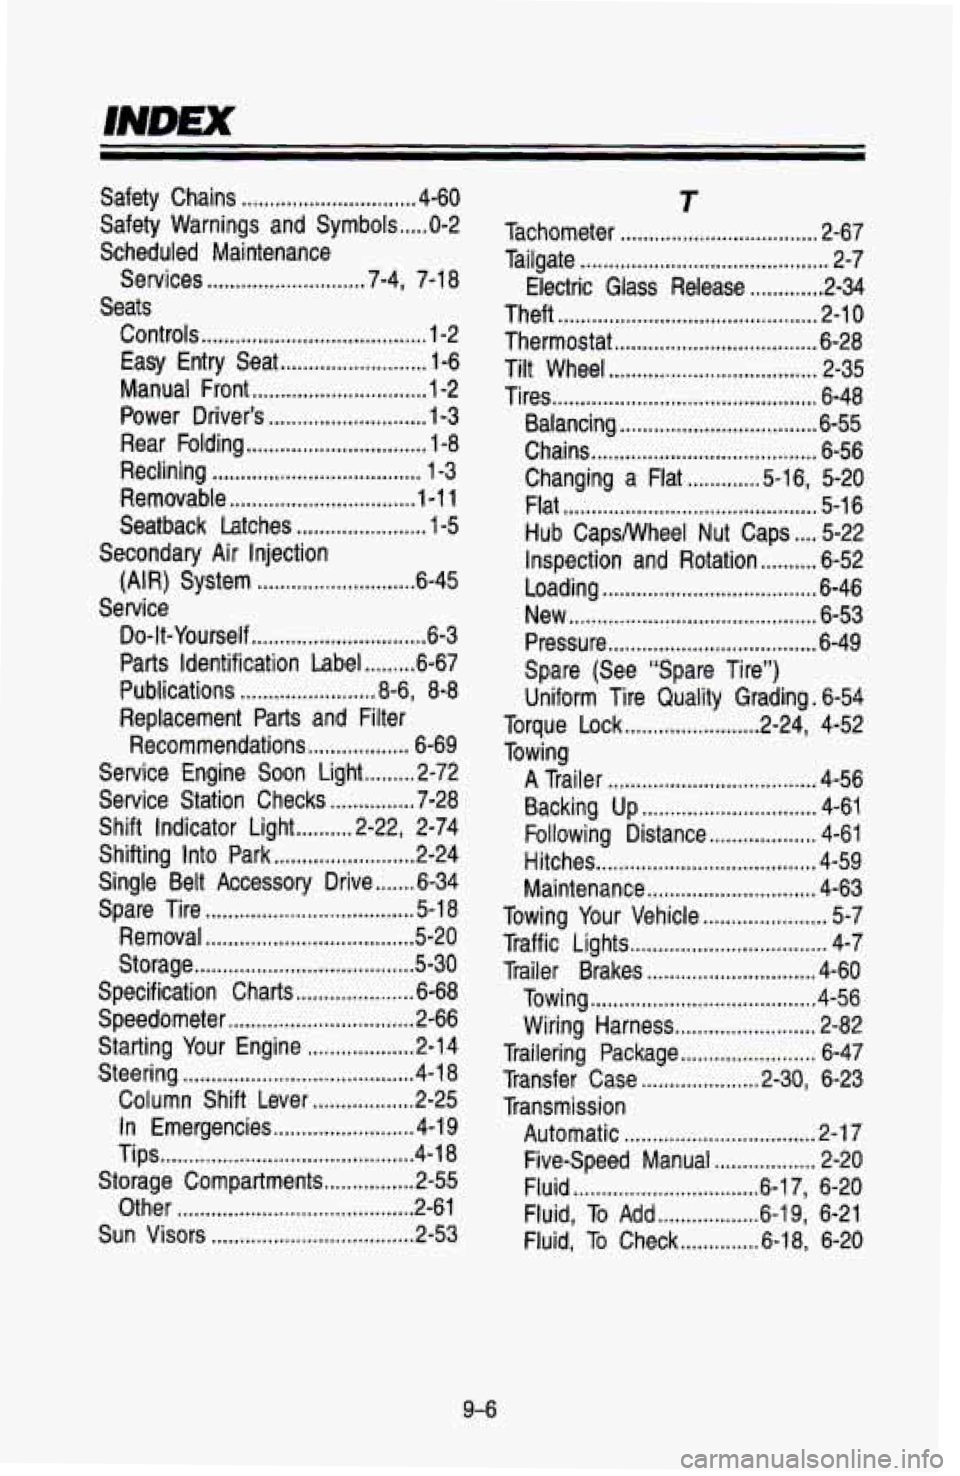
Safety Chains ............................... 4-60
Scheduled Maintenance
Seats Safety Warnings and Symbols
..... 0-2
Services
............................ 7-4, 7-1 8
Controls
........................................ 1-2
Easy Entry Seat
.......................... 1 -6
Manual Front
............................... 1 -2
Power Driver‘s
............................ 1-3
Rear Folding
................................ 1-8
Reclining
..................................... 1-3
Removable
................................. 1-1 1
Seatback Latches
....................... 1-5
(AIR) System
............................ 6-45
Do-It-Yourself
............................... 6-3
Parts Identification Label
......... 6-67
Publications
........................ 8-6, 8-8
Replacement Parts and Filter Recommendations
.................. 6-69
Service Engine
Soon Light ......... 2-72
Service Station Checks
............... 7-28
Shift Indicator Light
.......... 2-22, 2-74
Shifting Into Park
......................... 2-24
Single Belt Accessory Drive
....... 6-34
Spare Tire
..................................... 5-1 8
Removal ..................................... 5-20
Storage ....................................... 5-30
Specification Charts ..................... 6-68
Speedometer
................................. 2-66
Starting Your Engine
................... 2-1 4
Column Shift Lever
.................. 2-25
In Emergencies
......................... 4-1 9
Tips ............................................. 4-1 8
Storage Compartments ................ 2-55
Other
.......................................... 2-6 1
Sun Visors .................................... 2-53
Secondary
Air Injection
Service
Steering
......................................... 4-18
T
Tachometer ................................... 2-67
Tailgate
............................................ 2-7
Electric Glass Release ............. 2-34
Theft
.............................................. 2-10
Thermostat
.................................... 6-28
Tilt Wheel
..................................... 2-35
Tires
............................................... 6-48
Balancing
................................... 6-55
Chains
........................................ 6-56
Changing a Flat
............. 5-16, 5-20
Flat
............................................. 5-16
Hub CapsNVheel Nut Caps
.... 5-22
Inspection and Rotation
.......... 6-52
Loading
...................................... 6-46
New ............................................
Pressure ..................................... 6-49
Spare (See “Spare Tire”)
Uniform Tire Quality Grading
. 6-54
Torque Lock
........................ 2-24, 4-52
Towing
A Trailer ..................................... 4-56
Backing Up
............................... 4-61
Following Distance
................... 4-61
Hitches
....................................... 4-59
Maintenance
.............................. 4-63
Towing Your Vehicle
...................... 5-7
Traffic Lights
................................... 4-7
Trailer Brakes
.............................. 4-60
Towing
........................................ 4-56
Wiring Harness
......................... 2-82
Trailering Package
........................ 6-47
Transfer Case
..................... 2-30, 6-23
Transmission Automatic
.................................. 2-17
Five-Speed Manual
.................. 2-20
Fluid ................................. 6-1 7, 6-20
Fluid, To Add
.................. 6-1 9. 6-21
Fluid.
To Check .............. 6-18. 6-20
6-53
9-6