jacking CHEVROLET BLAZER 1995 2.G Owners Manual
[x] Cancel search | Manufacturer: CHEVROLET, Model Year: 1995, Model line: BLAZER, Model: CHEVROLET BLAZER 1995 2.GPages: 380, PDF Size: 20.04 MB
Page 223 of 380
Downloaded from www.Manualslib.com manuals search engine If a Tire Goes Flat
It’s unusual for a tire to “blow out” while you’re driving, especially if you
maintain your tires properly. If air goes out
of a tire, it’s much more likely to
leak out slowly. But
if you should ever have a “blowout,” here are a few tips
about what to expect and what
to do:
If a front tire fails, the flat tire will create a drag that pulls the vehicle
toward that side. Take your foot
off the accelerator pedal and grip the
steering wheel firmly. Steer to maintain lane position, then ge\
ntly brake to a
stop well out of the traffic lane.
A rear blowout, particularly on a curve, acts much like a skid and may
require the same correction you’d use in a skid. In any rear blowout, remove
your foot from
the accelerator pedal. Get the vehicle under control by
steering the way you want the vehicle to go. It may be very bumpy and
noisy, but you can still steer. Gently brake to a stop, well
off the road if
possible.
If a tire goes flat,
the next part shows how to use your jacking equipment to
change
a flat tire safely.
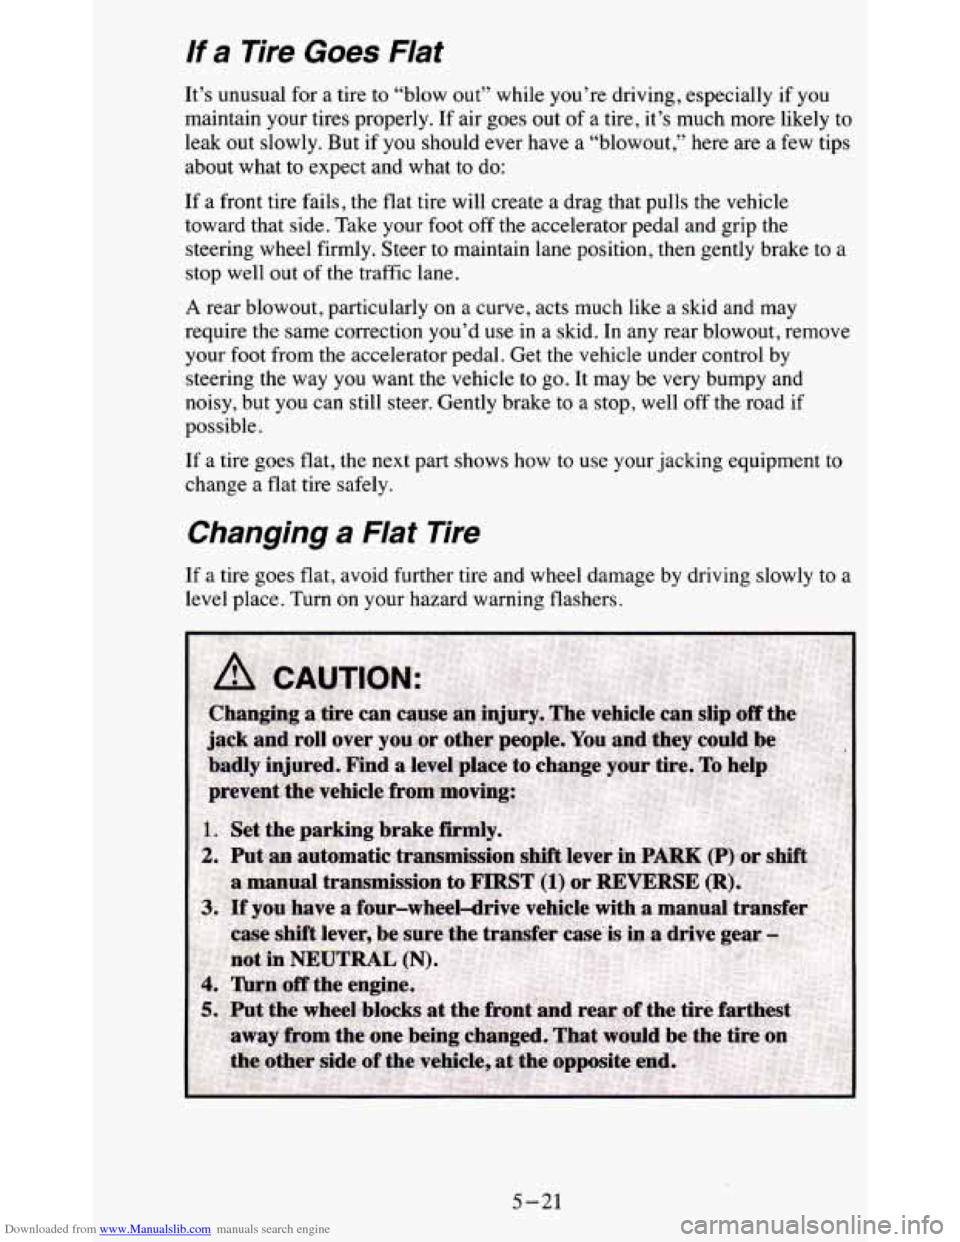
Changing a Flat Tire
If a tire goes flat, avoid further tire and wheel damage by driving slowly to a
level place.
Turn on your hazard warning flashers.
5-21
Page 224 of 380
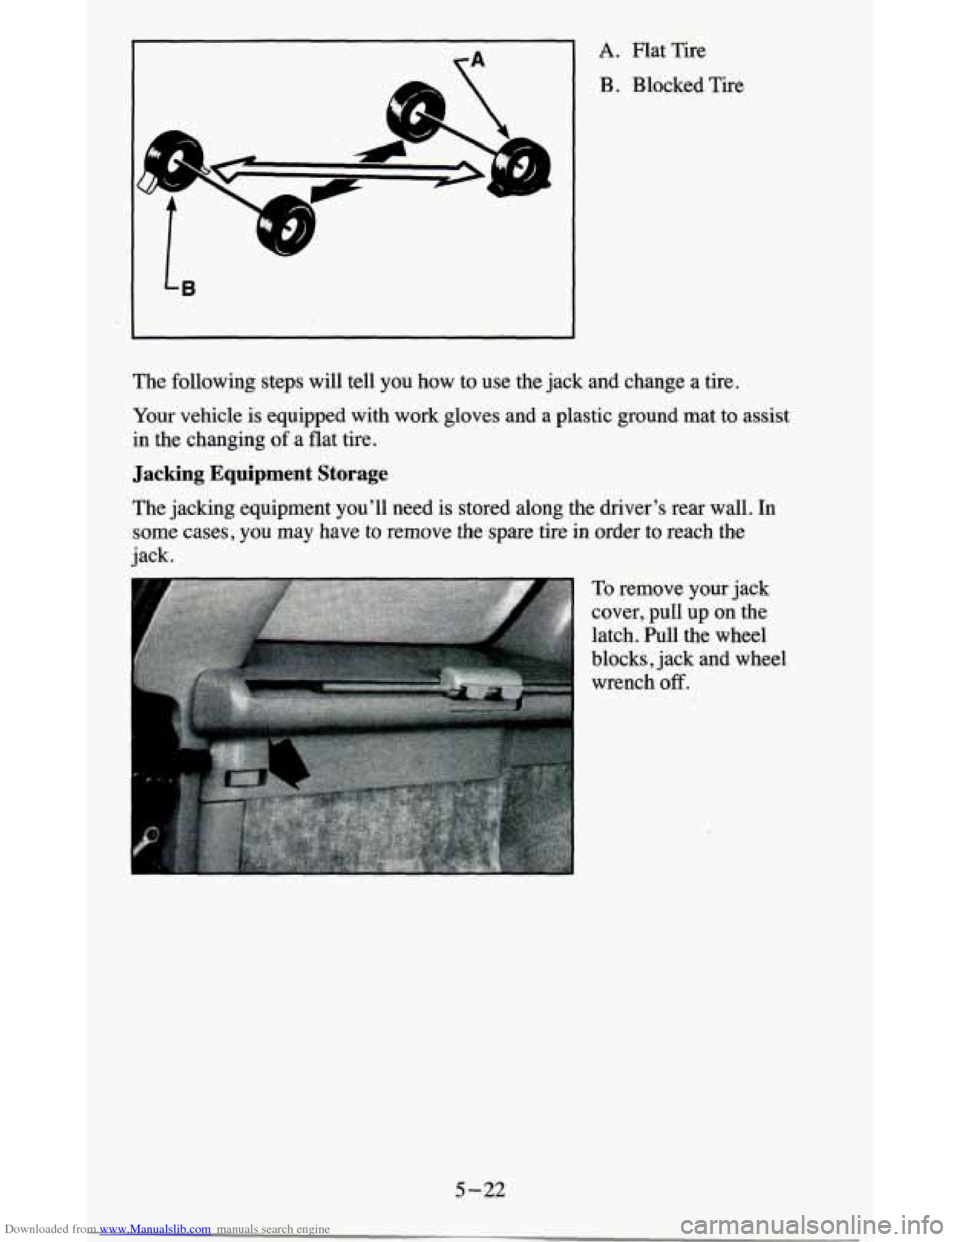
Downloaded from www.Manualslib.com manuals search engine A. Flat Tire
B . Blocked Tire
t
The following steps will tell you how to use the jack and change a tire.
Your vehicle is equipped with work gloves and a plastic ground mat to assist
in the changing of a flat tire.
Jacking Equipment Storage
The jacking equipment you’ll need is stored along the driver’s rear wall. In
some cases,
you may have to remove the spare tire in order to reach the
jack.
To remove your jack
cover, pull
up on the
latch. Pull the wheel
blocks, jack and wheel
wrench
off.
5-22
Page 225 of 380
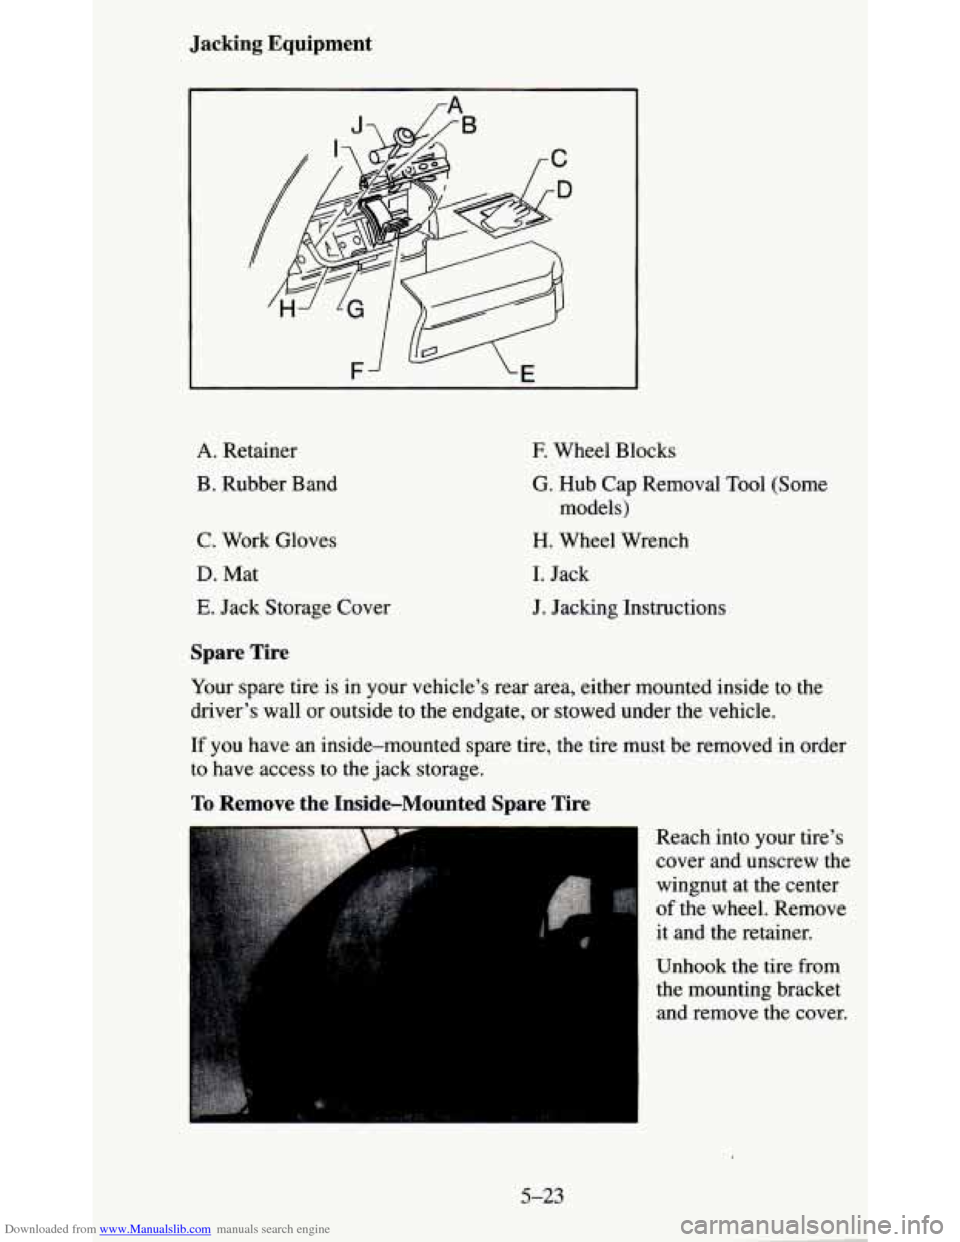
Downloaded from www.Manualslib.com manuals search engine Jacking Equipment
rA
A. Retainer
B. Rubber Band
C. Work Gloves
D. Mat
E. Jack Storage Cover
E Wheel Blocks
G. Hub Cap Removal Tool (Some
H. Wheel Wrench
I. Jack models)
J. Jacking Instructions
Spare Tire
Your spare tire is in your vehicle's rear area, either mounted inside to the
driver's wall or outside to the endgate, or stowed under the vehicle.
If you have an inside-mounted spare tire, the tire must be removed in order
to have access to the jack storage.
To Remove the Inside-Mounted Spare Tire
Reach into your tire's
cover and unscrew the
wingnut at the center
of the wheel. Remove
it and the retainer.
Unhook the tire from
the mounting bracket and remove the cover.
5-23
Page 229 of 380
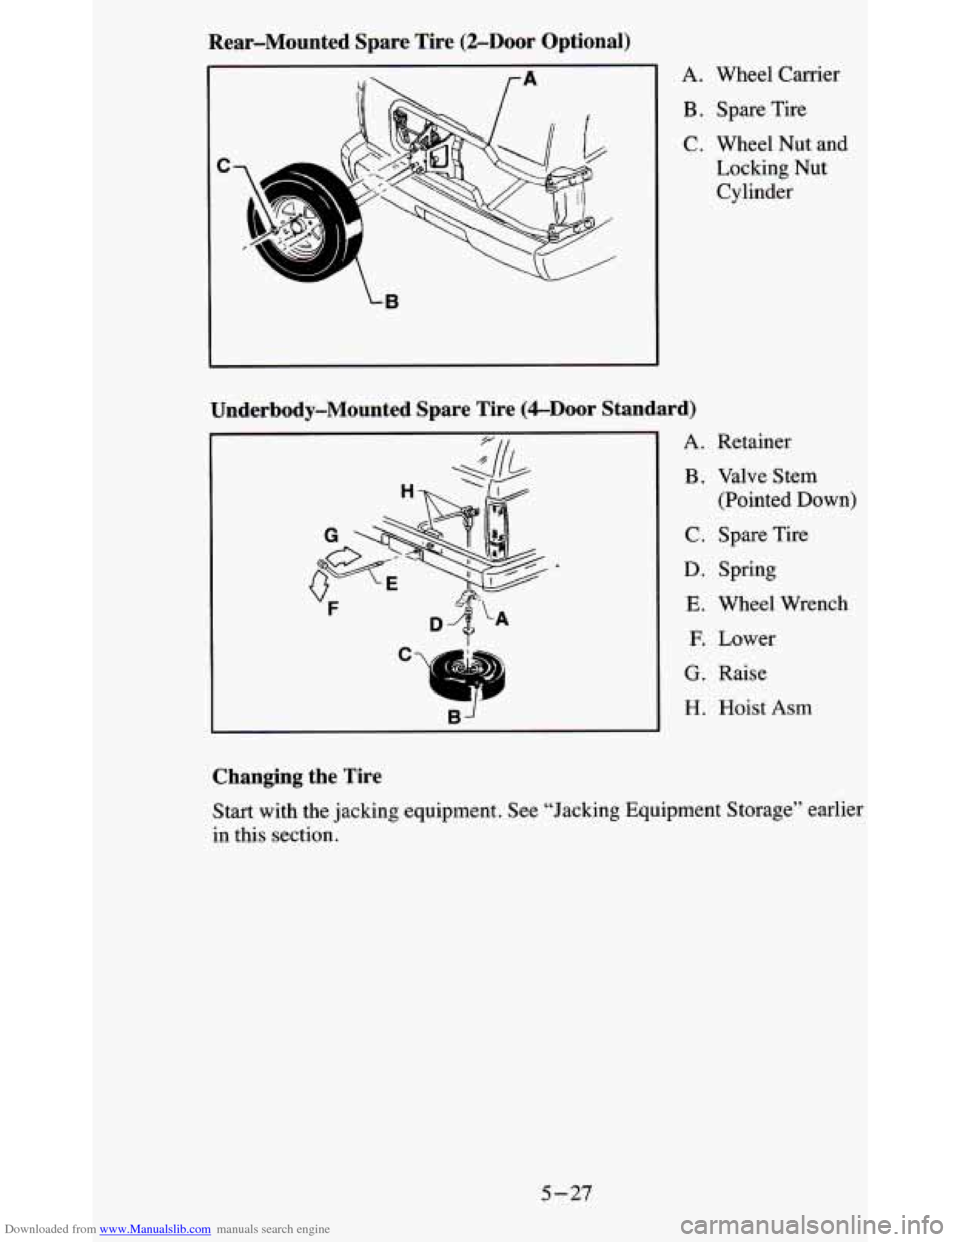
Downloaded from www.Manualslib.com manuals search engine Rear-Mounted Spare Tire (%Door Optional)
A. Wheel Carrier
B. Spare Tire
C. Wheel Nut and
Locking Nut
Cylinder
Underbody-Mounted Spare Tire (&Door Standard)
A. Retainer
B . Valve Stem
(Pointed Down)
C. Spare Tire
D. Spring
E. Wheel Wrench
F. Lower
G. Raise
H. Hoist Asm
Changing the Tire
Start with the jacking equipment. See “Jacking Equipment Storage” earlier
in this section.
5-27
Page 373 of 380
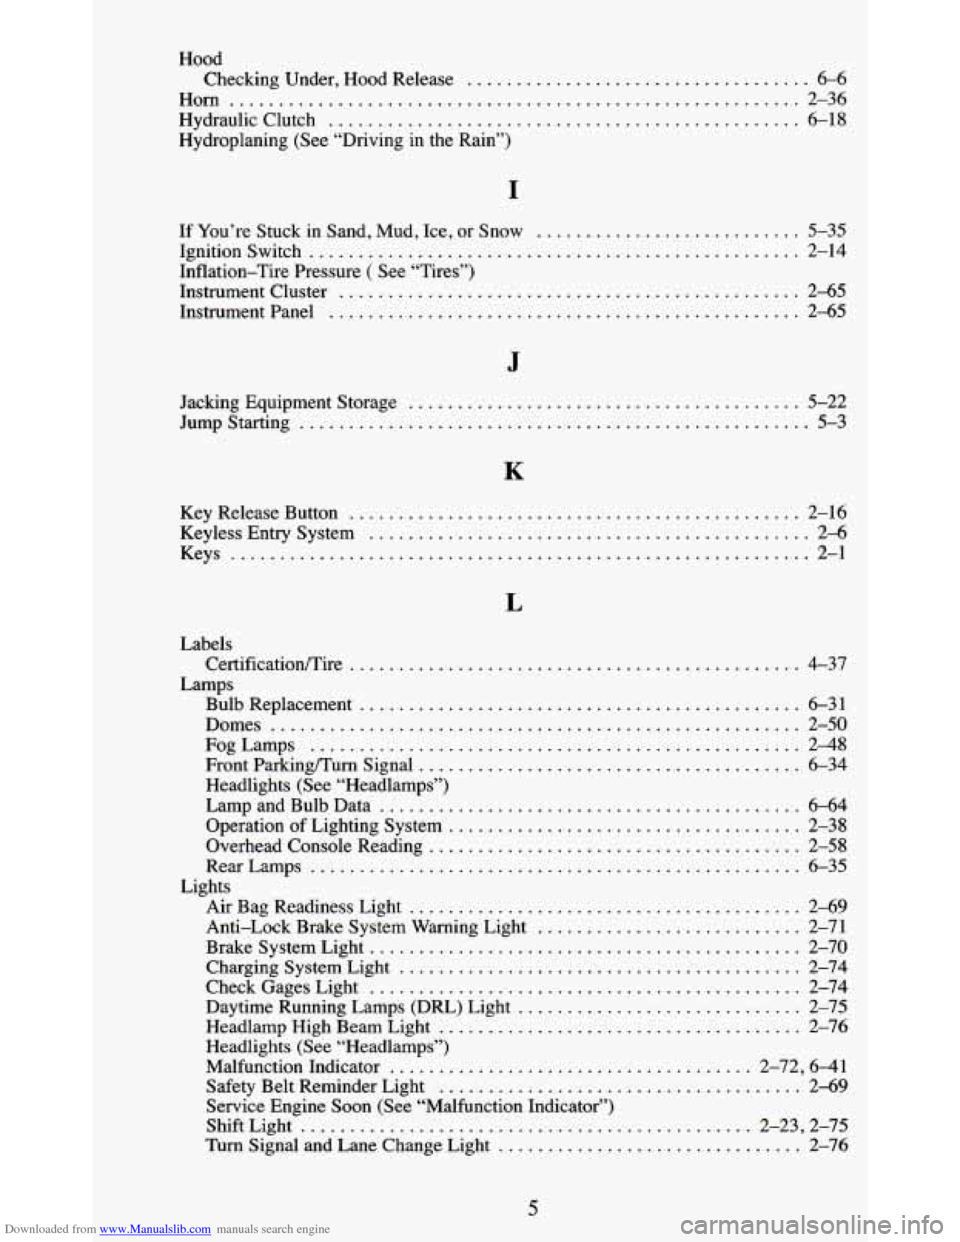
Downloaded from www.Manualslib.com manuals search engine Hood Checking Under. Hood Release
................................... 6-6
Horn .......................................................... 2-36
Hydraulic Clutch ................................................ 6-18
Hydroplaning (See “Driving in the Rain”)
I
If You’re Stuck in Sand. Mud. Ice. or Snow ........................... 5-35
Ignitionswitch .................................................. 2-14
Inflation-Tire Pressure ( See “Tires”)
Instrument Cluster
............................................... 2-65
Instrument Panel ................................................ 2-65
J
Jacking Equipment Storage ........................................ 5-22
Jump Starting .......... ....................................... 5-3
K
Key Release Button .............................................. 2-16
Keyless Entry System ............................................. 2-6
Keys ........................................................... 2-1
L
Labels
Lamps CertificatiodTire
.............................................. 4-37
Bulb Replacement ............................................. 6-31
Domes ...................................................... 2-50
FogLamps .................................................. 2-48
Front
Parkingmum Signal ....................................... 6-34
Headlights (See “Headlamps”)
Lamp and Bulb Data
........................................... 6-64
Operation of Lighting System .................................... 2-38
Overhead Console Reading ...................................... 2-58
RearLamps .................................................. 6-35
Air Bag Readiness Light ........................................ 2-69
Anti-Lock Brake System Warning Light ........................... 2-71
BrakeSystemLight ............................................ 2-70
Charging System Light ......................................... 2-74
CheckGagesLight ............................................ 2-74
Daytime Running Lamps (DRL) Light ............................. 2-75
Headlamp High Beam Light ..................................... 2-76
Headlights (See “Headlamps”)
Malfunction Indicator
..................................... 2-72. 641
Safety Belt Reminder Light ..................................... 2-69
Service Engine Soon (See “Malfunction Indicator”)
ShiftLight
.............................................. 2-23. 2-75
Turn Signal and Lane Change Light ............................... 2-76
Lights
5