check engine CHEVROLET BLAZER 1998 2.G Repair Manual
[x] Cancel search | Manufacturer: CHEVROLET, Model Year: 1998, Model line: BLAZER, Model: CHEVROLET BLAZER 1998 2.GPages: 416, PDF Size: 22.4 MB
Page 300 of 416
Downloaded from www.Manualslib.com manuals search engine Checking Brake Fluid What to Add
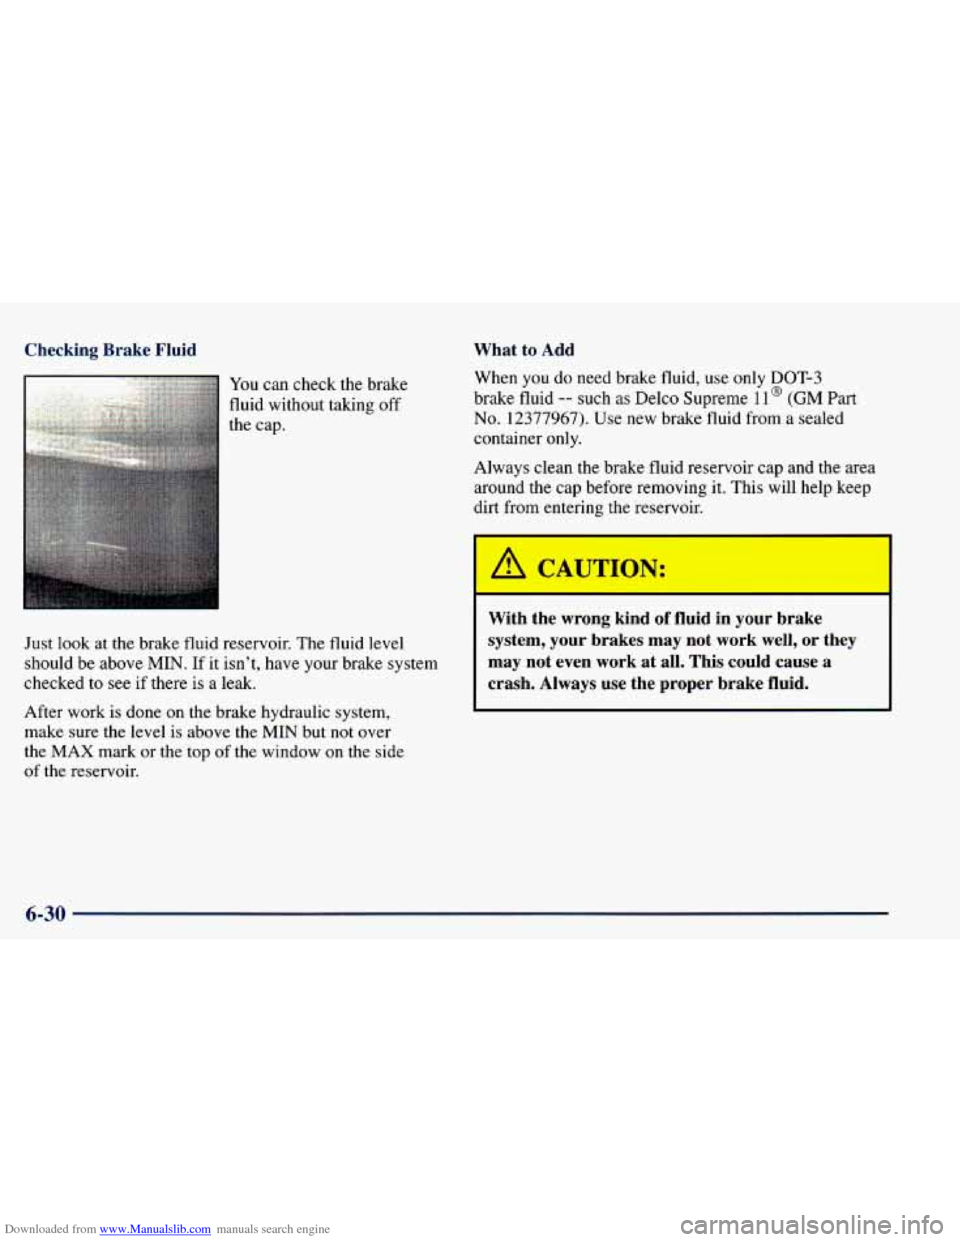
You can check the brake
fluid without taking off
the cap.
Just look at the brake
fluid reservoir. The fluid level
should be above
MIN. If it isn’t, have your brake system
checked to
see if there is a leak.
After work
is done on the brake hydraulic system,
make sure the level is above the MIN but
not over
the MAX mark or the top of the window
on the side
of the reservoir. When
you do
need brake fluid, use only DOT-3
brake fluid
-- such as Delco Supreme 1 l@ (GM Part
No. 12377967). Use new brake fluid from a sealed
container only.
Always clean the brake fluid reservoir cap and the area
around the cap before removing it. This will help keep
dirt from entering the reservoir.
A CAUTION:
With the wrong kind of fluid in your brake
system, your brakes may not work well, or they
may not even work at all. This could cause a
crash. Always use the proper brake fluid.
6-30
Page 311 of 416
Downloaded from www.Manualslib.com manuals search engine I
Poorly maintained and improperly used tires are dangerous.
0
0
0
0
Overloading your tires can cause overheating
as a result of too much friction.
You could
have an airout and a serious accident.
See
“Loading Your Vehicle” in the Index.
Underinflated tires pose the same danger as
overloaded tires. The resulting accident
could cause serious injury. Check all tires
frequently to maintain the recommended pressure. Tire pressure should be checked when your tires are cold.
Overinflated tires are more likely to be
cut, punctured or broken by
a sudden
impact
-- such as when you hit a pothole.
Keep tires at the recommended pressure.
Worn, old tires can cause accidents.
If your
tread is badly worn, or if your tires have
been damaged, replace them.
Inflation -- Tire Pressure
The CertificatiodTire label, which is on the driver’s
door edge, above the door latch, shows the correct
inflation pressures for your tires when they’re cold.
“Cold” means your vehicle has been sitting
for at least
three hours or driven
no more than 1 mile (1.6 km).
NOTICE:
Don’t let anyone tell you that underinflation or
overinflation is all right. It’s not.
If your tires
don’t have enough air (underinflation), you can
get the following:
0 Too much flexing
0 Too much heat
Tire overloading
Bad wear
Bad handling
Bad fuel economy.
NOTICE: (Continued)
6-41
Page 312 of 416
Downloaded from www.Manualslib.com manuals search engine I NOTICE: (Continued) I
If your tires have too much air (overinflation),
you can get the following:
Unusual wear
Bad handling
Rough ride
Needless damage from road hazards.
When
to Check
Check your tires once a month or more. Also, check
the tire pressure of the spare tire.
If you have a compact spare tire, it should be at
60 psi (420 Wa).
How to Check
Use a good quality pocket-type gage to check tire
pressure. You can’t tell if your tires are properly inflated
simply by looking
at them. Radial tires may look
properly inflated even when they’re underinflated.
Be sure to put the valve caps back on the valve stems.
They help prevent leaks by keeping out dirt and moisture.
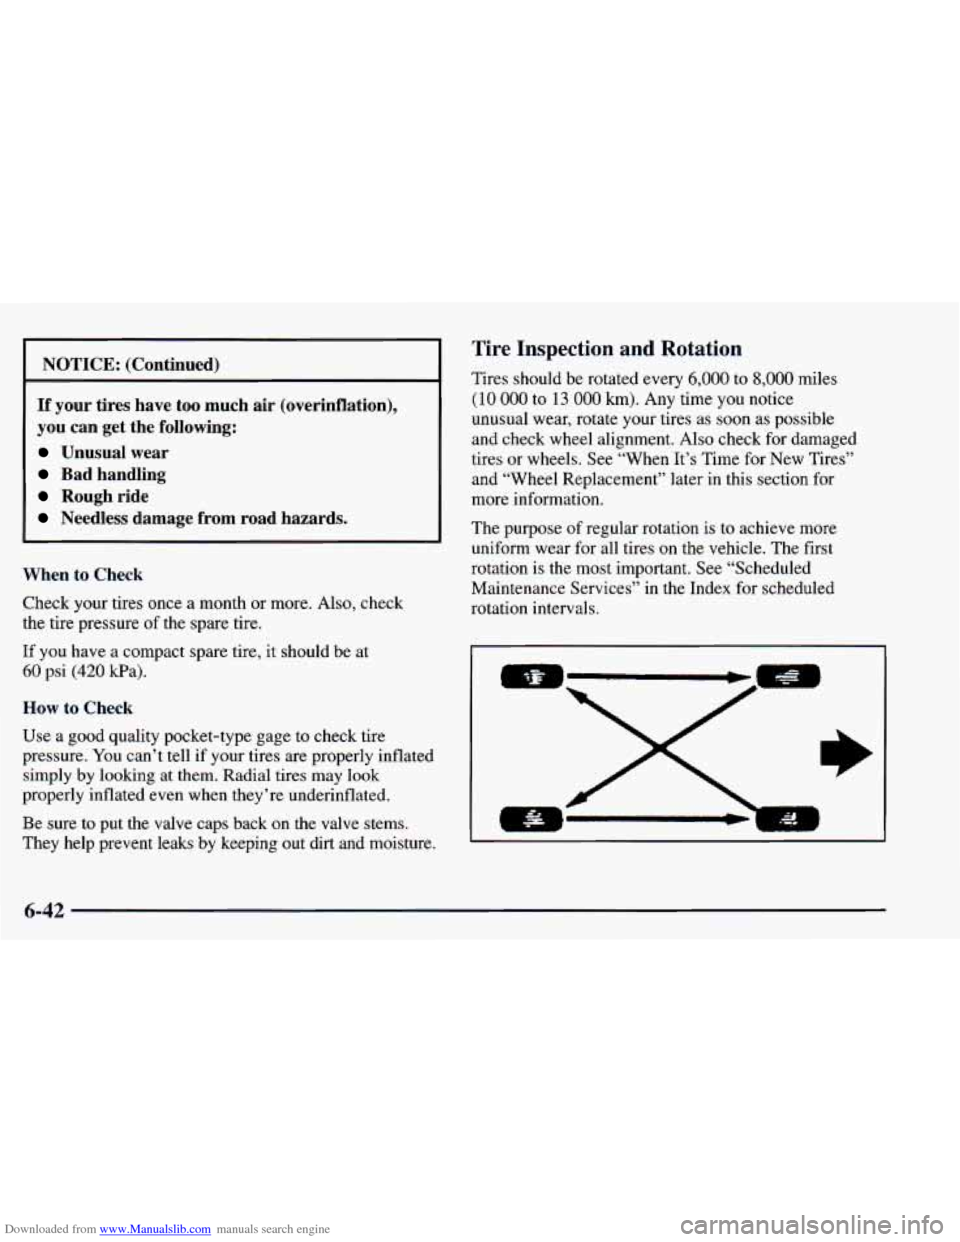
Tire Inspection and Rotation
Tires should be rotated every 6,000 to 8,000 miles
(10
000 to 13 000 km). Any time you notice
unusual wear, rotate your tires as soon as possible
and check wheel alignment. Also check for damaged
tires or wheels. See “When It’s Time for New Tires”
and “Wheel Replacement” later in this section for
more information.
The purpose of regular rotation is to achieve more
uniform wear for all tires on the vehicle. The first
rotation is the most important. See “Scheduled
Maintenance Services’’ in the Index for scheduled
rotation intervals.
6-42
Page 314 of 416
Downloaded from www.Manualslib.com manuals search engine When It’s Time for New Tires
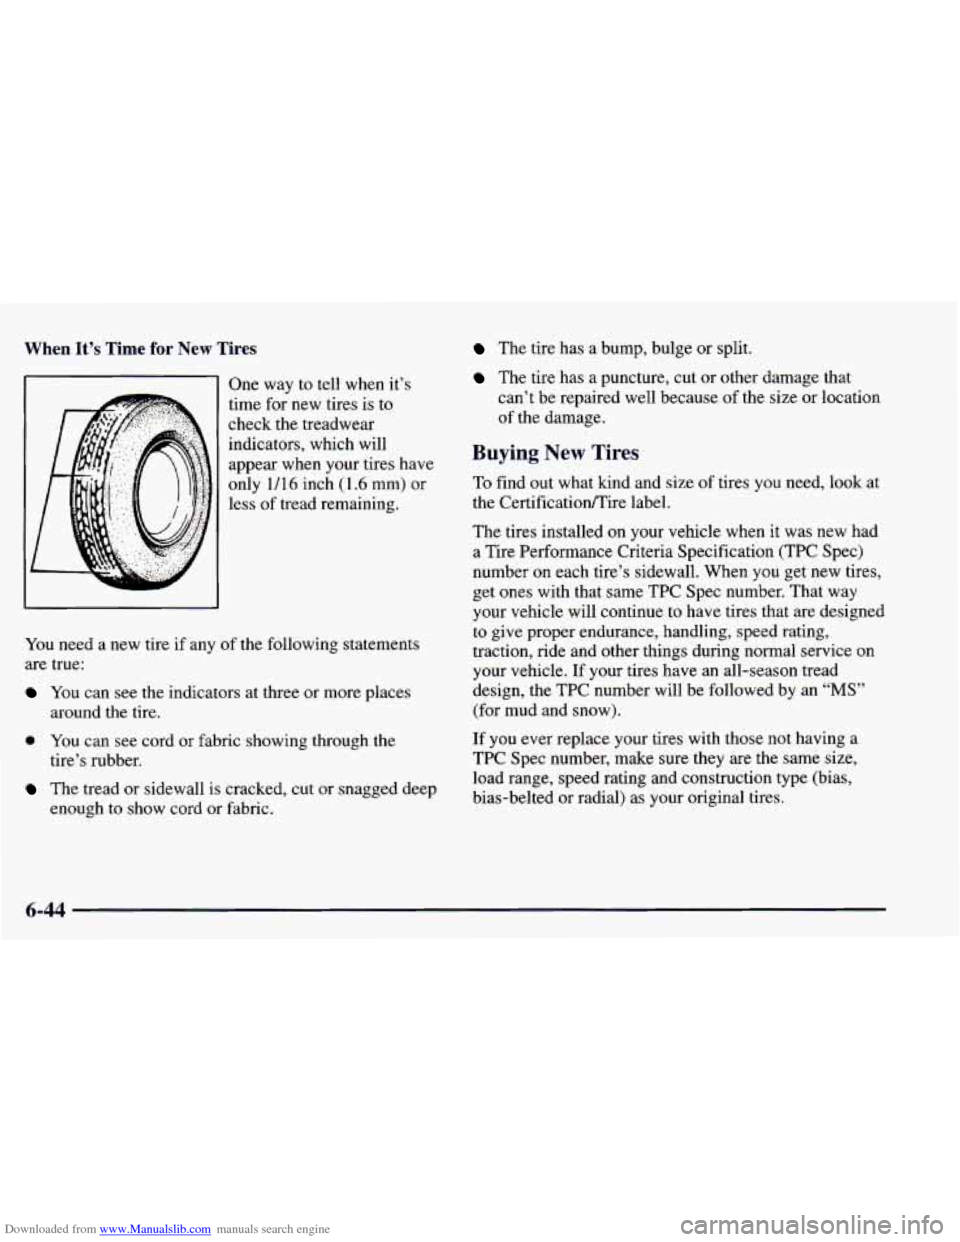
One way to tell when it’s
time for new tires is to
check the treadwear
indicators, which will
appear when your tires have
only
1/16 inch (1.6 mm) or
less
of tread remaining.
The tire has a bump, bulge or split.
The tire has a puncture, cut or other damage that
can’t be repaired well because
of the size or location
of the damage.
Buying New Tires
To find out what kind and size of tires you need, look at
the Certificatioflire label.
You need a new tire if
any of the following statements
are true:
You can see the indicators at three or more places
0 You can see cord or fabric showing through the
The tread or sidewall is cracked, cut or snagged deep
around
the tire.
tire’s rubber.
enough
to show cord or fabric. The
tires installed on your vehicle when it
was new had
a Tire Performance Criteria Specification (TPC Spec)
number on each tire’s sidewall. When you get new tires,
get ones with that same TPC Spec number. That way
your vehicle will continue
to have tires that are designed
to give proper endurance, handling, speed rating,
traction, ride and other things during normal service on
your vehicle. If your tires have an all-season tread
design, the TPC number will be followed by an
“MS”
(for mud and snow).
If you ever replace your tires with those not having a
TPC Spec number, make sure they are the same size,
load range, speed rating and construction type (bias,
bias-belted or radial) as your original tires.
6-44
Page 323 of 416
Downloaded from www.Manualslib.com manuals search engine Cleaning Glass Surfaces
Glass should be cleaned often. GM Glass Cleaner (GM
Part
No. 1050427) or a liquid household glass cleaner
will remove normal. tobacco smoke and dust films on
interior glass.
Don’t use abrasive cleaners on glass, because they may
cause scratches. Avoid placing decals on the inside rear
window, since they may have to be scraped off later.
If abrasive cleaners are used on the inside
of the rear
window, an electric defogger element may be damaged.
Any temporary license should not be attached across
the defogger grid.
Cleaning the Outside of the Windshield,
Backglass and Wiper Blades
If the windshield is not clear after using the windshield
washer, or
if the wiper blade chatters when running,
wax, sap
or other material may be on the blade
or windshield. Clean the
outside of the windshield with GM
Windshield Cleaner, Bon Ami’ Powder (non-scratching
glass cleaning powder), GM Part
No. 105001 1. The
windshield
is clean if beads do not form when you rinse
it with water.
Grime from the windshield will stick to
the wiper blades
and affect their performance. Clean the blade by wiping vigorously with a cloth soaked in full-strength windshield
washer solvent. Then rinse the blade
with water.
Check the wiper blades and clean them as necessary;
replace blades that look worn.
Weatherstrips
Silicone grease on weatherstrips will make them last
longer, seal better, and not stick or squeak. Apply
silicone grease with a clean cloth at least every
six months. During
very cold, damp weather
more frequent application may be required. (See
“Recommended Fluids and Lubricants” in the Index.)
6-53
Page 328 of 416
Downloaded from www.Manualslib.com manuals search engine Vehicle Identification Number (VIN)
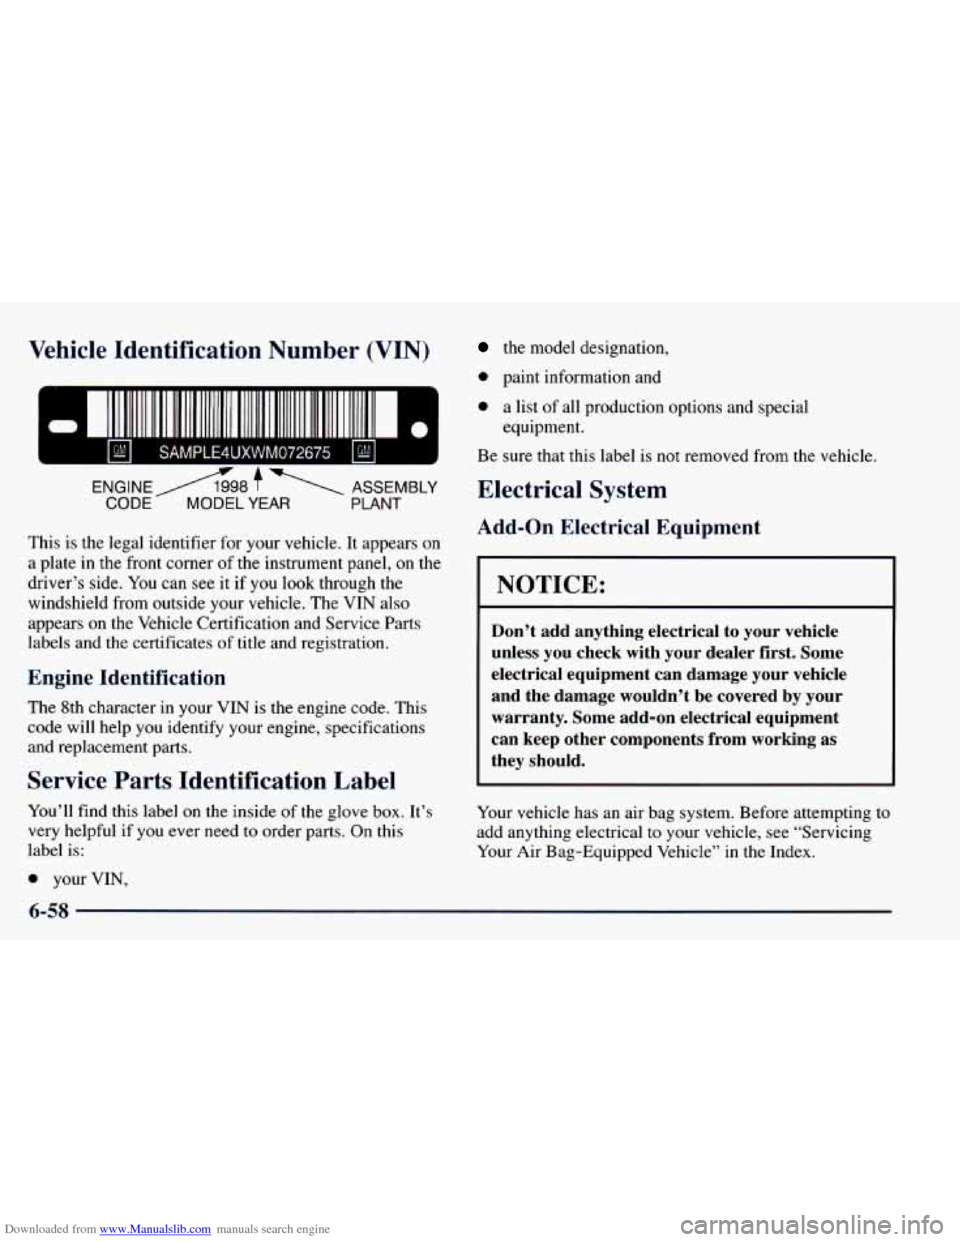
This is the legal identifier for your vehicle. It appears on
a plate in the front corner
of the instrument panel, on the
driver’s side. You can see it
if you look through the
windshield from outside your
vehicle. The VIN also
appears on the Vehicle Certification and Service Parts
labels and the certificates of title and registration.
Engine Identification
The 8th character in your VIN is the engine code. This
code will help you identify your engine, specifications
and replacement parts.
Service Parts Identification Label
You’ll find this label on the inside of the glove box. It’s
very helpful if
you ever need to order parts. On this
label is:
the model designation,
0 paint information and
0 a list of all productlon options and special
equipment.
Be sure that this label is not removed from the vehicle.
Electrical System
Add-on Electrical Equipment
I NOTICE:
Don’t add anything electrical to your vehicle
unless you check with your dealer first. Some
electrical equipment can damage your vehicle
and the damage wouldn’t be covered by your
warranty. Some add-on electrical equipment
can keep other components from working
as
they should.
Your vehicle has an air bag system. Before attempting to
add anything electrical to your vehicle, see “Servicing
Your Air Bag-Equipped Vehicle” in the Index.
0 your VIN,
Page 329 of 416
Downloaded from www.Manualslib.com manuals search engine Headlamps Fuses and Circuit Breakers
The headlamp wiring is protected by an internal
circuit breaker. An electrical overload will cause the
lamps to go
on and off, or in some cases to remain off.
If this happens, have your headlamp wiring checked
right away.
Windshield Wipers
The windshield wiper motor is protected by a circuit
breaker and a fuse. If the motor overheats due to heavy
snow, etc., the wiper will stop until the motor cools. If
the overload is caused by some electrical problem, be
sure to get it fixed.
Power Windows and Other Power Options
Circuit breakers protect the power windows and other
power accessories. When the current load is
too heavy,
the circuit breaker opens and closes, protecting the
circuit until the problem is fixed or goes away. The
wiring circuits in your vehicle are protected from
short circuits by a combination
of fuses and circuit
breakers. This greatly reduces the chance of fires
caused by electrical problems.
Look at the silver-colored band inside the fuse. If the
band
is broken or melted, replace the fuse. Be sure you
replace
a bad fuse with a new one of the identical size
and rating.
If
you ever have a problem on the road and don’t have
a spare fuse, you can borrow one that has the same
amperage. Just pick some feature of your vehicle that
you can get along without -- like the radio or cigarette
lighter
-- and use its fuse, if it is the correct amperage.
Replace it as soon as
you can.
6-59
Page 335 of 416
Downloaded from www.Manualslib.com manuals search engine Normal Maintenance Replacement Parts
Replacement part numbers listed in this section are
based on the latest information available at the time of
printing, and are subject to change. If a part listed
in this
manual is not the same as the part used
in your vehicle
when it was built, or if you have any questions, please
contact your
GM truck dealer.
Thermostat
......................... 12551472
Oil Filter
............................... PF52
Air Cleaner Filter
...................... A1163C
PCV Valve
.......................... CV746C
Automatic Transmission Filter Kit
...... 24200796
Spark Plugs
.......................... .4 1-932
Fuel Filter
............................. GF48 1
Front Windshield Wiper
Blade
................ Trico (20 inched50.8 cm)
Backglass Wiper Blade
. . Trico (14 inched35.6 cm)
Capacities (Approximate)
Cooling System*
Automatic Trans.
............ 1 1.7 quarts (1 1.1 L)
Manual Trans. .............. 1 I .9 quarts (I 1.3 L)
Crankcase* ................... 4.5 quarts (4.3 L)
Automatic Transmission
Differential Fluid
(Drain and
Refill)"
........... 5.0 quarts (4.7 L)
Rear ........................ 4.0 pints (1.9 L)
Front ....................... 2.6 pints (1.2 L)
Fuel Tank (2-Door Models) ....... 19 gallons (72 L)
Fuel Tank (4-DOOr Models) ....... 18 gallons (68 L)
A/C Refrigerant .......... 30 oz. or 2 Ibs. (0.9 kg)
of R-134a
*After refill, the level
must be checked.
Air Conditioning Refrigerants
Not all air conditioning refrigerants are the same.
If the air conditioning system in your vehicle needs
refrigerant, be sure the proper refrigerant is used.
If
you're not sure, ask your dealer.
6-65
Page 337 of 416
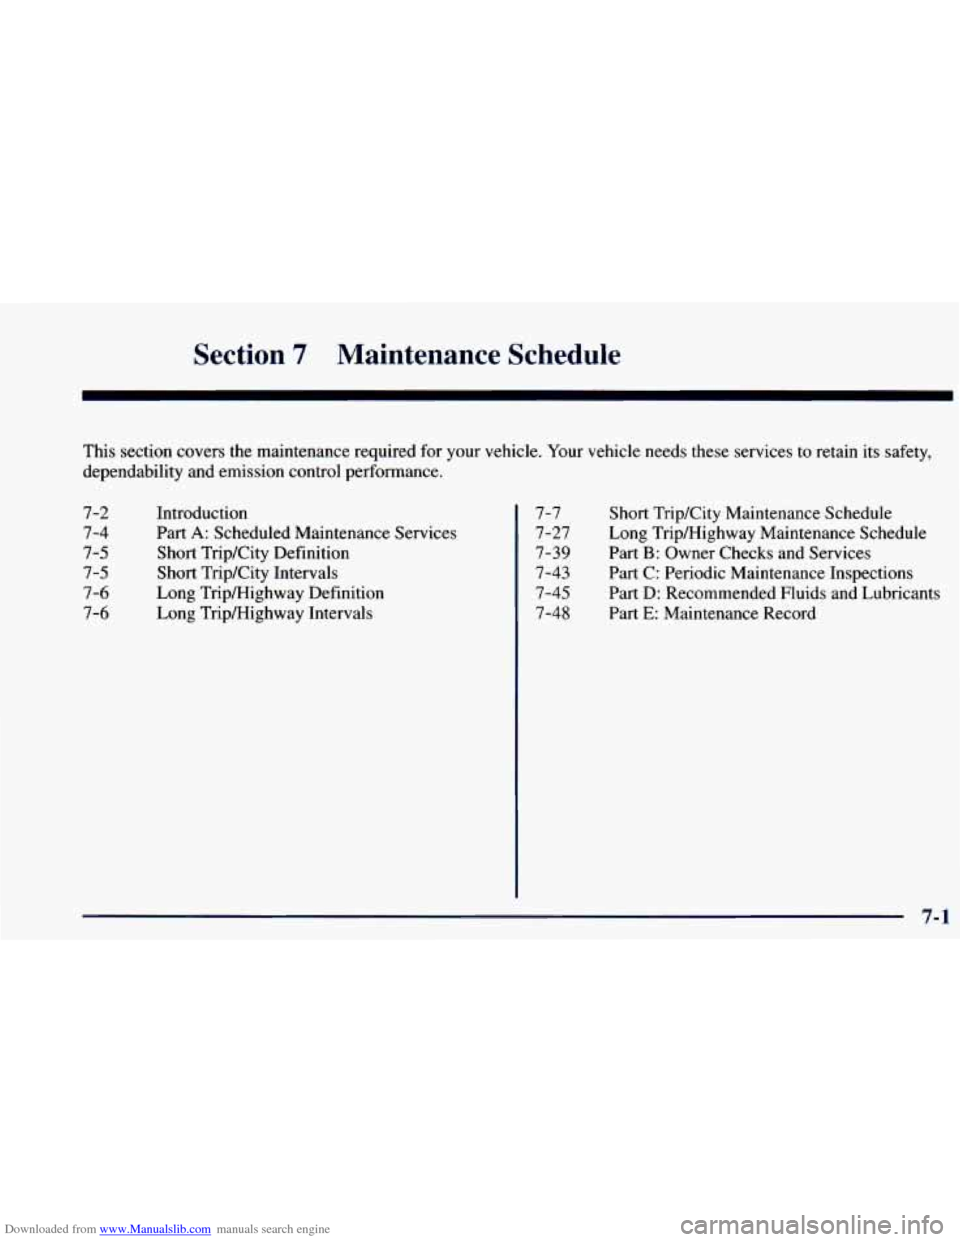
Downloaded from www.Manualslib.com manuals search engine Section 7 Maintenance Schedule
This section covers the maintenance required for your vehicle. Your vehicle needs these services to retain its safety,
dependability and emission control performance.
7-2
7-4
7-5
7-5
7-6
7-6
Introduction
Part
A: Scheduled Maintenance Services
Short Trip/City Definition
Short Trip/City Intervals
Long Tripmighway Definition
Long Tripmighway Intervals
7-7
7-27
7-39
7-43
7-45
7-48 Short Trip/City Maintenance Schedule
Long Trip/Highway Maintenance Schedule
Part
B: Owner Checks and Services
Part
C: Periodic Maintenance Inspections
Part
D: Recommended Fluids and Lubricants
Part
E: Maintenance Record
7-1
Page 339 of 416
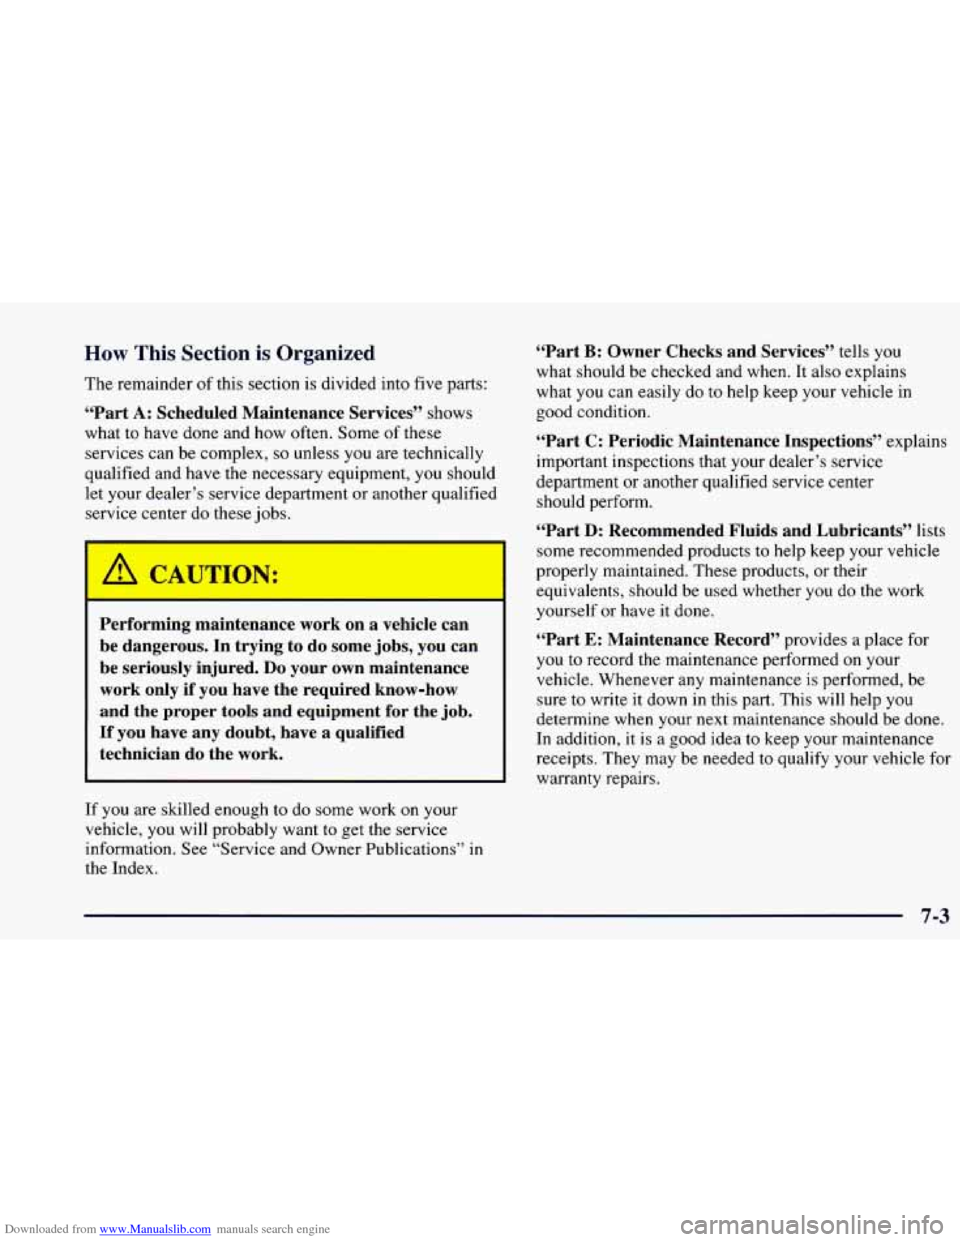
Downloaded from www.Manualslib.com manuals search engine How This Section is Organized
The remainder of this section is divided into five parts:
“Part
A: Scheduled Maintenance Services” shows
what to have done and how often. Some of these
services can be complex,
so unless you are technically
qualified and have the necessary equipment, you should
let your dealer’s service department or another qualified
service center
do these jobs.
Performing maintenance work on a vehicle can
be dangerous. In trying to do some jobs, you can
be seriously injured.
Do your own maintenance
work only
if you have the required know-how
and the proper tools and equipment for the job.
If you have any doubt, have a qualified
technician
do the work.
If you are skilled enough to do some work on your
vehicle, you will probably want
to get the service
information. See “Service and Owner Publications” in
the Index. “Part
B: Owner Checks and
Services” tells you
what should be checked and when. It also explains
what
you can easily do to help keep your vehicle in
good condition.
“Part C: Periodic Maintenance Inspections” explains
important inspections that your dealer’s service
department or another qualified service center
should perform.
“Part
D: Recommended Fluids and Lubricants” lists
some recommended products to help keep your vehicle
properly maintained. These products, or their
equivalents, should be used whether
you do the work
yourself or have it done.
“Part E: Maintenance Record” provides a place for
you to record the maintenance performed on your
vehicle. Whenever any maintenance is performed, be
sure
to write it down in this part. This will help you
determine when your next maintenance should be done.
In addition, it is a good idea to keep your maintenance
receipts. They may be needed
to aualify your vehicle for
warranty repairs.
7-3