charging CHEVROLET BLAZER 1998 2.G Owners Manual
[x] Cancel search | Manufacturer: CHEVROLET, Model Year: 1998, Model line: BLAZER, Model: CHEVROLET BLAZER 1998 2.GPages: 416, PDF Size: 22.4 MB
Page 92 of 416
Downloaded from www.Manualslib.com manuals search engine How long should you keep the coolant heater plugged
in? The answer depends on the outside temperature, the
kind
of oil you have, and some other things. Instead of
trying to list everything here,
we ask that you contact
your dealer in the area where you’ll be parking your
vehicle. The dealer can give you the best advice for that
particular area.
Automatic Transmission Operation
Your automatic transmission may have a shift lever
located on the console between the seats
or on the
steering column.
There
are several different positions for your shift lever.
If your vehicle is equipped with a column shift lever, it
features an electronic shift position indicator within the
instrument cluster. This display must be powered
anytime the shift lever is capable
of being moved out of
PARK (P). This means that if your key is in OFF, but
not locked, there will be
a small current drain on your
battery which could discharge your battery over a period
of time. If you need to leave your key in the ignition in
OFF for an extended period, it is recommended that you
disconnect the battery cable from the battery to prevent
discharging your battery. PARK
(P): This
locks your rear wheels. It’s the best
position to use when you start your engine because your
vehicle can’t move easily.
It is dangerous to get out of your vehicle if the
shift lever is
not fully in PARK (P) with the
parking brake firmly set. Your vehicle can roll.
Don’t leave your vehicle when the engine is
running unless you have to. If you have left the
engine running, the vehicle can move suddenly.
You
or others could be injured. To be sure your
vehicle won’t move, even when you’re on
fairly
level ground, always set your parking brake and
move the shift lever to PARK
(P).
See “Shifting Into PARK (P)” in the Index. If
you’re pulling a trailer, see “Towing a nailer’’ in
the Index.
2-18
Page 134 of 416
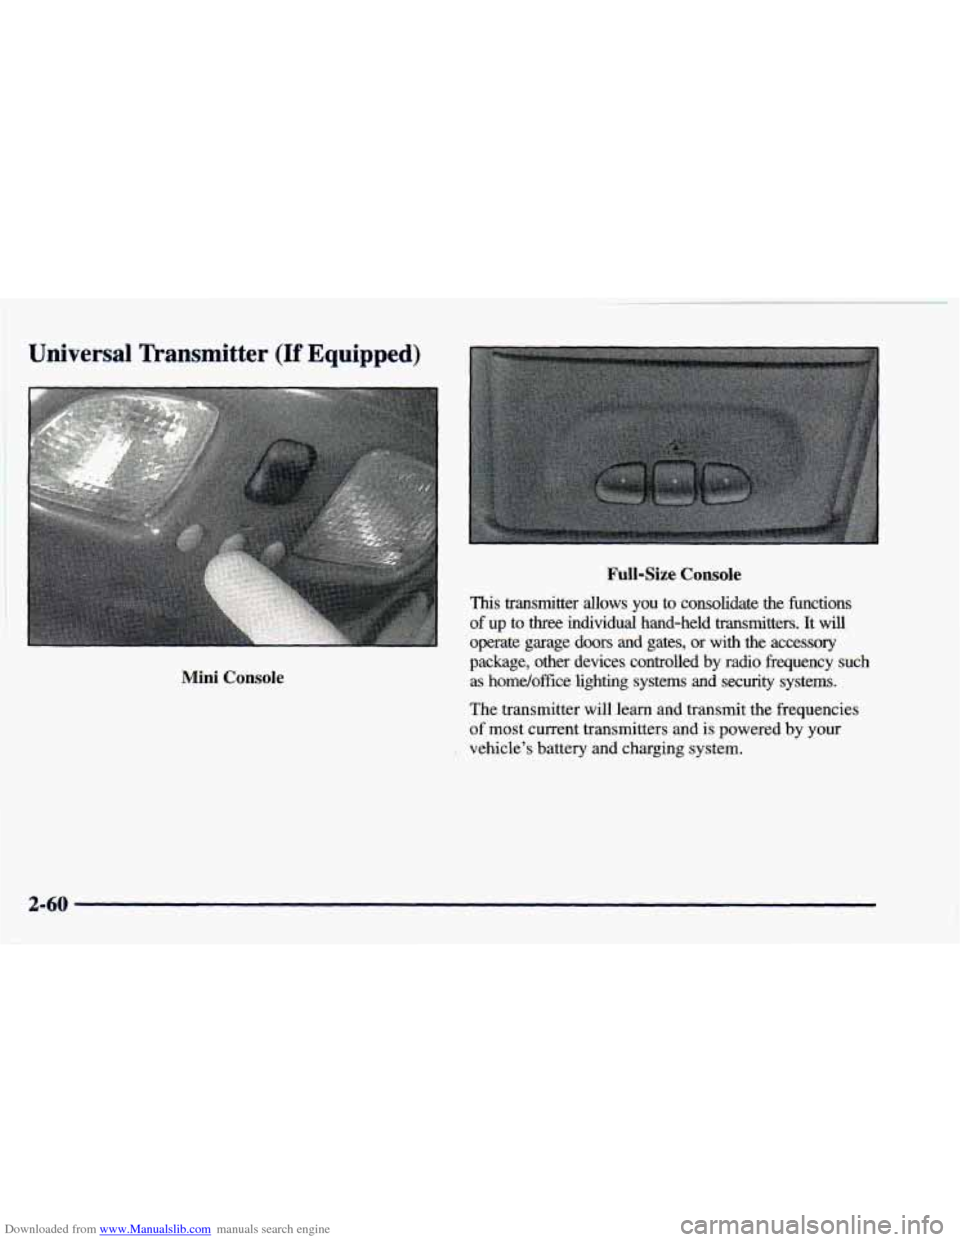
Downloaded from www.Manualslib.com manuals search engine Universal Transmitter (If Equipped)
Mini Console
Full-Size Console
This transmitter allows you to consolidate the functions
of up to three individual hand-held transmitters. It will
operate garage doors and gates,
or with the accessory
package, other devices controlled by radio frequency such
as home/offke lighting systems and
security systems.
The transmitter will learn and transmit the frequencies
of most current transmitters and is powered by your
. vehicle’s battery and charging system.
Page 143 of 416
Downloaded from www.Manualslib.com manuals search engine Air Bag Readiness Light
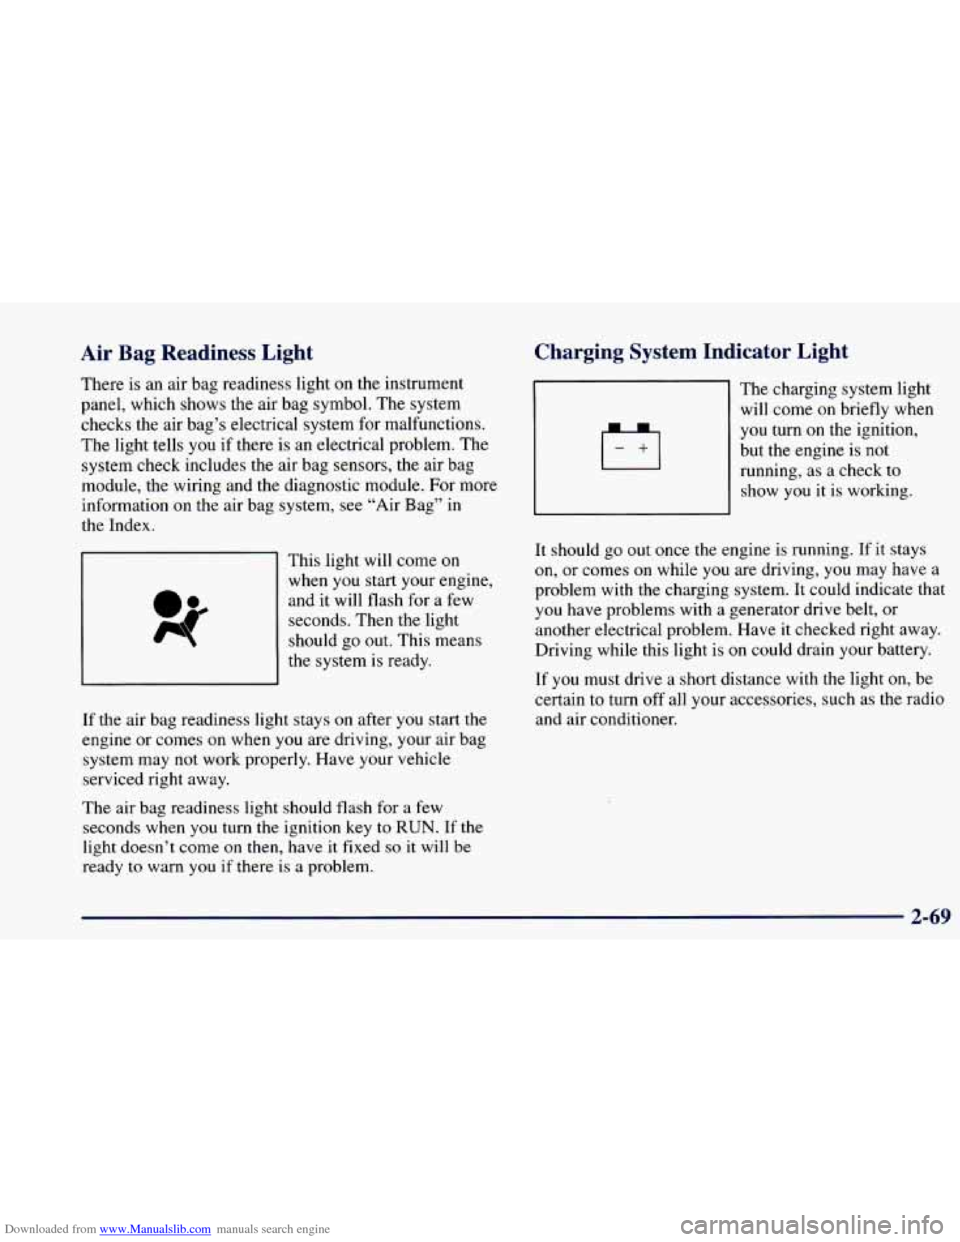
There is an air bag readiness light on the instrument
panel, which shows the air bag symbol. The system
checks the air bag’s electrical system for malfunctions.
The light tells
you if there is an electrical problem. The
system check includes the air bag sensors, the air bag
module, the wiring and the diagnostic module. For more information on the air bag system, see “Air Bag” in
the Index.
This light will come
on
when you start your engine,
and it will flash for a few
seconds. Then the light
should go out. This means
the system is ready.
Charging System Indicator Light
If the air bag readiness light stays on after you start the
engine or comes on when
you are driving, your air bag
system may not work properly. Have your vehicle
serviced right away.
The air bag readiness light should flash for a few
seconds when
you turn the ignition key to RUN. If the
light doesn’t come on then, have it fixed
so it will be
ready to warn you if there is a problem. The
charging system light
will
come on briefly when
you turn on the ignition,
but the engine is not
running, as
a check to
show
you it is working.
It should go out once the engine is running.
If it stays
on, or comes on while
you are driving, you may have a
problem with the charging system. It could indicate that
you have problems with a generator drive belt, or
another electrical problem. Have it checked right away.
Driving while this light is
on could drain your battery.
If you must drive a short distance with the light on, be
certain to turn off all your accessories, such as the radio
and air conditioner.
2-69
Page 144 of 416
Downloaded from www.Manualslib.com manuals search engine Vo1’-- - - -* Gage
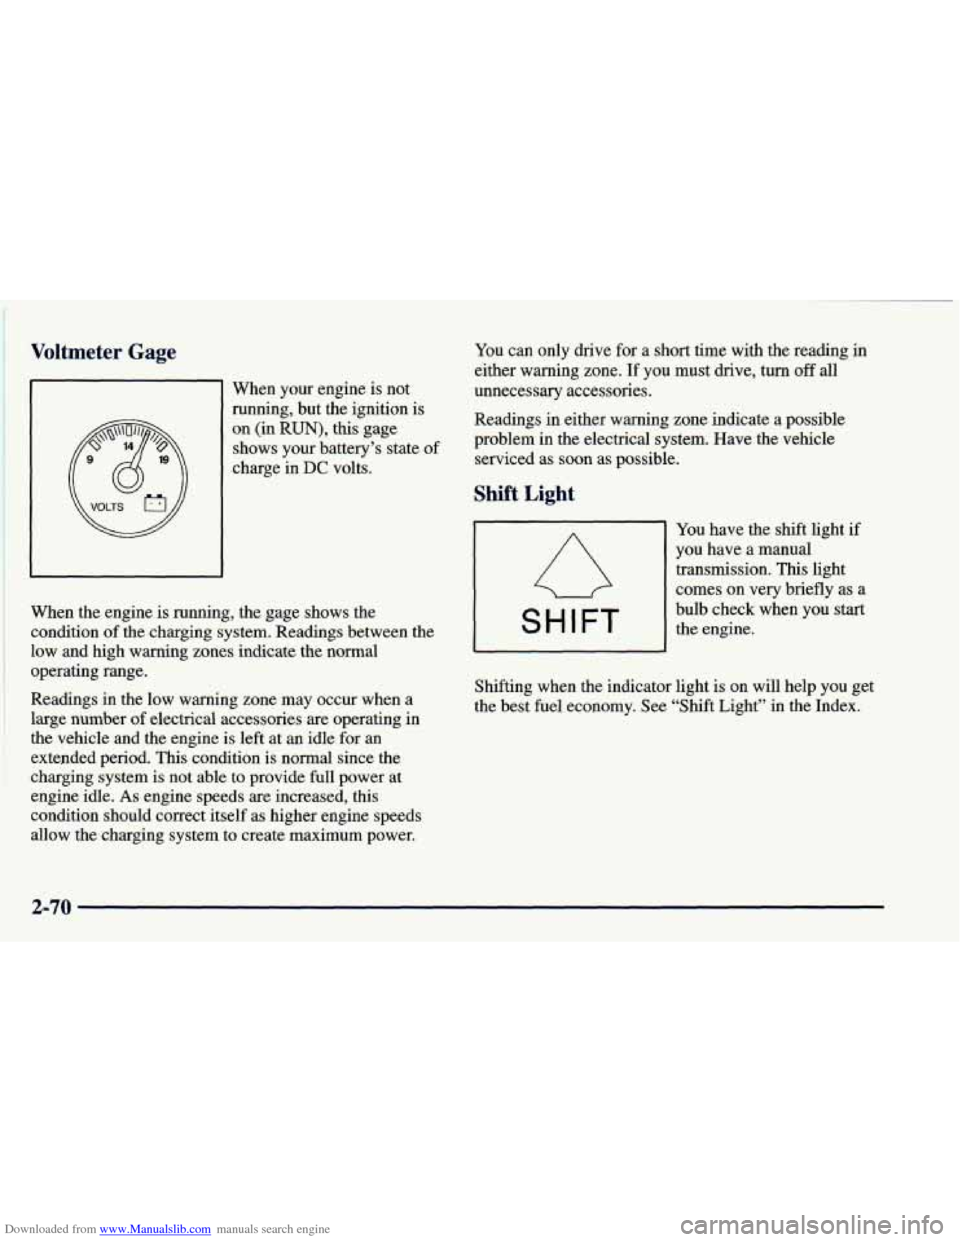
I When your engine is not
running, but the ignition is
on (in
RUN), this gage
shows your battery’s state of
charge in
DC volts.
When the engine
is running, the gage shows the
condition
of the charging system. Readings between the
low and high warning zones indicate the normal
operating range.
Readings in the low warning zone may occur when a
large number
of electrical accessories are operating in
the vehicle and the engine is left at an idle for
an
extended period. This condition is normal since the
charging system is not able to provide full power at
engine idle.
As engine speeds are increased, this
condition should correct itself as higher engine speeds
allow the charging system to create maximum power. You
can only drive for a short time with the reading in
either warning zone.
If you must drive, turn off all
unnecessary accessories.
Readings
in either warning zone indicate a possible
problem in the electrical system. Have the vehicle
serviced
as soon as possible.
Shift Light
You have the shift light if
you have a manual
transmission.
This light
comes on very briefly as a
SHIFT
bulb check when you start
the engine.
Shifting when the indicator light is on will help you get
the best fuel economy. See “Shift Light” in the Index.
2-70
Page 232 of 416
Downloaded from www.Manualslib.com manuals search engine 2. Let up on the brake pedal.
3. Drive slowly until the trailer is clear of the chocks.
4. Stop and have someone pick up and store the chocks.
Maintenance When Trailer Towing
Your vehicle will need service more often when you’re
pulling
a trailer. See the Maintenance Schedule for more
on this. Things that are especially important
in trailer
operation are automatic transmission fluid (don’t
overfill), engine oil, axle lubricant, belt, cooling system
and brake adjustment. Each
of these is covered in this
manual, and the Index will help
you find them quickly.
If
you’re trailering, it’s a good idea to review these
sections before you start your trip.
Check periodically to see that all hitch nuts and bolts
are tight.
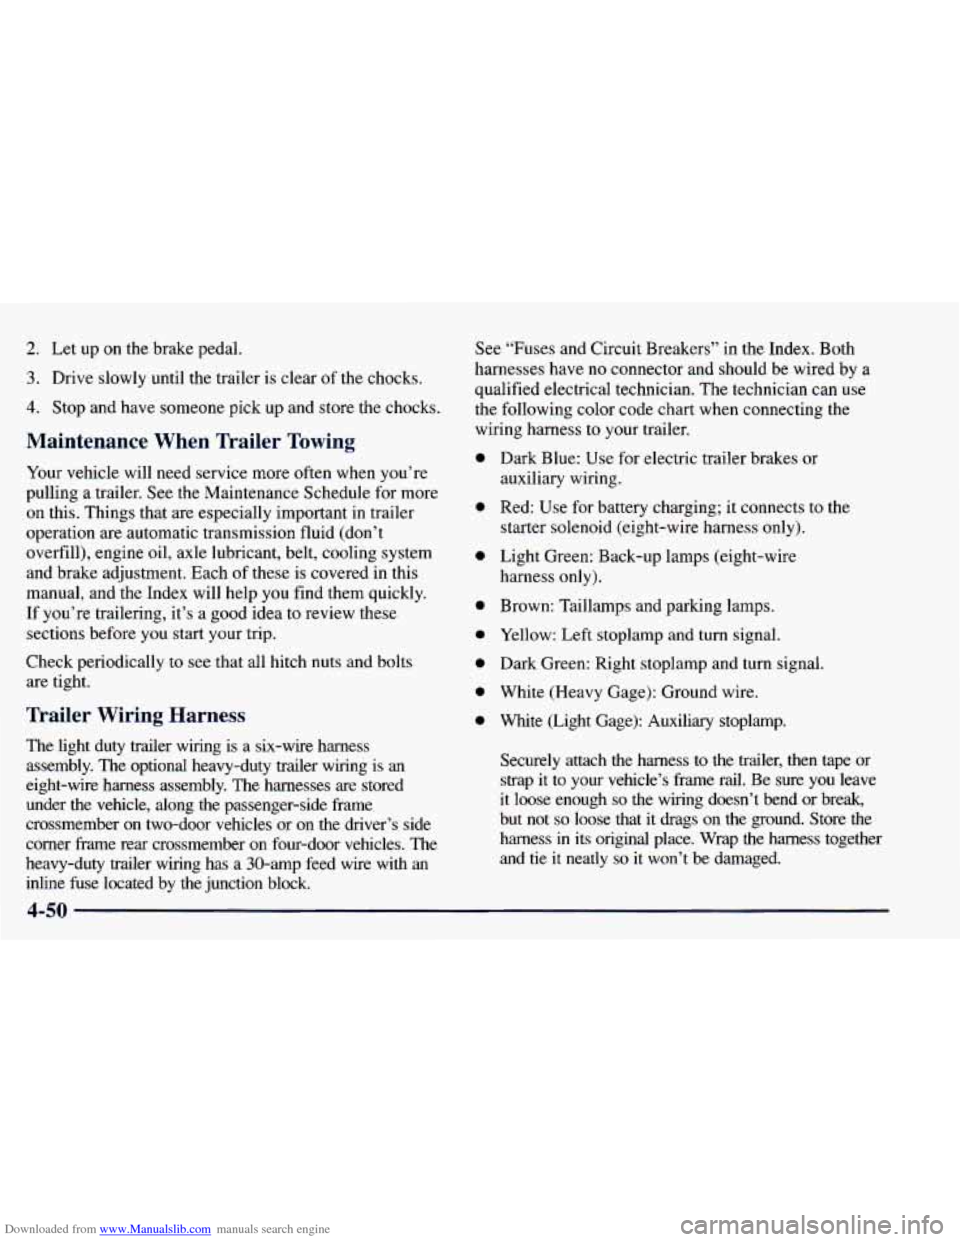
Trailer Wiring H-T--- ess
The light duty trailer wir is a six-wire harness
assembly. The optional heavy-duty trailer wiring
is an
eight-wire harness assembly. The harnesses are stored under the vehicle, along the passenger-side frame
crossmember on two-door vehicles or on the driver’s side
corner frame rear crossmember on four-door vehicles. The
heavy-duty trailer wiring has a 30-amp feed wire with
an
inline fuse located by the junction block. See
“Fuses and Circuit Breakers” in the Index. Both
harnesses have
no connector and should be wired by a
qualified electrical technician. The technician
can use
the following color code chart when connecting the
wiring harness to your trailer.
0
0
0
0
0
0
0
0
Dark Blue: Use for electric trailer brakes or
auxiliary wiring.
Red: Use for battery charging; it connects to the
starter solenoid (eight-wire harness only).
Light Green: Back-up lamps (eight-wire
harness only).
Brown: Taillamps and parking lamps. Yellow: Left stoplamp and turn signal.
Dark Green: Right stoplamp and turn signal.
White (Heavy Gage): Ground wire.
White (Light Gage): Auxiliary stoplamp.
Securely attach the harness to the trailer, then tape or
strap
it to your vehicle’s frame rail. Be sure you leave
it loose enough
so the wiring doesn’t bend or break,
but not
so loose that it drags on the ground. Store the
harness in its original place. Wrap the harness together
and tie it neatly
so it won’t be damaged.
Page 333 of 416
Downloaded from www.Manualslib.com manuals search engine Name
RT TRN
RR PRK
TRL PRK
LT HDLP
RT HDLP
FR PRK
INT BAT
ENG
1
ECM B
ABS
ECM
1
HORN
BTSI
BN LP
NC
RAP
02
IGN B
Usage
Right Turn Signal Rear
Right Rear Parking Lamps
Trailer Parking Lamps
Left Headlamp
Right Headlamp
Front Parking Lamps I/P Fuse Block Feed
Engine Sensors/Solenoids, MAP,
CAM, PURGE, VENT
Engine Control Module,
Fuel Pump,
Module, Oil Pressure
Anti-Lock Brake System
Engine Control Module Injectors
Horn
Brake-Transmission Shift Interlock
Back-up Lamps
Air Conditioning
Retained Accessory Power Oxygen Sensor
Column Feed, IGN
2, 3,4
Name
DRL
FOG LP
IGN A
STUD #2
PARKLP LR PRK
IGN C
HTDSEAT
ATC
RRDFOG
HVAC
TRCHMSL
RR WIW
CRANK
HAZLP
VECHMSL
HTDMIR STOPLP
TBC
Usage
Daytime Running Lamps
Fog Lamps Starting and Charging IGN
1
Accessory Feeds, Electric Brake
Parking Lamps
Left Rear Parking Lamps
Starter Solenoid, Fuel Pump, PRNDL
Heated Seat
Electronic Transfer Case
Rear Defogger HVAC System
Trailer Center High-Mount Stop
Lamp
Rear Window Wiper
Clutch Switch, NSBU Switch
Hazard Lamps
Vehicle Center High-Mount Stop Lamp
Heated Mirror
S toplamps
Truck Body Computer
6-63
Page 402 of 416
Downloaded from www.Manualslib.com manuals search engine Brakes (Continued) PedalTravel
................................. 6-32
Replacing System Parts
........................ 6-32
Trailer
...................................... 4-46
Brake-Transmission Shift Interlock Check
........... 7-41
Braking
........................................ 4-6
Braking in Emergencies
................... ....... 4-8
Break-In, New Vehicle
.......................... 2- 13
Brightness Control
.............................. 2-43
Bulb Replacement
......................... 6-33, 6-62
Wear
....................................... 6-31
BTSICheck
................................... 7-41
Canadian Roadside Assistance
.................... 8-7
Capacities and Specifications
................. 6.64. 6.65
Carbon Monoxide
................ 2.9.2.27.4.38. 4.45
Cargocover
................................... 2-54
Cargo Tie Downs
............................... 2-55
Center Front Passenger Position
................... 1-30
Certificatioflire Label
.......................... 4-40
Chains Safety
...................................... 4-46
Changing a Flat Tire
............................. 5 -2 1
Charging System Light
.......................... 2-69
Check
4WD Light .............................. 2-77
Check Gages Light
.............................. 2-77
Checking Your Restraint Systems
.................. 1-56
Chemical Paint Spotting
.......................... 6-56
Child Restraints
................................ 1-42
Center Seat Positions
.......................... 1-50
Securing in a Rear Outside Seat Position
........... 1-48
Securing in the Right Front Seat Position
.......... 1-50
Tire
........................................ 6-48 TopStrap
................................... 1-47
Where Not to Put
............................. 1-50
Where to Put
................................ 1-46
Cigarette Lighter
............................... 2-57
Circuit Breakers and Fuses
....................... 6-59
Cleaner. Air
................................... 6-14
Cleaning Aluminum Wheels
............................ 6-55
Exterior Lamps and Lenses
..................... 6-54
Glass
....................................... 6-53
Inside
of Your Vehicle ......................... 6-50
Interior Plastic Components
..................... 6-52
Outside
of Your Vehicle ........................ 6-54
Vinyl
....................................... 6-51
Windshield, Backglass and Wiper Blades
.......... 6-53
Climate Control System
....................... 3-2, 3-3
Clock, Setting
.................................. 3-10
Clutch, Hydraulic
............................... 6-20
Comfort Controls
................................ 3-1
Compact Disc Care
............................. 3-30
Control
of a Vehicle .............................. 4-5
Convex Outside
Mirror .......................... 2-46
Coolant Heater, Engine
.......................... 2-17
Courtesy Transportation
........................... 8-8
Cruise Control ................................. 2-37
Fabric
...................................... 6-50
InstrumentPanel
............................. 6-52
Leather
..................................... 6-52
Stains
...................................... 6-51
Tires
....................................... 6-55
Weatherstrips
................................ 6-53
Wheels
..................................... 6-55
ConvenienceNet
............................... 2-54
Coolant
.................................. 5-14, 6-23
9-2
Page 406 of 416
Downloaded from www.Manualslib.com manuals search engine Lights (Continued) Brake System Warning
......................... 2-71
Charging System
............................. 2-69
Check4WD
................................. 2-77
Check Gages
................................ 2-77
GateAjar
................................... 2-77
LowFuel
................................... 2-78
Safety Belt Reminder
..................... 1 - 10. 2.68
Security Warning
............................. 2-76
Service Engine Soon
.......................... 2-73
Shift
.................................. 2-22. 2.70
Loading Your Vehicle
........................... 4-40
Locking Rear Axle
.............................. 2-29
LockoutPrevention
.............................. 2-5
LockoutSwitch
................................ 2-32
Locks Door
........................................ 2-4
Ignition Transmission Check
.................... 7-42
Key Lock Cylinder Service
..................... 7-40
PowerDoor .................................. 2- 5
Rear Door Security ............................. 2-5
Loss of Control ................................ 4- 13
LowFuelLight ................................ 2-78
Lubricants and Fluids
....................... 6-65, 7-45
Lubrication Service, Body
........................ 7-40
Luggagecarrier
................................ 2-55
Lumbar Controls
............................ 1-3, 1-4
Maintenance Record
........................... 7-48
Maintenance Schedule
............................ 7-1
Owner Checks and Services
..................... 7-39
Periodic Maintenance Inspections
................ 7-43
Long
Tripmighway
....................... 7-6, 7-27 Recommended Fluids and Lubricants
............. 7-45
Scheduled Maintenance Services
.................. 7-4
Maintenance. Underbody
......................... 6-56
Short TripKity ............................ 7.5. 7.7
Maintenance When Trailer Towing
................. 4-50
Malfunction Indicator Lamp ...................... 2-73
Manual Front Seat
............................... 1-2
Manual Lumbar Support .......................... 1-3
Manual Transmission Check
...................................... 7-40
Fluid
....................................... 6-19
Operation
................................... 2-21
Shifting
..................................... 2-21
Starting Your Engine
.......................... 2-16
Methanol
...................................... 6-4
Mirrors
....................................... 2-44
Convex Outside
.............................. 2-46
Heated Outside
............................... 2-46
Illuminated
Visor Vanity ....................... 2-58
Inside Daymight Rearview
..................... 2-44
Outside
..................................... 2-45
Visorvanity
................................. 2-58
Model Reference
................................. vi
MountainRoads
................................ 4-34
Multifunction Lever
............................. 2-34
Net, Convenience
.............................. 2-54
Neutral Automatic Transmission
....................... 2-19
Manual Transmission .......................... 2-22
New Vehicle “Break-In”
......................... 2-13
Nightvision
................................... 4-27
Normal Maintenance Replacement
Parts ............. 6-65
9-6