door lock CHEVROLET BLAZER 1998 2.G Owners Manual
[x] Cancel search | Manufacturer: CHEVROLET, Model Year: 1998, Model line: BLAZER, Model: CHEVROLET BLAZER 1998 2.GPages: 416, PDF Size: 22.4 MB
Page 23 of 416
Downloaded from www.Manualslib.com manuals search engine Head Restraints
Head restraints are fixed on some models and adjustable
on others. Slide an adjustable head restraint up or down
so that the top of the restraint is closest to the top of
your ears. This position reduces the chance of a neck
injury in a crash.
The head restraints tilt forward and rearward also.
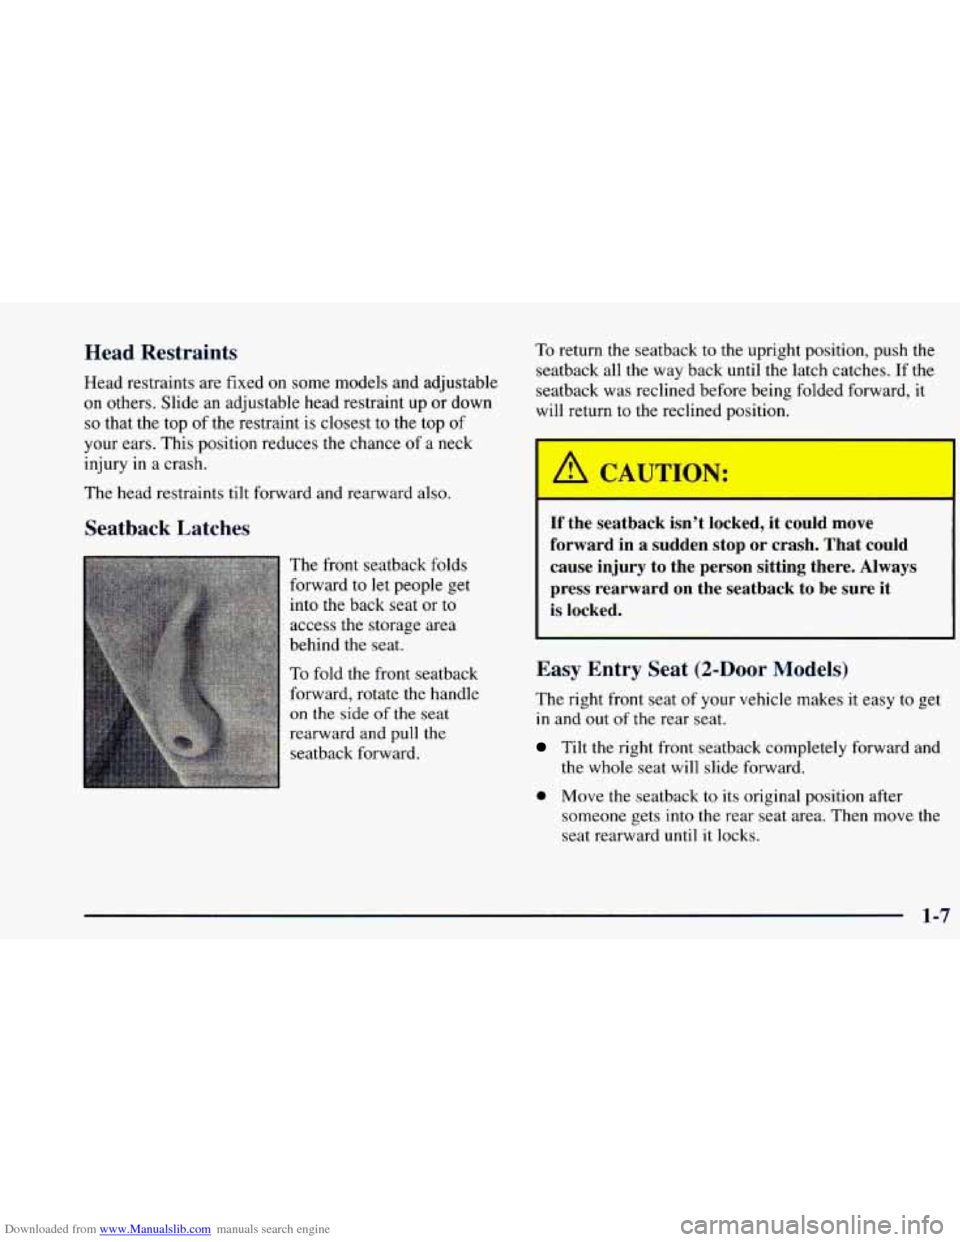
Seatback Latches
The front seatback folds
forward to let people get
into the back seat or to
access the storage area
behind the seat.
To fold the front seatback
forward, rotate the handle
on the side of the seat
rearward and pull the
seatback forward.
To return the seatback to the upright position, push the
seatback all the way back until the latch catches. If the
seatback was reclined before being folded forward, it
will return to the reclined position.
If the seatback isn’t locked, it could move
forward in a sudden stop or crash. That could
cause injury to the person sitting there. Always
press rearward on the seatback to be sure it
is locked.
Easy Entry Seat (2-Door Models)
The right front seat of your vehicle makes it easy to get
in and out of the rear seat.
Tilt the right front seatback completely forward and
the whole seat will slide forward.
0 Move the seatback to its original position after
someone gets
into the rear seat area. Then move the
seat rearward
until it locks.
1-7
Page 25 of 416
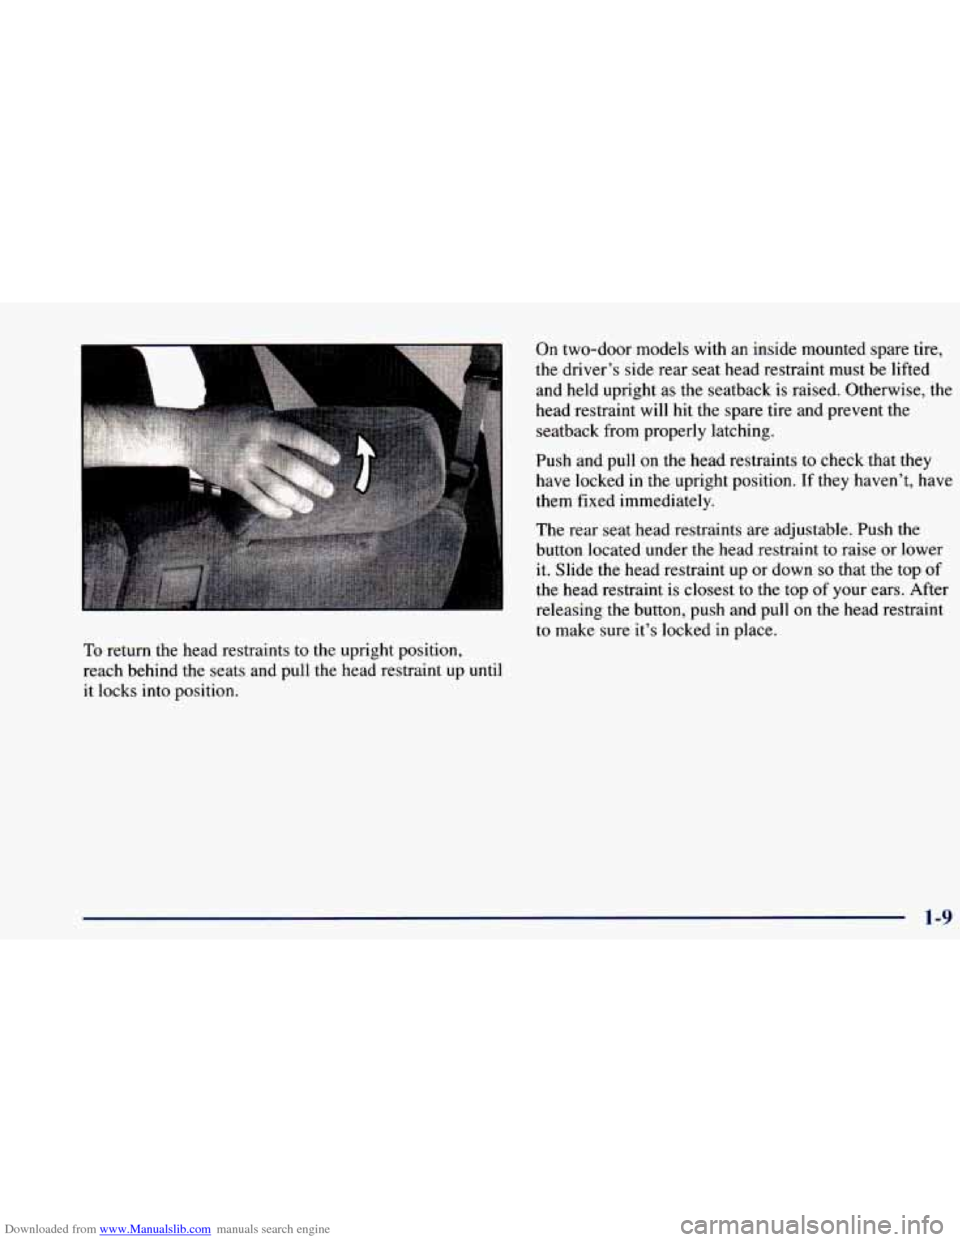
Downloaded from www.Manualslib.com manuals search engine To return the head restraints to the upright position,
reach behind the seats and pull the head restraint up
until
it locks into position.
On two-door models with an inside mounted spare tire,
the driver’s side rear seat head restraint must be lifted
and held upright as the seatback is raised. Otherwise, the
head restraint will hit the spare tire and prevent the
seatback from properly latching.
Push and pull on the head restraints to check that they
have locked in the upright position. If they haven’t, have
them fixed immediately.
The rear seat head restraints are adjustable. Push the
button located under the head restraint to raise or lower
it. Slide the head restraint up or down
so that the top of
the head restraint is closest to the top of your ears. After
releasing the button, push and pull
on the head restraint
to make sure it’s locked in place.
Page 31 of 416
Downloaded from www.Manualslib.com manuals search engine &: If I’m a good driver, and I never drive far from
home, why should
I wear safety belts?
A: You may be an excellent driver, but if you’re in an
accident
-- even one that isn’t your fault -- you
and your passengers can be hurt. Being a good
driver doesn’t protect you from things beyond your
control, such as bad drivers.
Most accidents occur within
25 miles (40 km) of
home. And the greatest number of serious injuries
and deaths occur at speeds of less than
40 mph
(65 km/h).
Safety belts are for everyone.
How to Wear Safety Belts Properly
Adults
This part is only for people of adult size.
Be aware that there are special things to know about safety
belts and children. And there are different rules for smaller children and babies. If a child
will be riding in your
vehicle, see the part of
this manual called “Children.”
Follow those rules for everyone’s protection.
First, you’ll want to know which restraint systems your
vehicle has.
We’ll start with the driver position.
Driver Position
This part describes the driver’s restraint system.
Lap-Shoulder Belt
The driver has a lap-shoulder belt. Here’s how to wear
it properly.
1. Close and lock the door.
2. Adjust the seat
(to see how, see “Seats” in the Index)
so you can sit UD straight.
1-15
Page 75 of 416
Downloaded from www.Manualslib.com manuals search engine Section 2 Features and Controls
Here you can learn about the many standard and optional features on your vehicle, and information on starting,
shifting and braking. Also explained are the instrument panel and the warning systems that tell you if everything is
working properly
-- and what to do if you have a problem.
2-2
2-4 2-6
2-9
2-
12
2- 12
2-13
2- 14
2- 16
2-17
2-
18
2-2 1
2-22
2-23
2-26 2-27
2-27 Keys
Door Locks
Keyless Entry System (If Equipped)
EndgateLiftgate
Theft
Passlock@ New Vehicle “Break-In”
Ignition Positions
Starting Your Engine
Engine Coolant Heater (If Equipped)
Automatic Transmission Operation
Manual Transmission Operation
Parking Brake Shifting Into PARK (P) (Automatic
Transmission Only)
Shifting Out
of PARK (P)
(Automatic Transmission)
Parking Over Things That Burn
Engine Exhaust 2-28
2-29
2-29
2-3
1
2-33
2-33
2-34 2-40
2-43
2-44
2-46
2-57
2-57
2-58 2-59
2-60
2-64
2-65
2-68
Running Your Engine While You’re Parked
(Automatic Transmission)
Locking Rear Axle
(If Equipped)
Four-wheel Drive (If Equipped)
Windows
Horn
Tilt Wheel (If Equipped)
Turn SignaVMultifunction Lever
Exterior Lamps
Interior Lamps
Mirrors Storage Compartments
Ashtrays and Cigarette Lighter
Sun Visors
Accessory Power Outlets
(If Equipped)
Sunroof
(If Equipped)
Universal Transmitter
(If Equipped)
Instrument Panel
Instrument Panel Cluster
Warning Lights, Gages and Indicators
2-1
Page 77 of 416
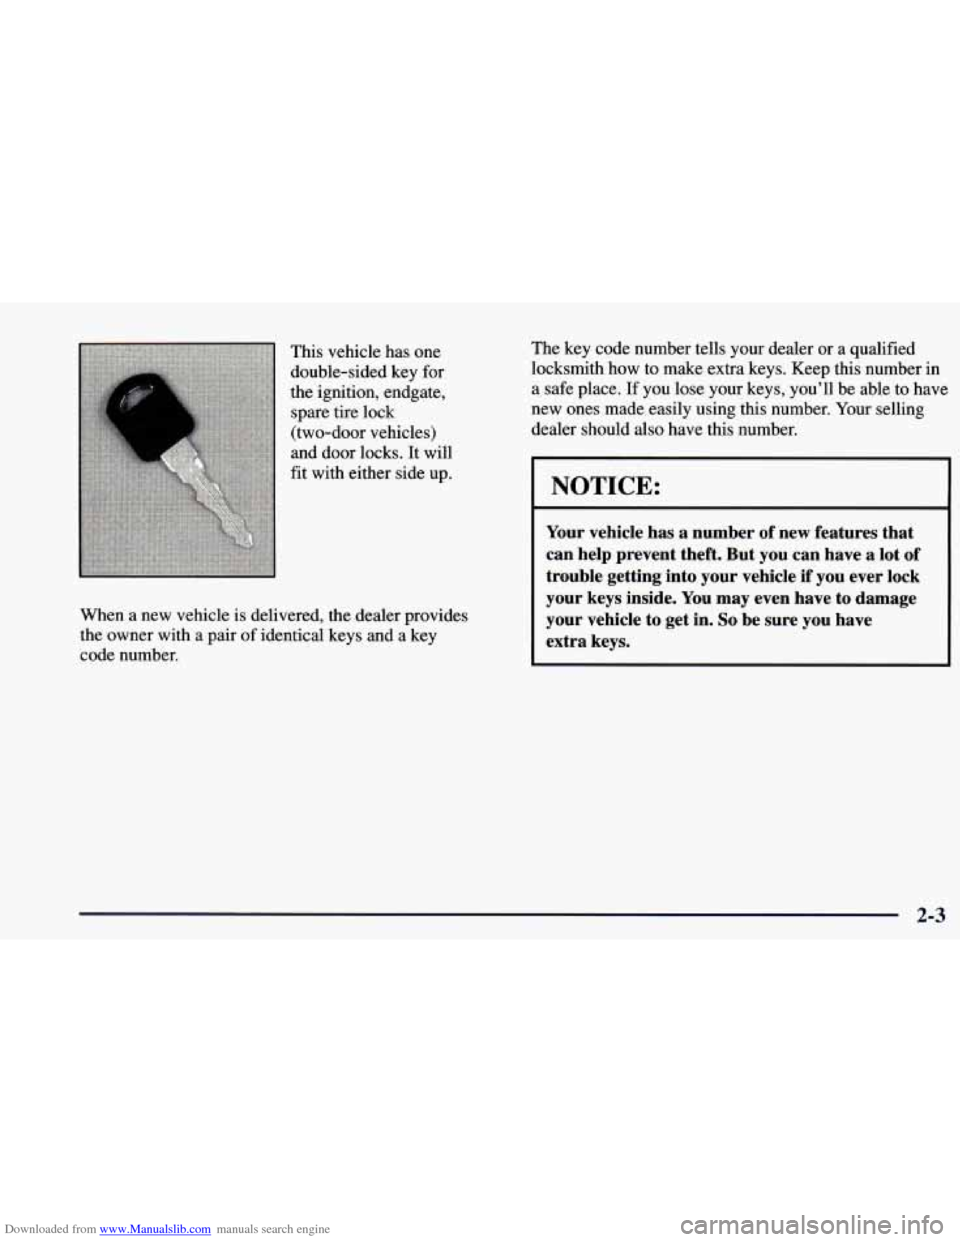
Downloaded from www.Manualslib.com manuals search engine This vehicle has one
double-sided key for
the ignition, endgate,
spare tire lock
(two-door vehicles)
and door locks. It
will
fit with either side up.
When a new vehicle is delivered, the dealer provides
the owner with a pair of identical keys and a key
code number. The
key code number tells your dealer or a qualified
locksmith how to make extra keys. Keep
this number in
a
safe place. If you lose your keys, you’ll be able to have
new ones made easily using this number. Your selling
dealer should
also have this number.
I NOTICE:
Your vehicle has a number of new features that
can help prevent theft. But you can have a lot of
trouble getting into your vehicle if you ever lock
your keys inside. You may even have to damage
your vehicle to get in.
So be sure you have
extra keys.
- - -
2-3
Page 78 of 416
Downloaded from www.Manualslib.com manuals search engine Door Locks
Unlocked doors can be dangerous.
Passengers
-- especially children -- can easily
open the doors and fall out. When a door is
locked, the inside handle won’t open it.
Outsiders can easily enter through an unlocked
door when you slow down or stop your vehicle.
This may not be
so obvious: You increase the
chance
of being thrown out of the vehicle in a
crash if the doors aren’t locked. Wear safety belts
properly, lock your doors, and
you will be far
better off whenever you drive your vehicle.
There are several ways to lock and unlock your vehicle.
You can use the Keyless Entry System, if you have
this option.
You can use your
key to unlock your door from
the outside.
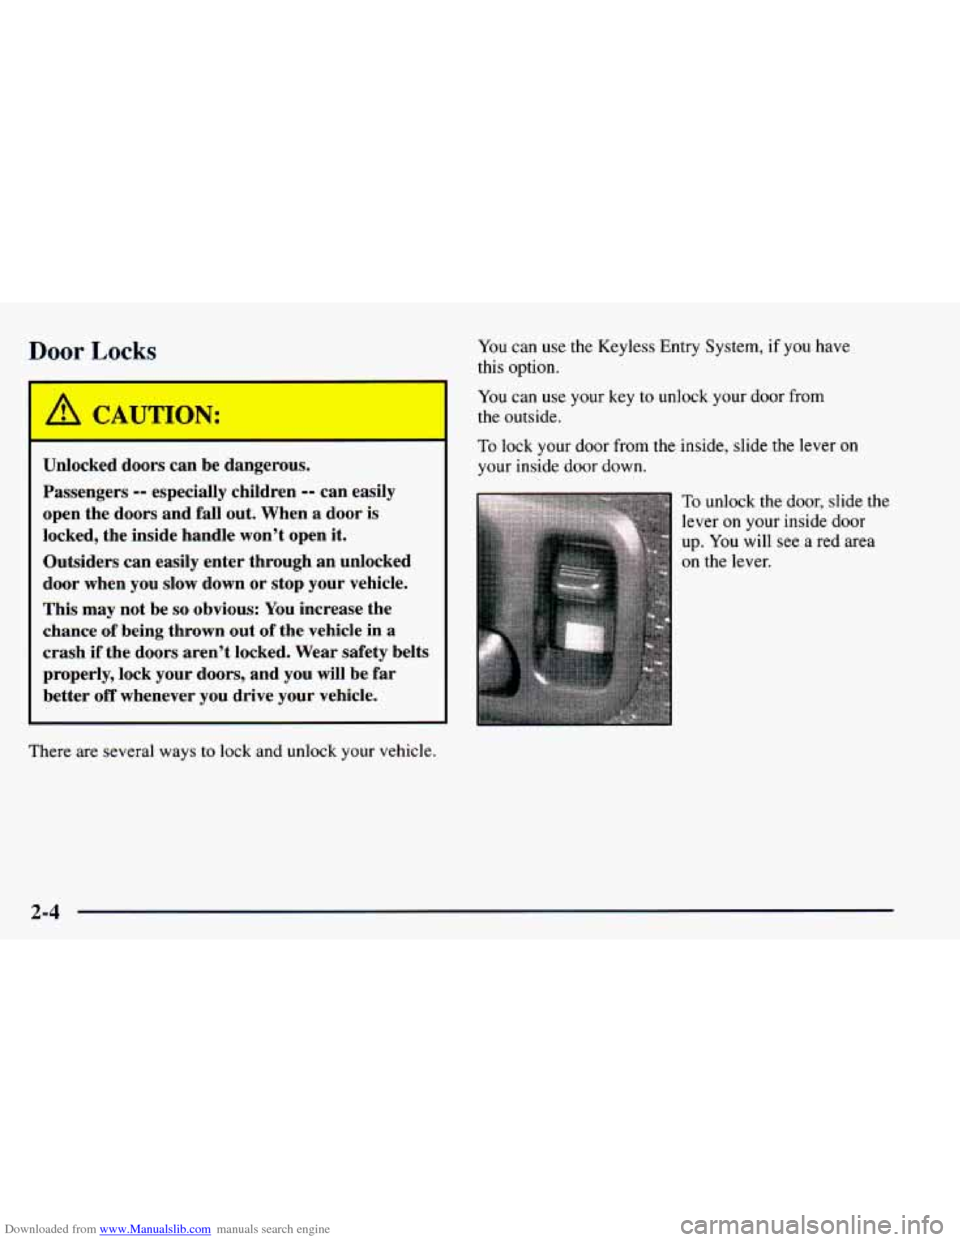
To lock your door from the inside, slide the lever on
your inside door down.
To unlock the door, slide the
lever on your inside door
up. You
will see a red area
on the lever.
2-4
Page 79 of 416
Downloaded from www.Manualslib.com manuals search engine Power Door Locks (If Equipped) Rear Door Security Lock (If Equipped)
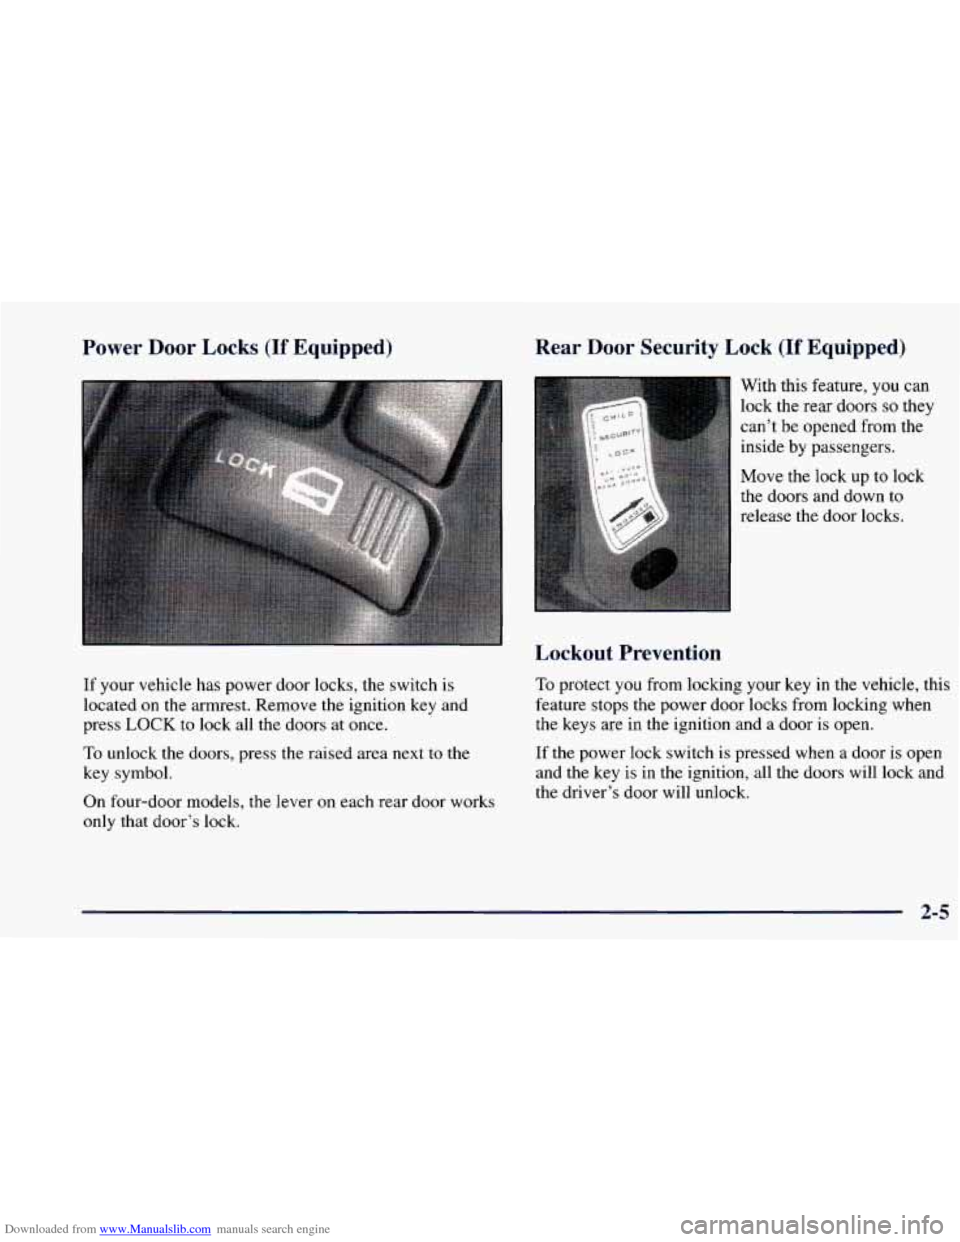
If your vehicle has power door
locks, the switch is
located on the armrest. Remove the ignition key and
press
LOCK to lock all the doors at once.
To unlock the doors, press the raised area next to the
key symbol.
On four-door models, the lever on each rear door works
only that door’s lock. With
this feature, you
can
lock the rear doors so they
can’t be opened from the
inside
by passengers.
Move the lock up to lock
the doors and down to
release the door locks.
Lockout Prevention
To protect you from locking your key in the vehicle, this
feature stops the power door locks from locking when
the keys are in the ignition and a door is open.
If the power lock switch is pressed when a door is open
and the key is in the ignition, all the doors will lock and
the driver’s door will unlock.
2-5
Page 80 of 416
Downloaded from www.Manualslib.com manuals search engine Leaving Your Vehicle
If you are leaving the vehicle, take your key, open your
door and set the locks from inside. Then get out and
close the door.
Keyless Entry System (If Equipped)
If your vehicle has this option, you can lock and unlock
your doors and rear endgate from about
3 feet (1 m) up
to
30 feet (9 m) away using the remote keyless entry
transmitter supplied with your vehicle.
Your keyless entry system operates on a radio frequency
subject to Federal Communications Commission (FCC)
Rules and with Industry Canada.
This device complies with Part
15 of the FCC Rules.
Operation is subject to the following two conditions:
(1) this device may not cause harmful interference,
and
(2) this device must accept any interference
received, including interference that may cause
undesired operation.
This device complies with
RSS-210 of Industry Canada.
Operation is subject to the following two conditions:
(1) this device may not cause interference, and (2) this
device must accept any interference received, including
interference that may cause undesired operation of
the device. Changes
or modifications
to this system by other than an
authorized service facility could void authorization to
use this equipment.
This system has a range of about
3 feet (1 m) up to
30 feet (9 m). At times you may notice a decrease in
range. This
is normal for any remote keyless entry
system. If the transmitter does not work or if you have
to stand closer to your vehicle for the transmitter to
work, try this:
0
0
0
0
Check to determine if battery replacement or
resynchronization is necessary. See the instructions
that follow.
Check the distance. You may be too
far from your
vehicle.
You may need to stand closer during rainy
or snowy weather.
Check the location. Other vehicles or objects may be
blocking the signal. Take a few steps to the left or
right,
hold the transmitter higher, and try again.
If you’re still having trouble, see your dealer or a
qualified technician for service.
2-6
Page 81 of 416
Downloaded from www.Manualslib.com manuals search engine Operation Matching Transmitter(s) To Your Vehicle
When you
press UNLOCK, the driver’s door will
unlock automatically, the parking lamps will flash and
the interior lights will go on. If you press UNLOCK
again within three seconds, the remaining doors will
unlock, the parking lamps will flash and the interior
lights will go on. Press LOCK to
lock all the doors.
Press LOCK again within three seconds and the horn
will chirp.
Press the REAR button twice within three seconds to
unlock the rear liftgate glass, the parking lamps will
flash and the interior lights will go on. If your vehicle
has an automatic transmission, the transmission
must be in PARK
(P) or NEUTRAL (N). If your
vehicle has a manual transmission, you must engage
the parking brake.
Remote Panic Alarm
When the button with the horn symbol on the key
transmitter is pressed, the horn will sound and the
headlamps and taillamps will flash for up to
30 seconds.
This can be turned off by pressing the horn button again,
waiting for
30 seconds, or starting the vehicle. Each
remote keyless entry transmitter is coded to
prevent another transmitter from unlocking your vehicle.
If a transmitter is lost or stolen, a replacement can be
purchased through your dealer. Remember to bring
any
remaining transmitters with you when you go to your
dealer. When the dealer matches the replacement
transmitter to your vehicle, any remaining transmitters
must also be matched. Once your dealer has coded the
new transmitter, the lost transmitter will not unlock your
vehicle. Each vehicle can have only four transmitters
matched
to it.
Battery Replacement
Under normal use, the battery in your remote keyless
entry transmitter should last about two years.
You
can tell the battery is weak if the transmitter won’t
work at
the normal range in any location. If you have to
get close to your vehicle before the transmitter works,
it’s probably time to change the battery.
2-7
Page 82 of 416
Downloaded from www.Manualslib.com manuals search engine NOTICE:
When replacing the battery, use care not to touch
any of the circuitry. Static from your body
transferred to these surfaces may damage
the transmitter.
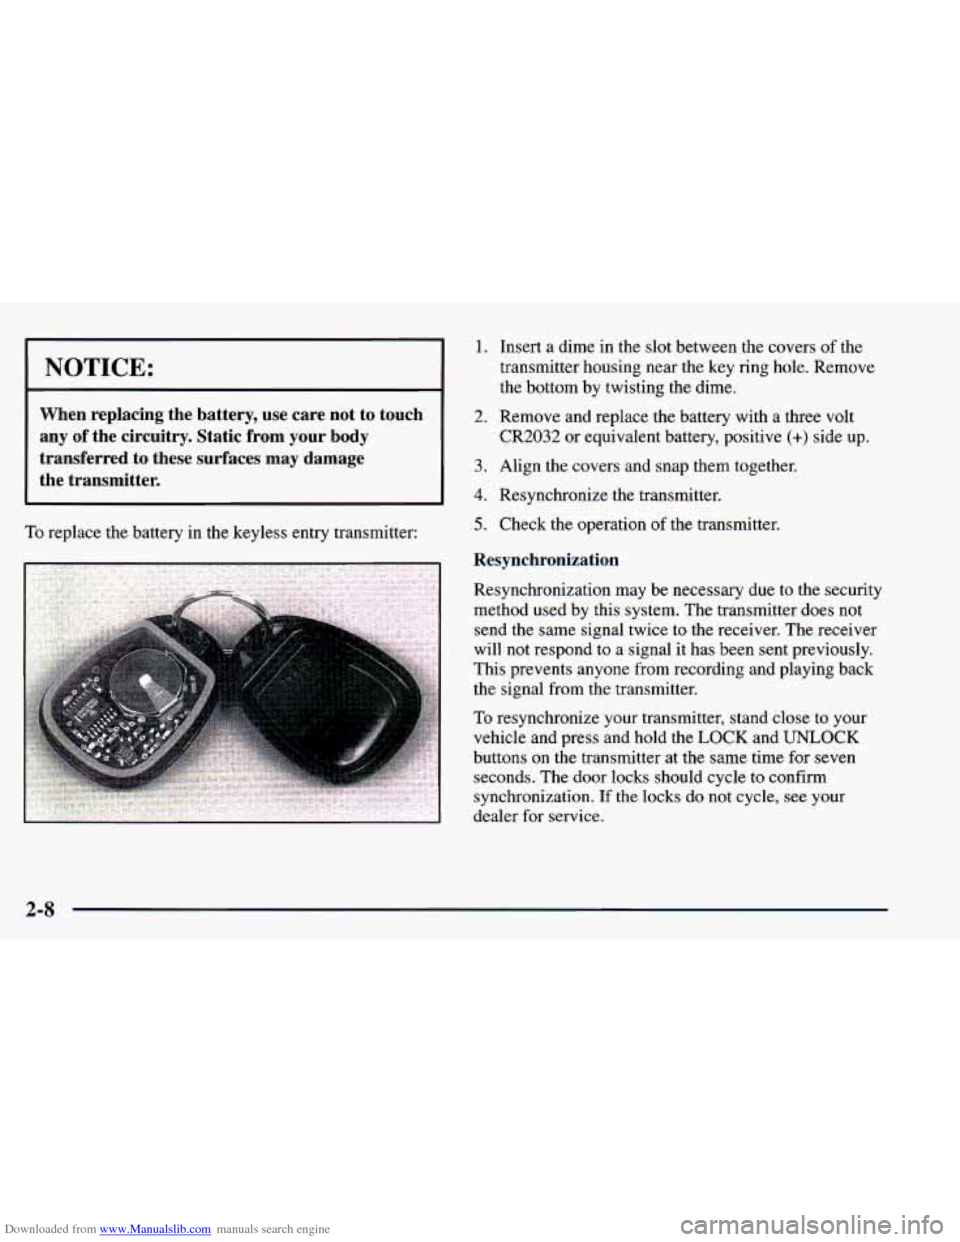
To replace the battery in the keyless entry transmitter:
1.
2.
3.
4.
5.
Insert a dime in the slot between the covers of the
transmitter housing near the key ring hole. Remove
the bottom by twisting the dime.
Remove and replace the battery with a three volt
CR2032 or equivalent battery, positive
(+) side up.
Align the covers and snap them together.
Resynchronize the transmitter.
Check the operation of the transmitter.
Resynchronization
Resynchronization may be necessary due to the security
method used by this system. The transmitter does not
send the same signal twice to the receiver. The receiver
will not respond to
a signal it has been sent previously.
This prevents anyone from recording and playing back
the signal from the transmitter.
To resynchronize your transmitter, stand close to your
vehicle and press and hold the
LOCK and UNLOCK
buttons on the transmitter at the same time for seven
seconds. The door locks should cycle
to confirm
synchronization.
If the locks do not cycle, see your
dealer for service.
2-8