power steering CHEVROLET BLAZER 1998 2.G Owners Manual
[x] Cancel search | Manufacturer: CHEVROLET, Model Year: 1998, Model line: BLAZER, Model: CHEVROLET BLAZER 1998 2.GPages: 416, PDF Size: 22.4 MB
Page 85 of 416
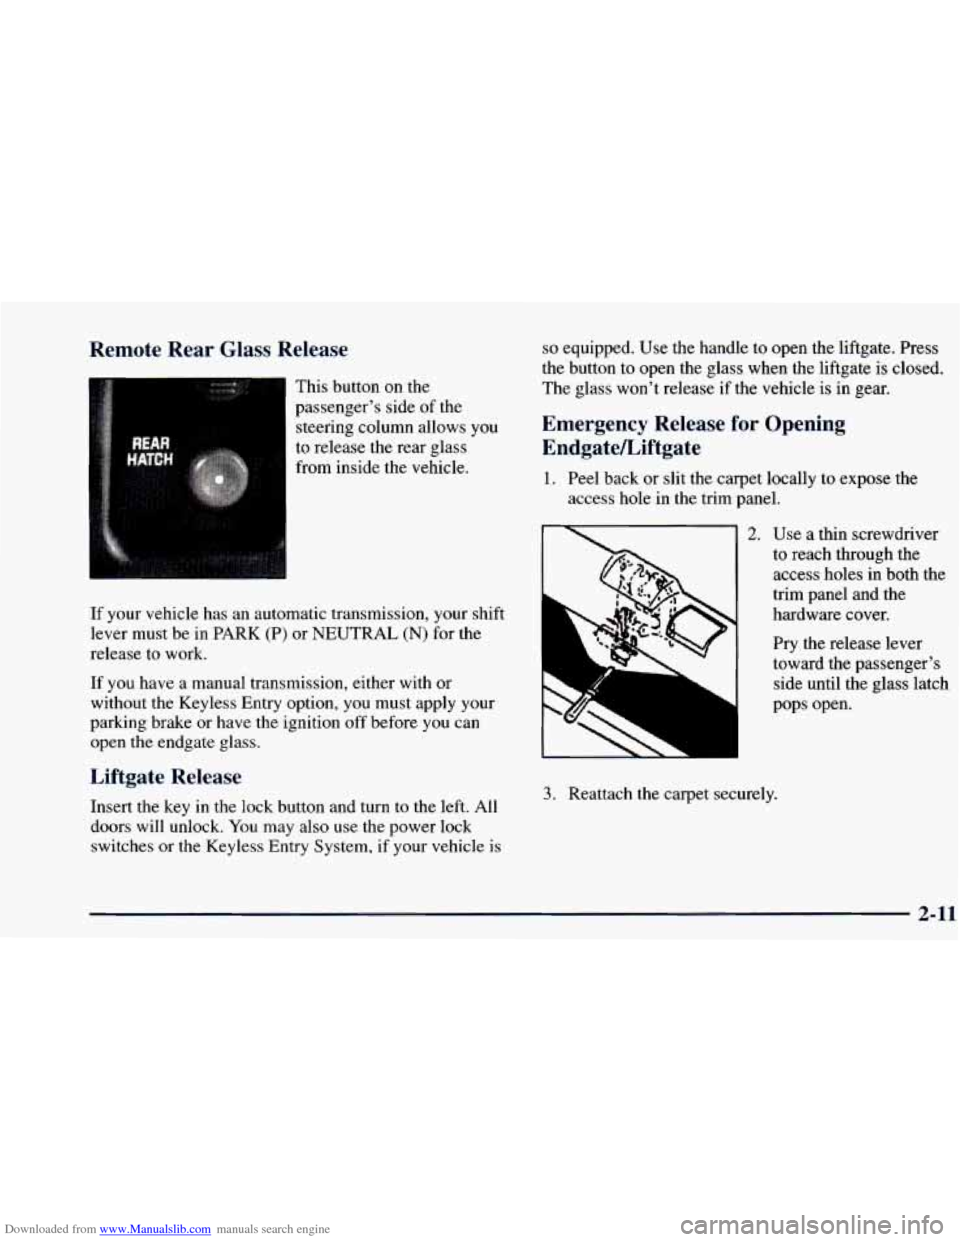
Downloaded from www.Manualslib.com manuals search engine Remote Rear Glass Release
1
This button on the
passenger’s side
of the
steering column allows you
to release the rear glass
If your vehicle has an automatic transmission, your shift
lever must be in PARK (P)
or NEUTRAL (N) for the
release to work.
If
you have a manual transmission, either with or
without the Keyless Entry option, you must apply your
parking brake or have the ignition off before you can
open the endgate glass.
so equipped. Use the handle to open the liftgate. Press
the button to open the glass
when the liftgate is closed.
The glass won’t release if the vehicle
is in gear.
Emergency Release for Opening
EndgateLiftgate
1. Peel back or slit the carpet locally to expose the
access hole in the trim panel.
11 2. Use a thin screwdriver
to reach through the
access holes in both the
trim panel and the
hardware cover.
Liftgate Release
Insert the key in the lock button and turn to the left. All
doors will unlock. You may also use the power lock
switches or the Keyless Entry System,
if your vehicle is
3. Reattach the carpet securely. Pry
the release lever
toward the passenger’s
side until the glass latch
pops open.
2-11
Page 92 of 416
Downloaded from www.Manualslib.com manuals search engine How long should you keep the coolant heater plugged
in? The answer depends on the outside temperature, the
kind
of oil you have, and some other things. Instead of
trying to list everything here,
we ask that you contact
your dealer in the area where you’ll be parking your
vehicle. The dealer can give you the best advice for that
particular area.
Automatic Transmission Operation
Your automatic transmission may have a shift lever
located on the console between the seats
or on the
steering column.
There
are several different positions for your shift lever.
If your vehicle is equipped with a column shift lever, it
features an electronic shift position indicator within the
instrument cluster. This display must be powered
anytime the shift lever is capable
of being moved out of
PARK (P). This means that if your key is in OFF, but
not locked, there will be
a small current drain on your
battery which could discharge your battery over a period
of time. If you need to leave your key in the ignition in
OFF for an extended period, it is recommended that you
disconnect the battery cable from the battery to prevent
discharging your battery. PARK
(P): This
locks your rear wheels. It’s the best
position to use when you start your engine because your
vehicle can’t move easily.
It is dangerous to get out of your vehicle if the
shift lever is
not fully in PARK (P) with the
parking brake firmly set. Your vehicle can roll.
Don’t leave your vehicle when the engine is
running unless you have to. If you have left the
engine running, the vehicle can move suddenly.
You
or others could be injured. To be sure your
vehicle won’t move, even when you’re on
fairly
level ground, always set your parking brake and
move the shift lever to PARK
(P).
See “Shifting Into PARK (P)” in the Index. If
you’re pulling a trailer, see “Towing a nailer’’ in
the Index.
2-18
Page 191 of 416
Downloaded from www.Manualslib.com manuals search engine Steering
Power Steering
If you lose power steering assist because the engine
stops or the system is not functioning, you
can steer but
it will take much more effort.
Steering Tips
Driving on Curves
It’s important to take curves at a reasonable speed.
A lot of the “driver lost control” accidents mentioned on
the news happen on curves. Here’s why:
Experienced driver or beginner, each of us is subject to
the same laws of physics when driving
on curves. The
traction of the tires against the road surface makes it
possible for the vehicle to change its path when
you turn
the front wheels. If there’s
no traction, inertia will keep
the vehicle going in the same direction. If
you’ve ever
tried
to steer a vehicle on wet ice, you’ll understand this.
The traction
you can get in a curve depends on the
condition
of your tires and the road surface, the angle at
which the curve
is banked, and your speed. While
you’re in a curve, speed is the one factor
you
can control. Suppose
you’re steering through
a sharp curve.
Then
you suddenly accelerate. Both control
systems
-- steering and acceleration -- have to do their
work where the tires meet the road. Adding the sudden
acceleration can demand too much of those places. You
can lose control.
What should
you do if this ever happens? Ease up on the
accelerator pedal, steer the vehicle the way you want it
to go, and slow down.
Speed limit signs near curves warn that
you should
adjust your speed. Of course, the posted speeds are
based
on good weather and road conditions. Under less
favorable conditions you’ll want to
go slower.
If
you need to reduce your speed as you approach a
curve, do it before
you enter the curve, while your front
wheels are straight ahead.
Try
to adjust your speed so you can “drive” through the
curve. Maintain a reasonable, steady speed. Wait
to
accelerate until you are out of the curve, and then
accelerate gently into
the straightaway.
4-9
Page 201 of 416
Downloaded from www.Manualslib.com manuals search engine Approaching a Hill
When you approach a hill, you need to decide if it’s one
of those hills that’s just too steep to climb, descend or
cross. Steepness can be hard to judge. On a very small
hill, for example, there may be a smooth, constant
incline with only a small change
in elevation where you
can easily see all the way to the top. On a large hill, the
incline may get steeper as you near the top, but you may
not see this because the crest
of the hill is hidden by
bushes, grass or shrubs.
Here are some other things to consider as you approach
a hill.
Is there a constant incline, or does the hill get sharply
steeper
in places?
surface cause tire slipping?
0 Is there good traction on the hillside, or will the
Is there a straight path up or down the hill so you
won’t have
to make turning maneuvers?
path (boulders, trees, logs or ruts)?
Are there obstructions on the hill that can block your
0 What’s beyond the hill? Is there a cliff, an
embankment, a drop-off,
a fence? Get out and walk
the hill if you don’t know. It’s the smart way to
find out.
Is the hill simply too rough? Steep hills often have
ruts, gullies, troughs and exposed rocks because they
are more susceptible to the effects of erosion.
Driving Uphill
Once you decide you can safely drive up the hill, you
need to take some special steps.
0 Use a low gear and get a firm grip on the
steering wheel.
Get a smooth start up the hill and try to maintain
your speed. Don’t use more power than you need,
because you don’t want your wheels to start spinning
or sliding.
Try to drive straight up the hill if at all possible. If
the path twists and turns, you might want to find
another route.
4-19
Page 241 of 416
Downloaded from www.Manualslib.com manuals search engine When your vehicle is being towed, have the ignition key
turned to the OFF position. The steering wheel should
be clamped in a straight-ahead position with
a clamping
device designed for towing service.
Do not use the
vehicle’s steering column lock for this. The transmission
should be in
NEUTRAL (N) and the transfer case, if you
have one, should be in 2HI. The parking brake should
be released.
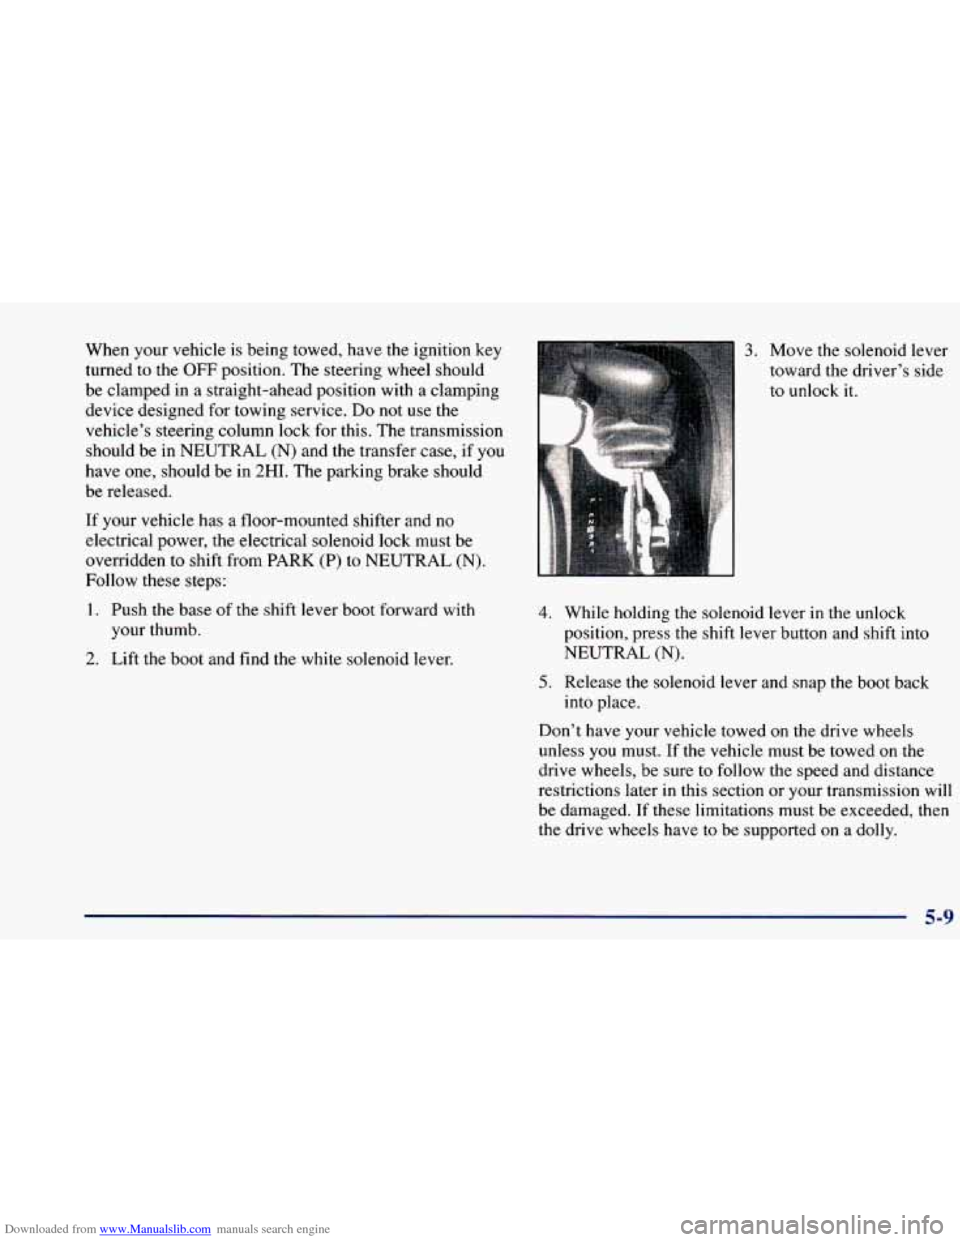
If your vehicle has a floor-mounted shifter and no
electrical power, the electrical solenoid lock must be
overridden to shift from PARK
(P) to NEUTRAL (N).
Follow these steps:
1. Push the base of the shift lever boot forward with
your thumb.
2. Lift the boot and find the white solenoid lever.
3. Move the solenoid lever
toward the driver’s side
to unlock
it.
4. While holding the solenoid lever in the unlock
position, press
the shift lever button and shift into
NEUTRAL
(N).
5. Release the solenoid lever and snap the boot back
into place.
Don’t have your vehicle towed on the drive wheels
unless you must. If the vehicle must be towed on the
drive wheels, be sure to follow the speed and distance
restrictions later
in this section or your transmission will
be damaged. If these limitations must be exceeded, then
the drive wheels have to be supported on a dolly.
5-9
Page 271 of 416
Downloaded from www.Manualslib.com manuals search engine Section 6 Service and Appnara-- ~2 Care
Here you will find information about the care of your vehicle. This section begins with service and fuel information,
and then it shows how to check important fluid and lubricant levels. There is also technical information about your
vehicle, and a part devoted to its appearance care.
6-2
6-3
6-5
6-5
6-7
6-8
6-10
6- 14
6-15
6-1 9
6-20
6-2
1
6-22 6-23
6-26 6-27
6-27
Service
Fuel
Fuels
in Foreign Countries
Filling Your Tank
Filling a Portable Fuel Container
Checking Things Under the Hood
Engine Oil
Air Cleaner
Automatic Transmission Fluid
Manual Transmission Fluid
Hydraulic Clutch
Rear Axle
Four-wheel Drive
Engine Coolant
Radiator Pressure Cap
Thermostat Power Steering Fluid 6-28
6-29
6-32
6-33
6-38
6-40
6-49
6-50
6-52
6-54
6-57
6-58
6-58
6-58
6-64 6-64
6-65 Windshield Washer Fluid
Brakes
Battery
Bulb Replacement
Windshield Wiper Blade Replacement
Tires
Appearance Care
Cleaning the Inside of Your Vehicle
Care
of Safety Belts
Cleaning the Outside
of Your Vehicle
Appearance Care Materials Chart
Vehicle Identification Number (VTN)
Service Parts Identification Label
Electrical System
Replacement Bulbs Capacities and Specifications
Air Conditioning Refrigerants
Page 279 of 416
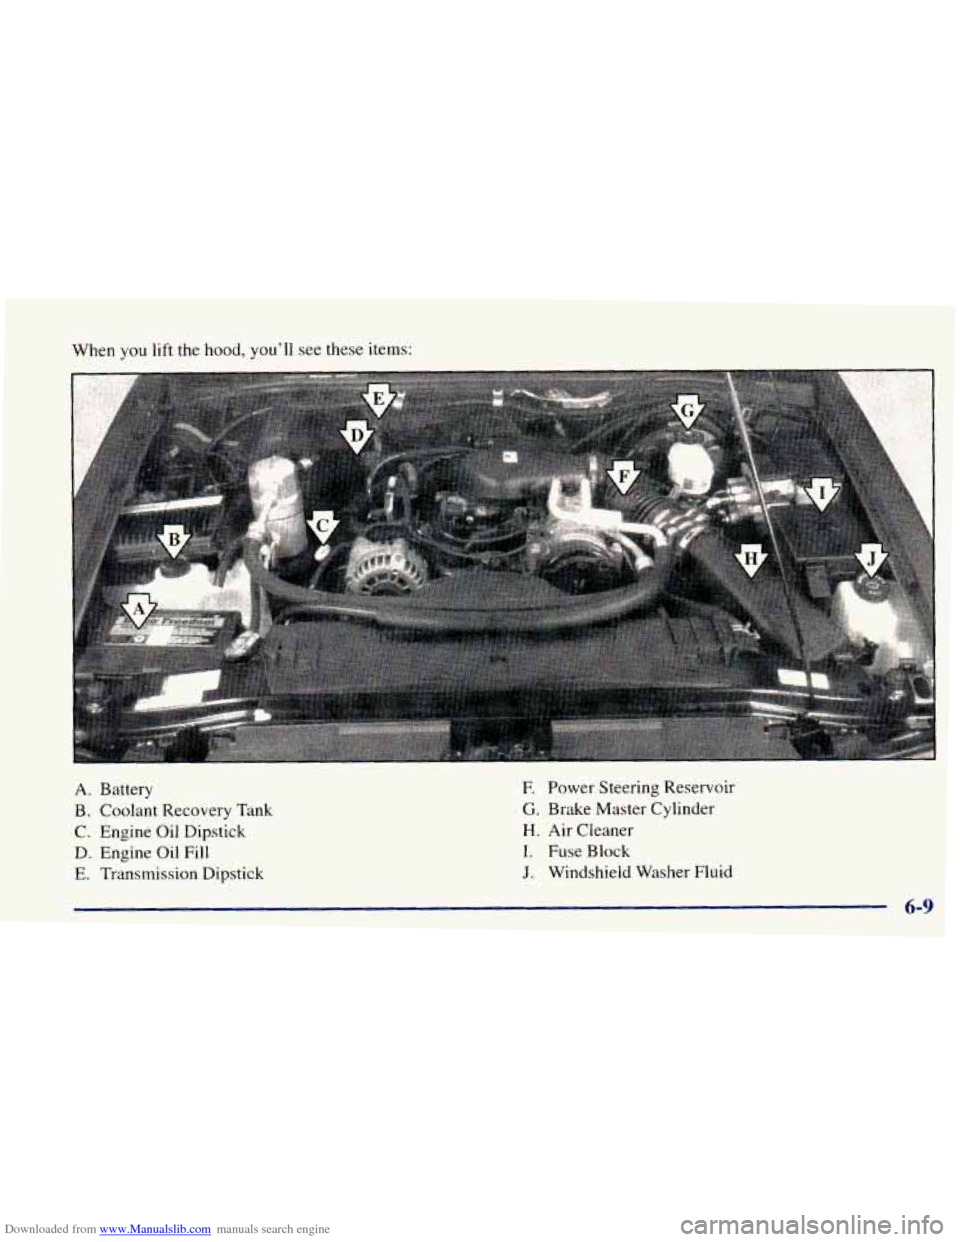
Downloaded from www.Manualslib.com manuals search engine When you lift the hood, you’ll see these items:
A. Battery E Power Steering Reservoir
8. Coolant Recovery Tank G. Brake Master Cylinder
C. Engine Oil Dipstick H. Air Cleaner
D. Engine Oil Fill I. Fuse Block
E. Transmission Dipstick J. Windshield Washer Fluid
6-9
Page 297 of 416
Downloaded from www.Manualslib.com manuals search engine Thermostat
Engine coolant temperature is controlled by a thermostat
in the engine coolant system. The thermostat stops the
flow
of coolant through the radiator until the coolant
reaches a preset temperature.
Power Steering Fluid
When to Check Power Steering Fluid
It is not necessary to regularly check power steering
fluid unless
you suspect there is a leak in the system or
you hear an unusual noise.
A fluid loss in this system
could indicate a problem. Have the system inspected
and repaired.
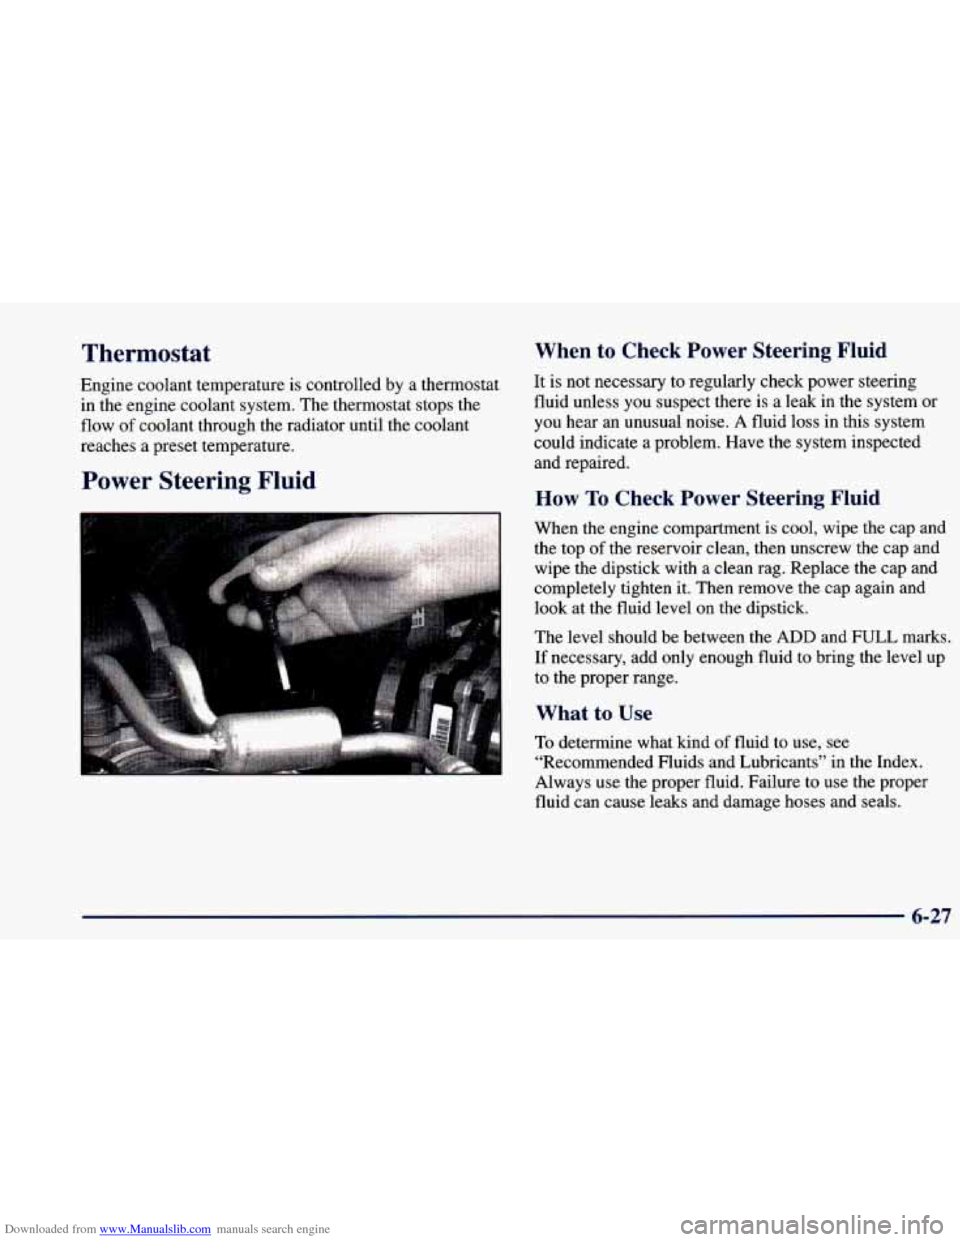
How To Check Power Steering Fluid
When the engine compartment is cool, wipe the cap and
the top
of the reservoir clean, then unscrew the cap and
wipe the dipstick with a clean rag. Replace the cap and
completely tighten it. Then remove the cap again and
look at the fluid level
on the dipstick.
The level should be between
the ADD and FULL marks.
If necessary, add only enough fluid to bring the level up
1 to the proper range.
What to Use
To determine what kind of fluid to use, see
“Recommended Fluids and Lubricants” in the Index.
Always use the proper fluid. Failure to use the proper
fluid can cause leaks and damage hoses and seals.
6-27
Page 379 of 416
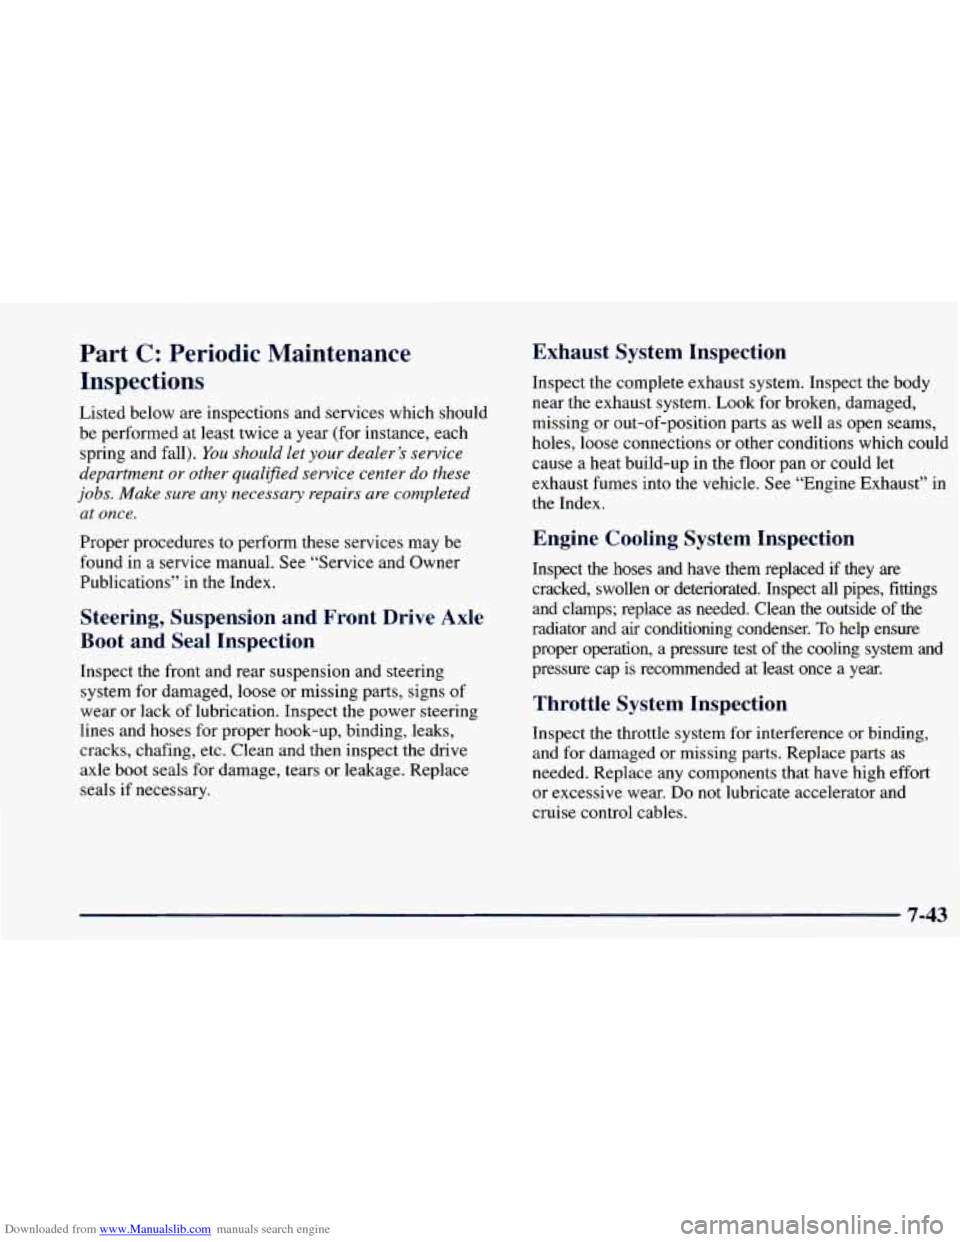
Downloaded from www.Manualslib.com manuals search engine Part C: Periodic Maintenance
Inspections
Listed below are inspections and services which should
be performed at least twice a year (for instance, each
spring and fall).
You should let your dealer’s service
department
or other qualified service center do these
jobs. Make sure any necessary repairs are completed
at once.
Proper procedures to perform these services may be
found in a service manual. See “Service and Owner
Publications” in the Index.
Steering, Suspension and Front Drive Axle
Boot and Seal Inspection
Inspect the front and rear suspension and steering
system for damaged,
loose or missing parts, signs of
wear or lack of lubrication. Inspect the power steering
lines and hoses for proper hook-up, binding, leaks,
cracks, chafing, etc. Clean and then inspect the drive
axle boot seals for damage, tears or leakage. Replace
seals if necessary.
Exhaust System Inspection
Inspect the complete exhaust system. Inspect the body
near the exhaust system. Look for broken, damaged,
missing or out-of-position parts as well as open seams,
holes,
loose connections or other conditions which could
cause a heat build-up in the
floor pan or could let
exhaust fumes into the vehicle. See “Engine Exhaust” in
the Index.
Engine Cooling System Inspection
Inspect the hoses and have them replaced if they are
cracked, swollen or deteriorated. Inspect all pipes, fittings
and clamps; replace as needed. Clean the outside of the
radiator and air conditioning condenser.
To help ensure
proper operation, a pressure test of the cooling system and
pressure cap is recommended at least once a year.
Throttle System Inspection
Inspect the throttle system for interference or binding,
and for damaged or missing parts. Replace parts as
needed. Replace any components that have high effort
or excessive wear.
Do not lubricate accelerator and
cruise control cables.
7-43
Page 381 of 416
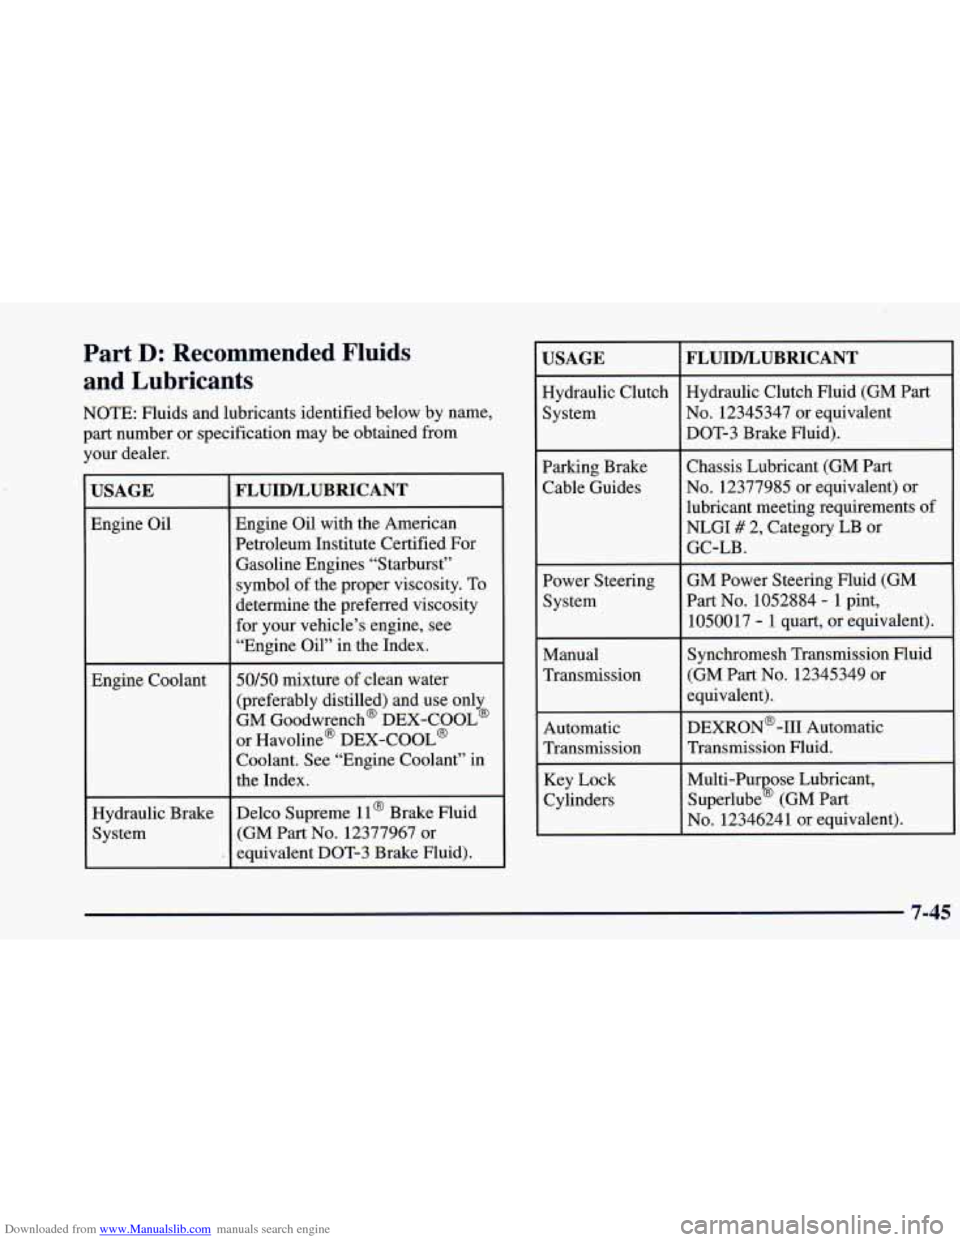
Downloaded from www.Manualslib.com manuals search engine Part D: Recommended Fluids
and Lubricants
NOTE: Fluids and lubricants identified below by name,
part number or specification may be obtained from
your dealer.
USAGE
Engine Oil
Engine Coolant Hydraulic Brake System
FLUIDLUBRICANT
Engine Oil with the American
Petroleum Institute Certified For Gasoline Engines “Starburst”
symbol of the proper viscosity. To
determine the preferred viscosity
for your vehicle’s engine, see
“Engine Oil” in the Index.
50/50 mixture of clean water
(preferably distilled) and use only
GM Goodwrench@ DEX-COOL’
or Havoline@ DEX-COOL@
Coolant. See “Engine Coolant” in
the Index.
Delco Supreme
11 @ Brake Fluid
(GM Part
No. 12377967 or
equivalent DOT-3 Brake Fluid).
USAGE
Hydraulic Clutch
System
Parking Brake
Cable Guides
Power Steering
System
Manual
Transmission Automatic
Transmission Key Lock
Cylinders
FLUID/LUBRICANT
Hydraulic Clutch Fluid (GM Part
No. 12345347 or equivalent
DOT-3 Brake Fluid).
Chassis Lubricant (GM Part
No. 12377985 or equivalent) or
lubricant meeting requirements of
NLGI
# 2, Category LB or
GC-LB.
GM Power Steering Fluid (GM
Part No. 1052884
- 1 pint,
10500 17
- 1 quart, or equivalent).
Synchromesh Transmission Fluid
(GM Part No. 12345349 or
equivalent).
DEXRON@-I11 Automatic Transmission Fluid.
Multi-Pu ose Lubricant,
Superlube
% (GM Part
No. 12346241 or equivalent).
7-45