tow CHEVROLET BLAZER 1998 2.G Owners Manual
[x] Cancel search | Manufacturer: CHEVROLET, Model Year: 1998, Model line: BLAZER, Model: CHEVROLET BLAZER 1998 2.GPages: 416, PDF Size: 22.4 MB
Page 19 of 416
Downloaded from www.Manualslib.com manuals search engine Manual Lumbar Support
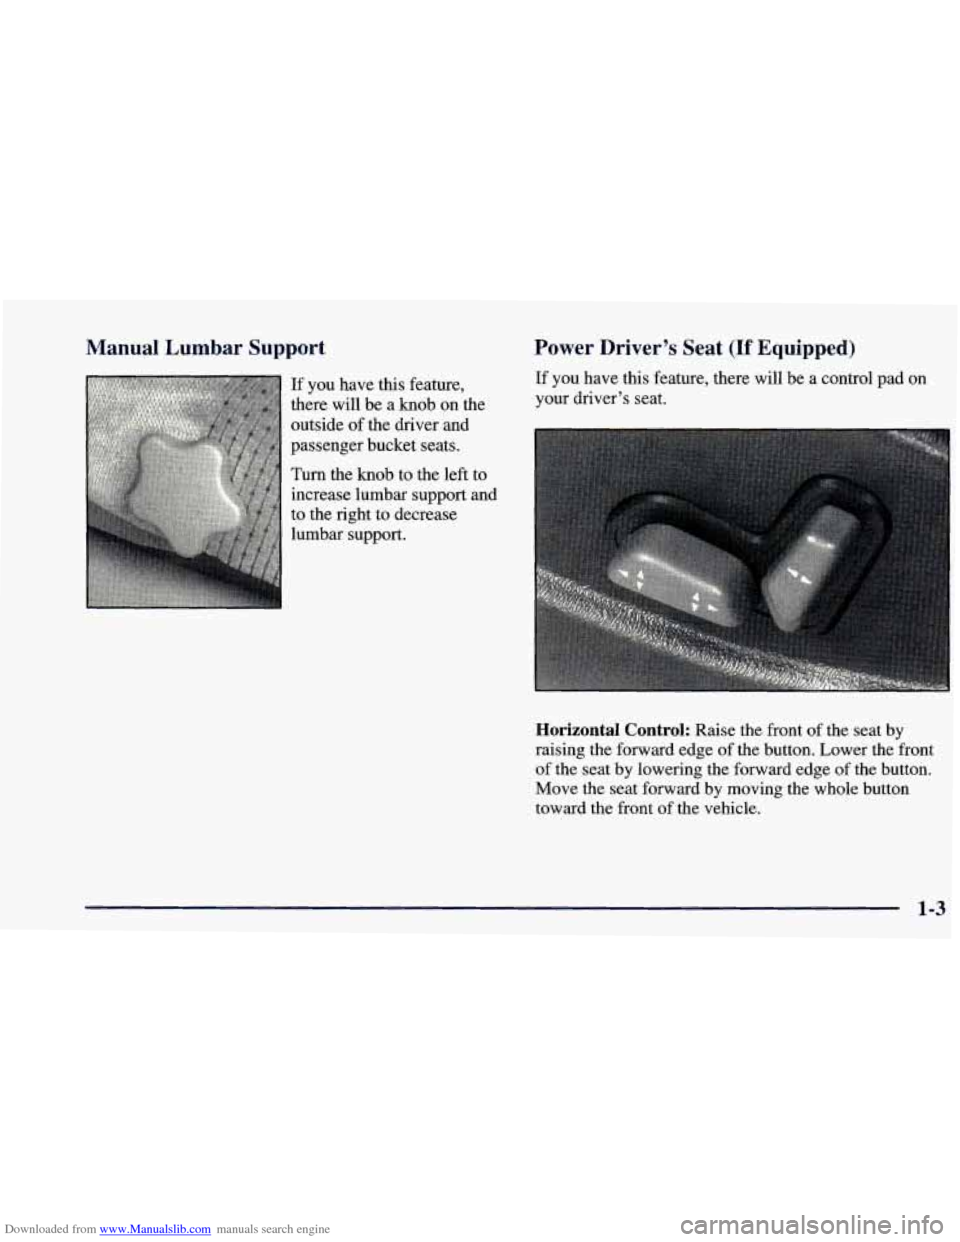
If you have this feature,
there will be a knob on the
outside of the driver and
passenger bucket seats.
Turn the knob to the left to
increase lumbar support and
to the right to decrease
lumbar support.
Power Driver’s Seat (If Equipped)
If you have this feature, there will be a control pad on
your driver’s seat.
Horizontal Control: Raise the front of the seat by
raising the forward edge of the button. Lower the front
of the seat by lowering the forward edge of the button.
Move the seat forward by moving the whole button
toward the front of the vehicle.
1-3
Page 20 of 416
Downloaded from www.Manualslib.com manuals search engine Raise the rear of the seat by raising the rear edge of the
button. Lower the rear
of the seat by lowering the rear
edge of the button. Move the seat rearward by moving
the whole button toward the rear
of the vehicle.
Moving the whole button up or down raises or lowers
the whole seat.
Vertical Control: Move the reclining front seatback
rearward by moving the button toward the rear of the
vehicle. Move the seatback forward by moving the
button toward the front
of the vehicle.
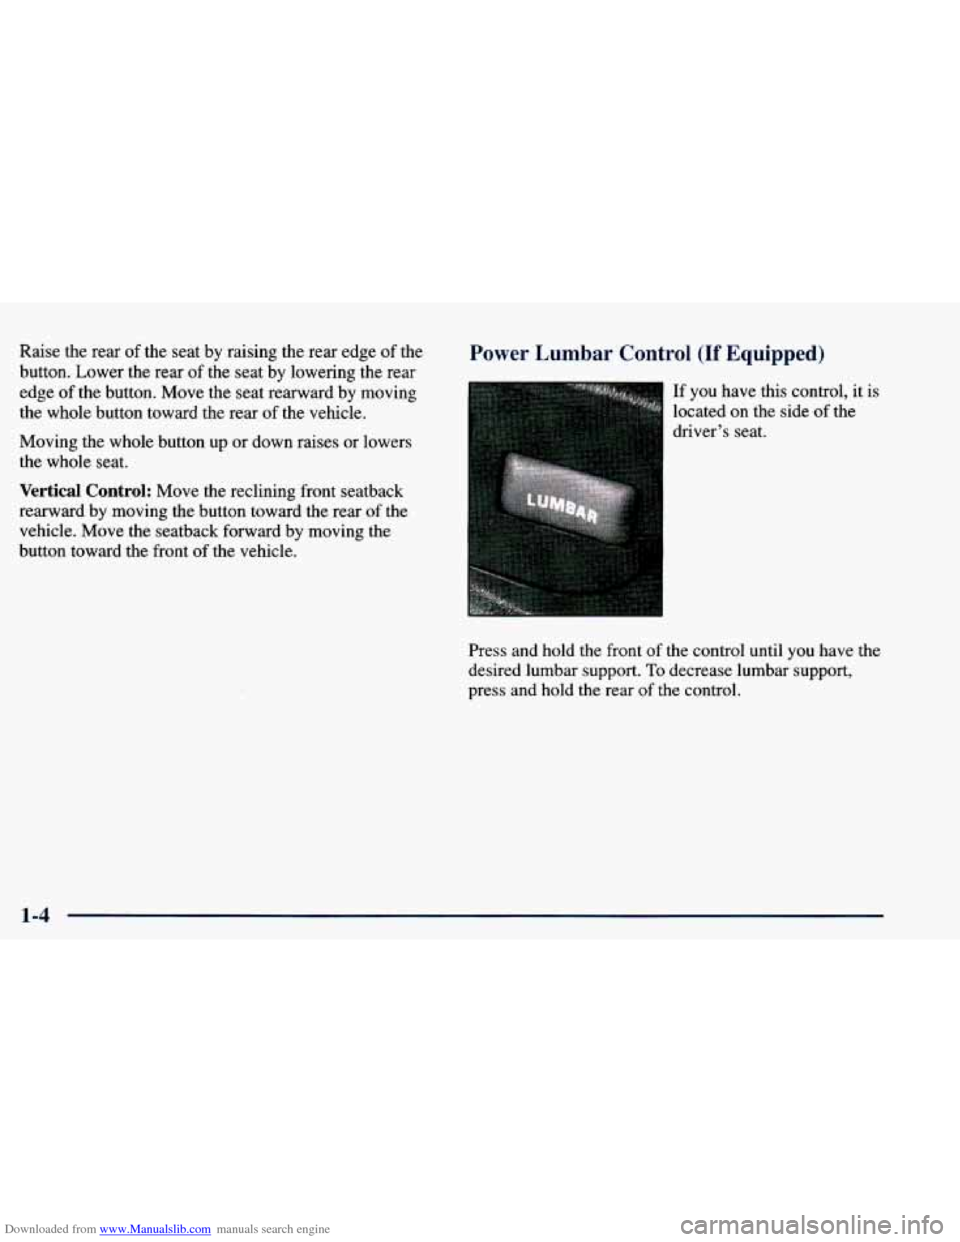
Power Lumbar Control (If Equipped)
If you have this control, it is
located on the side
of the
driver’s seat.
Press and hold the front
of the control until you have the
desired lumbar support.
To decrease lumbar support,
press
and hold the rear of the control.
1-4
Page 44 of 416
Downloaded from www.Manualslib.com manuals search engine How does an air bag restrain?
In moderate to severe frontal or near-frontal collisions,
even belted occupants can contact the steering wheel or
the instrument panel. Air bags supplement the protection
provided by safety belts. Air bags distribute the force of
the impact more
evenly over the occupant’s upper body,
stopping
the occupant more gradually. But air bags would
not help you in many types of collisions, including
rollovers, rear impacts and side impacts, primarily
because an occupant’s motion is not toward those air
bags. Air bags should never be regarded as anything more than
a supplement to safety belts, and then only in
moderate to severe frontal or near-frontal collisions.
What will you see after an air bag inflates?
After an air bag inflates, it quickly deflates, so quickly that
some people may not even realize the
air bag inflated.
Some components
of the air bag module -- the steering
wheel hub for the driver’s air bag, or the instrument panel
for the right front passenger’s bag
-- will be hot for a short
time. The parts of the bag that come into contact with you
may be warm, but not too hot to touch. There will be
some smoke and dust coming from vents
in the deflated
air bags. Air bag inflation doesn’t prevent the driver from
seeing or from being able to steer the vehicle, nor does
it
stop people from leaving the vehicle.
When an air bag inflates, there is dust in the air.
This dust could cause breathing problems for
people with a history
of asthma or other
breathing trouble.
To avoid this, everyone in the
vehicle should get out as soon as it is safe to do
so.
If you have breathing problems but can’t get out
of the vehicle after an air bag inflates, then get
fresh air by opening a window or door.
Air bags are designed to inflate only once. After they
inflate, you’ll need some new parts for your air bag
system. If you don’t get them, the air bag system
won’t be there to help protect you in another crash.
A new system will include air bag modules and
possibly other parts. The service manual for your
vehicle covers the need to replace other parts.
Your vehicle is equipped with a diagnostic module,
which records information about the air bag system.
The module records information about the readiness
of the system, when the sensors are activated and
driver’s safety belt usage at deployment.
1-28
Page 45 of 416
Downloaded from www.Manualslib.com manuals search engine 0 Let only qualified technicians work on your air bag
system. Improper service can mean that your air bag
system won’t work properly. See your dealer for service.
NOTICE:
If you damage the covering for the driver’s or the
right front passenger’s
air bag, the bag may not
work properly. You may have to replace the air
bag module in the steering wheel or both the air
bag module and the instrument panel for the
right front passenger’s air bag.
Do not open or
break the air bag coverings.
If your vehicle ever gets into a lot of water -- such as water up
to the carpeting or higher
-- or if water enters your vehicle
and
soaks the carpet, the air bag controller can be soaked and
ruined. If this ever happens, and then you
start your vehicle,
the damage could make the air bags inflate, even if there’s\
no crash. You would have to replace the air bags as well as the
sensors and related parts. If your vehicle is ever in a flood, or
if it’s exposed to water that soaks the carpet, you can avoid
needless repair costs by turning
off the vehicle immediately.
Don’t let anyone start the vehicle, even to tow
it, unless the
battery cables are first disconnected.
Servicing Your Air Bag-Equipped Vehicle
Air bags affect how your vehicle should be serviced.
There are parts
of the air bag system in several places
around your vehicle. You don’t want the system to
inflate while someone is working
on your vehicle. Your
dealer and the
GM Service Manual have information
about servicing your vehicle and the air bag system. To
purchase a service manual, see “Service and Owner
Publications’’
in the Index.
/A CAUTION:
For up to two minutes after the ignition key is
turned off and the battery is disconnected, an air
bag can still inflate during improper service. You
can be injured if you are close to an air bag when
it inflates. Avoid wires wrapped with yellow tape
or yellow connectors. They are probably part of
the air bag system. Be sure to follow proper
service procedures, and make sure the person
performing work for you is qualified to do
so.
The air bag system does not need regular maintenance.
1-29
Page 58 of 416
Downloaded from www.Manualslib.com manuals search engine Child Restraints
Every time infants and young children ride in
vehicles, they should have protection provided
by
appropriate restraints.
&= What are the different types of add-on
child restraints?
A: Add-on child restraints are available in four basic
types. When selecting a child restraint, take into consideration not only the child’s weight and size,
but also whether or not the restraint will be
compatible with the motor vehicle in which it
will be used.
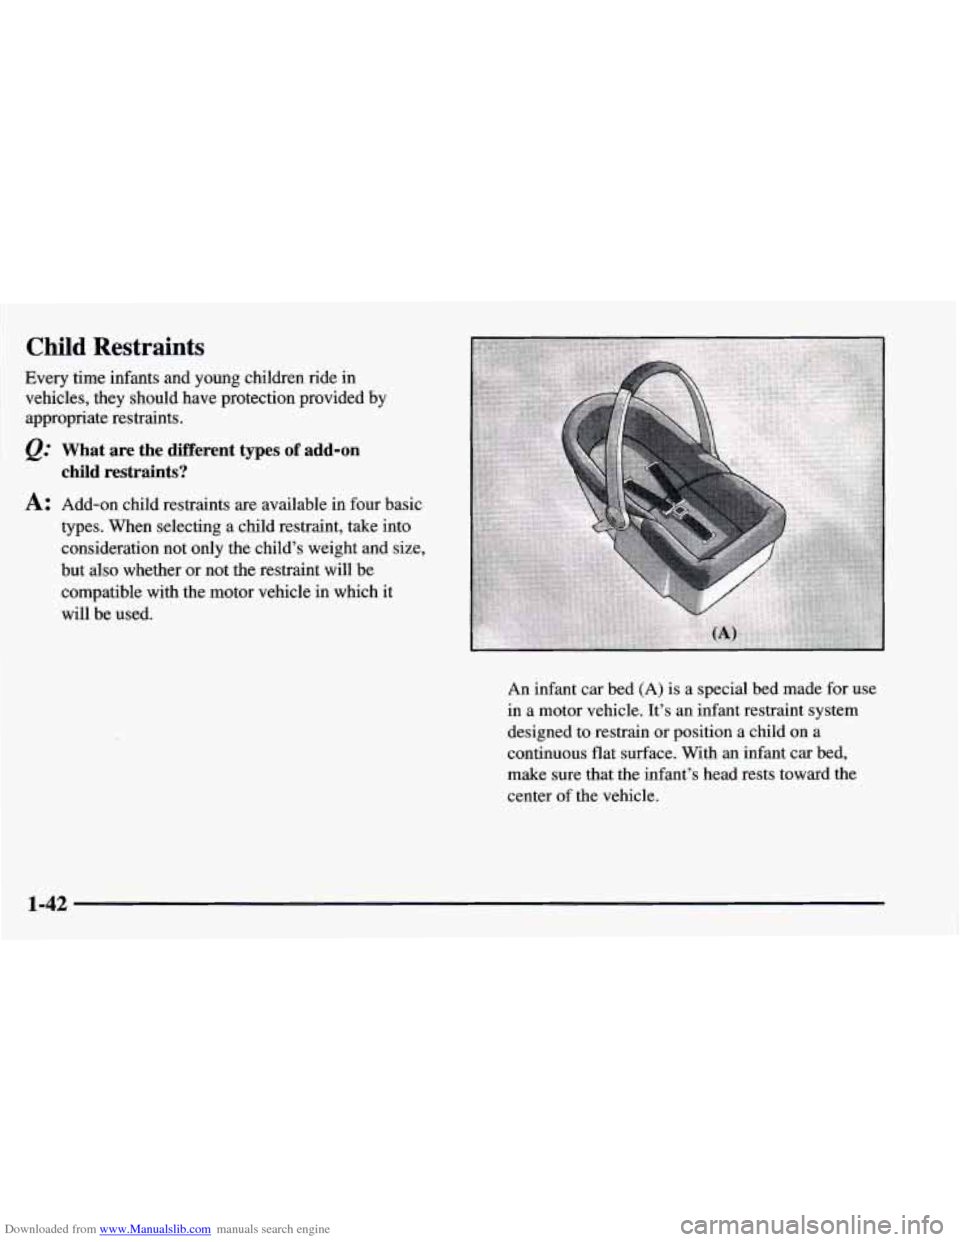
An infant car bed (A) is a special bed made for use
in a motor vehicle. It’s an infant restraint system
designed to restrain or position a child on a
continuous flat surface. With an infant car bed,
make sure that the infant’s head rests
toward the
center of the vehicle.
1-42
Page 70 of 416
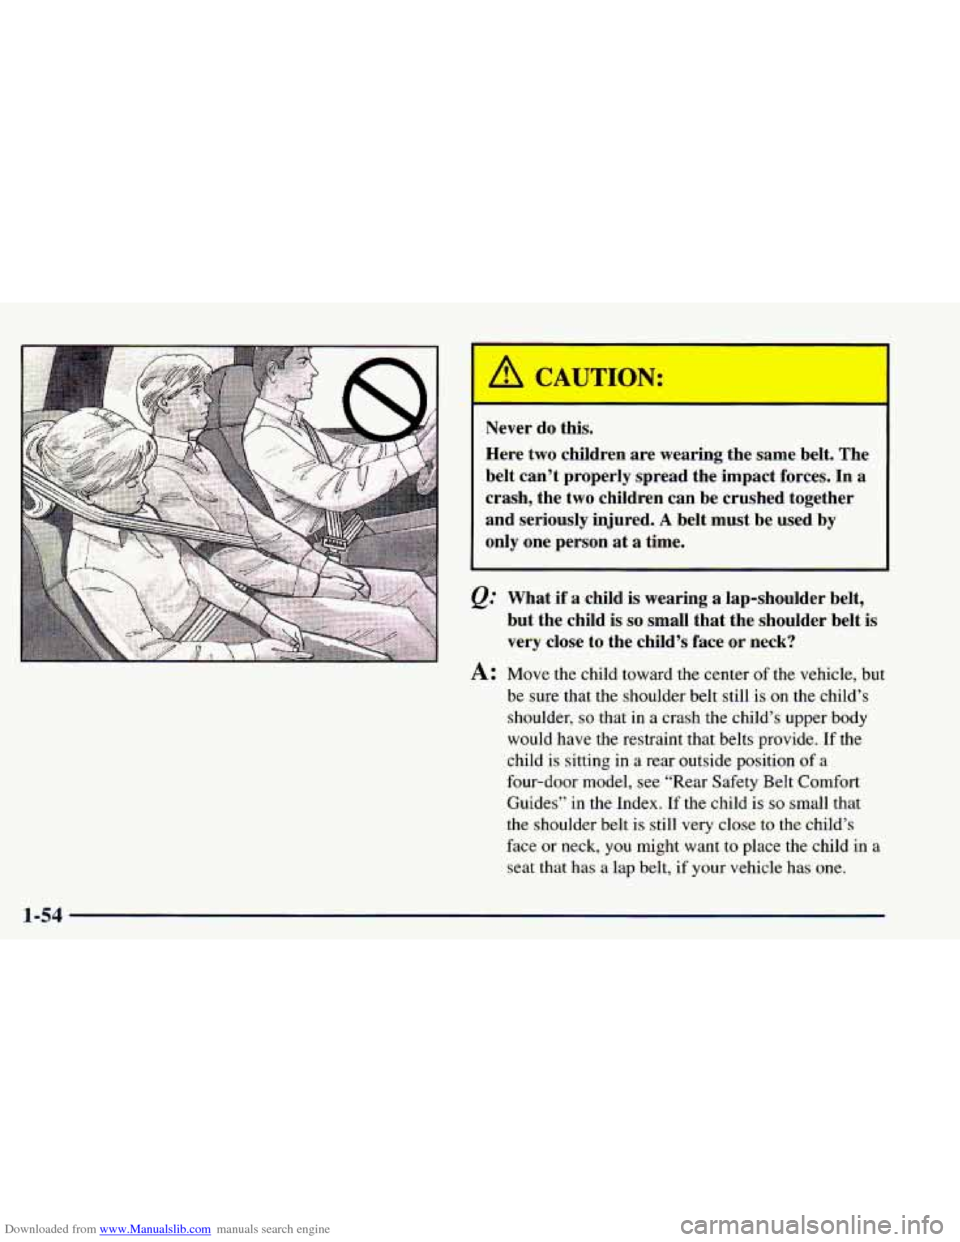
Downloaded from www.Manualslib.com manuals search engine Never do this.
Here two children are wearing the same belt. The
belt can’t properly spread the impact forces. In a
crash, the two children can be crushed together
and seriously injured.
A belt must be used by
only one person at a time.
Q: What if a child is wearing a lap-shoulder belt,
but the child is
so small that the shoulder belt is
very close to the child’s face or neck?
A: Move the child toward the center of the vehicle, but
be sure that the shoulder belt still
is on the child’s
shoulder,
so that in a crash the child’s upper body
would have
the restraint that belts provide. If the
child is sitting in a rear outside position of a
four-door model, see “Rear Safety Belt Comfort
Guides” in
the Index. If the child is so small that
the shoulder belt is still very close to the child’s
face or neck,
you might want to place the child in a
seat that has a lap belt, if your vehicle has one.
1-54
Page 83 of 416
Downloaded from www.Manualslib.com manuals search engine EndgateLiftgate
It can be dangerous to drive with the rear
window, endgate or liftgate open because carbon
monoxide
(CO) gas can come into your vehicle.
You can’t see or smell
CO. It can cause
unconsciousness and even death.
If you must drive with the rear window, endgate
or liftgate open or
if electrical wiring or other
cable connections must pass through the seal
between the body and the
rear window, endgate
or liftgate:
Make sure all windows are shut.
lhrn the fan on your heating or cooling
system to its highest speed with the setting on
VENT. That will force outside air into your
vehicle. See
64C~~0~ Controls’’ in the Index.
instrument panel, open them all the way.
If you have air outlets on or under the
See “Engine Exhaust” in the Index.
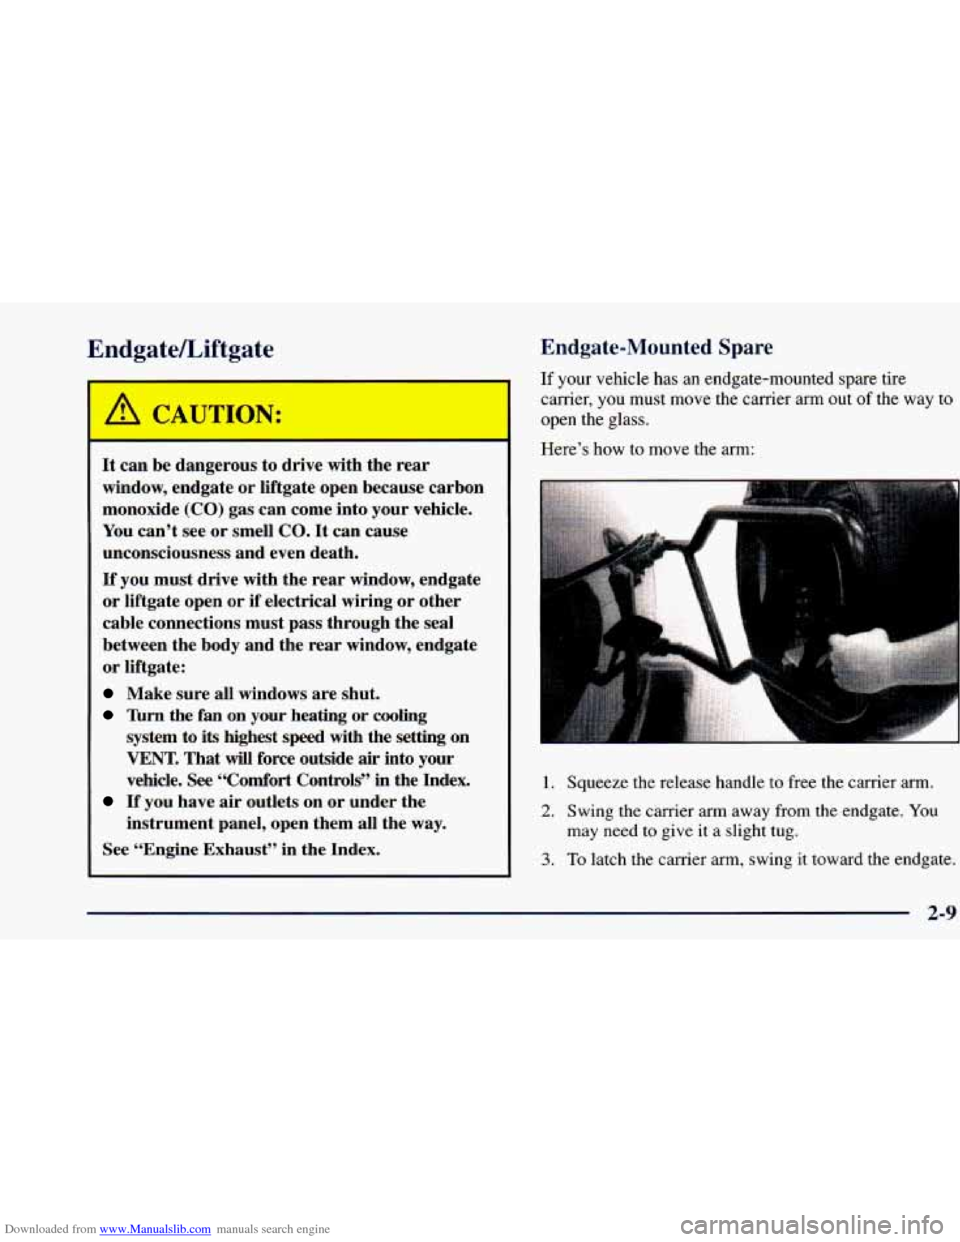
Endgate-Mounted Spare
If your vehicle has an endgate-mounted spare tire
carrier, you must move the carrier arm out
of the way to
open the glass.
Here’s how to move the arm:
1. Squeeze the release handle to free the carrier arm.
2. Swing the carrier arm away from the endgate. You
may need to give it a slight tug.
3. To latch the carrier arm, swing it toward the endgate.
2-9
Page 85 of 416
Downloaded from www.Manualslib.com manuals search engine Remote Rear Glass Release
1
This button on the
passenger’s side
of the
steering column allows you
to release the rear glass
If your vehicle has an automatic transmission, your shift
lever must be in PARK (P)
or NEUTRAL (N) for the
release to work.
If
you have a manual transmission, either with or
without the Keyless Entry option, you must apply your
parking brake or have the ignition off before you can
open the endgate glass.
so equipped. Use the handle to open the liftgate. Press
the button to open the glass
when the liftgate is closed.
The glass won’t release if the vehicle
is in gear.
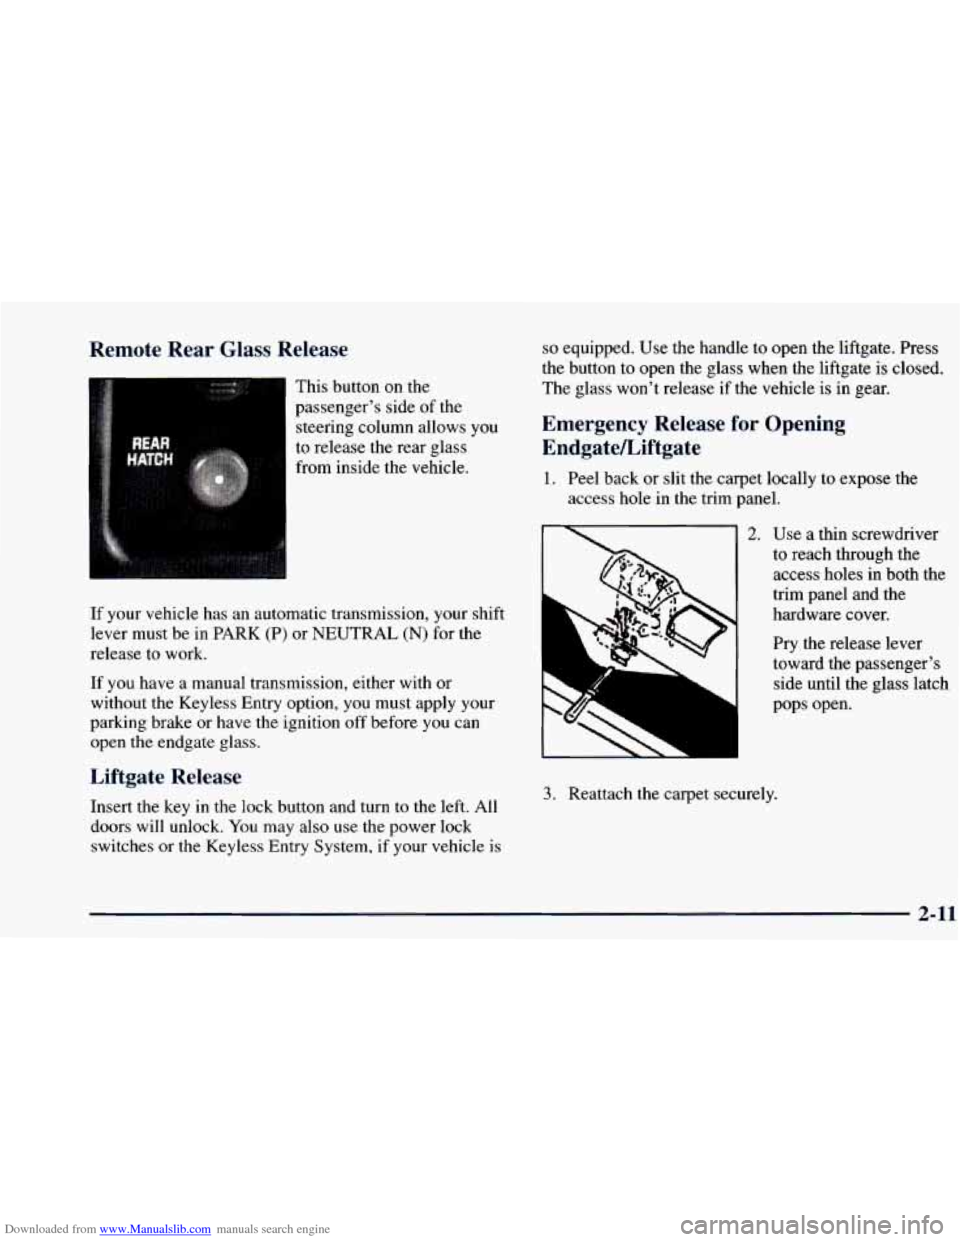
Emergency Release for Opening
EndgateLiftgate
1. Peel back or slit the carpet locally to expose the
access hole in the trim panel.
11 2. Use a thin screwdriver
to reach through the
access holes in both the
trim panel and the
hardware cover.
Liftgate Release
Insert the key in the lock button and turn to the left. All
doors will unlock. You may also use the power lock
switches or the Keyless Entry System,
if your vehicle is
3. Reattach the carpet securely. Pry
the release lever
toward the passenger’s
side until the glass latch
pops open.
2-11
Page 87 of 416
Downloaded from www.Manualslib.com manuals search engine If the engine stalls and the SECURITY light flashes,
wait about
10 minutes until the light stops flashing
before trying to restart the engine. Remember to release
the
key from the START position as soon as the
engine starts.
If the engine does not start after three (3) tries, the
vehicle needs service.
If you are driving and the SECURITY light comes on,
you will be able to restart the engine if you turn the
engine
off. However, your Passlock system is not
working properly and must be serviced by your dealer.
Your vehicle is not protected by Passlock at this time.
You may also want to check the fuse (see “Fuses and
Circuit Breakers” in the Index). See your dealer
for service.
If the
SECURITY light flashes, wait until the light stops
flashing before starting the engine.
If the
SECURITY light comes on while the engine is
running, a problem has been detected and the system
may need service. See your dealer for service.
In an emergency, call the
GM Roadside Assistance
Center. See “Roadside Assistance” in the Index.
New Vehicle “Break-In”
NOTICE:
Your vehicle doesn’t need an elaborate
“break-in.” But
it will perform better in the long
run if
you follow these guidelines:
a
0
0
0
Keep your speed at 55 mph (88 km/h) or
less for the
first 500 miles (805 km).
Don’t drive at any one speed
-- fast or
slow -- for the first 500 miles (805 km).
Don’t make full-throttle starts.
Avoid making hard stops for the first
200 miles (322 km) or so. During this time
your new brake linings aren’t yet broken
in. Hard stops with new linings can mean
premature wear and earlier replacement.
Follow this breaking-in guideline every
time
you get new brake linings.
Don’t tow
a trailer during break-in.
See “Towing a Trailer’’ in the Index for
more information.
2-13
Page 88 of 416
Downloaded from www.Manualslib.com manuals search engine Ignition Positions
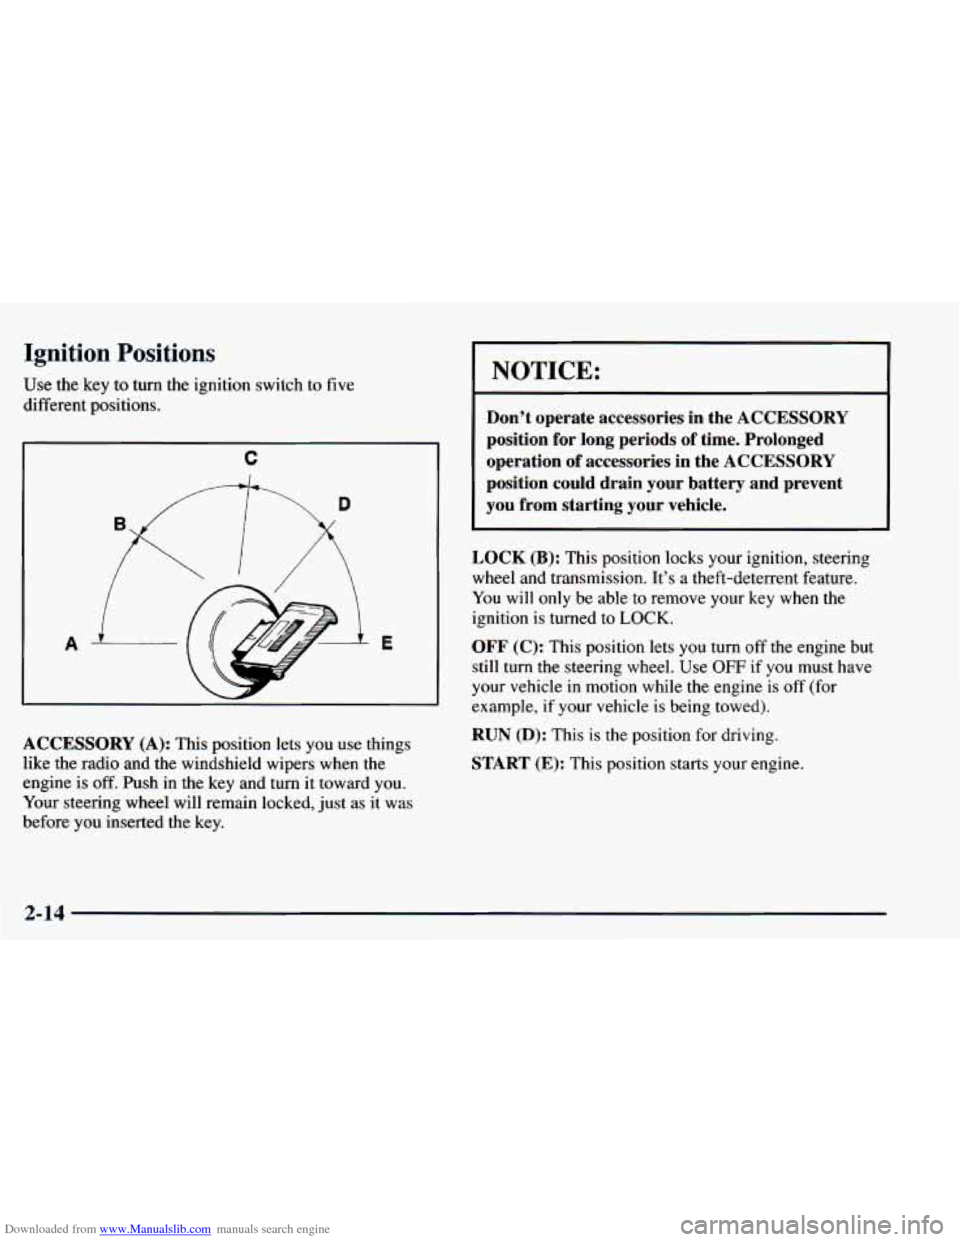
Use the key to turn the ignition switch to five
different positions.
P
C
A
LCCESSORY (A): This position lets you use things
like the radio and the windshield wipers when the
engine is
off. Push in the key and turn it toward you.
Your steering wheel will remain locked, just as
it was
before you inserted the key.
-
NOTICE:
Don’t operate accessories in the ACCESSORY
position for long periods of time. Prolonged
operation of accessories in the ACCESSORY
position could drain your battery and prevent
you from starting your vehicle.
LOCK
(B): This position locks your ignition, steering
wheel and transmission. It’s a theft-deterrent feature.
You will only be able to remove your key when the
ignition is turned to
LOCK.
OFF (C): This position lets you turn off the engine but
still turn the steering wheel.
Use OFF if you must have
your vehicle in motion while the engine is off (for
example,
if your vehicle is being towed).
RUN (D): This is the position for driving.
START (E): This position starts your engine.
2-14