change time CHEVROLET BLAZER 2004 2.G Owners Manual
[x] Cancel search | Manufacturer: CHEVROLET, Model Year: 2004, Model line: BLAZER, Model: CHEVROLET BLAZER 2004 2.GPages: 446, PDF Size: 2.93 MB
Page 2 of 446
GENERAL MOTORS, GM, the GM Emblem,
CHEVROLET, the CHEVROLET Emblem and the name
BLAZER are registered trademarks of General Motors
Corporation.
This manual includes the latest information at the time it
was printed. We reserve the right to make changes
after that time without further notice. For vehicles �rst
solid in Canada, substitute the name “General Motors of
Canada Limited” for Chevrolet Motor Division whenever
it appears in this manual.
Please keep this manual in you vehicle, so it will be
there if you ever need it when you’re on the road. If you
sell the vehicle, please leave this manual in it so the
new owner can use it.
Litho in U.S.A.
Part No. C2411 B First Edition©
Copyright General Motors Corporation 12/01/03
All Rights Reserved
Canadian Owners
A French language copy of this manual can be obtained
from your dealer or from:
Helm, Incorporated
P.O. Box 07130
Detroit, MI 48207
About Driving Your Vehicle
As with other vehicles of this type, failure to operate this
vehicle correctly may result in loss of control or an
accident. Be sure to read the “on-pavement” and
“off-road” driving guidelines in this manual. SeeYour
Driving, the Road, and Your Vehicle on page 4-2
andOff-Road Driving with Your Four-Wheel-Drive
Vehicle on page 4-15.
How to Use This Manual
Many people read the owner manual from beginning to
end when they �rst receive their new vehicle. If this
is done, it can help you learn about the features
and controls for the vehicle. Pictures and words work
together in the owner manual to explain things.
ii
Page 40 of 446
Infants and Young Children
Everyone in a vehicle needs protection! This includes
infants and all other children. Neither the distance
traveled nor the age and size of the traveler changes
the need, for everyone, to use safety restraints. In fact,
the law in every state in the United States and in
every Canadian province says children up to some age
must be restrained while in a vehicle.
Every time infants and young children ride in vehicles,
they should have the protection provided by appropriate
restraints. Young children should not use the vehicle’s
adult safety belts alone, unless there is no other choice.
Instead, they need to use a child restraint.
{CAUTION:
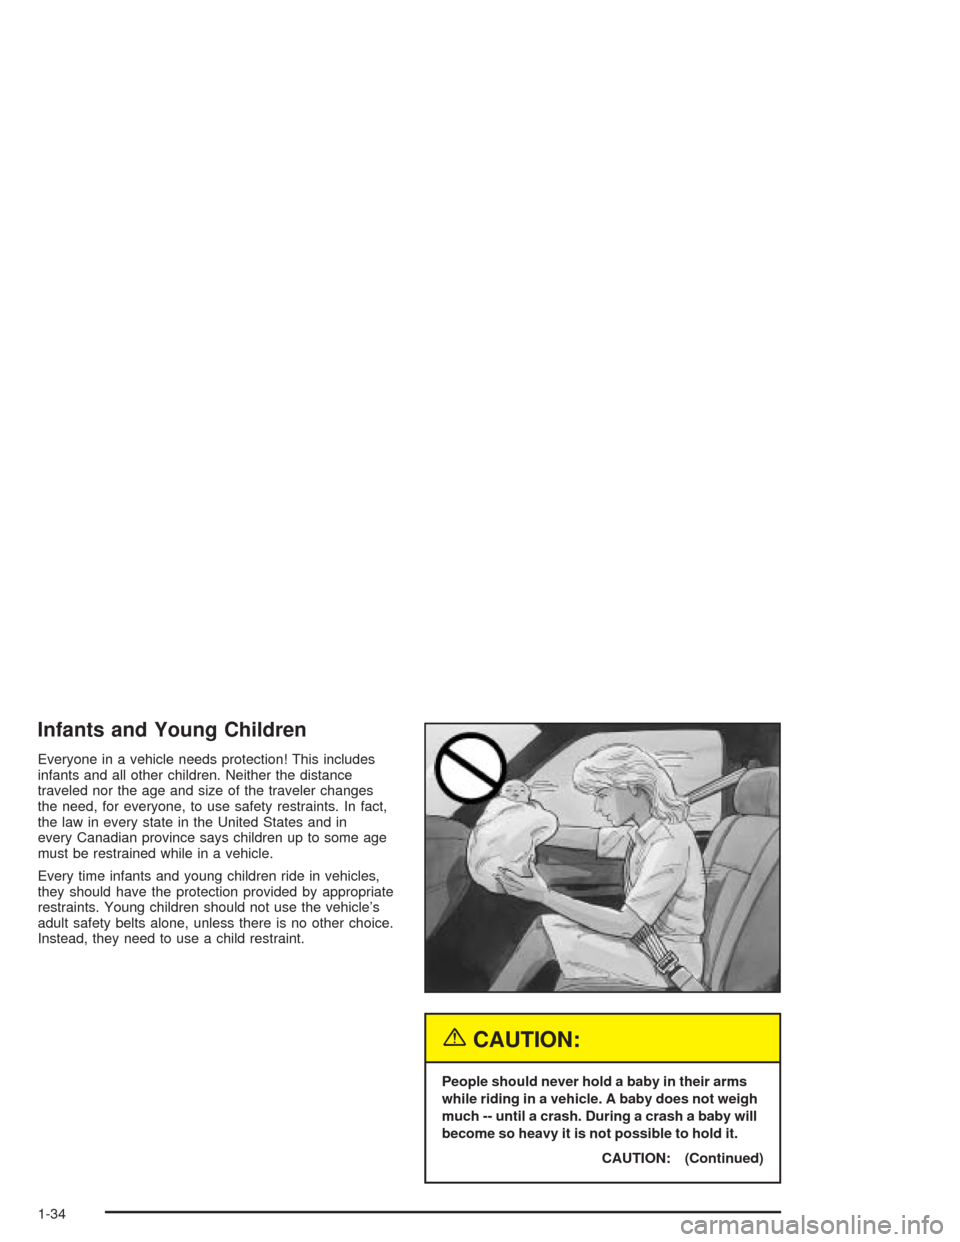
People should never hold a baby in their arms
while riding in a vehicle. A baby does not weigh
much -- until a crash. During a crash a baby will
become so heavy it is not possible to hold it.
CAUTION: (Continued)
1-34
Page 72 of 446
Matching Transmitter(s) to Your Vehicle
Each remote keyless entry transmitter is coded to
prevent another transmitter from unlocking your vehicle.
If a transmitter is lost or stolen, a replacement can
be purchased through your dealer. Remember to bring
any remaining transmitters with you when you go to
your dealer. When the dealer matches the replacement
transmitter to your vehicle, any remaining transmitters
must also be matched. Once your dealer has coded the
new transmitter, the lost transmitter will not unlock
your vehicle. Each vehicle can have a maximum of four
transmitters matched to it.
Battery Replacement
Under normal use, the battery in your remote keyless
entry transmitter should last about two years.
You can tell the battery is weak if the transmitter won’t
work at the normal range in any location. If you have
to get close to your vehicle before the transmitter works,
it’s probably time to change the battery.
Notice:When replacing the battery, use care not to
touch any of the circuitry. Static from your body
transferred to these surfaces may damage the
transmitter.To replace the battery in the remote keyless entry
transmitter do the following:
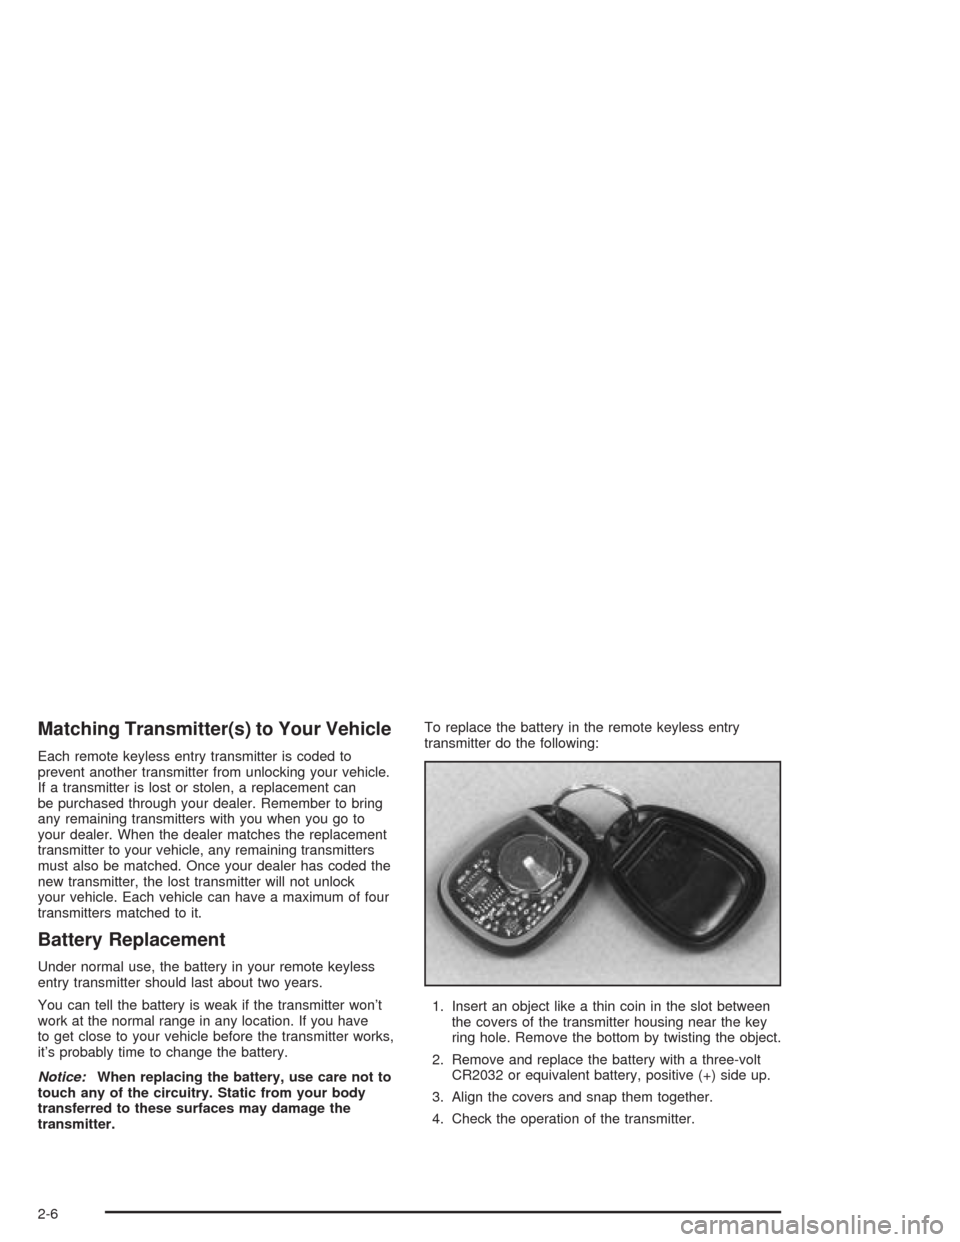
1. Insert an object like a thin coin in the slot between
the covers of the transmitter housing near the key
ring hole. Remove the bottom by twisting the object.
2. Remove and replace the battery with a three-volt
CR2032 or equivalent battery, positive (+) side up.
3. Align the covers and snap them together.
4. Check the operation of the transmitter.
2-6
Page 87 of 446

Manual Transmission
The gear selector should be in neutral and the parking
brake engaged. Hold the clutch pedal to the �oor
and start the engine. Your vehicle won’t start if the clutch
pedal is not all the way down – that’s a safety feature.
Starting Your V6 Engine
1. With your foot off the accelerator pedal, turn the
ignition key to START. When the engine starts,
let go of the key. The idle speed will go down as
your engine gets warm.
Notice:Holding your key in START for longer than
15 seconds at a time will cause your battery to
be drained much sooner. And the excessive heat
can damage your starter motor. Wait about
15 seconds between each try to help avoid
draining your battery or damaging your starter.
2. If it doesn’t start within 10 seconds, push the
accelerator pedal all the way to the �oor, while you
hold the ignition key in START. When the engine
starts, let go of the key and let up on the accelerator
pedal. Wait about 15 seconds between each try.When starting your engine in very cold weather
(below 0°F or (–18°C), do this:
1. With your foot off the accelerator pedal, turn the
ignition key to START and hold it there up to
15 seconds. When the engine starts, let go of
the key.
2. If your engine still won’t start (or starts but then
stops), it could be �ooded with too much gasoline.
Try pushing your accelerator pedal all the way to the
�oor and holding it there as you hold the key in
START for about three seconds. When the engine
starts, let go of the key and accelerator. If the
vehicle starts brie�y but then stops again, do the
same thing, but this time keep the pedal down
for �ve or six seconds. This clears the extra
gasoline from the engine.
Notice:Your engine is designed to work with the
electronics in your vehicle. If you add electrical
parts or accessories, you could change the way the
engine operates. Before adding electrical equipment,
check with your dealer. If you do not, your engine
might not perform properly.
Engine Speed Control
Your vehicle has an engine overspeed control that
shuts the fuel off if the engine reaches 5,600 rpm.
2-21
Page 94 of 446
Up-Shift Light
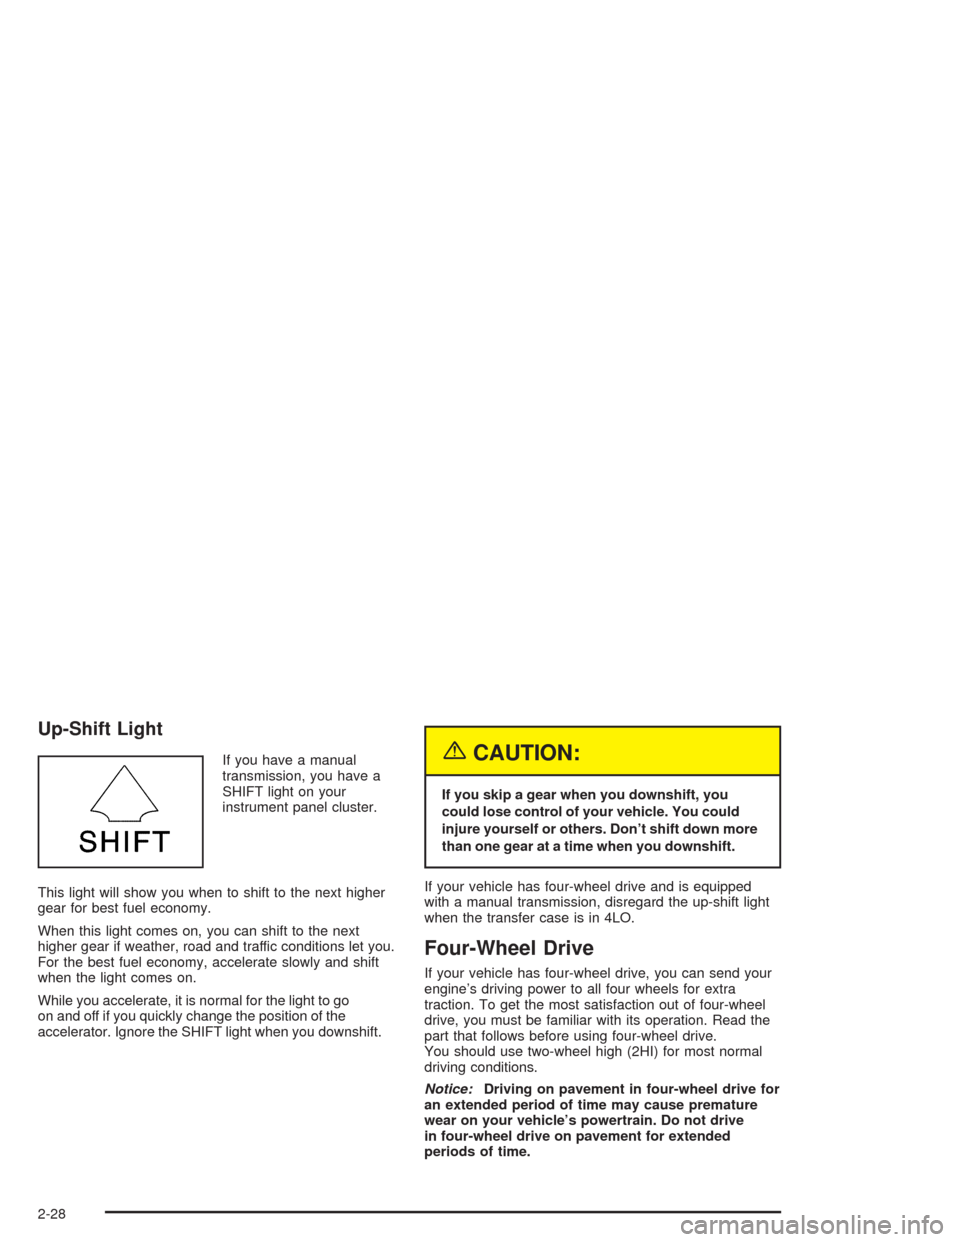
If you have a manual
transmission, you have a
SHIFT light on your
instrument panel cluster.
This light will show you when to shift to the next higher
gear for best fuel economy.
When this light comes on, you can shift to the next
higher gear if weather, road and traffic conditions let you.
For the best fuel economy, accelerate slowly and shift
when the light comes on.
While you accelerate, it is normal for the light to go
on and off if you quickly change the position of the
accelerator. Ignore the SHIFT light when you downshift.{CAUTION:
If you skip a gear when you downshift, you
could lose control of your vehicle. You could
injure yourself or others. Don’t shift down more
than one gear at a time when you downshift.
If your vehicle has four-wheel drive and is equipped
with a manual transmission, disregard the up-shift light
when the transfer case is in 4LO.
Four-Wheel Drive
If your vehicle has four-wheel drive, you can send your
engine’s driving power to all four wheels for extra
traction. To get the most satisfaction out of four-wheel
drive, you must be familiar with its operation. Read the
part that follows before using four-wheel drive.
You should use two-wheel high (2HI) for most normal
driving conditions.
Notice:Driving on pavement in four-wheel drive for
an extended period of time may cause premature
wear on your vehicle’s powertrain. Do not drive
in four-wheel drive on pavement for extended
periods of time.
2-28
Page 108 of 446
{CAUTION:
If you have four-wheel drive, your vehicle
will be free to roll — even if your shift lever
is in PARK (P) — if your transfer case is in
NEUTRAL. So be sure the transfer case is in a
drive gear — not in NEUTRAL. SeeFour-Wheel
Drive on page 2-28.
Follow the proper steps to be sure your vehicle will not
move. SeeShifting Into Park (P) on page 2-36.
If you are pulling a trailer, seeTowing a Trailer on
page 4-60.
Mirrors
Manual Rearview Mirror
Pull the tab under the mirror toward you to reduce the
glare from headlamps behind you after dark. Push
the tab away from you for normal daytime operation.
Automatic Dimming Rearview Mirror
If your vehicle has this feature, the mirror automatically
changes to reduce glare from headlamps behind
you. A photocell on the back of the mirror senses when
it is becoming dark outside. Another photocell built
into the mirror surface senses when headlamps
are behind you.
At night, when the glare is too high, the mirror will
gradually darken to reduce glare. This change may take
a few seconds. The mirror will return to its clear
daytime state when the vehicle is put into REVERSE (R)
or when the glare is reduced.
AUTO (Automatic Dimming):This button is located at
the base of the mirror. Use it to turn on the automatic
feature. The button has an indicator light to show it is on.
OFF:Press this button to turn the automatic feature off.
2-42
Page 143 of 446

Automatic Headlamp System
When it is dark enough outside, your automatic
headlamp system will turn on your headlamps at the
normal brightness along with other lamps such as
the taillamps, sidemarker, parking lamps and the
instrument panel lights. The radio lights will also be dim.
Your vehicle is equipped with a light sensor on the
top of the instrument panel under the radio speaker grill.
Be sure it is not covered or the system will be on
whenever the ignition is on.
The system may also turn on your headlamps when
driving through a parking garage, heavy overcast
weather or a tunnel. This is normal.
There is a delay in the transition between the daytime
and nighttime operation of the Daytime Running
Lamps (DRL) and the automatic headlamp systems so
that driving under bridges or bright overhead street
lights does not affect the system. The DRL and
automatic headlamp system will only be affected when
the light sensor sees a change in lighting lasting
longer than the delay.
To idle your vehicle with the automatic headlamp
system off, set the parking brake while the ignition is off.
Then start your vehicle. The automatic headlamp
system will stay off until you release the parking brake.As with any vehicle, you should turn on the regular
headlamps when you need them.
You may be able to turn off your automatic headlamp
system. See “Daytime Running Lamps (DRL)” later
in this section for more information.
If you start your vehicle in a dark garage, the automatic
headlamp system will come on immediately. Once
you leave the garage, it will take approximately
one minute for the automatic headlamp system to
change to DRL if it is light outside. During that delay,
your instrument panel cluster may not be as bright
as usual. Make sure your instrument panel brightness
control is in the full bright position. See “Instrument
Panel Brightness Control” underInterior Lamps
on page 3-15.
Lamps On Reminder
A reminder chime will sound when your headlamps or
parking lamps are manually turned on, the driver’s door
is opened and your ignition is in OFF, LOCK or
ACCESSORY. To turn the chime off, turn the control
counterclockwise or turn the instrument panel brightness
thumbwheel down to the fully dimmed position. In the
automatic mode, the headlamps turn off once the ignition
key is in OFF.
3-13
Page 149 of 446
MAX A/C (Maximum Air Conditioning):This mode
recirculates much of the air inside your vehicle so
it cools quickly. It directs most of the air through the
instrument panel vents and a small amount through the
�oor vents.
You may notice a slight change in engine performance
when the air-conditioning compressor shuts off and
turns on again. This is normal. The system is designed
to make adjustments to help with fuel economy while
still maintaining the selected temperature.
For quick cool down on hot days, do the following:
1. Select A/C.
2. Select the coolest temperature.
3. Select the highest fan speed.
On cool, but sunny days, the sun may warm the upper
part of your body, but the lower part may not be
warm enough. To remedy this, do the following:
1. Select the bi-level mode.
2. Select the temperature.
3. Select the fan speed.
The air-conditioning system removes moisture from the
air, so you may sometimes notice a small amount of
water dripping underneath your vehicle while idling
or after turning off the engine. This is normal.Defogging and Defrosting
Fog on the inside of windows is a result of high humidity
(moisture) condensing on the cool window glass. This
can be minimized if the climate control system is
used properly. There are two modes to clear fog or frost
from your windshield and side windows. Use the
defog mode to clear the windows of fog or moisture and
warm the passengers. use the defrost mode to
remove fog or frost from the windshield more quickly.
For best results, clear all snow and ice from the
windshield before defrosting.
-(Defog):Use this mode to direct half the air to the
windshield and half to the �oor outlet. Close the
center outlets to help defrost the side windows more
quickly. In this mode, the system will automatically force
outside air into your vehicle and it will also run the
air-conditioning compressor, unless it falls below the
temperature at which air conditioning is effective.
1(Defrost):This mode directs most of the air to the
windshield and the side window vents, with only a
little air directed to the �oor vents. When you select this
mode, the system runs the air-conditioning compressor
unless the outside temperature is at or below freezing.
Do not drive the vehicle until all the windows are clear.
3-19
Page 171 of 446

Radio with CD
Playing the Radio
PWR (Power):Press this knob to turn the system on
and off.
qVOLr(Volume):Turn this knob to increase or to
decrease volume.AUTO VOL (Automatic Volume):With automatic
volume, your audio system adjusts automatically
to make up for road and wind noise as you drive.
Set the volume at the desired level. Press this button to
select LOW, MEDIUM, or HIGH. AVOL will appear
on the display. Each higher setting will allow for more
volume compensation at faster vehicle speeds. Then as
you drive, automatic volume increases the volume,
as necessary, to overcome noise at any speed.
The volume level should always sound the same to you
as you drive. NONE will appear on the display if the
radio cannot determine the vehicle speed. If you do not
want to use automatic volume, select OFF.
DISPL (Display):Press this knob to switch the display
between the radio station frequency and the time.
For RDS, press the DISPL knob to change what appears
on the display while using RDS. The display options
are station name, RDS station frequency, PTY, and the
name of the program (if available).
To change the default on the display, press the DISPL
knob until you see the display you want, then hold
the knob for two seconds. The radio will produce one
beep and the selected display will now be the default.
3-41
Page 178 of 446

3 REV (Reverse):Press and hold this pushbutton to
reverse quickly within a track. Press and hold this
pushbutton for less than two seconds to reverse at
six times the normal playing speed. Press and hold it for
more than two seconds to reverse at 17 times the
normal playing speed. Release it to play the passage.
ET and the elapsed time of the track will appear on
the display.
4 FWD (Forward):Press and hold this pushbutton to
advance quickly within a track. Press and hold this
pushbutton for less than two seconds to advance at
six times the normal playing speed. Press and hold it for
more than two seconds to advance at 17 times the
normal playing speed. Release it to play the passage.
ET and the elapsed time of the track will appear on
the display.
6 RDM (Random):Press this pushbutton to hear the
tracks in random, rather than sequential, order. RDM ON
will appear on the display. RDM T and the track
number will appear on the display when each track
starts to play. Press this pushbutton again to turn
off random play. RDM OFF will appear on the display.
qSEEKr:Press the left arrow to go to the start
of the current or to the previous track. Press the
right arrow to go to the start of the next track. If you
hold either arrow or press it more than once, the player
will continue moving backward or forward through
the CD.
qSCANr:Press and hold either SCAN arrow for
more than two seconds until SCAN appears on the
display and you hear a beep. Use this feature to listen
to 10 seconds of each track of the CD. Press either
SCAN arrow again, to stop scanning.
DISPL (Display):Press this knob to see how long the
current track has been playing. ET and the elapsed
time of the track will appear on the display. To change
the default on the display (track or elapsed time),
press this knob until you see the display you want, then
hold the knob for two seconds. The radio will produce
one beep and the selected display will now be the
default.
BAND:Press this button to listen to the radio when a
CD is playing. The inactive CD will remain safely
inside the radio for future listening.
CD AUX (Auxiliary):Press this button to play a CD
when listening to the radio. The CD symbol will appear
on the display when a CD is loaded.
Z(Eject):Press this button to stop a CD when it is
playing or to eject a CD when it is not playing. Eject
may be activated with either the ignition or radio off. CDs
may be loaded with the radio and ignition off if this
button is pressed �rst.
3-48