park assist CHEVROLET CAMARO 1982 Repair Guide
[x] Cancel search | Manufacturer: CHEVROLET, Model Year: 1982, Model line: CAMARO, Model: CHEVROLET CAMARO 1982Pages: 875, PDF Size: 88.64 MB
Page 123 of 875

GM – CAMARO 1982-1992 – Repair Guide (Checked by WxMax) 123
5. Pull the parking lever 4 clicks. T
he parking brake levers on both calipers
should be against the lever stops on the caliper housings. If the levers are
not against the stops, check for binding in the rear cables and/or loosen the
cables at the equalizer nut until both left and right levers are against their
stops.
6. Adjust the equalizer adjusting nut unt il the parking brake levers on both
calipers just begin to mo ve off their stops.
7. Back off the adjuster nut until the le vers move back, barely touching their
stops.
8. Operate the parking brak e lever several times to check adjustment. After
cable adjustment, the parking brake le ver should travel no more than 14
ratchet clicks. The rear wheels shoul d not turn forward when the parking
brake lever is applied 8-16 ratchet clicks.
9. Release the parking brake lever. Both rear whee ls must turn freely in both
directions. The parking brake levers on both calipers should be resting on
their stops.
10. Remove the wheel nuts retaining t he rotors. Install the wheel and tire
assemblies.
11. Lower the vehicle.
PARKING BRAKE FREE-TRAVEL
ADJUSTMENT
1989-92 MODELS
REAR DISC BRAKES
Disc brake pads must be new or parallel to within 0.006 in. (0.15mm). Parking
brake adjustment is not valid wit h heavily tapered pads and may cause
caliper/parking brake binding. Replace tapered brak e pads. Parking brake free-
travel should only be made if the caliper has been taken apart. This adjustment
will not correct a condition where the caliper levers will not return to their stops.
1. Have an assistant apply a light brake pedal load, enough to stop the rotor
from turning by hand. This takes up all clearances and ensures that
components are correctly aligned.
2. Apply light pressure to the caliper lever.
3. Measure the free-travel between t he caliper lever and the caliper housing.
The free-travel must be 0.0024-0.028 in. (0.6-0.7mm).
4. If the free-travel is incorrect, do the following: a. Remove the adjuster screw.
b. Clean the thread adhesive re sidue from the threads.
c. Coat the threads with adhesive.
d. Screw in the adjuster screw far enough to obtain 0.024-0.028 in. (0.6-
0.7mm) free-travel between the caliper lever and the caliper housing.
5. Have an assistant release the brak e pedal, then apply the brake pedal firmly
3 times. Recheck the free-travel and adjust as necessary.
Page 466 of 875

GM – CAMARO 1982-1992 – Repair Guide (Checked by WxMax) 466
wear. Worn piston rings, scored or wo
rn cylinder bores, blown head gaskets,
sticking or burnt valves, and worn valve seats are all possible culprits. A check
of each cylinder's compression will help locate the problem.
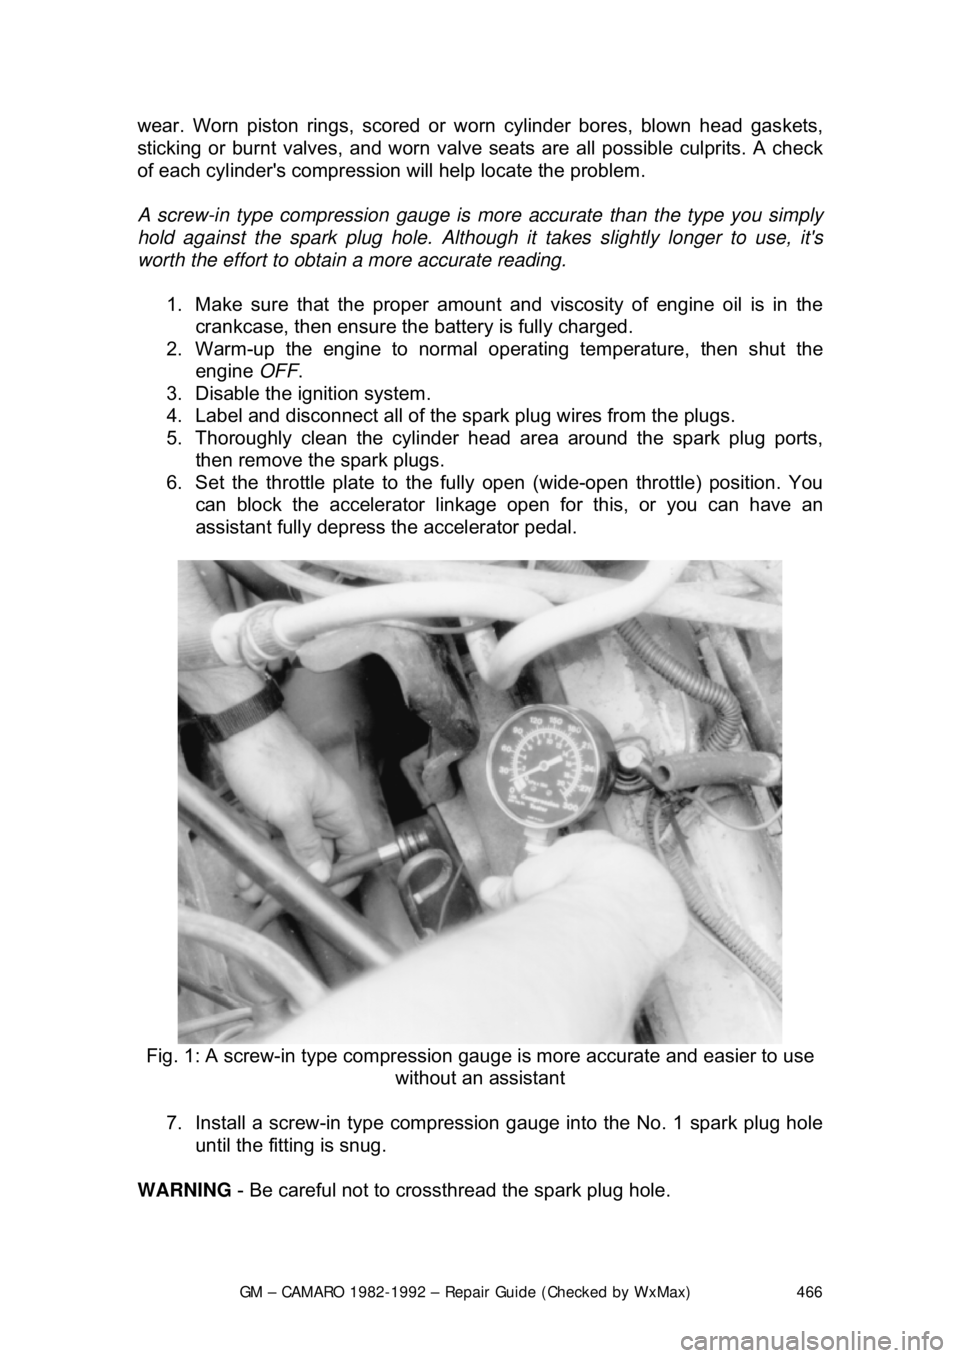
A screw-in type compression gauge is more accurate than the type you simply
hold against the spark plug hole. Although it takes slightly longer to use, it's
worth the effort to obtain a more accurate reading.
1. Make sure that the proper amount and viscosity of engine oil is in the
crankcase, then ensure the battery is fully charged.
2. Warm-up the engine to normal operat ing temperature, then shut the
engine OFF.
3. Disable the ignition system.
4. Label and disconnect all of the spark plug wires from the plugs.
5. Thoroughly clean the cylinder h ead area around the spark plug ports,
then remove the spark plugs.
6. Set the throttle plate to the fully open (wide-open throttle) position. You
can block the accelerator linkage open for this, or you can have an
assistant fully depress the accelerator pedal.
Fig. 1: A screw-in type compression gauge is more accurate and easier to use
without an assistant
7. Install a screw-in type compression gauge into the No. 1 spark plug hole
until the fitting is snug.
WARNING - Be careful not to crossthread the spark plug hole.