CHEVROLET CAMARO 1995 4.G Owners Manual
CAMARO 1995 4.G
CHEVROLET
CHEVROLET
https://www.carmanualsonline.info/img/24/8064/w960_8064-0.png
CHEVROLET CAMARO 1995 4.G Owners Manual
Trending: climate control, traction control, oil filter, battery location, wheel alignment, air condition, oil capacities
Page 101 of 388
Downloaded from www.Manualslib.com manuals search engine Fog Lamps (Option)
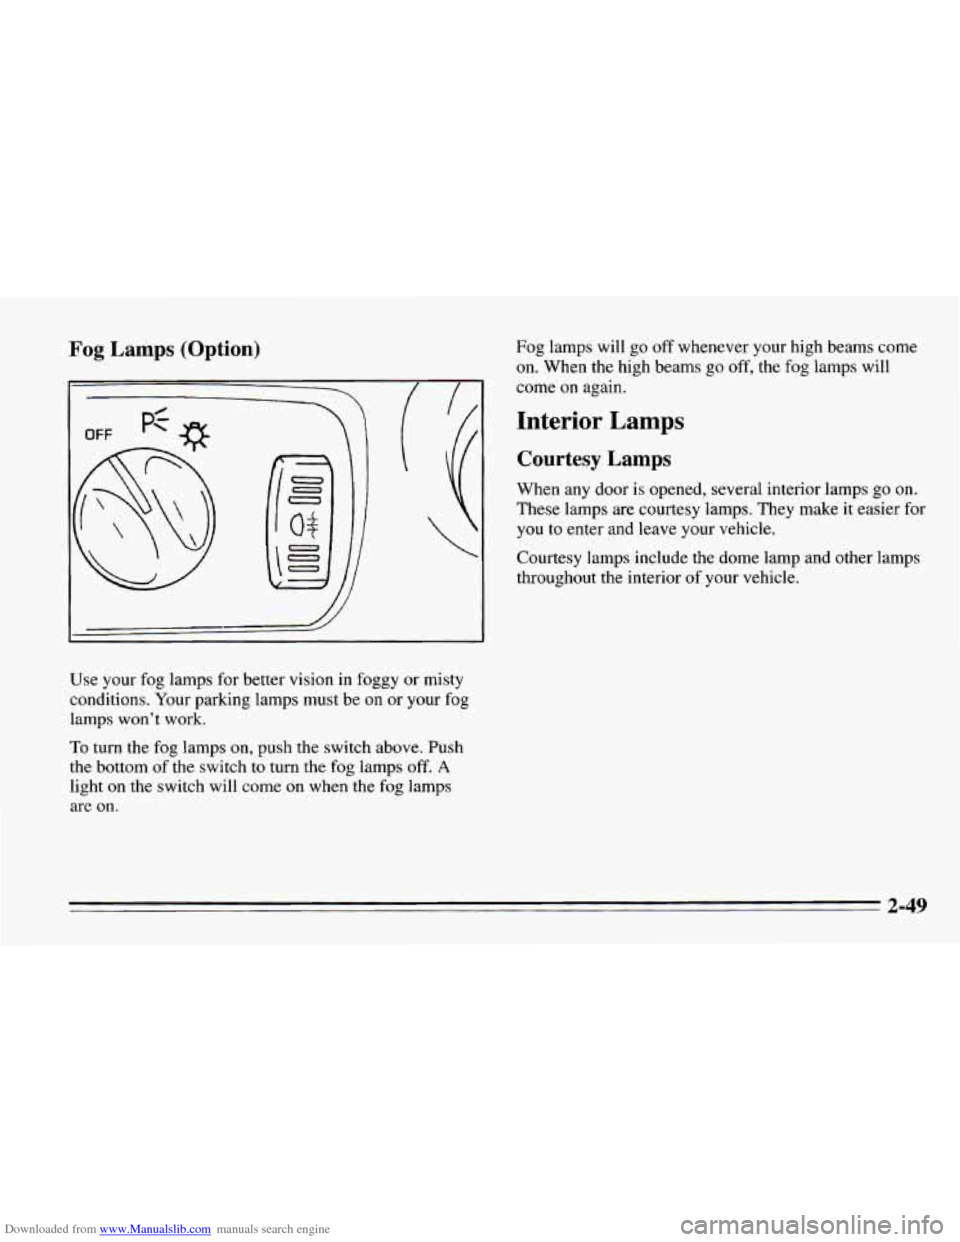
Use your fog lamps for better vision in foggy or misty
conditions. Your parking lamps must be on or your fog
lamps won’t
work.
To turn the fog lamps on, push the switch above. Push
the bottom of the switch
to turn the fog lamps off. A
light on the switch will come on when the fog lamps
are
on.
Fog lamps will go off whenever your high beams come
on. When the high beams go off, the
fog lamps will
come
on again.
Interior Lamps
Courtesy Lamps
When any door is opened, several interior lamps go on.
These lamps are courtesy lamps. They make it easier for
you
to enter and leave your vehicle.
Courtesy lamps include the dome lamp and other lamps
throughout the interior
of your vehicle.
2-49
Page 102 of 388
Downloaded from www.Manualslib.com manuals search engine Front Map Lamps
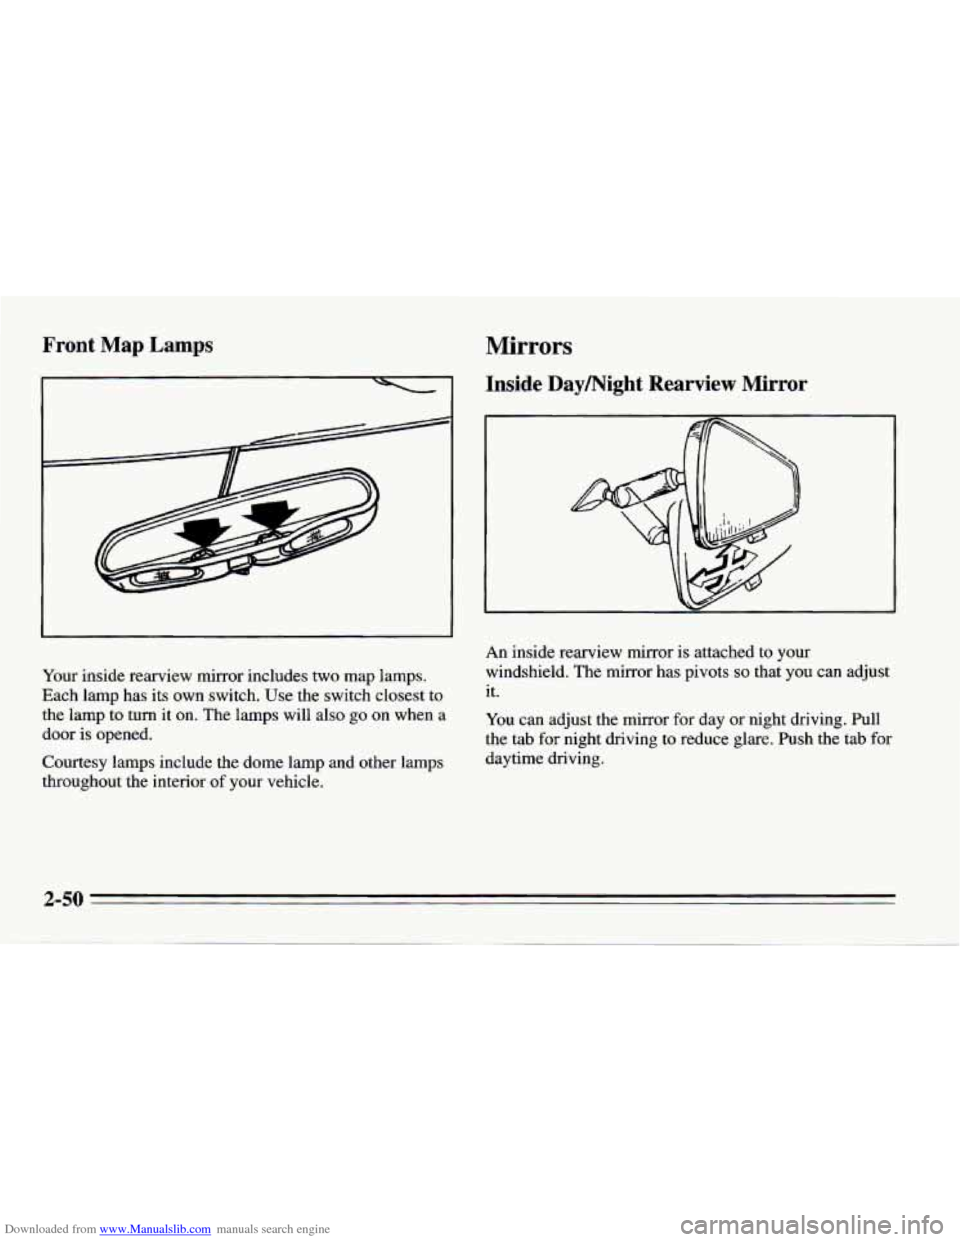
Your inside rearview mirror includes two map lamps.
Each lamp has its own switch. Use the switch closest to
the lamp to turn it on. The lamps will also
go on when a
door is opened.
Courtesy lamps include the dome lamp and other lamps
throughout the interior
of your vehicle.
Mirrors
Inside Daymight Rearview Mirror
An inside rearview mirror is attached to your
windshield. The mirror has pivots
so that you can adjust
it.
You can adjust the mirror for day or night driving. Pull
the tab
for night driving to reduce glare. Push the tab for
daytime driving.
2-50
Page 103 of 388
Downloaded from www.Manualslib.com manuals search engine Manual Outside Adjustable Mirror
Adjust the passenger side outside mirror by hand so that
you can just see the side
of your vehicle when you are
sitting in a comfortable driving position.
Manual Remote Control Mirror
Adjust the driver side outside mirror with the lever on
the door. Adjust the mirror so that you can just see the
side of your vehicle when you are sitting in
a
comfortable driving position.
Electric Mirror Control (Option)
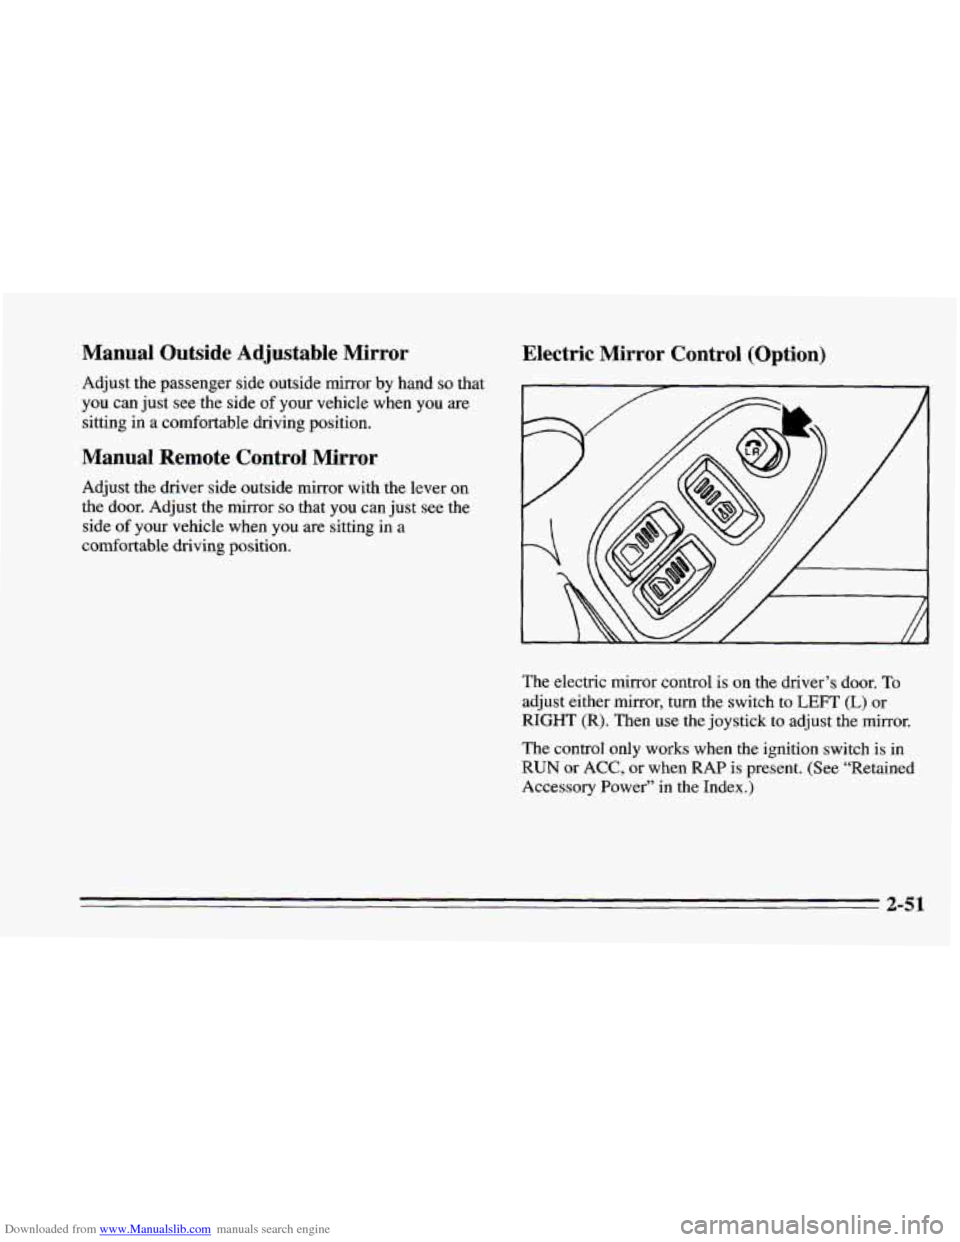
The electric mirror control is on the driver’s door. To
adjust either mirror, turn the switch
to LEFT (L) or
RIGHT
(R). Then use the joystick to adjust the mirror.
The control
only works when the ignition switch is in
RUN or ACC, or when RAP is present. (See “Retained
Accessory Power”
in the Index.)
2-51
Page 104 of 388
Downloaded from www.Manualslib.com manuals search engine Convex Outside Mirror
Your passenger’s side mirror is convex.
A convex mirror’s surface is curved so you can see more
from the driver’s seat.
Floor Mats
Your Chevrolet’s floor mats are custom-fitted to the foot
wells. Be sure the driver’s floor mat is in place. If it
isn’t, it could interfere with the accelerator or brake
pedals.
Twin Lift-off Roof Panels (Option)
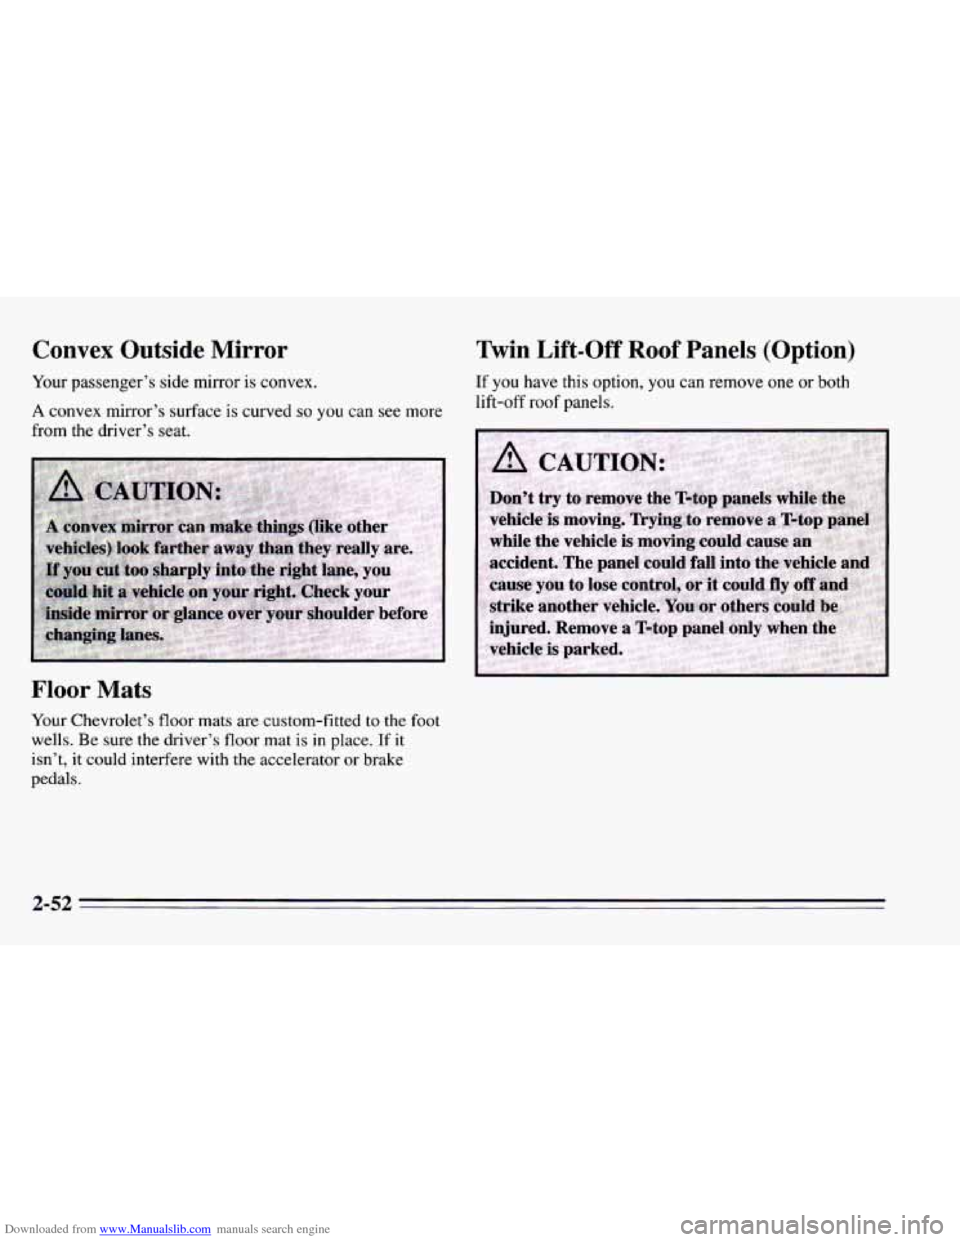
If you have this option, you can remove one or both
lift-off roof panels.
2-52
Page 105 of 388
Downloaded from www.Manualslib.com manuals search engine
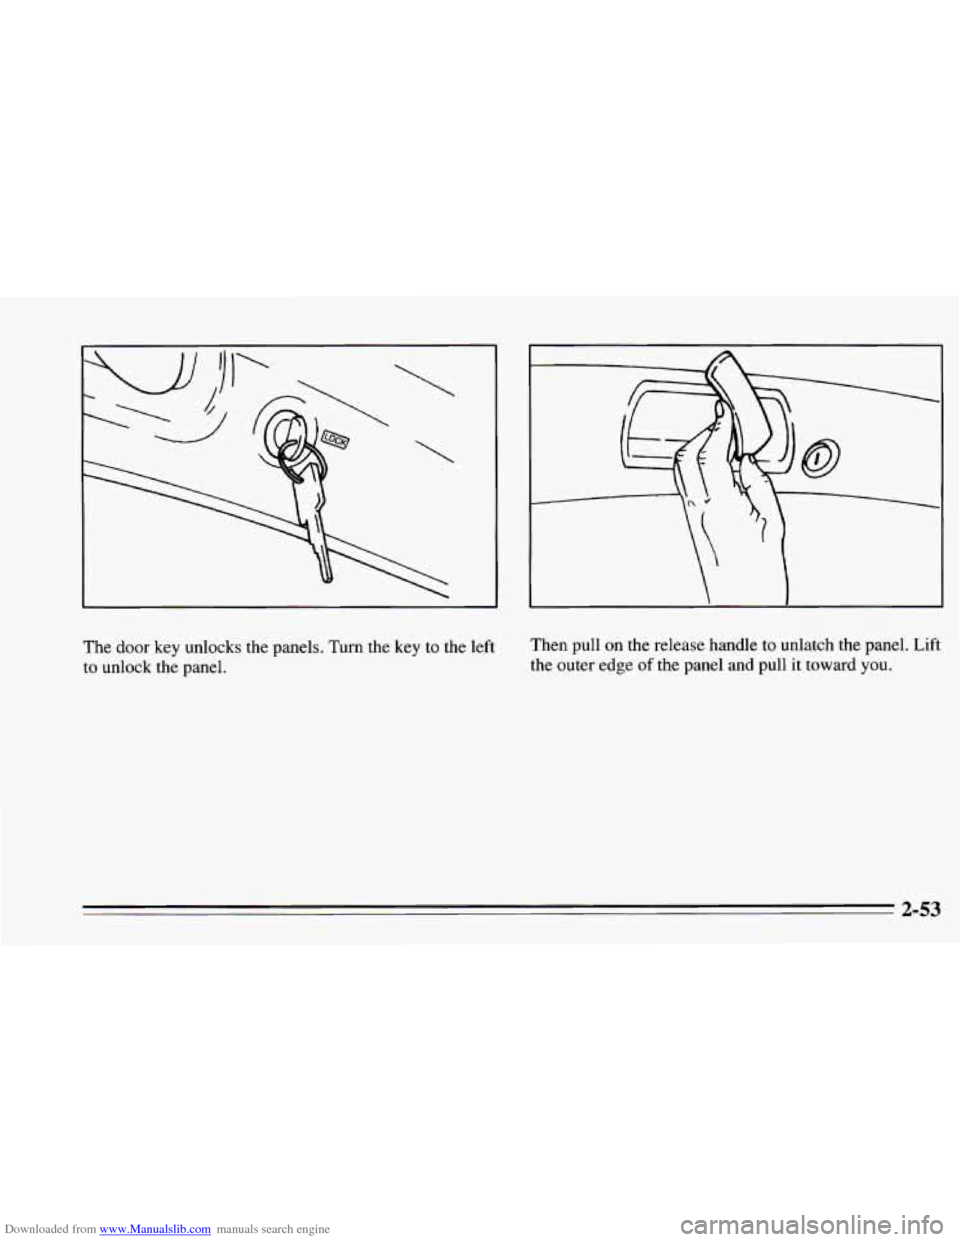
The door key unlocks the panels. Turn the key to the left Then
pull on the release handle to unlatch the panel. Lift
to unlock the panel. the
outer edge
of the panel and pull it towad you.
2-53
Page 106 of 388
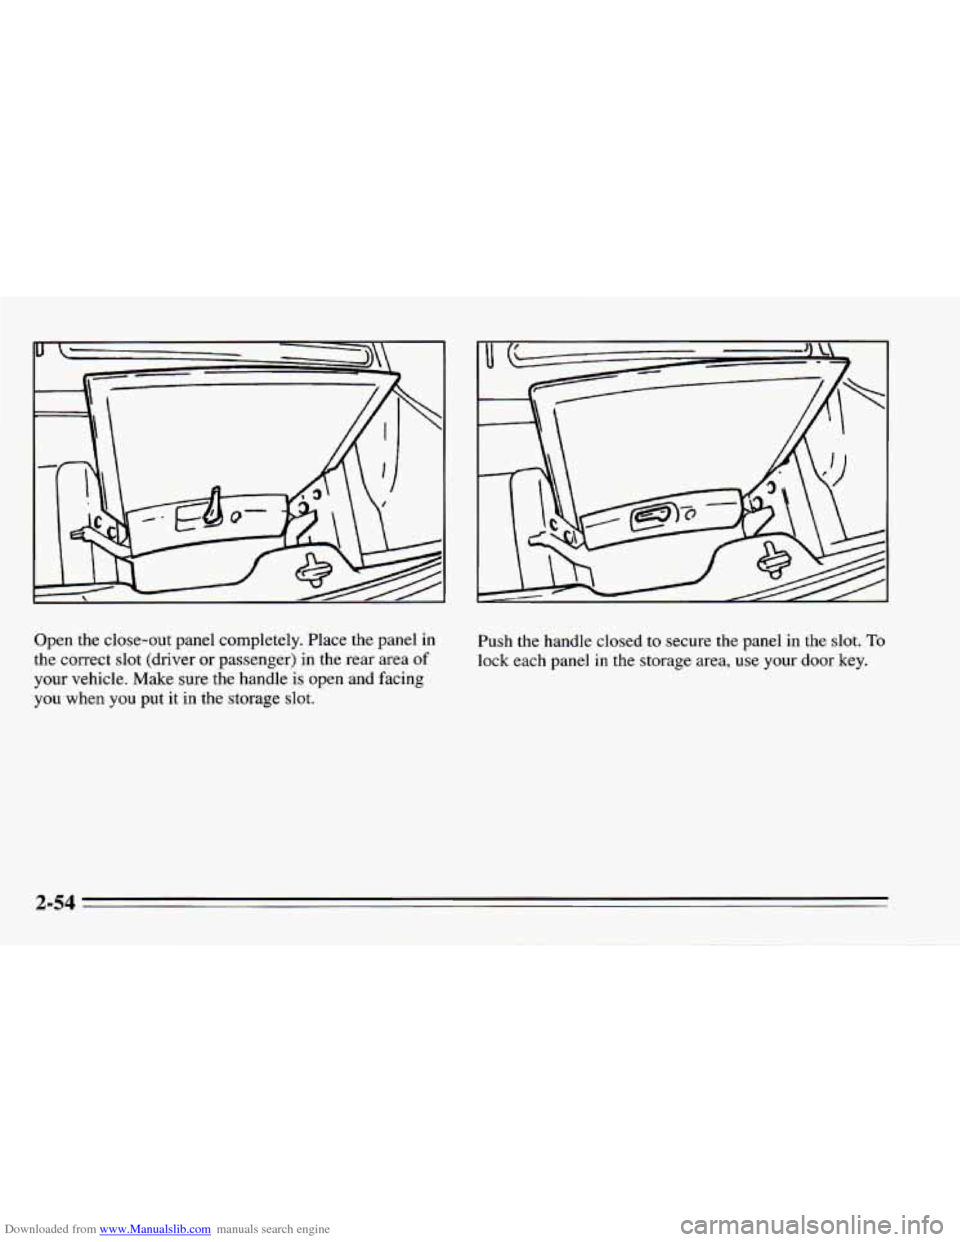
Downloaded from www.Manualslib.com manuals search engine Open the close-out panel completely. Place the panel in
the correct slot (driver or passenger) in the rear area of
your vehicle. Make sure the handle is open and facing
you when you put it in the storage slot. Push the handle closed
to secure the
panel in the slot. To
lock each panel in the storage area, use your door key.
Page 107 of 388
Downloaded from www.Manualslib.com manuals search engine I
I NOTICE: 1
High pressure car washes may cause water to
enter your vehicle. Never spray water directly at
the roof panel joints. This will cause leaks.
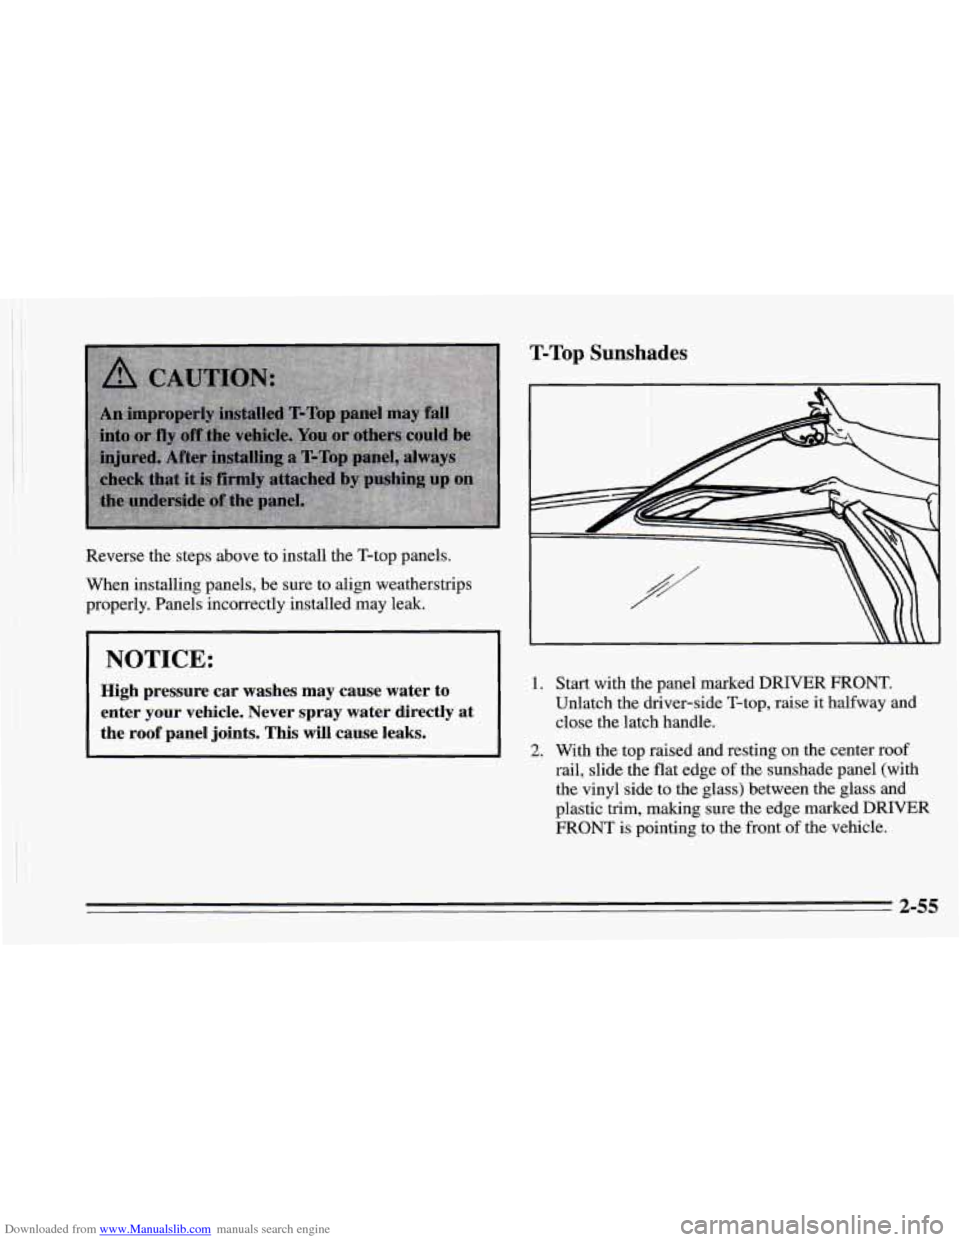
Reverse the steps aDove to install the T-top panels.
When installing panels, be sure to align weatherstrips
properly. Panels incorrectly installed
may leak.
T-Top Sunshades
1.
2.
Start with the panel marked DRIVER FRONT.
Unlatch the driver-side T-top, raise it halfway and
close the latch handle.
With the top raised and resting on the center roof
rail, slide the flat edge of the sunshade panel (with
the vinyl side to the glass) between the glass and
plastic trim, making sure the edge marked
DRIVER
FRONT is pointing to the front of the vehicle.
2-55
Page 108 of 388
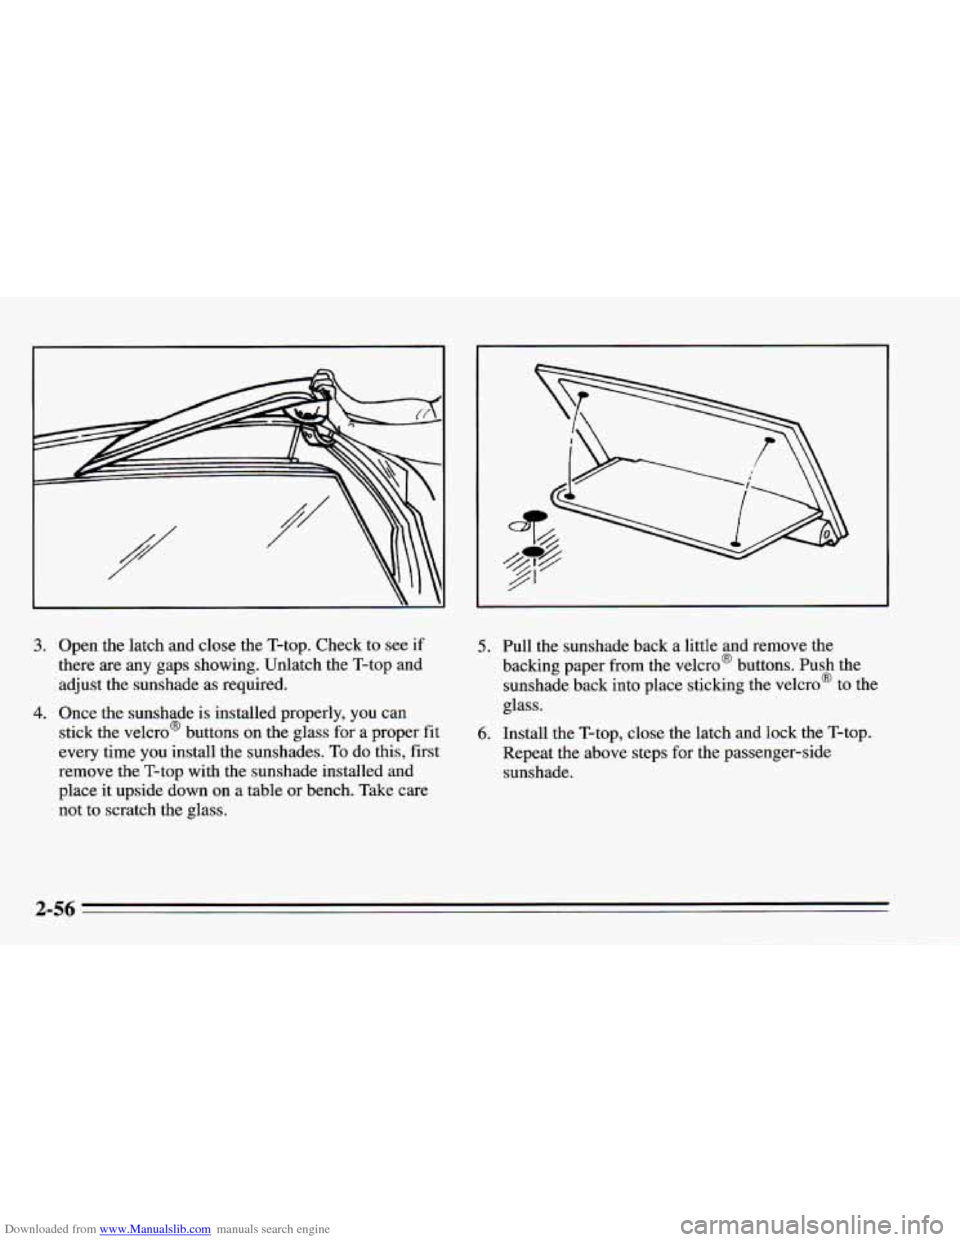
Downloaded from www.Manualslib.com manuals search engine 3. Open the latch and close the T-top. Check to see if
there are any gaps showing. Unlatch the T-top and
adjust the sunshade as required.
stick the Velcro@ buttons on the glass for a proper fit
every time you install the sunshades. To do this, first
remove the T-top with the sunshade installed and
place it upside down on a table or bench. Take care
not to scratch the glass.
4. Once the sunshade is installed properly, you can
5. Pull the sunshade back a little and remove the
backing paper from the Velcro@ buttons. Push the sunshade back into place sticking the Velcro@ to the
glass.
Repeat the above steps for the passenger-side
sunshade.
6. Install the T-top, close the latch and lock the T-top.
Page 109 of 388
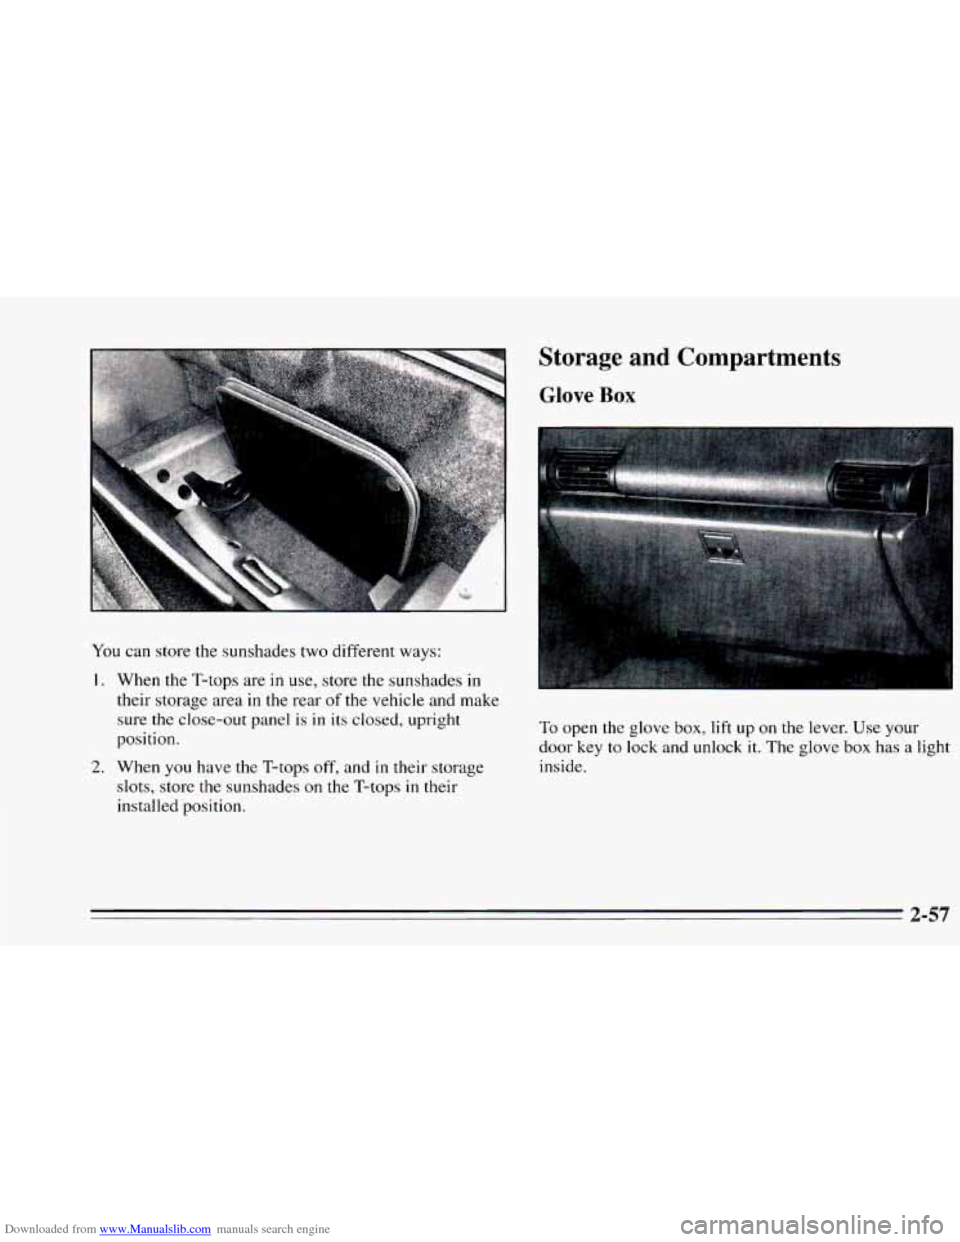
Downloaded from www.Manualslib.com manuals search engine You can store the sunshades two different ways:
1. When the T-tops are in use, store the sunshades in
their storage area in the rear
of the vehicle and make
sure
the close-out panel is in its closed, upright
position.
2. When you have the T-tops off, and in their storage
slots, store the sunshades
on the T-tops in their
installed position.
Storage and Compartments
Glove Box
To open the glove box, lift up on the lever. Use your
door
key to lock and unlock it. The glove box has a light
inside.
2-57
Page 110 of 388
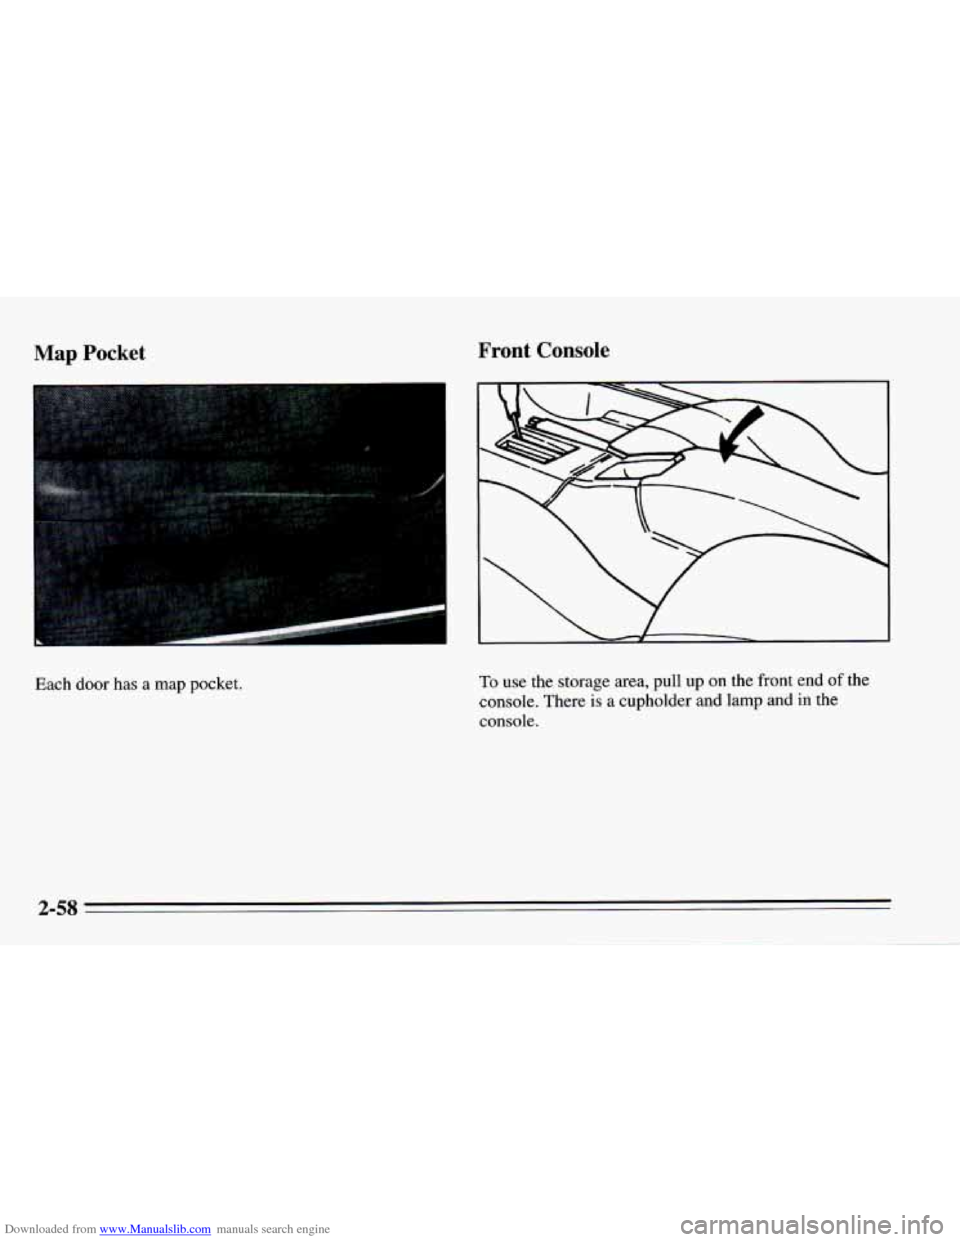
Downloaded from www.Manualslib.com manuals search engine Map Pocket Front Console
L
Each door has a map pocket. To use the storage area, pull up on the front end of the
console. There is
a cupholder and lamp and in the
console.
2-58
Trending: octane, service indicator, clock setting, roof, tire pressure, charging, check engine
