CHEVROLET CAMARO 1997 4.G Owners Manual
Manufacturer: CHEVROLET, Model Year: 1997, Model line: CAMARO, Model: CHEVROLET CAMARO 1997 4.GPages: 404, PDF Size: 20.96 MB
Page 111 of 404
Downloaded from www.Manualslib.com manuals search engine Sun Visors
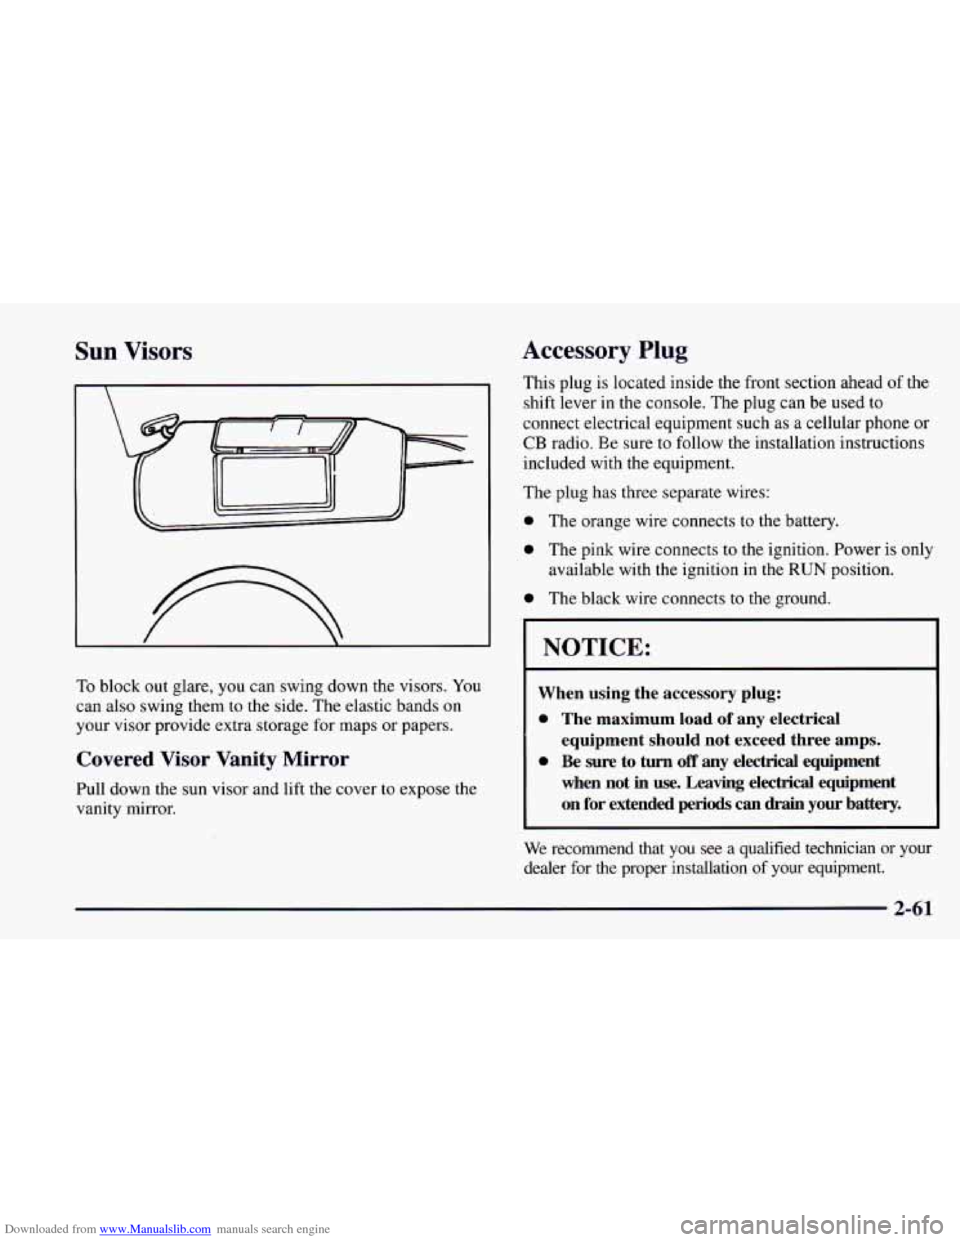
To block out glare, you can swing down the visors. You
can also swing them to the side. The elastic bands on
your visor provide extra storage for maps or papers.
Covered Visor Vanity Mirror
Pull down the sun visor and lift the cover to expose the
vanity mirror.
Accessory Plug
This plug is located inside the front section ahead of the
shift lever
in the console. The plug can be used to
connect electrical equipment such
as a cellular phone or
CB radio. Ee sure to follow the installation instructions
included with the equipment.
The plug has three separate wires:
0 The orange wire connects to the battery.
0 The pink wire connects to the ignition. Power is only
available with the ignition in the
RUN position.
0 The black wire connects to the ground.
I NOTICE:
When using the accessory plug:
0 The maximum load of any electrical
equipment should not exceed three amps.
0 Be sure to turn off any electrical equipment
when not
in use. Leaving electrical equipment
on for extended periods
can drain your battery.
We recommend that you see a qualified technician or your
dealer for the proper installation
of your equipment.
Page 112 of 404
Downloaded from www.Manualslib.com manuals search engine Floor Mats
Yow Chevrolet’s floor mats are custom-fitted to the foot
wells.
Be sure the driver’s floor mat is in place. If it isn’t,
it could interfere with the accelerator
or brake pedals.
Twin Lift-off Roof r mels
(If Equipped)
If you have this option, you can remove one or both
lift-off roof panels.
A CAI JTION:
Don’t try EO remove the T-top panels while the
vehicle
is moving. Trying to remove a T-top panel
while the vehicle is moving could cause an
accident. The panel could fall into the vehicle and
cause you to lose control, or
it could fly off and
strike another vehicle. You or others could be
injured. Remove
a T-top panel only when the
vehicle is parked.
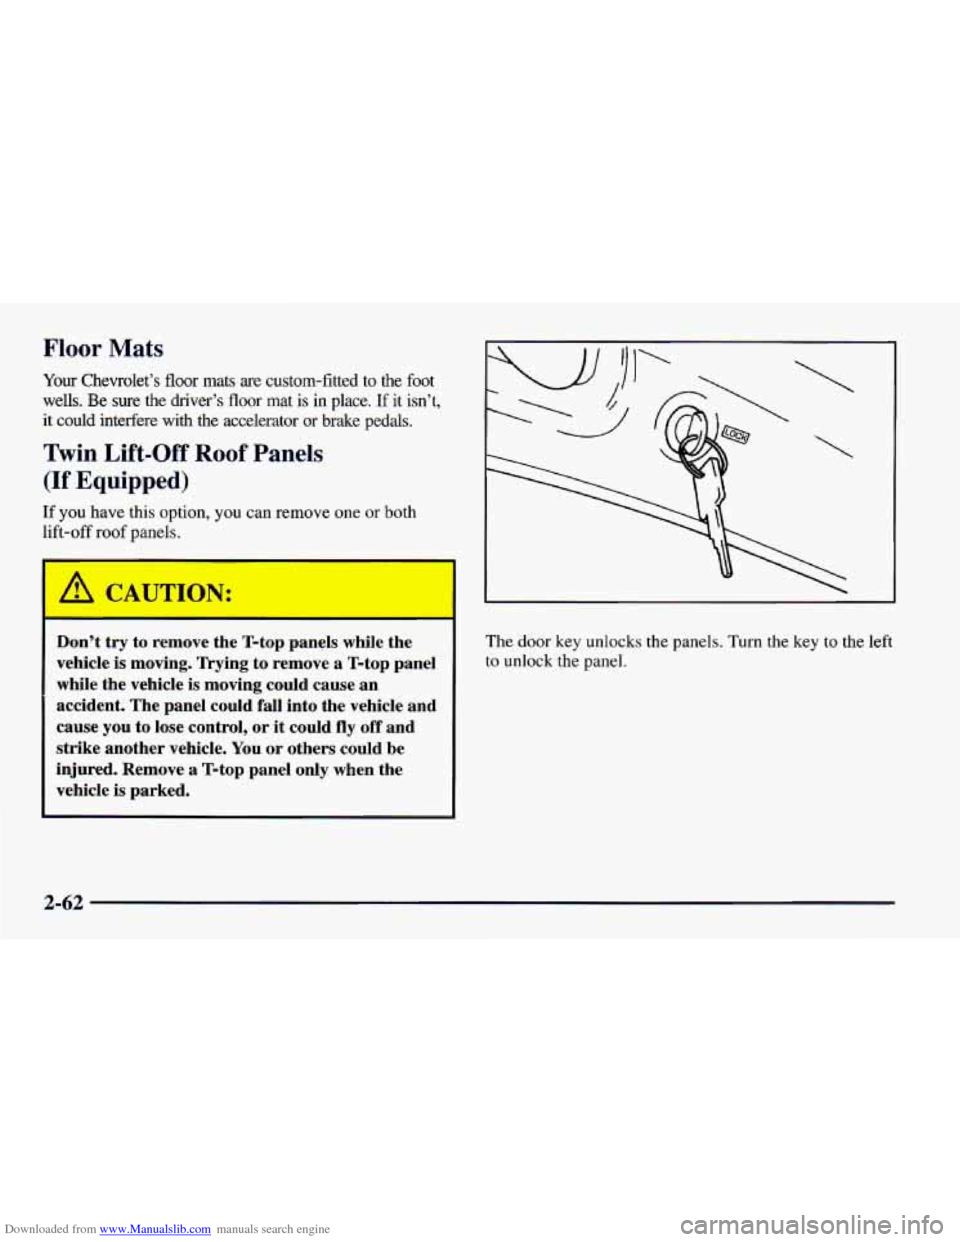
The door key unlocks the panels. Turn the key to the left
to unlock the panel.
2-62
Page 113 of 404
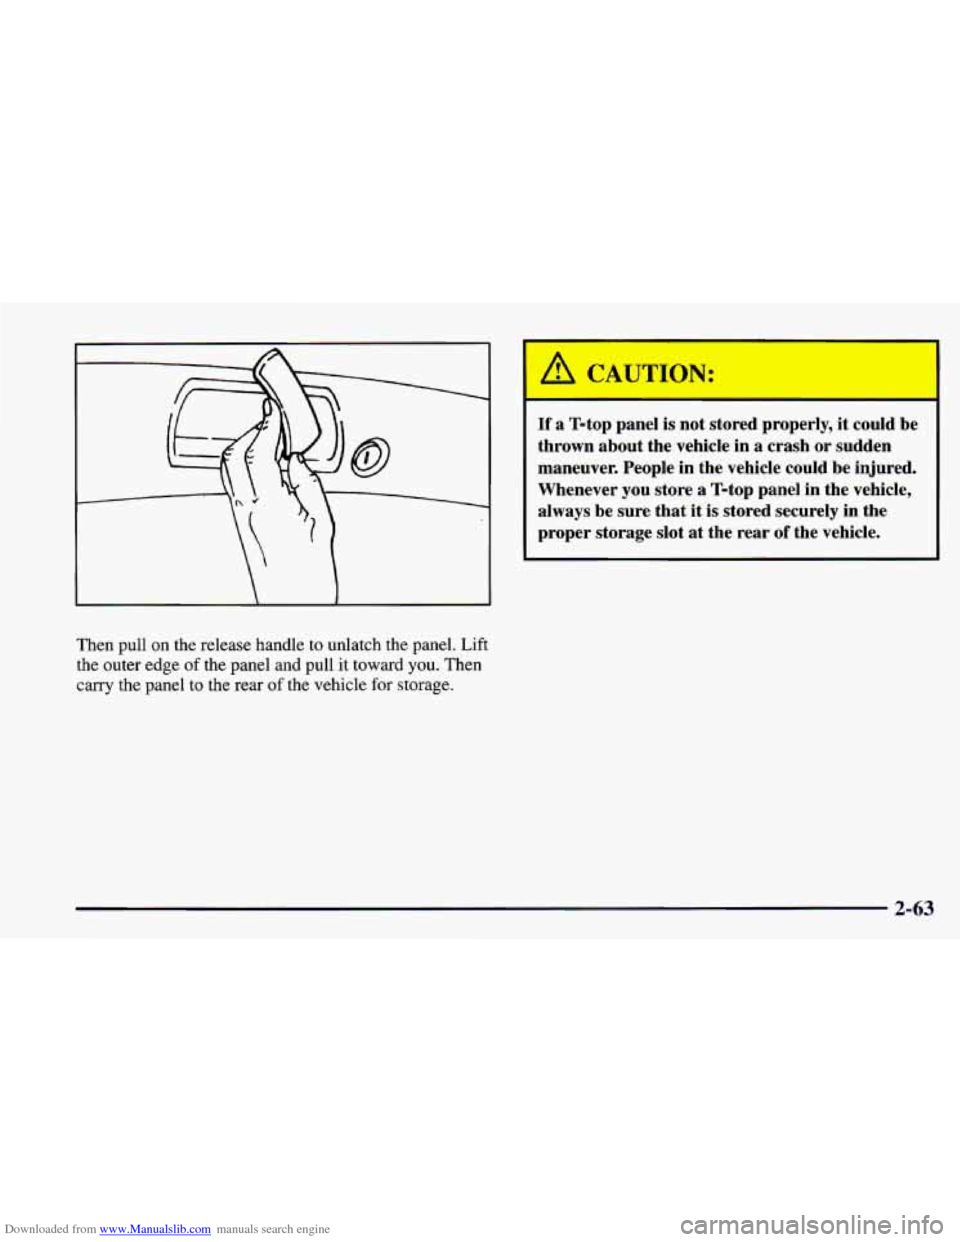
Downloaded from www.Manualslib.com manuals search engine Then pull on the release handle to unlatch the panel. Lift
the outer edge
of the panel and pull it toward you. Then
carry the panel to the rear
of the vehicle for storage.
' A CAUTION: I I
If a T-top panel is not stored properly, it could be
thrown about the vehicle in a crash
or sudden
maneuver. People in the vehicle could be injured.
Whenever you store a T-top panel in the vehicle,
always
be sure that it is stored securely in the
proper storage slot at the rear
of the vehicle.
2-63
Page 114 of 404
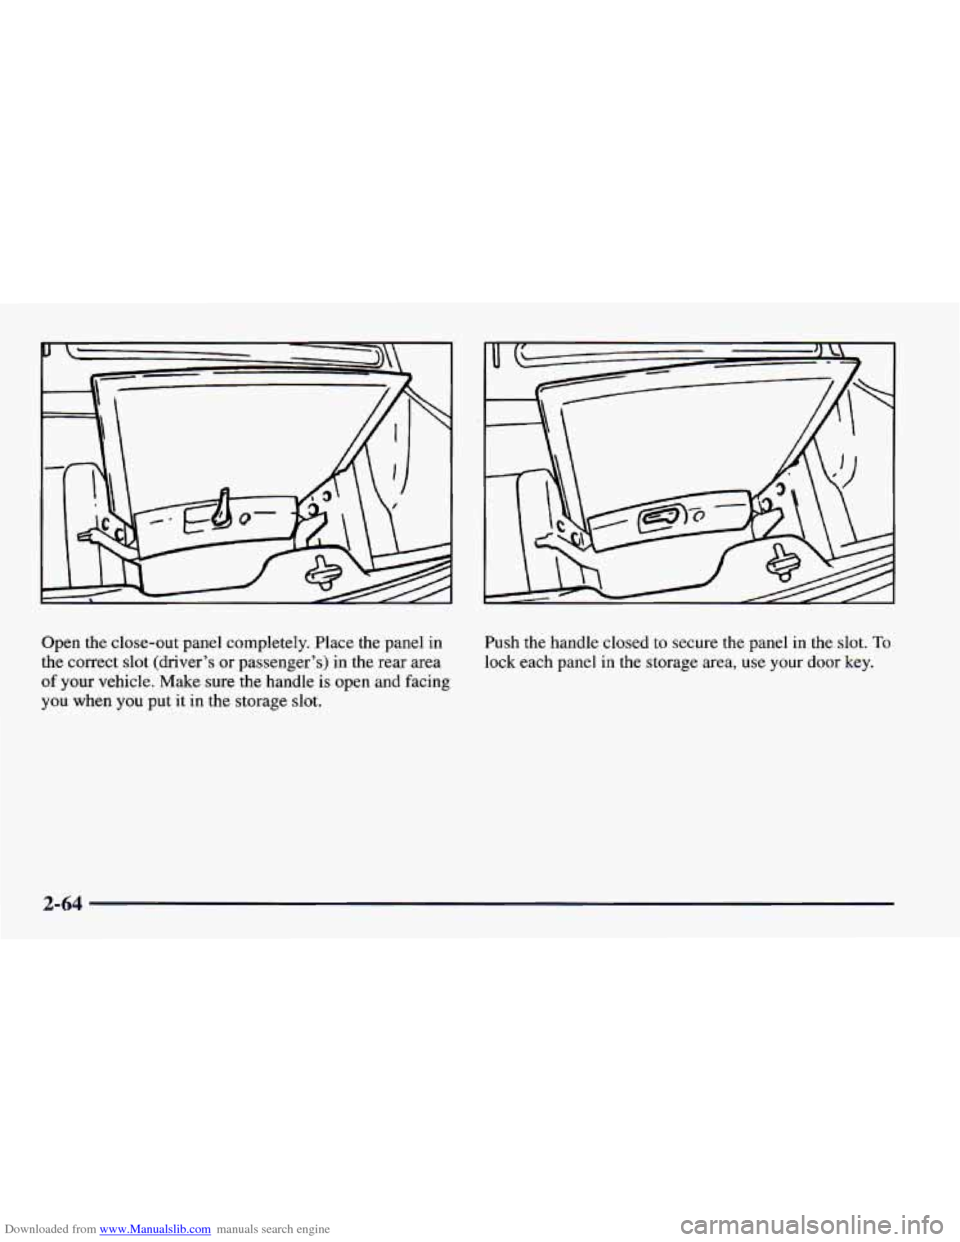
Downloaded from www.Manualslib.com manuals search engine Open the close-out panel completely. Place the panel in
the correct slot (driver’s or passenger’s) in the rear area
of your vehicle. Make sure the handle is open and facing
you when you put it in the storage slot. Push
the handle closed
to secure the panel in the slot. To
lock each panel in the storage area, use your door key.
2-64
Page 115 of 404
Downloaded from www.Manualslib.com manuals search engine Reverse the steps to remove the T-top panels
from storage.
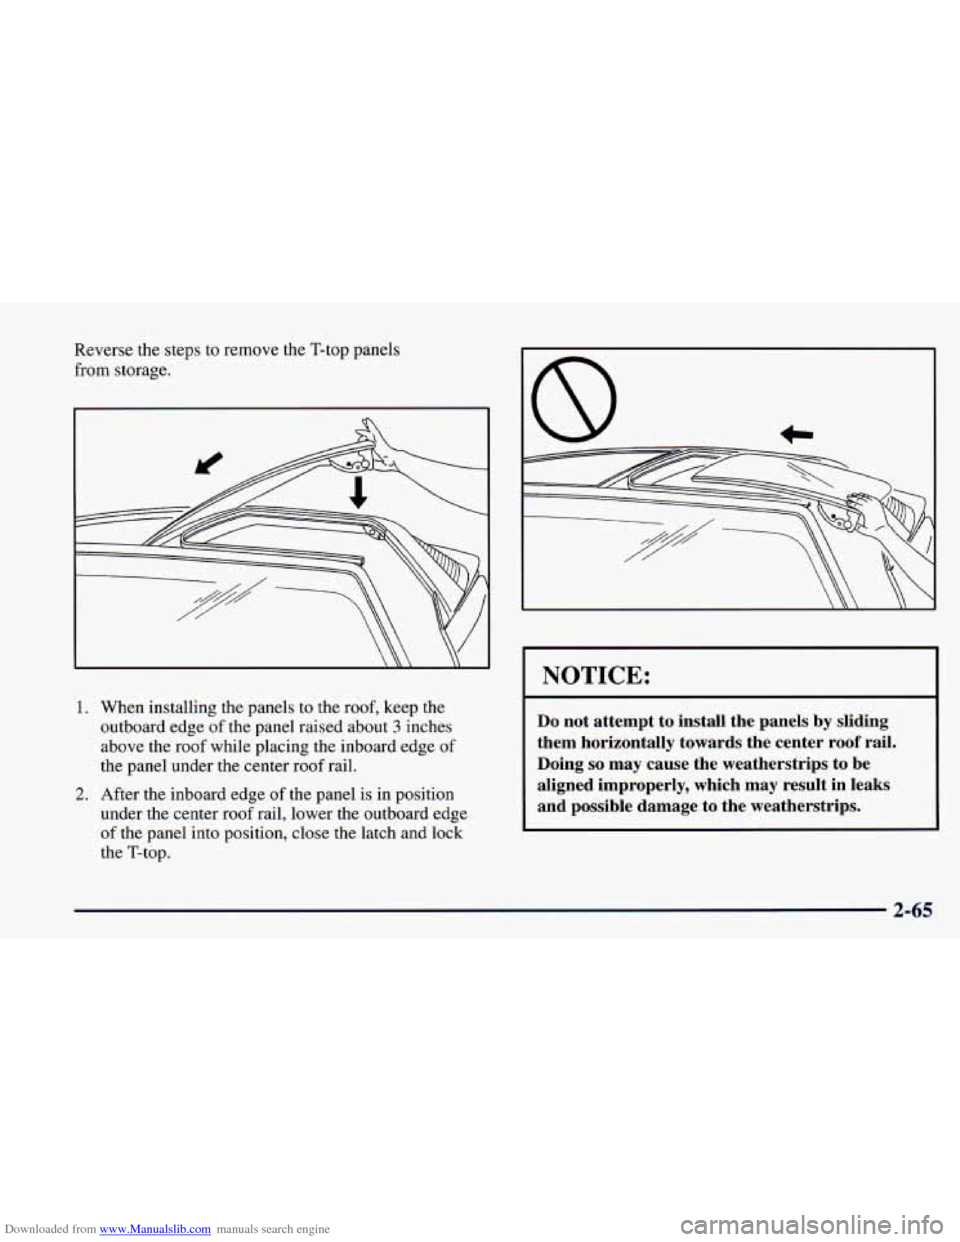
1. When installing the panels to the roof, keep the
outboard edge of the panel raised about
3 inches
above the roof while placing the inboard edge of
the panel under the center roof rail.
2. After the inboard edge of the panel is in position
under the center roof rail, lower the outboard edge
of the panel into position, close the latch and lock
the T-top.
I NOTICE:
Do not attempt to install the panels by sliding
them horizontally towards the center roof rail.
Doing
so may cause the weatherstrips to be
aligned improperly, which may result in leaks
and possible damage to the weatherstrips.
2-65
Page 116 of 404
Downloaded from www.Manualslib.com manuals search engine T-Top Sunshades
An improperly installed T-Top panel may fall
into or
fly off the vehicle. You or others could be
injured. After installing a T-Top panel, always
check that it is firmly attached by pushing up on
the underside
of the panel.
NOTICE:
High pressure car washes may cause water to
enter your vehicle. Never spray water directly
at
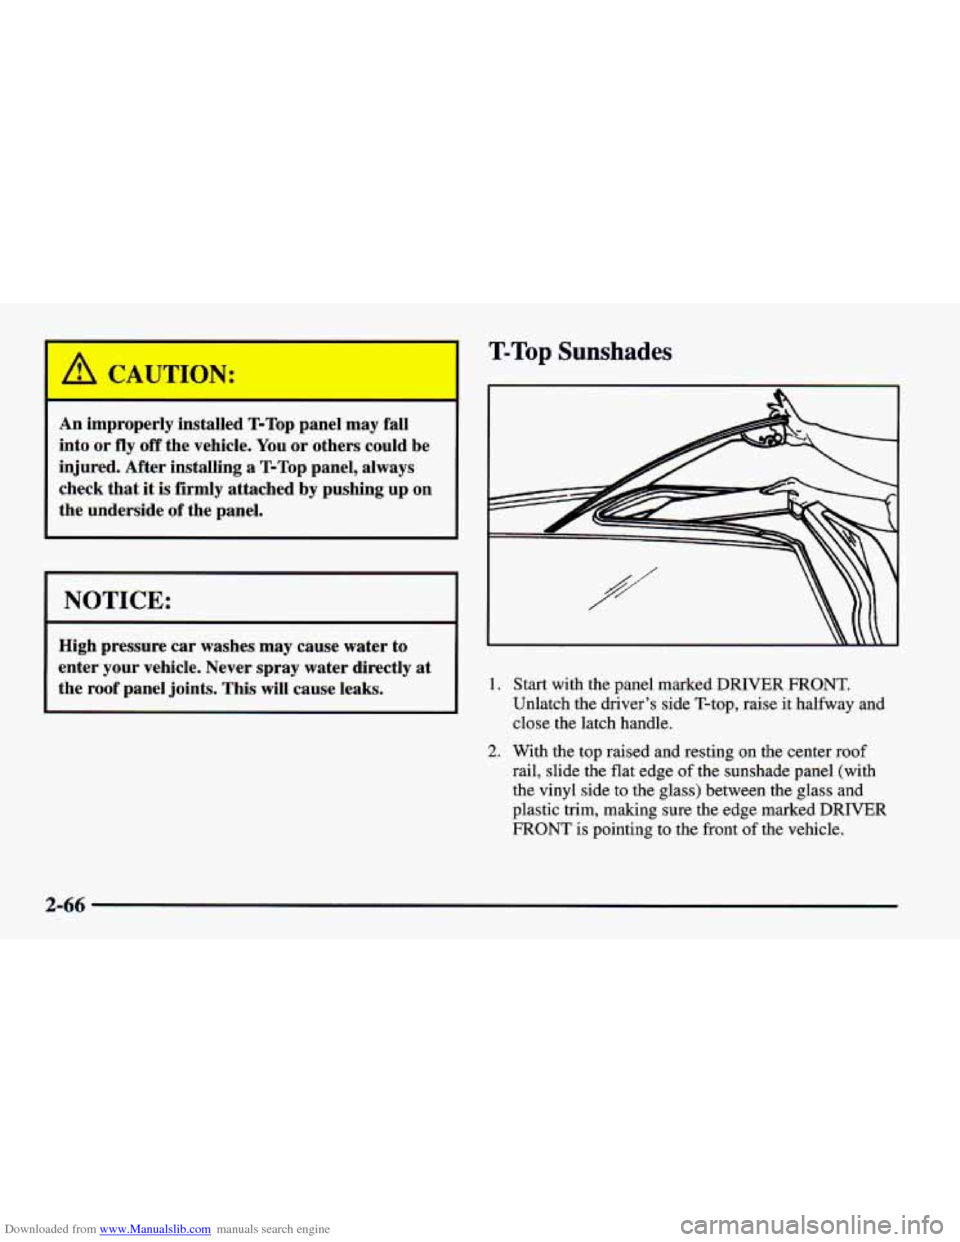
the roof panel joints, This will cause leaks. 1. Start with the panel marked DRIVER FRONT.
Unlatch the driver’s side T-top, raise it halfway and
close the latch handle.
2. With the top raised and resting on the center roof
rail, slide the flat edge of the sunshade panel (with
the vinyl side
to the glass) between the glass and
plastic trim, making sure the edge marked DRIVER
FRONT is pointing to the front
of the vehicle.
2-66
Page 117 of 404
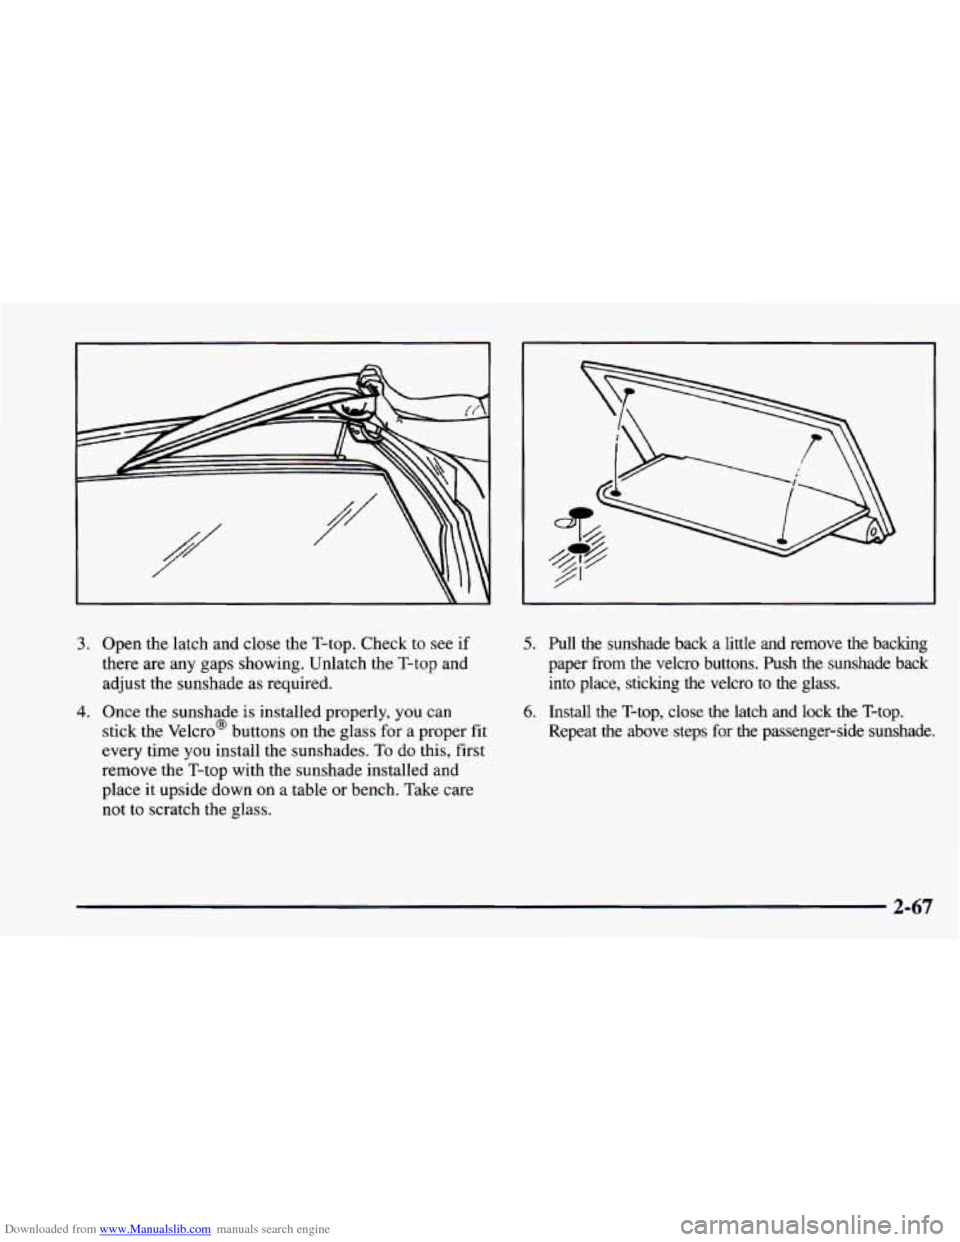
Downloaded from www.Manualslib.com manuals search engine 3. Open the latch and close the T-top. Check to see if
there are any gaps showing. Unlatch the T-top and
adjust the sunshade as required.
4. Once the sunshade is installed properly, you can
stick the Velcro@ buttons on the glass for a proper fit
every time you install the sunshades. To do this, first
remove the T-top with the sunshade installed and
place
it upside down on a table or bench. Take care
not to scratch the glass.
5. Pull the sunshade back a little and remove the backing
paper
fi-om the Velcro buttons. Push the sunshade back
into place, sticking the Velcro to the glass.
Repeat the above steps for the passenger-side sunshade.
6. Install the T-top, close the latch and lock the T-top.
2-67
Page 118 of 404
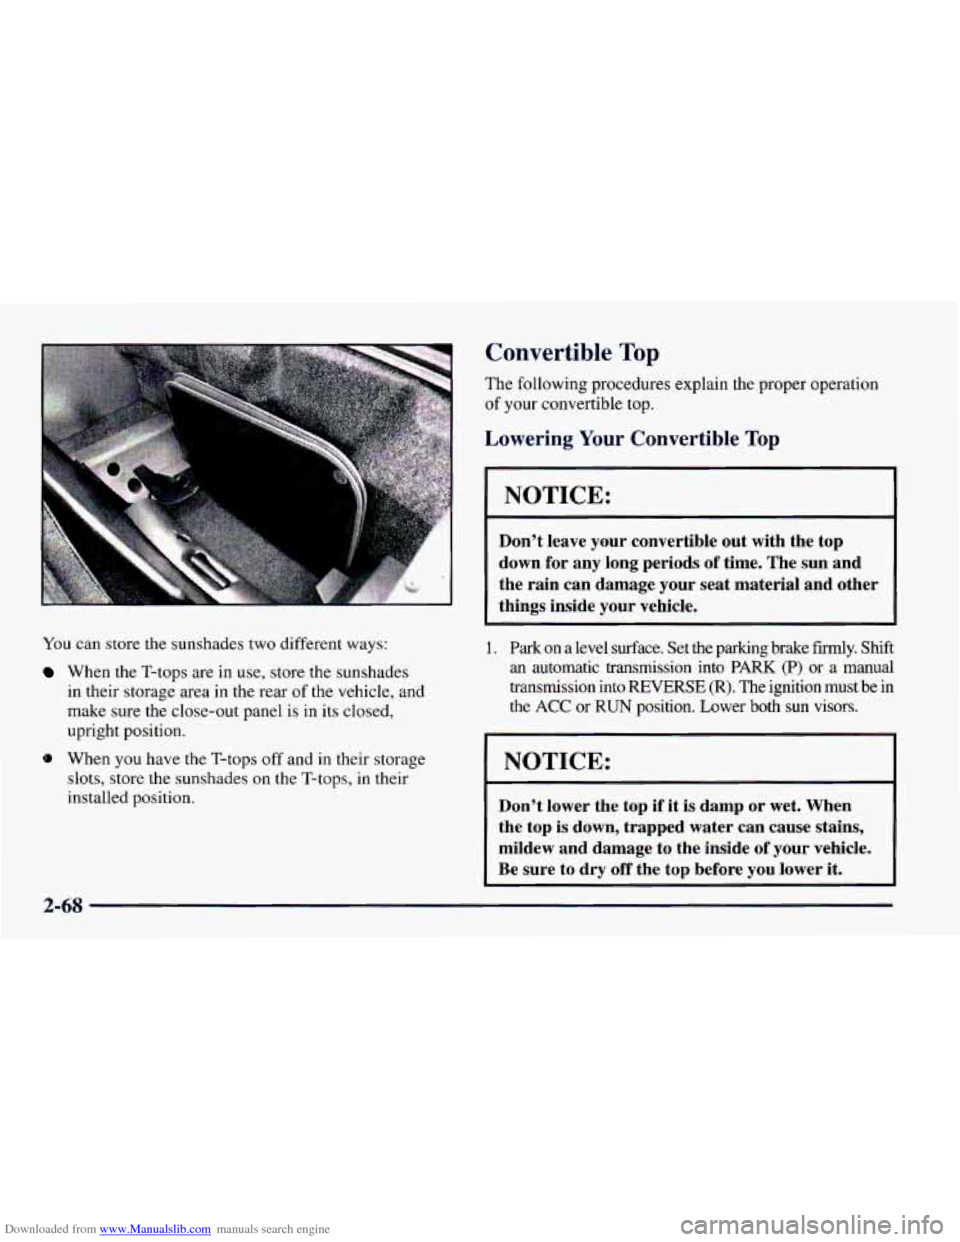
Downloaded from www.Manualslib.com manuals search engine You can store the sunshades two different ways:
When the T-tops are in use, store the sunshades
in their storage area
in the rear of the vehicle, and
make sure the close-out panel is in its closed,
upright position.
@ When you have the T-tops off and in their storage
slots, store the sunshades on the T-tops, in their
installed position.
Convertible Top
The following procedures explain the proper operation
of your convertible top.
Lowering Your Convertible Top
NOTICE:
Don’t leave your convertible out with the top
down for any long periods of time. The sun and
the rain can damage your seat material and other
things inside your vehicle.
1. Park on a level surface. Set the parking brake fdy. Shift
an automatic transmission into
PARIS (P) or a manual
transmission into
REVERSE (R). The ignition must be in
the
ACC or RUN position. Lower both sun visors.
I NOTICE:
Don’t lower the top if it is damp or wet. When
the top is down, trapped water can cause stains,
mildew and damage to the inside
of your vehicle.
Be sure
to dry off the top before you lower it.
2-68
Page 119 of 404
Downloaded from www.Manualslib.com manuals search engine [ NOTICE:
It is not recommended to lower the top if the
vehicle is out in cold weather,
0°F (-18" C) or
lower, or you may damage top components.
NOTICE:
Before lowering the convertible top into the
storage area, be sure there are
no objects in the
way of the folded, stored top. The weight of a
stored top on items in the storage area will cause
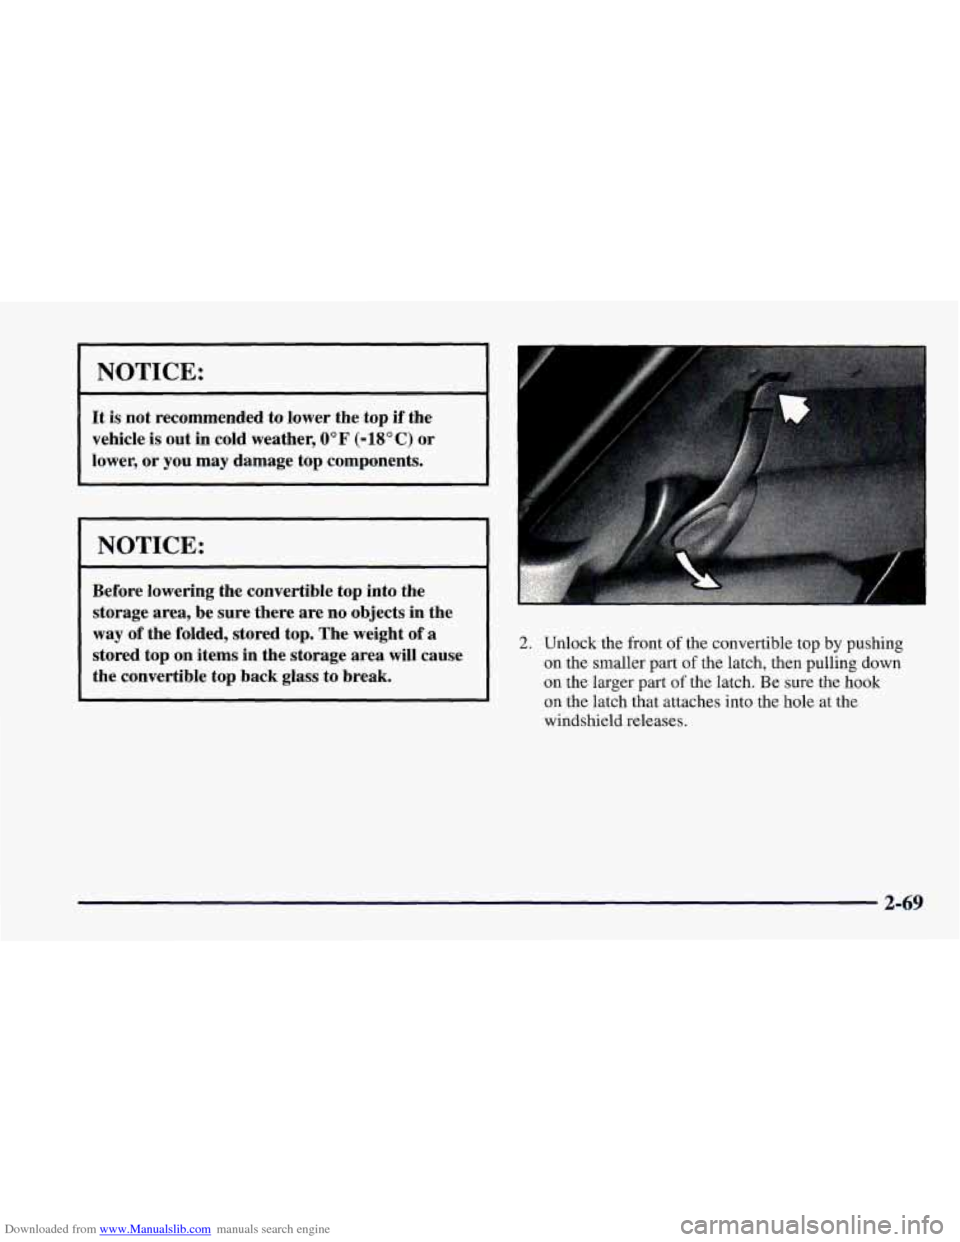
the convertible top back glass to'break. 2. Unlock the front of the convertible top by pushing
on the smaller part
of the latch, then pulling down
on the larger part
of the latch. Be sure the hook
on the latch that attaches into the hole at the
windshield releases.
2-69
Page 120 of 404
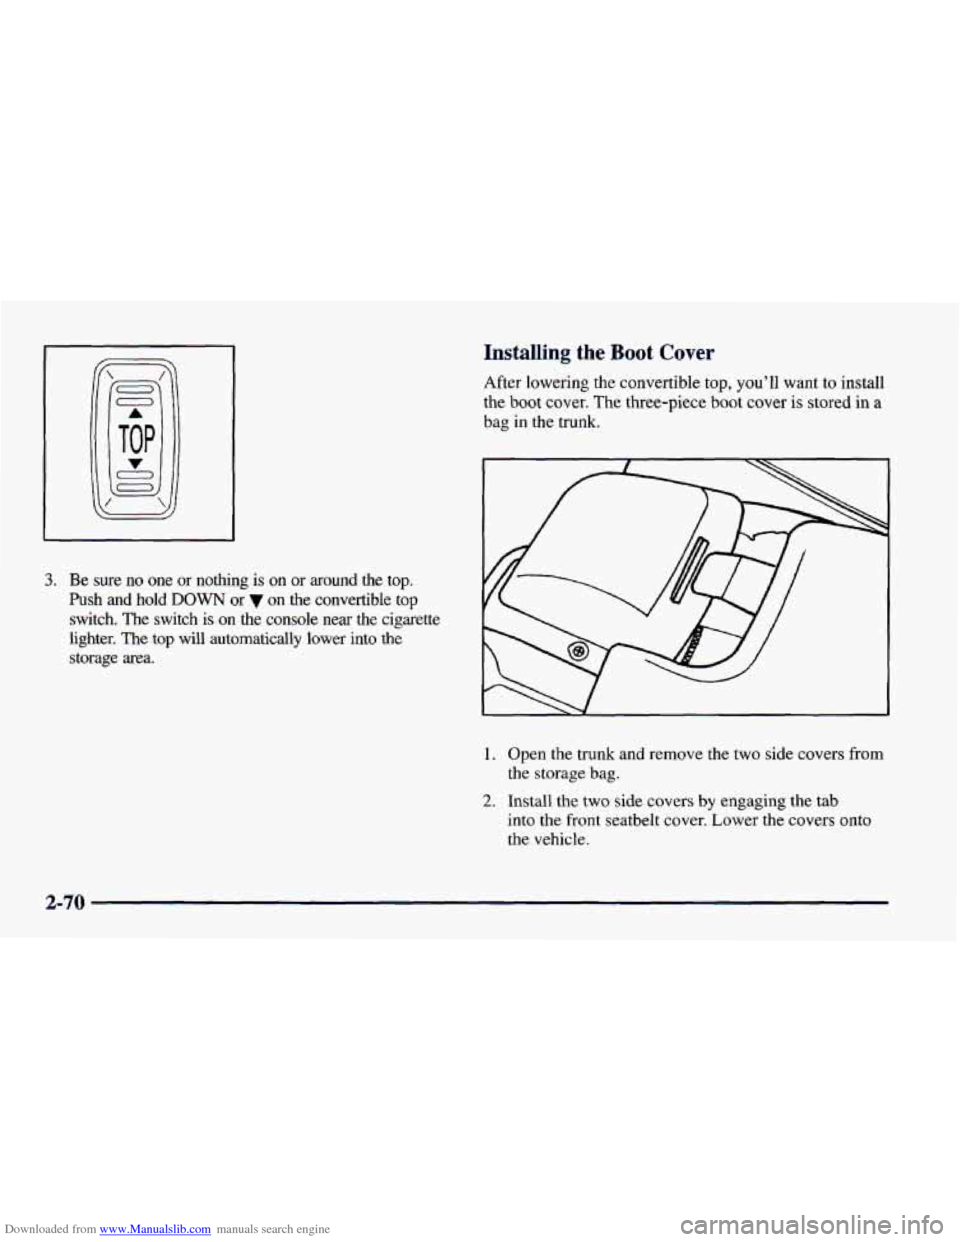
Downloaded from www.Manualslib.com manuals search engine Installing the Boot Cover
After lowering the convertible top, you’ll want to install
the boot cover. The three-piece boot cover is stored in a
bag
in the trunk.
3. Be sure no one or nothing is on or around the top.
Push and hold
DOWN or on the convertible top
switch.
The switch is on the console near the cigarette
lighter. The top will automatically lower into the
storage area.
1. Open the trunk and remove the two side covers from
the storage bag.
2. Install the two side covers by engaging the tab
into the front seatbelt cover. Lower the covers onto
the vehicle.
2-70