lock CHEVROLET CAMARO 1997 4.G Service Manual
[x] Cancel search | Manufacturer: CHEVROLET, Model Year: 1997, Model line: CAMARO, Model: CHEVROLET CAMARO 1997 4.GPages: 404, PDF Size: 20.96 MB
Page 105 of 404

Downloaded from www.Manualslib.com manuals search engine Delayed Illumination
With delayed illumination, the courtesy lamps will come
on and stay on for 25 seconds after you close the doors
when entering the vehicle. They will also stay on for
five seconds after you close the doors when exiting the
vehicle. The times will be shortened if the ignition is
turned
to the RUN position or if the power locks are
activated.
To turn this feature on or off, see “Feature
Customization” in the Index.
Exit Lighting
With exit lighting, the interior lamps will come on when
you remove the key from the ignition
to help you see
while exiting the vehicle. To turn this feature on or off,
see “Feature Customization” in the Index.
Front Map Lamps
Your inside rearview mirror includes two map lamps.
Each lamp has its own switch. Use the switch closest
to
the lamp to turn it on. The lamps will also go on when a
door
is opened.
Courtesy lamps include the dome lamp and other lamps
throughout the interior of your vehicle.
2-55
Page 106 of 404

Downloaded from www.Manualslib.com manuals search engine Retained Accessory Power (RAP)
Your vehicle is equipped with a Retained Accessory
Power (RAP) feature which will allow certain features
of your vehicle
to continue to work up to 10 minutes
after the ignition key is turned
to the OFF position.
Your convertible top, power windows, and audio system
will work when the ignition key
is in the RUN or ACC
positions. Once the key
is turned from RUN to OFF,
these features will continue to work for up to 10 minutes
or until either door is opened.
Your power door unlock and remote hatch release
features will work when the ignition key is
in the RUN
or ACC positions or if either door is open. Once the key
is turned to
OFF, these features will continue to work for
up
to 10 minutes. If either door is open and the ignition
key is
off, these features will continue to work until both
doors have been closed for about
30 seconds or until the
theft-deterrent system arms. At that time, both the
power door unlock and remote hatch release features
will be disabled to enhance the security of the vehicle.
The power door lock function will work at all times
except during Lockout Prevention (if this feature is
enabled). See “Lockout Prevention” in the Index.
Mirrors
Inside Daymight Rearview Mirror
An inside rearview mirror is attached to your windshield.
The mirror has pivots
so that you can adjust it.
You can adjust the mirror for day or night driving. Pull
the tab for night driving
to reduce glare. Push the tab for
daytime driving.
Outside Manual Adjustable Mirror
Adjust the passenger’s side outside mirror by hand so
that you can just see the side of your vehicle when you
are sitting
in a comfortable driving position.
2-56
Page 108 of 404
Downloaded from www.Manualslib.com manuals search engine Storage Compartments
Glove Box
To open the glove box, lift up on the lever. Use your
door key to lock and unlock it.
Front Console
TO use the storage area, pull up on the front side of
the console.
Cassette and Compact Disc Storage
You have a storage area for cassette tapes.
Close-Out Panel
If you have a compact disc player, you will have a
storage area for compact discs in your console.
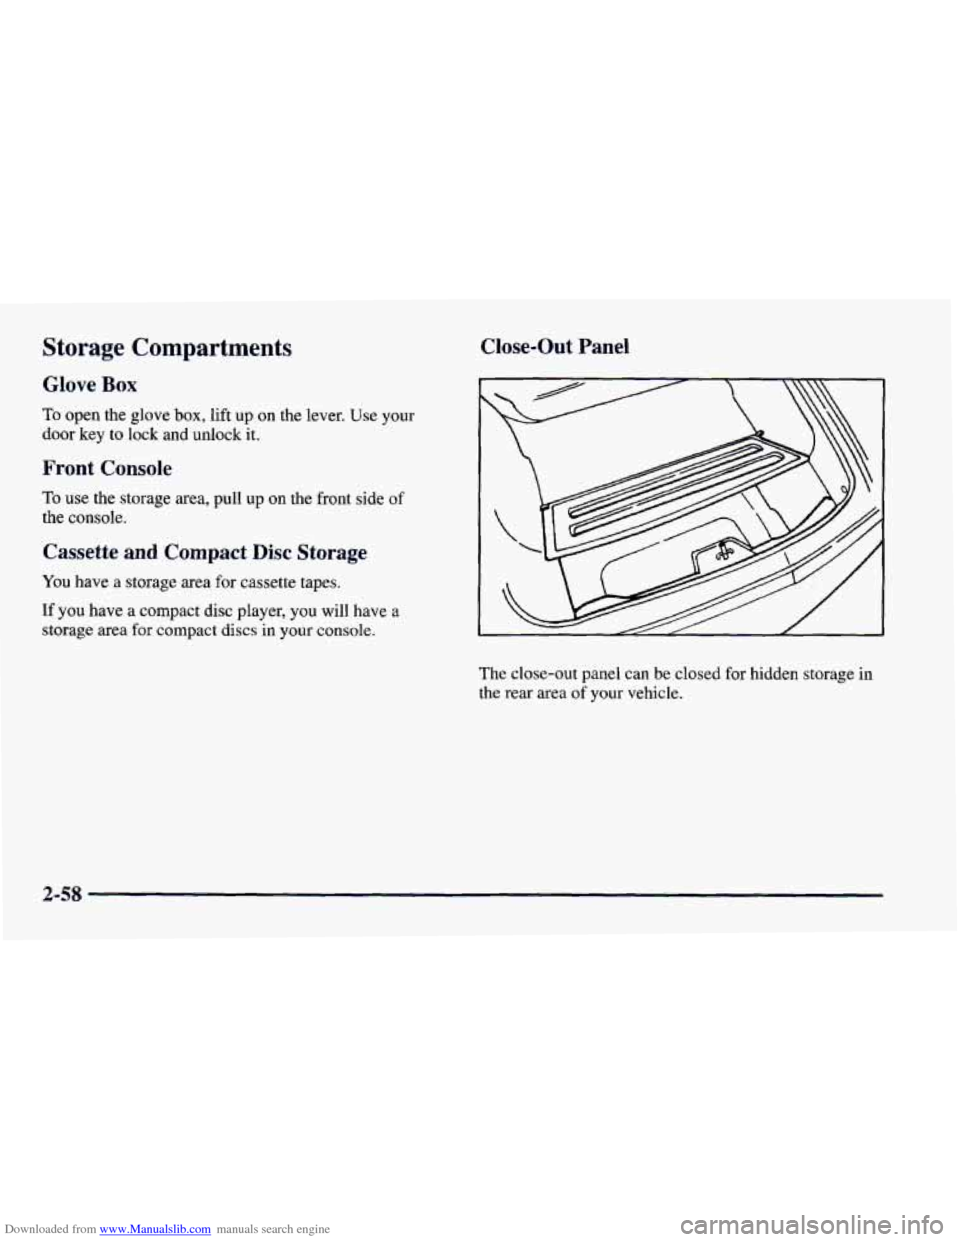
The close-out panel can
be closed for hidden storage in
the rear area
of your vehicle.
2-58
Page 111 of 404
Downloaded from www.Manualslib.com manuals search engine Sun Visors
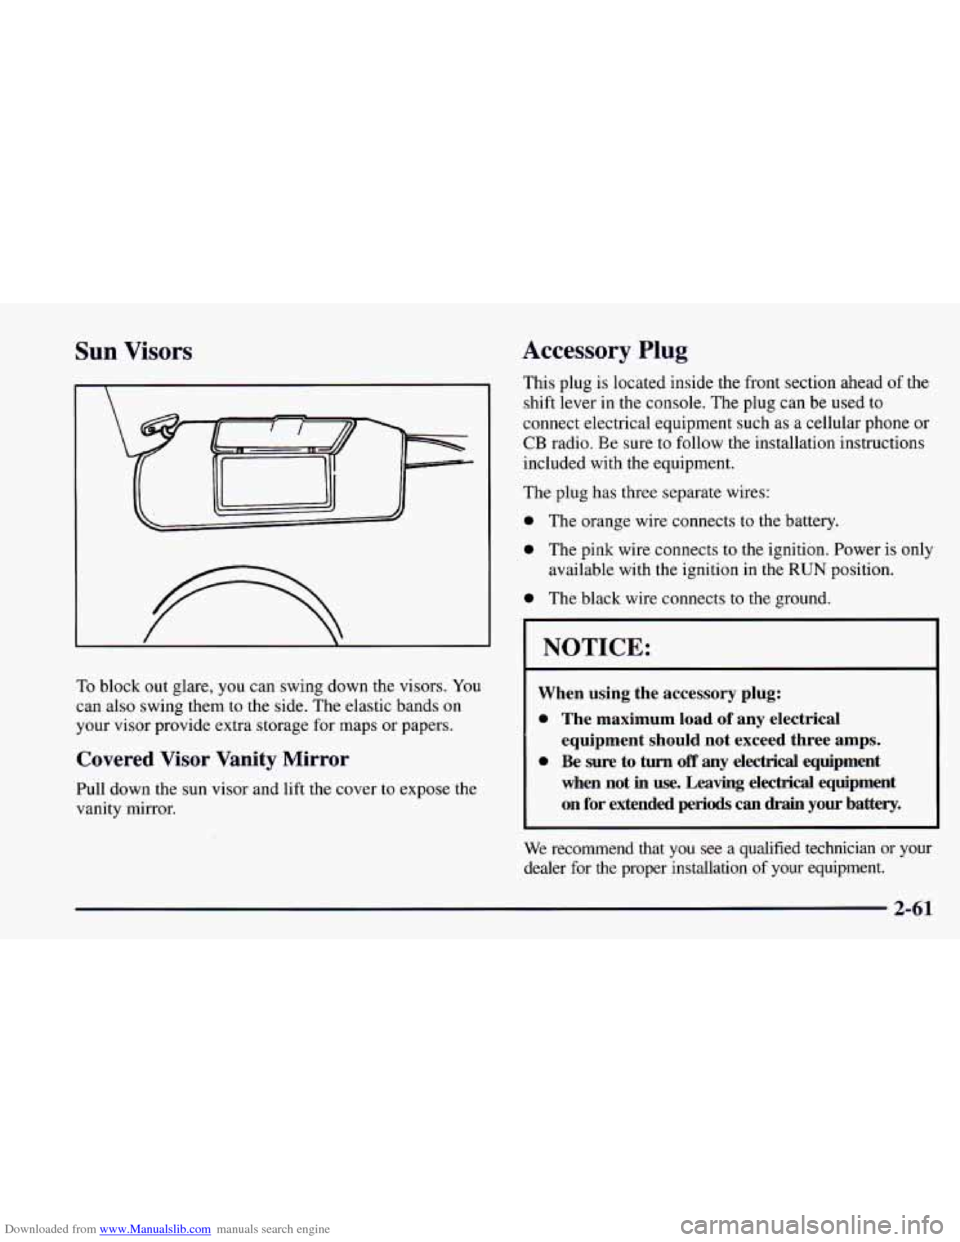
To block out glare, you can swing down the visors. You
can also swing them to the side. The elastic bands on
your visor provide extra storage for maps or papers.
Covered Visor Vanity Mirror
Pull down the sun visor and lift the cover to expose the
vanity mirror.
Accessory Plug
This plug is located inside the front section ahead of the
shift lever
in the console. The plug can be used to
connect electrical equipment such
as a cellular phone or
CB radio. Ee sure to follow the installation instructions
included with the equipment.
The plug has three separate wires:
0 The orange wire connects to the battery.
0 The pink wire connects to the ignition. Power is only
available with the ignition in the
RUN position.
0 The black wire connects to the ground.
I NOTICE:
When using the accessory plug:
0 The maximum load of any electrical
equipment should not exceed three amps.
0 Be sure to turn off any electrical equipment
when not
in use. Leaving electrical equipment
on for extended periods
can drain your battery.
We recommend that you see a qualified technician or your
dealer for the proper installation
of your equipment.
Page 112 of 404
Downloaded from www.Manualslib.com manuals search engine Floor Mats
Yow Chevrolet’s floor mats are custom-fitted to the foot
wells.
Be sure the driver’s floor mat is in place. If it isn’t,
it could interfere with the accelerator
or brake pedals.
Twin Lift-off Roof r mels
(If Equipped)
If you have this option, you can remove one or both
lift-off roof panels.
A CAI JTION:
Don’t try EO remove the T-top panels while the
vehicle
is moving. Trying to remove a T-top panel
while the vehicle is moving could cause an
accident. The panel could fall into the vehicle and
cause you to lose control, or
it could fly off and
strike another vehicle. You or others could be
injured. Remove
a T-top panel only when the
vehicle is parked.
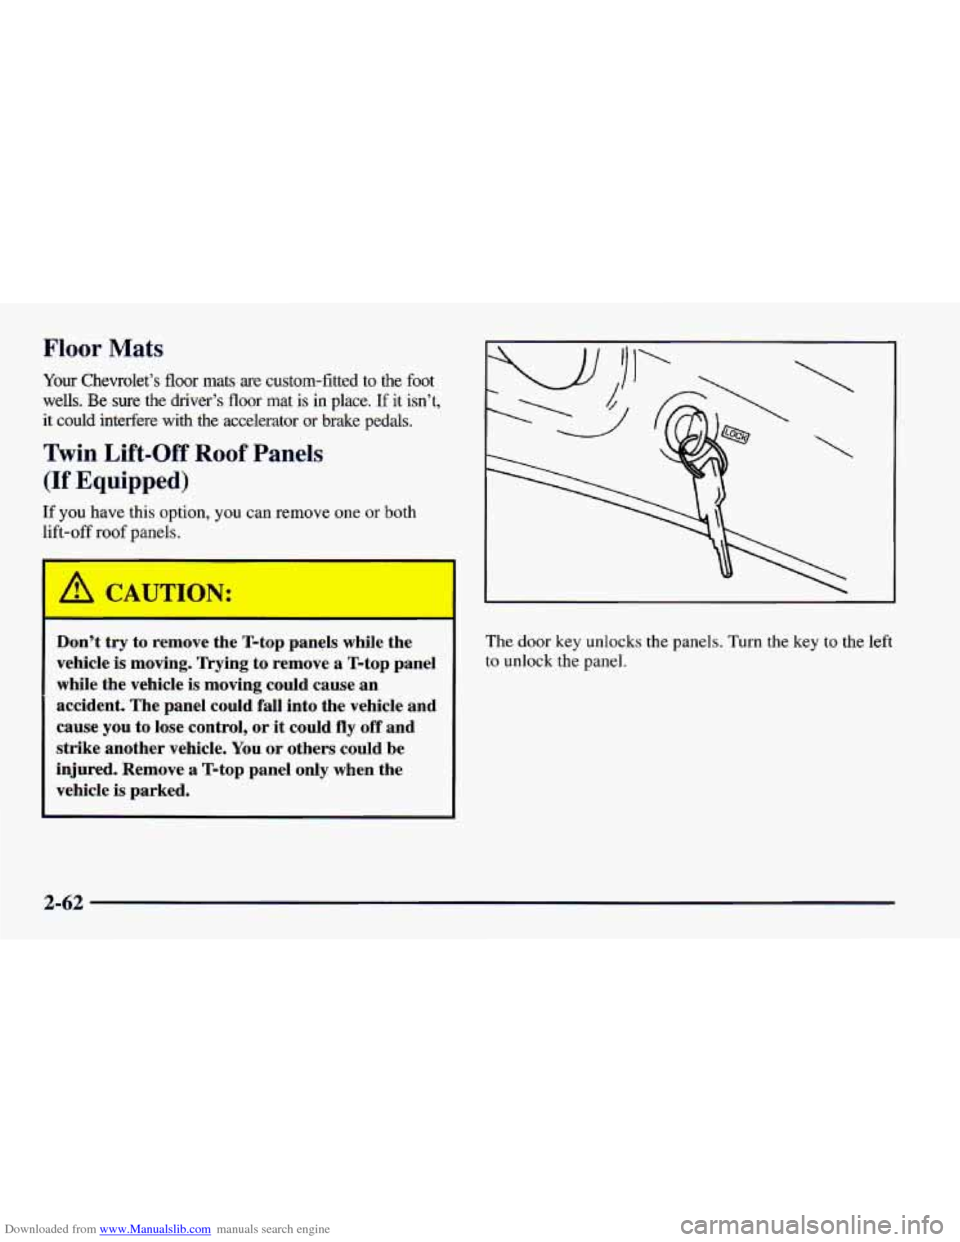
The door key unlocks the panels. Turn the key to the left
to unlock the panel.
2-62
Page 114 of 404
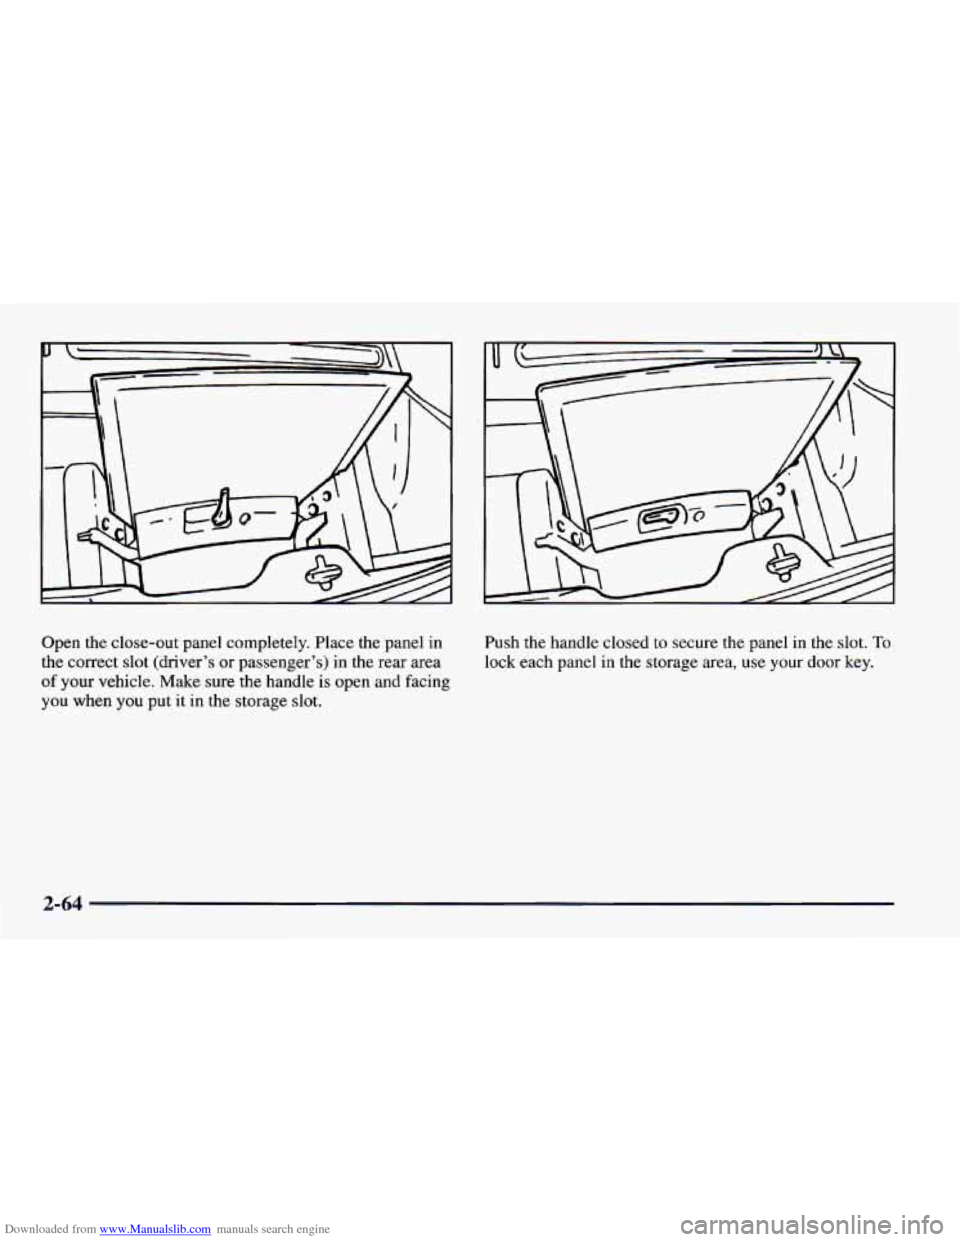
Downloaded from www.Manualslib.com manuals search engine Open the close-out panel completely. Place the panel in
the correct slot (driver’s or passenger’s) in the rear area
of your vehicle. Make sure the handle is open and facing
you when you put it in the storage slot. Push
the handle closed
to secure the panel in the slot. To
lock each panel in the storage area, use your door key.
2-64
Page 115 of 404
Downloaded from www.Manualslib.com manuals search engine Reverse the steps to remove the T-top panels
from storage.
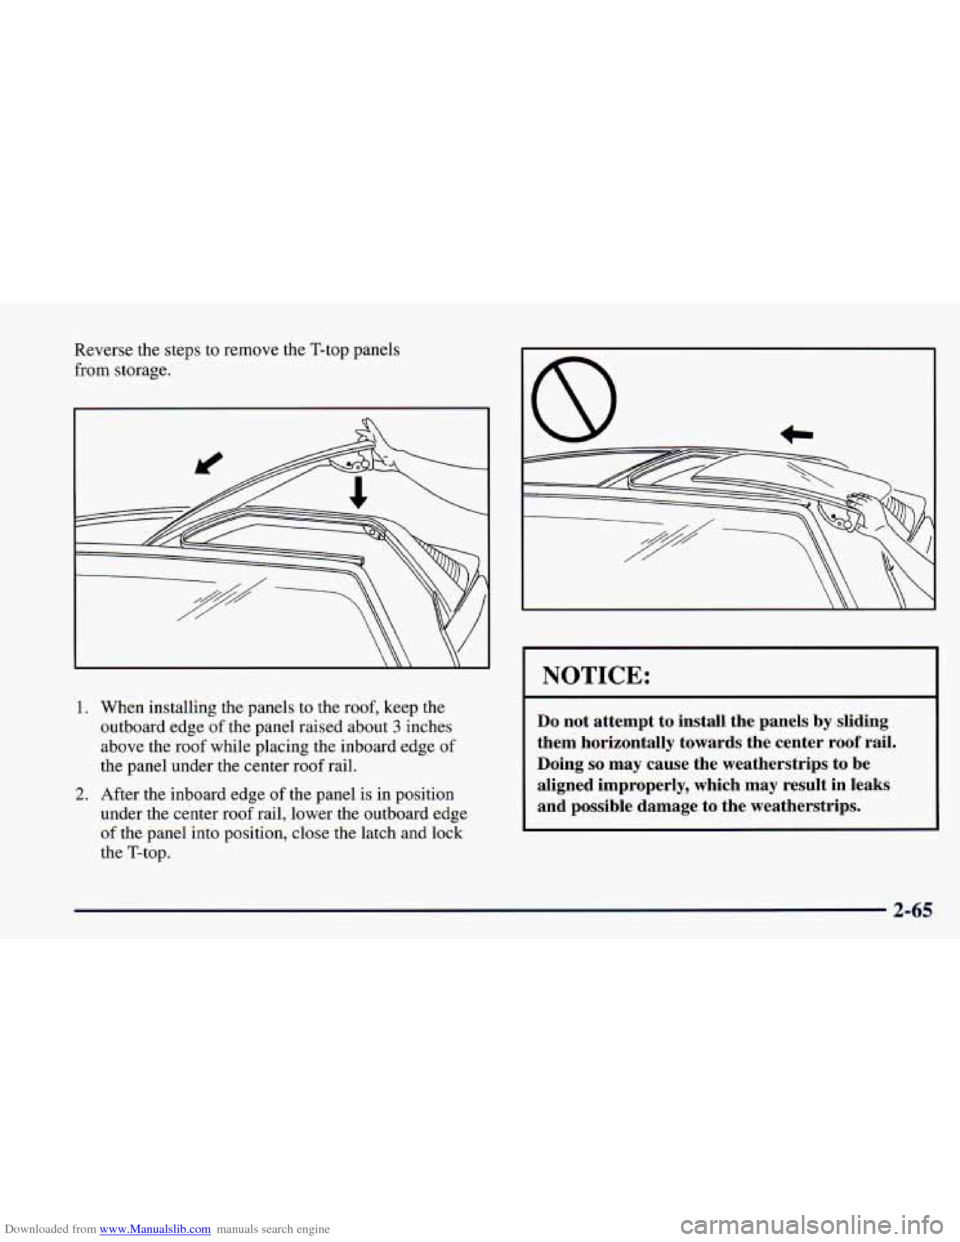
1. When installing the panels to the roof, keep the
outboard edge of the panel raised about
3 inches
above the roof while placing the inboard edge of
the panel under the center roof rail.
2. After the inboard edge of the panel is in position
under the center roof rail, lower the outboard edge
of the panel into position, close the latch and lock
the T-top.
I NOTICE:
Do not attempt to install the panels by sliding
them horizontally towards the center roof rail.
Doing
so may cause the weatherstrips to be
aligned improperly, which may result in leaks
and possible damage to the weatherstrips.
2-65
Page 117 of 404
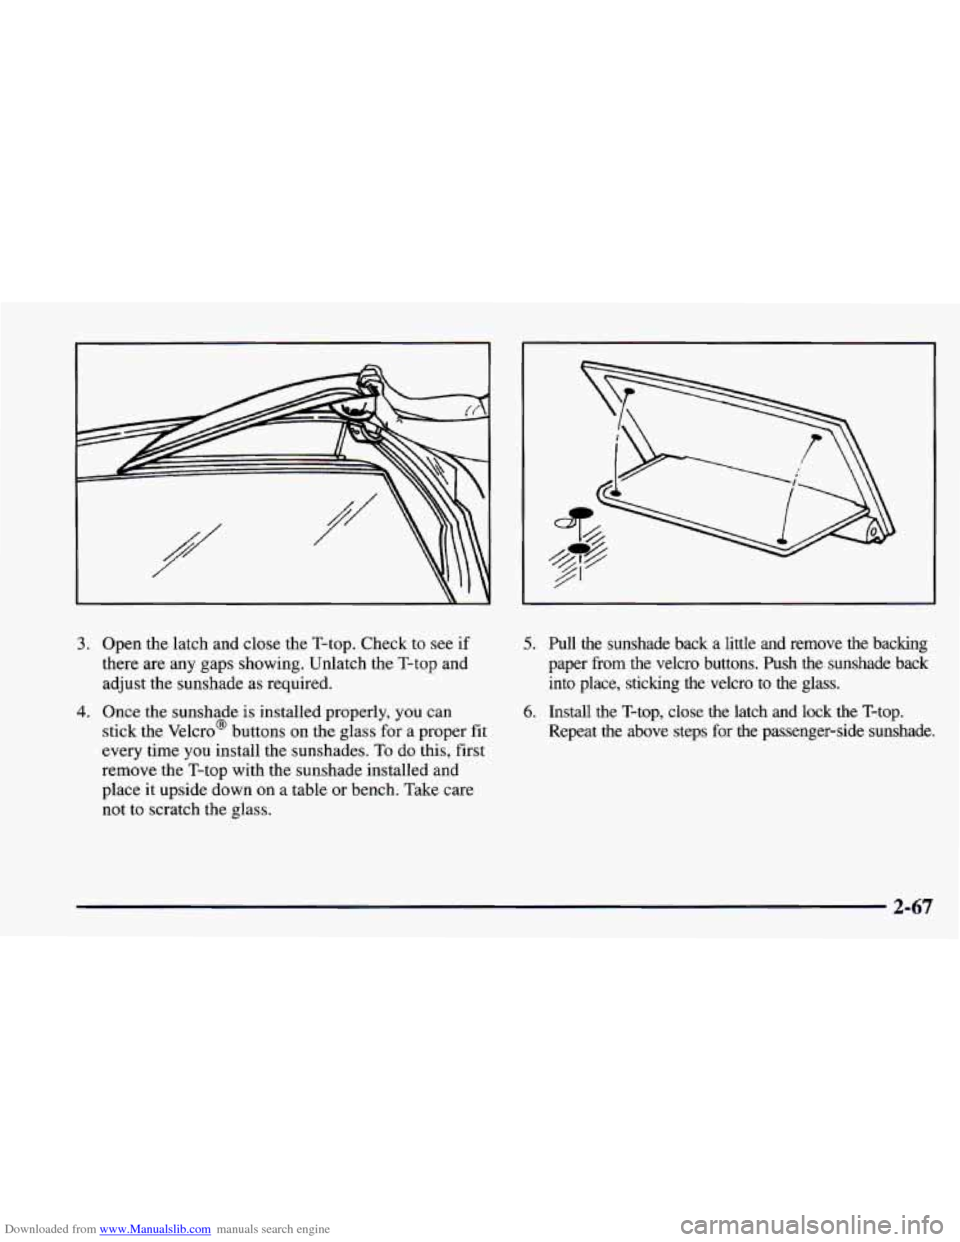
Downloaded from www.Manualslib.com manuals search engine 3. Open the latch and close the T-top. Check to see if
there are any gaps showing. Unlatch the T-top and
adjust the sunshade as required.
4. Once the sunshade is installed properly, you can
stick the Velcro@ buttons on the glass for a proper fit
every time you install the sunshades. To do this, first
remove the T-top with the sunshade installed and
place
it upside down on a table or bench. Take care
not to scratch the glass.
5. Pull the sunshade back a little and remove the backing
paper
fi-om the Velcro buttons. Push the sunshade back
into place, sticking the Velcro to the glass.
Repeat the above steps for the passenger-side sunshade.
6. Install the T-top, close the latch and lock the T-top.
2-67
Page 119 of 404
Downloaded from www.Manualslib.com manuals search engine [ NOTICE:
It is not recommended to lower the top if the
vehicle is out in cold weather,
0°F (-18" C) or
lower, or you may damage top components.
NOTICE:
Before lowering the convertible top into the
storage area, be sure there are
no objects in the
way of the folded, stored top. The weight of a
stored top on items in the storage area will cause
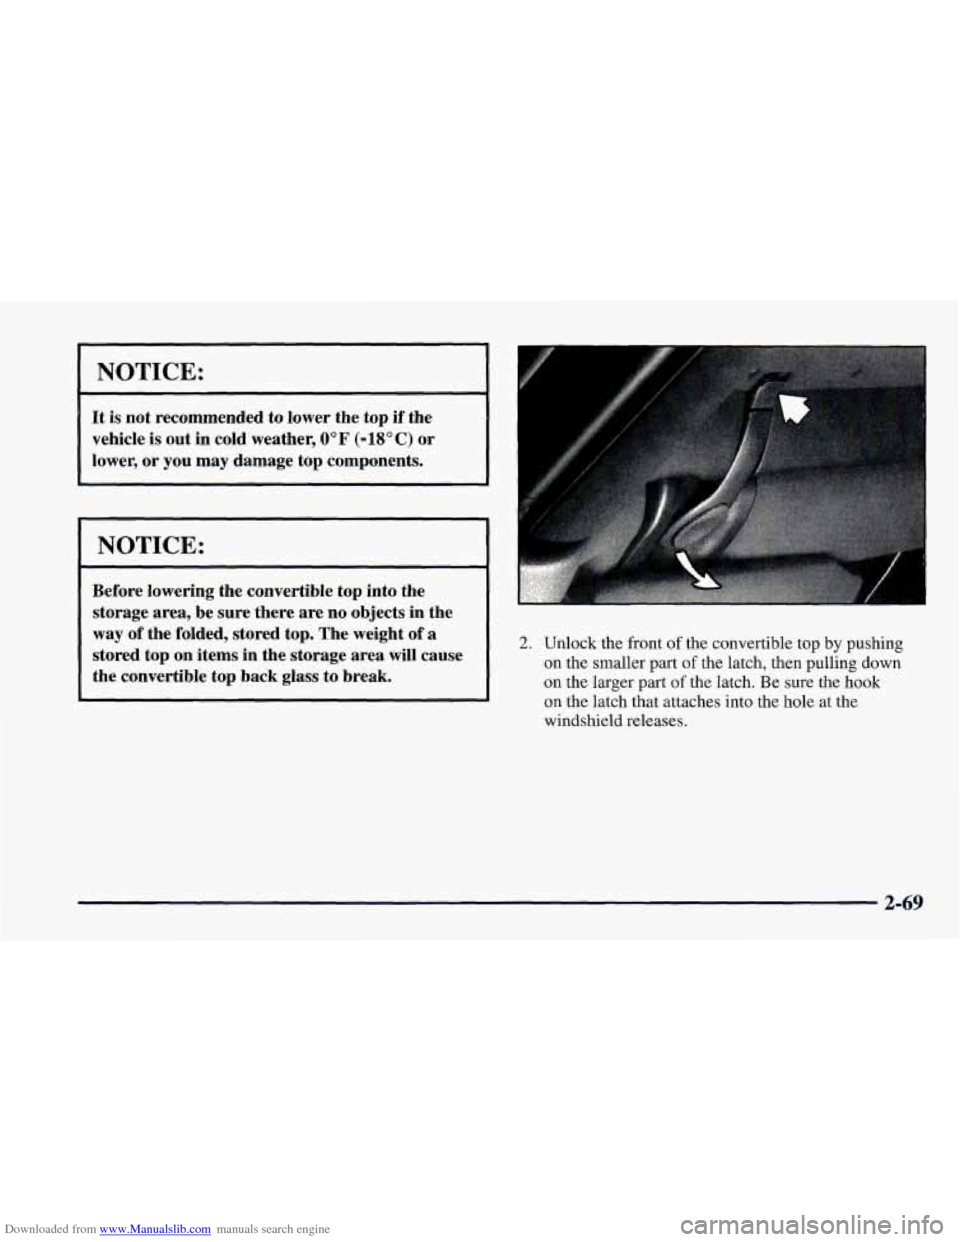
the convertible top back glass to'break. 2. Unlock the front of the convertible top by pushing
on the smaller part
of the latch, then pulling down
on the larger part
of the latch. Be sure the hook
on the latch that attaches into the hole at the
windshield releases.
2-69
Page 123 of 404
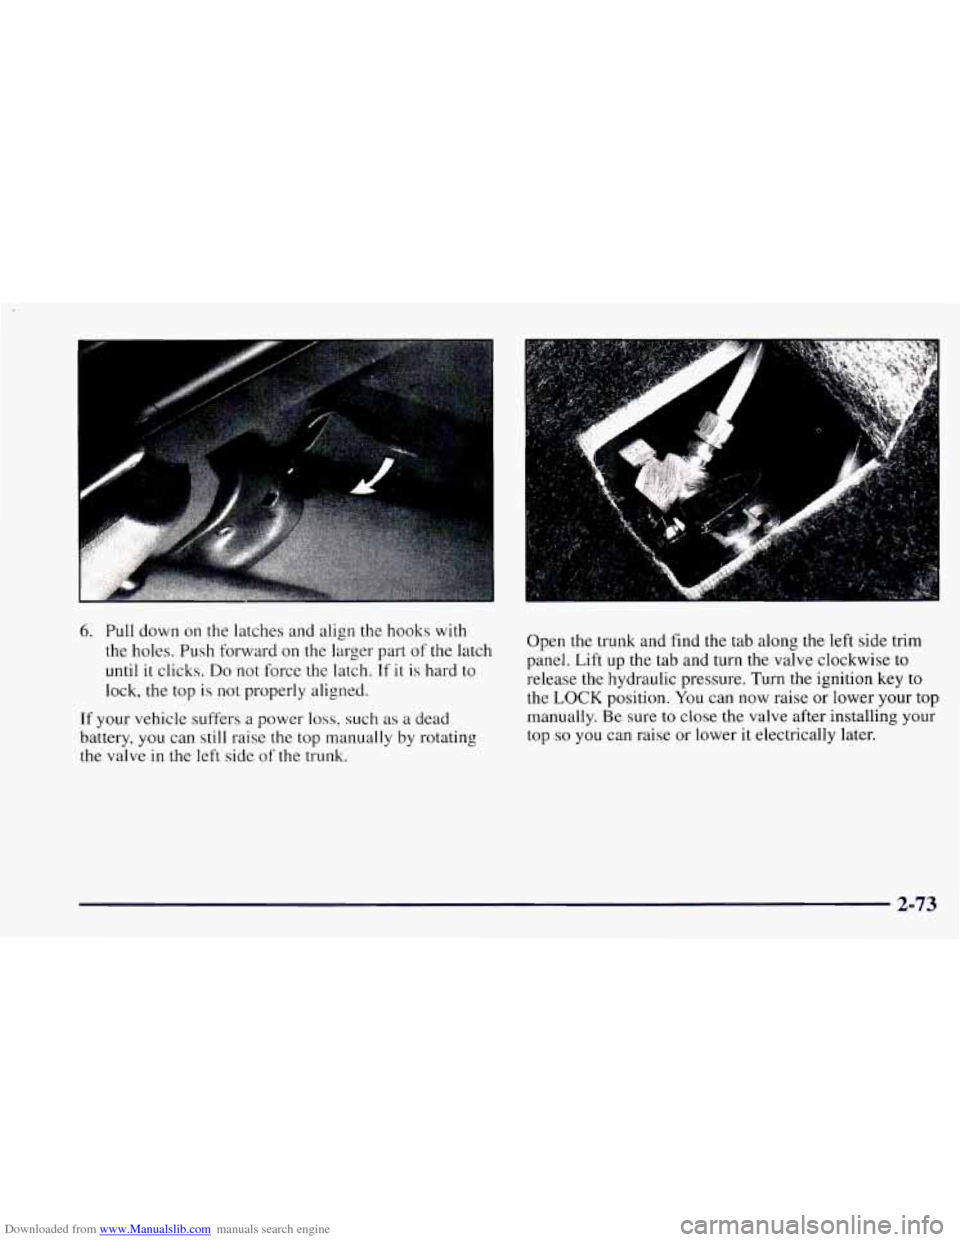
Downloaded from www.Manualslib.com manuals search engine 6. Pull down on the latches and align the hooks with
the holes. Push forward on the larger part of the latch
until it clicks.
Do not force the latch. If it is hard to
lock, the top is not properly aligned.
If your vehicle suffers a power loss, such as a dead
battery, you can still raise
the top manually by rotating
the valve in the left side of the trunk. Open the trunk and
find
the tab along the left side trim
panel. Lift up the tab and turn the valve clockwise to
release the hydraulic pressure. Turn the ignition key to
the LOCK position. You can now raise or lower your
top
manually. Be sure to close the valve after installing your
top
so you can raise or lower it electrically later.
2-73