check engine CHEVROLET CAMARO 1998 4.G User Guide
[x] Cancel search | Manufacturer: CHEVROLET, Model Year: 1998, Model line: CAMARO, Model: CHEVROLET CAMARO 1998 4.GPages: 402, PDF Size: 21.2 MB
Page 112 of 402
Downloaded from www.Manualslib.com manuals search engine Power Windows
Switches on the driver’s door control each window
when the ignition is on or when RAP is present. (See
“Retained Accessory Power” in the Index.)
You can open the passenger’s window any amount by
pressing the switch and releasing it when the window
has lowered to the position you want.
The driver’s window has an auto-down feature. This
switch is labeled AUTO. Tap the bottom
of the switch
and the driver’s window will open a small amount.
If the
lower part
of the switch is pressed all the way down and
released, the window will go all the way down.
To stop the window while it is lowering, press the top
of the switch. To raise the window, press and hold the
top of the switch.
Horn
To sound the horn, press either horn symbol on your
steering wheel.
If your
horn sounds two or three chirps when unlocking
your vehicle with the keyless entry transmitter (if
you
have that option), the alarm was triggered while you
were away. Check the vehicle before entering.
Tilt Steering Wheel
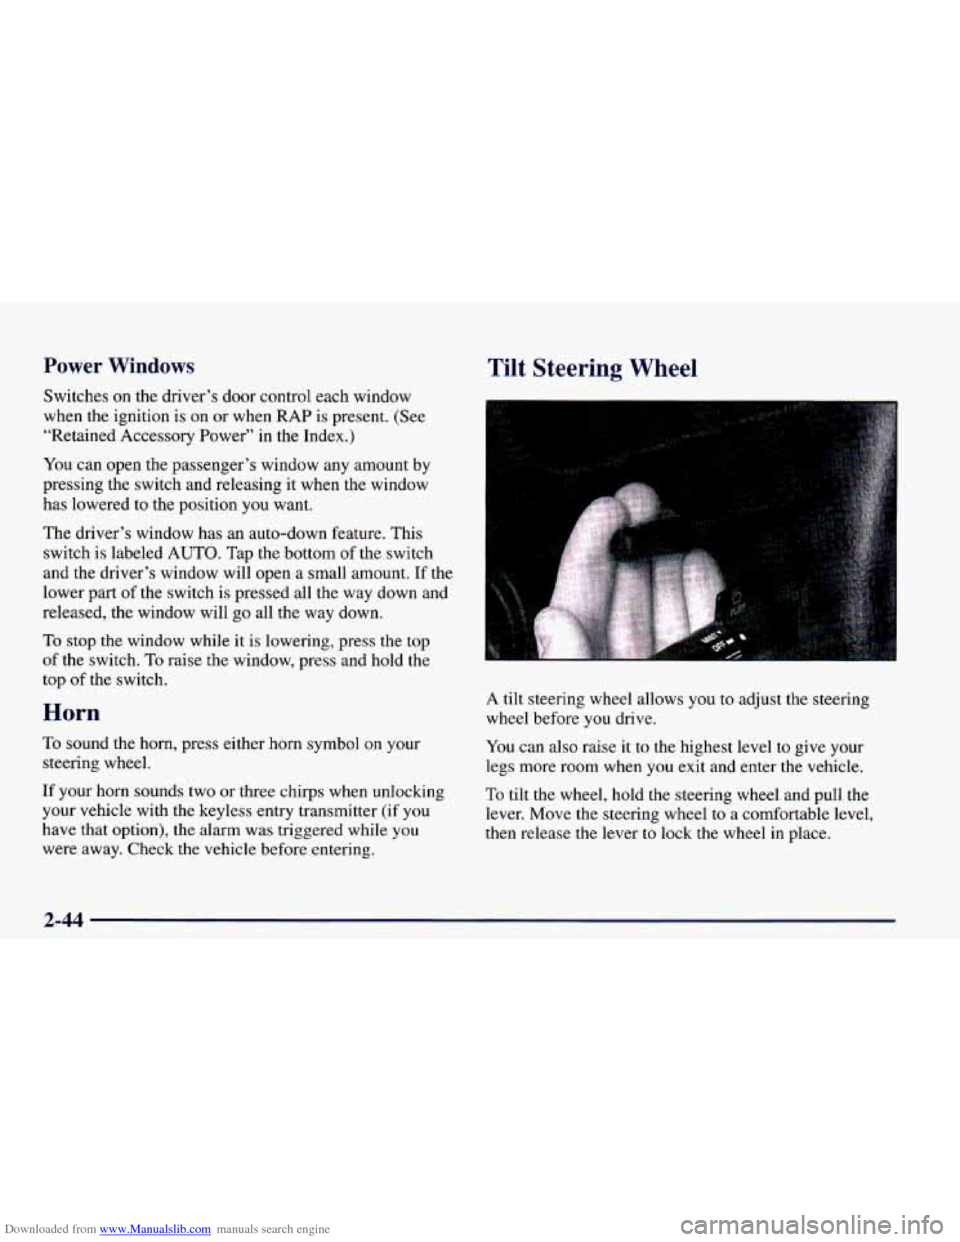
A tilt steering wheel allows you to adjust the steering
wheel before you drive.
You can also raise it to the highest level to give your
legs more room when
you exit and enter the vehicle.
To tilt the wheel, hold the steering wheel and pull the
lever. Move the steering wheel to a comfortable level,
then release
the lever to lock the wheel in place.
2-44
Page 114 of 402
Downloaded from www.Manualslib.com manuals search engine As you signal a turn or a lane change, if the arrows don’t
flash but just stay on
as you signal a turn or lane change,
a signal bulb may be burned out and other drivers won’t
see your turn signal.
If a bulb is burned out, replace it to help avoid an
accident.
If the arrows don’t go on at all when you
signal a turn, check the fuse (see “Fuses and Circuit
Breakers” in the Index).
Headlamp High/Low-Beam Changer
To change the headlamps
from low beam to high
or
high to low, pull the turn
signal lever all the way
toward you. Then release it.
When the high-beams headlamps
are on, this light on
the instrument panel also will be on.
Windshield Wipers
I 1
I I
i
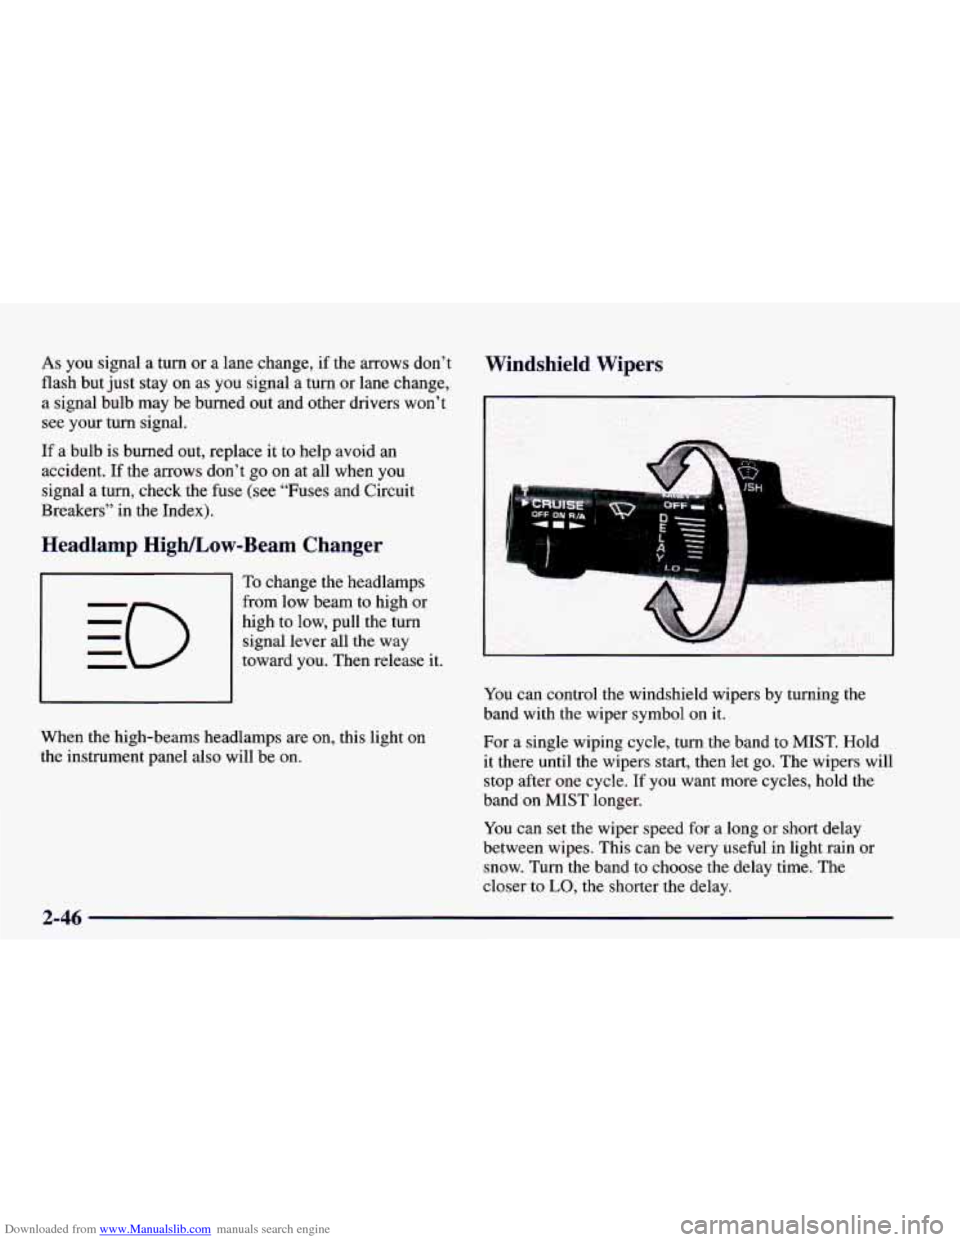
You can control the windshield wipers by turning the
band with the wiper symbol on it.
For
a single wiping cycle, turn the band to MIST. Hold
it there until the wipers start, then let go. The wipers will
stop after one cycle. If you want more cycles, hold the
band on MIST longer.
You can set the wiper speed for
a long or short delay
between wipes. This can be very useful in light rain or
snow. Turn the band to choose the delay time. The
closer to
LO, the shorter the delay.
2-46
Page 123 of 402
Downloaded from www.Manualslib.com manuals search engine Manual Remote Control Mirror
Adjust the driver’s side outside mirror with the lever on
the door. Adjust the mirror so that you can just see the
side
of your vehicle when you are sitting in a
comfortable driving position.
Power Remote Control Mirror (If Equipped)
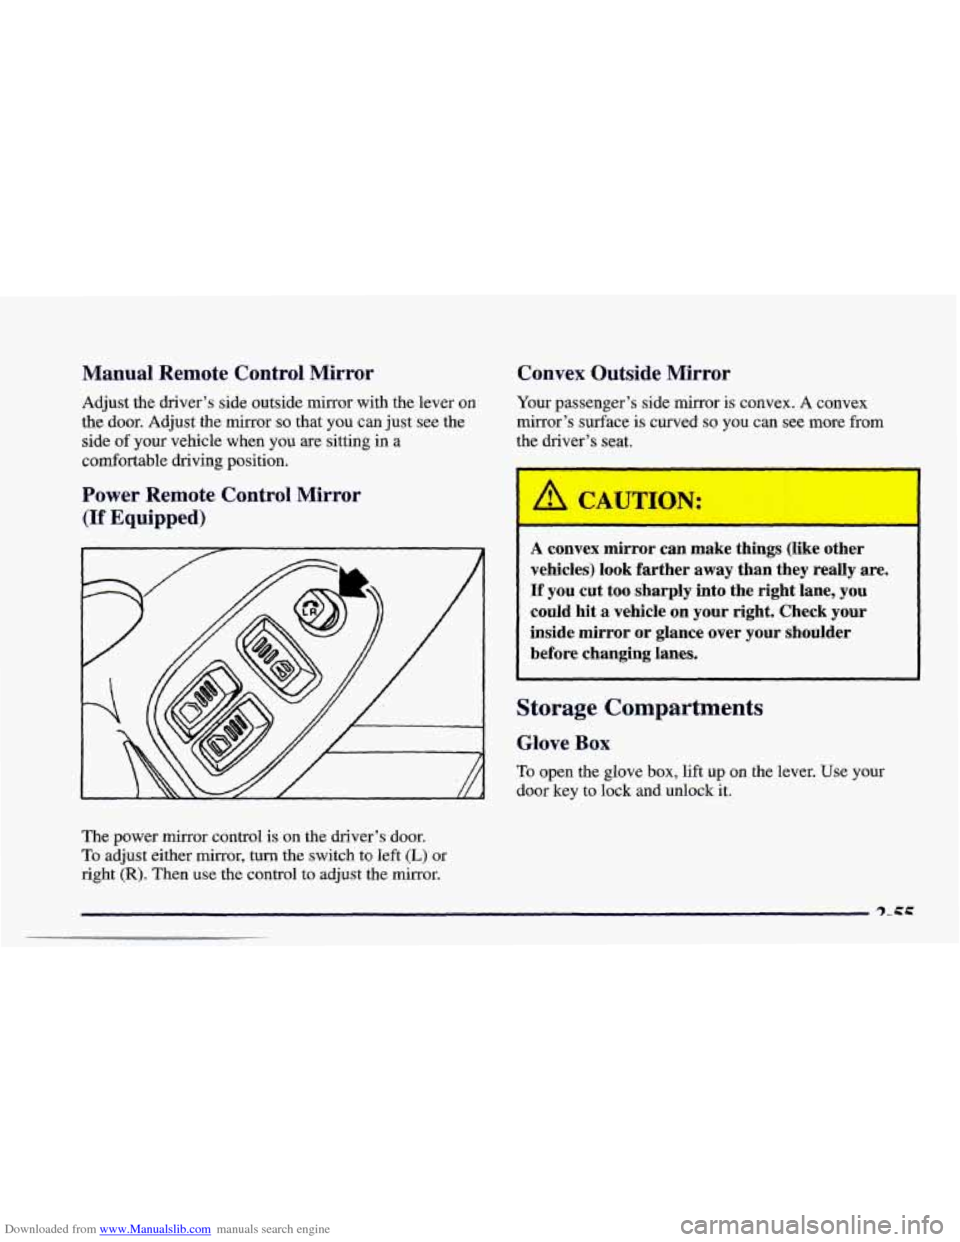
The power mirror control is on the driver’s door.
To adjust either mirror, turn the switch to left (L) or
right
(R). Then use the control to adjust the mirror.
Convex Outside Mirror
Your passenger’s side mirror is convex. A convex
mirror’s surface is curved
so you can see more from
the driver’s seat.
A CAUTION:
A convex mirror can make things (like other
vehicles) look farther away than they really are.
If you cut
too sharply into the right lane, you
could hit a vehicle on your right. Check your
inside mirror or glance over your shoulder
before changing lanes.
Storage Compartments
Glove Box
To open the glove box, lift up on the lever. Use your
door key to lock and unlock it.
Page 129 of 402
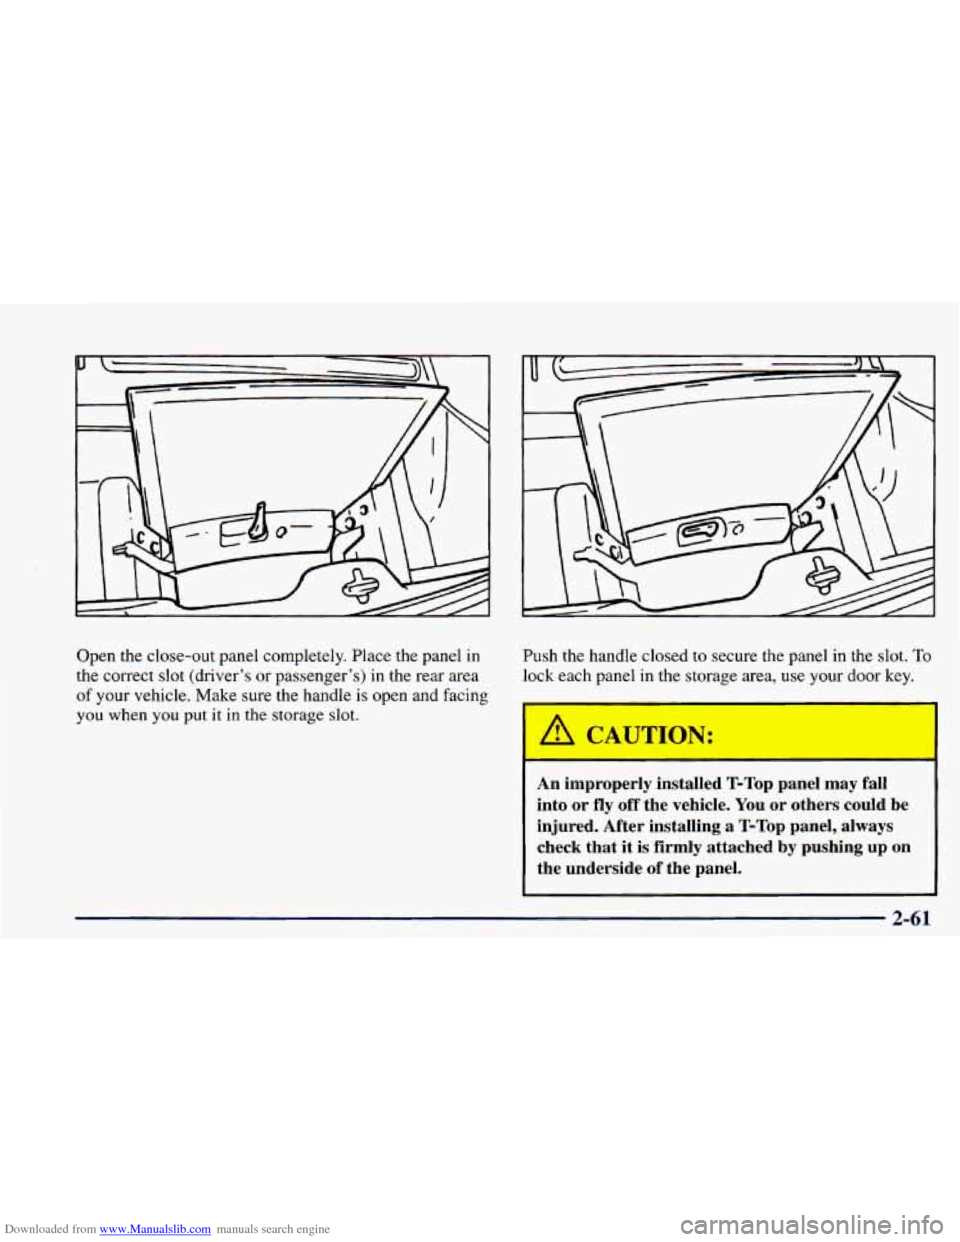
Downloaded from www.Manualslib.com manuals search engine Open the close-out panel completely. Place the panel in
the correct slot (driver's or passenger's) in the rear area
of your vehicle. Make sure the handle is open and facing
you
when you put it in the storage slot.
Push the handle closed to secure the panel in the slot. To
lock each panel in the storage area, use your door key.
-
A CAUl
r - I
An improperly installed 'I rop panel may fall
into or
fly off the vehicle. You or others could be
injured. After installing a
T-Top panel, always
check that it
is firmly attached by pushing up on
the underside of the panel.
2-61
Page 132 of 402
Downloaded from www.Manualslib.com manuals search engine L
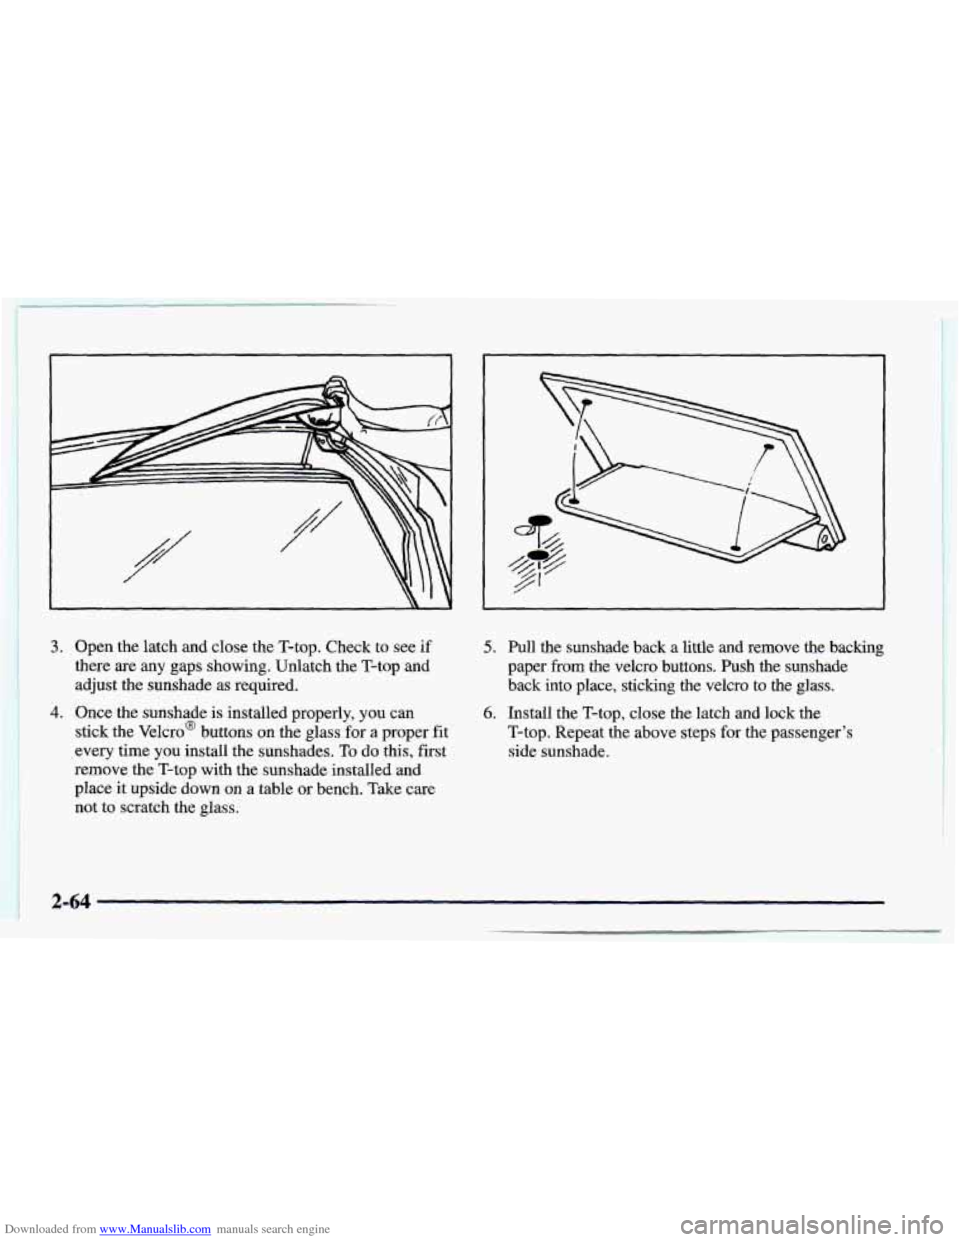
3. Open the latch and close the T-top. Check to see if
there are
any gaps showing, Unlatch the T-top and
adjust the sunshade as required.
I
4. Once the sunshade is installed properly, you can
stick the Velcro@ buttons on the glass for a proper fit
every time you install the sunshades.
To do this, first
remove
the T-top with the sunshade installed and
place it upside down on
a table or bench. Take care
not to scratch the glass.
5. Pull the sunshade back a little and remove the backing
paper
from the Velcro buttons. Push the sunshade
back into place, sticking the Velcro to the glass.
6. Install the T-top, close the latch and lock the
T-top. Repeat the above steps
for the passenger’s
side sunshade.
1-64
Page 144 of 402

Downloaded from www.Manualslib.com manuals search engine Gages can indicate when there may be or is a problem
with one of your vehicle’s functions. Often gages and
warning lights work together to let you know when
there’s a problem with your vehicle.
When one
of the warning lights comes on and stays
on when you are driving, or when one of the gages
shows there may be
a problem, check the section that
tells you what to do about it. Please follow this manual’s
advice. Waiting to do repairs can be costly
-- and even
dangerous.
So please get to know your warning lights
and gages. They’re a big help.
Safety Belt Reminder Light
When the key is turned to RUN or START, a chime
will come
on for about eight seconds to remind people
to fasten their safety belts.
The safety belt light will
also come on and stay on
for about
70 seconds. If
the driver’s belt is already
buckled, neither the chime
nor the light will come
on.
Air Bag Readiness Light
There is an air bag readiness light on the instrument
panel, which shows
AIR BAG. The system checks the
air bag’s electrical system for malfunctions. The light
tells you if there is an electrical problem. The system
check includes the air bag sensors, the air bag modules,
the wiring and the crash sensing and diagnostic module.
For more information on the air bag system, see “Air
Bag” in the Index.
AIR
BAG
This light will come on
when
you start your engine,
and it will flash for
a few
seconds. Then the light
should go out. This means
the system is ready.
If the air bag readiness light stays on after you start the
engine or comes on when you are driving, your air bag
system may not work properly. Have your vehicle
serviced right away.
The air bag readiness light should flash for
a few
seconds when you
turn the ignition key to RUN. If the
light doesn’t come on then, have it fixed
so it will be
ready to warn you
if there is a problem.
2-76
Page 145 of 402
Downloaded from www.Manualslib.com manuals search engine Voltmeter
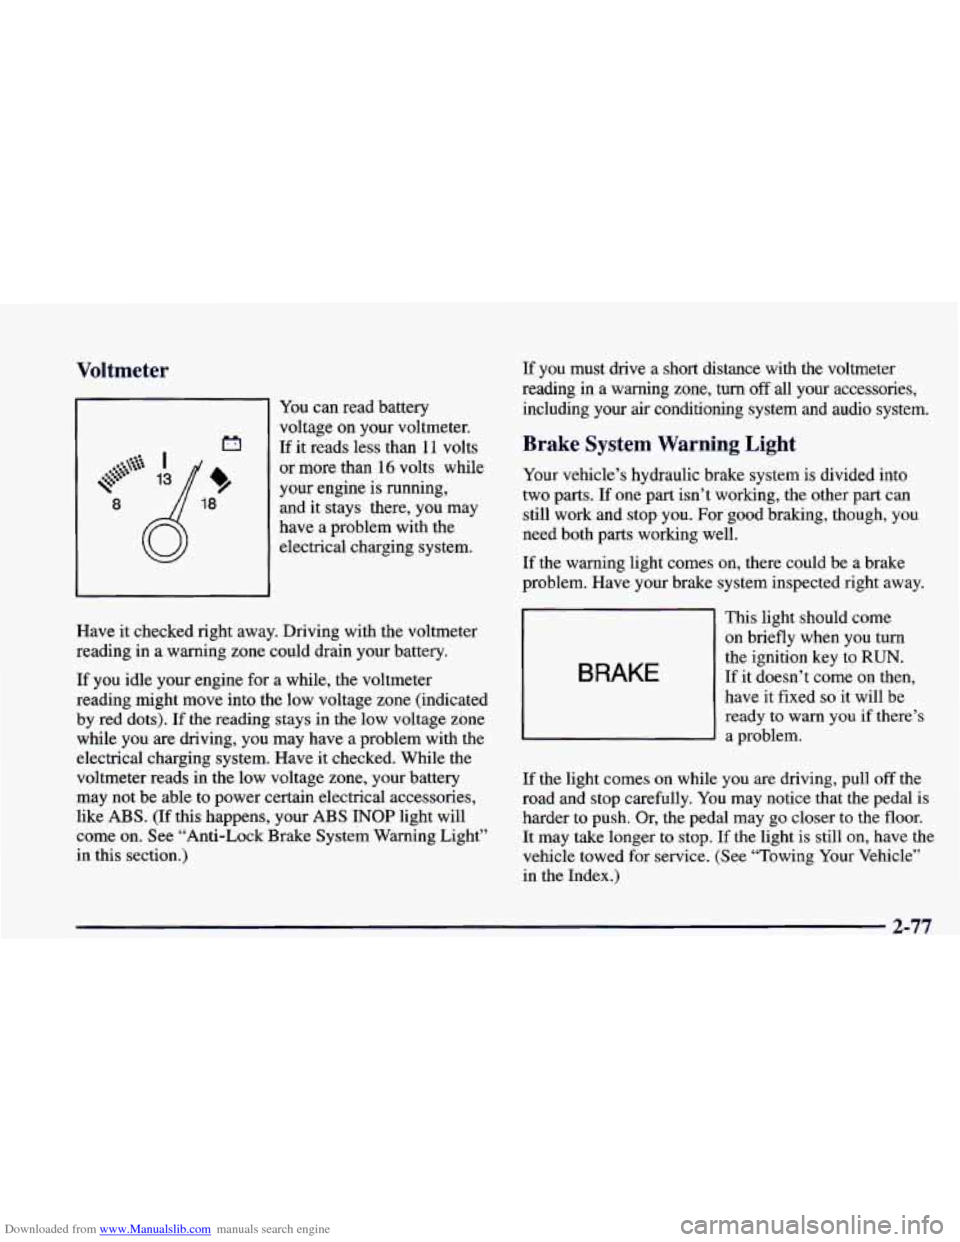
You can read battery
voltage
on your voltmeter.
If it reads less than 11 volts
or more than
16 volts while
your engine is running,
8 and it stays there, you may
have a problem with the
electrical charging system.
If you must drive a short distance with the voltmeter
reading in a warning zone, turn
off all your accessories,
including your air conditioning system and audio system.
Brake System Warning Light
Your vehicle’s hydraulic brake system is divided into
two parts.
If one part isn’t working, the other part can
still work and stop you. For good braking, though, you
need both parts working well.
If the warning light comes on, there could be a brake
problem. Have your brake system inspected right away.
Have it checked right away. Driving with the voltmeter
reading in a warning zone could drain your battery.
If you idle your engine for a while, the voltmeter
reading might move into the low voltage zone (indicated
by red dots). If the reading stays in
the low voltage zone
while you are driving, you may have a problem with the
electrical charging system. Have it checked. While the
voltmeter reads in the low voltage zone, your battery
may not be able to power certain electrical accessories,
like ABS.
(If this happens, your ABS INOP light will
come
on. See “Anti-Lock Brake System Warning Light”
in this section.)
BRAKE
This light should come
on briefly when you turn
the ignition key
to RUN.
If it doesn’t come on then,
have it fixed
so it will be
ready to warn you if there’s
a problem.
If the light comes on while you are driving, pull off the
road and stop carefully. You may notice that the pedal is
harder to push. Or, the pedal may go closer to the floor.
It may take longer to stop.
If the light is still on, have the
vehicle towed
for service. (See “Towing Your Vehicle’’
in the Index.)
2-77
Page 148 of 402

Downloaded from www.Manualslib.com manuals search engine Engine Coolant Temperature Gage
This gage shows the engine
coolant temperature. If the
gage pointer moves into
the red area, your engine
is approaching an
overheating condition.
If you have been operating your vehicle under normal
driving conditions, you should pull
off the road, stop
your vehicle and turn off the engine as soon as possible.
In “Problems on the Road” this section shows what to
do. See “Engine Overheating,’’
in the Index.
Low Coolant Light ( 5.7L V8 Engine)
This warning light should
come on briefly while you
are starting your engine. If
the light doesn’t come on,
have it remired. Your
vehicle is equipped with
a low coolant indicator
that
is designed to detect when the coolant level drops
below the set limit.
If the low coolant level sensor (on
the radiator) detects that the level drops while the engine
is running, the low coolant indicator will light and
remain lit for five minutes or until the ignition switch
is turned to
OFF. Check the coolant level and add
coolant as needed.
The low coolant light might stay on after filling the
radiator. Turn the ignition switch to the
OW position,
then restart the engine to verify that the low coolant
light goes out. See “Engine Coolant” in the Index.
NOTICE:
Driving with the low coolant light on could
cause your vehicle to overheat. See “Engine Overheating’’ in the Index. Your vehicle could
be damaged, and it wouldn’t be covered by
your warranty.
I . 2-80
Page 149 of 402

Downloaded from www.Manualslib.com manuals search engine Malfunction Indicator Lamp (Service Engine Soon Light)
I I Your vehicle is equipped
SERVICE
ENGINE
SOON
with a computer which
monitors operation
of the
fuel, ignition and emission
control systems.
This system is called
OBD I1 (On-Board
Diagnostics-Second Generation) and is intended to
assure that emissions are at acceptable levels for the
life
of the vehicle, helping to produce a cleaner
environment. The
SERVICE ENGINE SOON light
comes on to indicate that there is a problem and service
is required. Malfunctions often will be indicated by
the system before any problem is apparent. This may
prevent more serious damage to your vehicle. This
system is also designed to assist your service technician
in correctly diagnosing any malfunction.
NOTICE:
If you keep driving your vehicle with this light
on, after
a while, your emission controls may not
work as well,
your fuel economy may not be as
good and your engine may not run as smoothly.
This could lead to costly repairs that may not be
covered by your warranty.
This light should come on, as a check to show you it is
working, when the ignition is on and the engine is
not
running. If the light doesn’t come on, have it repaired.
This light will also come on during a malfunction in
one of two ways:
Light Flashing -- A misfire condition has been
detected.
A misfire increases vehicle emissions and
may damage the emission control system
on your
vehicle. Dealer or qualified service center diagnosis
and service may be required.
Light On Steady -- An emission control system
malfunction has been detected
on your vehicle.
Dealer
or qualified service center diagnosis and
service may be required.
2-81
Page 151 of 402

Downloaded from www.Manualslib.com manuals search engine Have you recently changed brands of fuel?
If
so, be sure to fuel your vehicle with quality fuel (see
“Fuel” in the Index). Poor fuel quality will cause your
engine not to run as efficiently as designed. You may
notice
this as stalling after start-up, stalling when you
put the vehicle into gear, misfiring, hesitation on
acceleration or stumbling on acceleration. (These
conditions may go away once the engine is warmed up.)
This will be detected by the system and cause the light
to turn on.
If you experience one or more of these conditions,
change the fuel brand you use. It will require at least one
full tank of the proper fuel to turn the light off.
If none of the above steps have made the light turn
off,
have your dealer or qualified service center check the
vehicle. Your dealer has the proper test equipment and
diagnostic tools to fix any mechanical or electrical
problems that may have developed.
Engine Oil Pressure Gage
\*
0
/
/ 80 \!
0
/
0 120
5.7L VS Engine 3800 V6 Engine
This gage tells you if there could be a problem with your
engine oil pressure.
The engine oil pressure gage shows the engine
oil
pressure in psi (pounds per square inch) in the U.S.,
or kPa (kilopascals) in Canada, when the engine is
running. Oil pressure should be
20 to 80 psi (140 to
550 kPa). On the 3800 engine, the oil pressure
should be between
20 and 120 psi (140 to 827 Wa).
2-83